Creating a WordPress website has never been easier, especially with the user-friendly platform that Hostinger offers. In this guide, we will walk you through the entire process of setting up your website in just ten minutes. Whether you are a beginner or have some experience, this step-by-step tutorial will ensure you have a site that meets your needs without any coding required.
Table of Contents
Step 1: Selecting a Hosting Plan at Hostinger
The first step to creating your WordPress website is choosing a reliable hosting plan. Hostinger offers various plans tailored to different needs. Start by visiting Hostinger’s website and scroll down to view their hosting options.
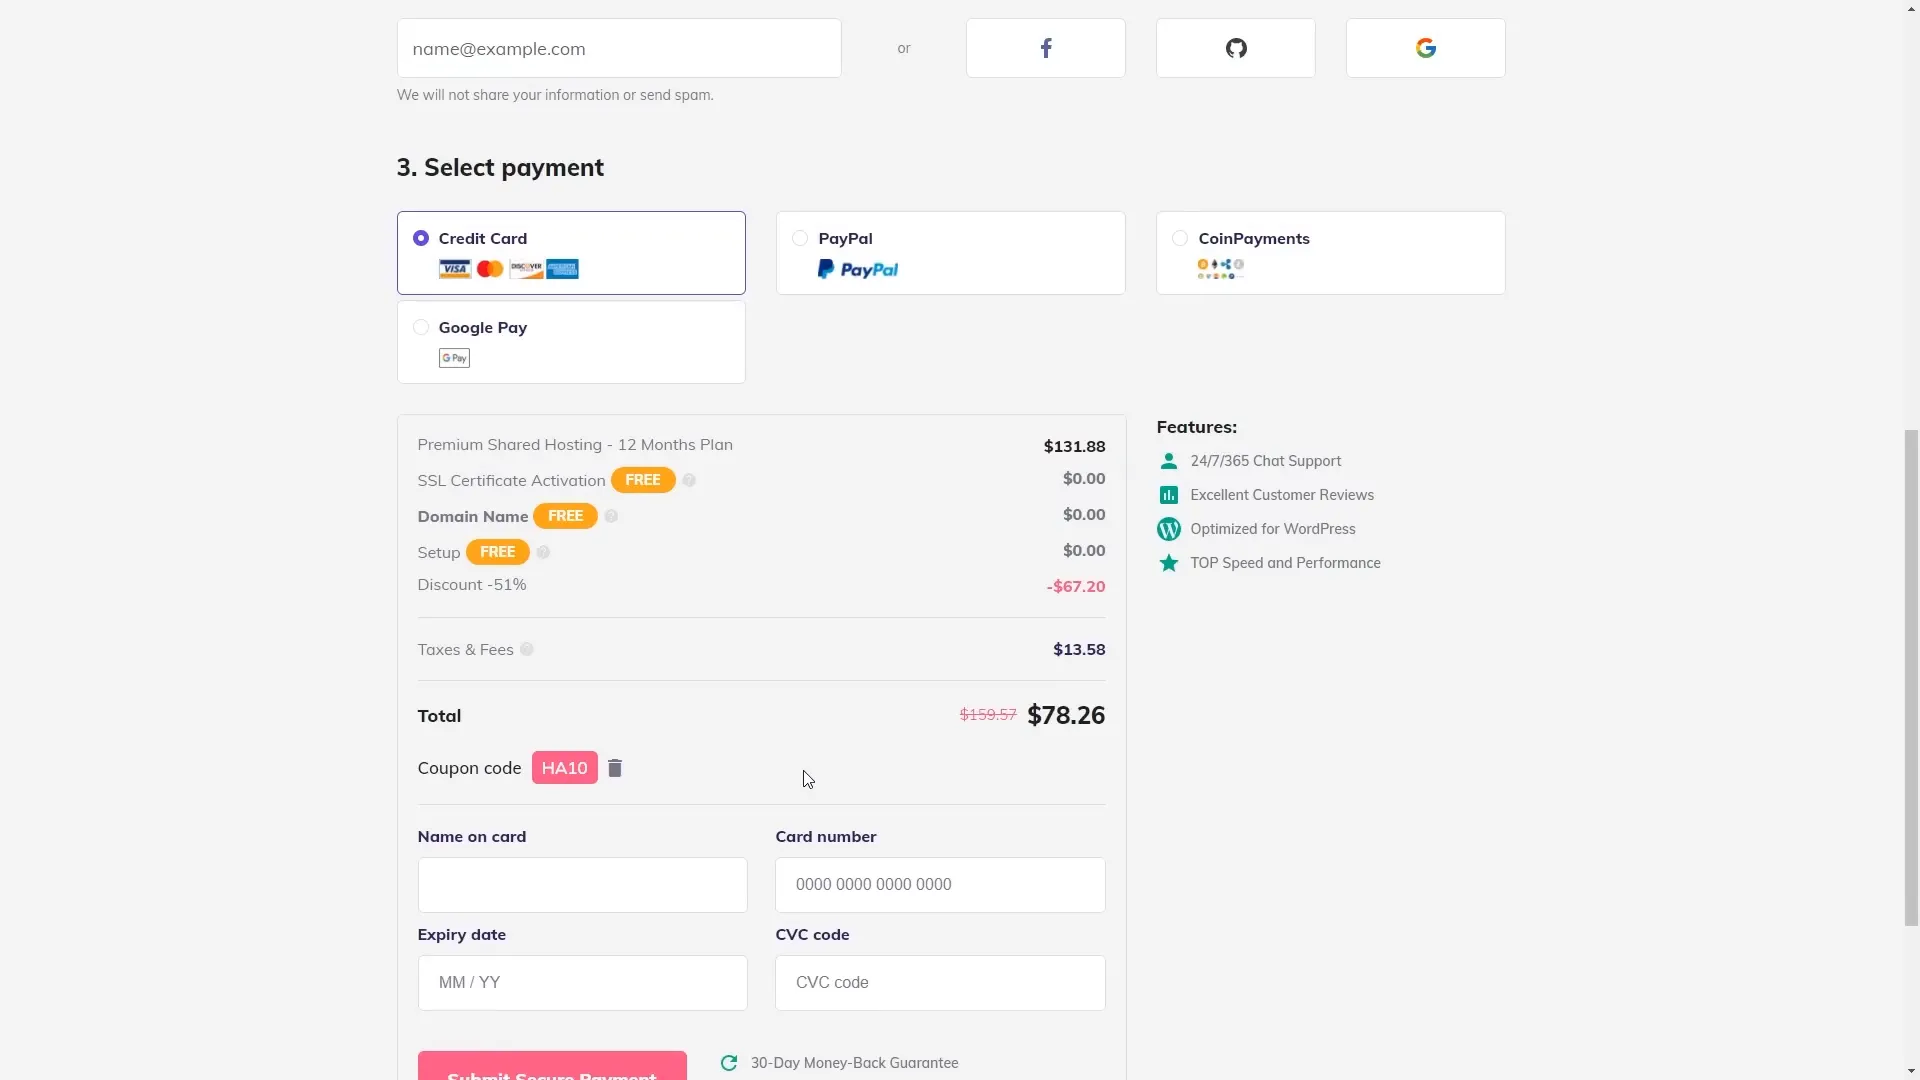
For this tutorial, we will select the Premium Shared Hosting plan. Click on the plan that fits your needs and add it to your cart. You can choose the duration of your plan; for this guide, we will select twelve months.
During the checkout process, you will need to create an account and select a payment method. Don’t forget to apply coupon code HA10 to get a 10% discount off your purchase. This plan also includes a free domain name and an SSL certificate, making it an excellent value.
Step 2: Setting up Hosting, Domain, SSL Certificate
Once you have completed the checkout, log in to your Hostinger account. You will find a dashboard that guides you to set up your hosting. Click on the setup button, and you will be prompted to claim your free domain name.
Enter your desired domain name and click search. It is advisable to choose a .com domain, as it is the most recognizable. After selecting your domain, choose to build a new website and select WordPress as your platform.
Next, you will need to create your WordPress login credentials. Enter your email address and set a password. After this, you will see various templates available for your new website. Choose a template that suits your vision, or preview it before selecting.
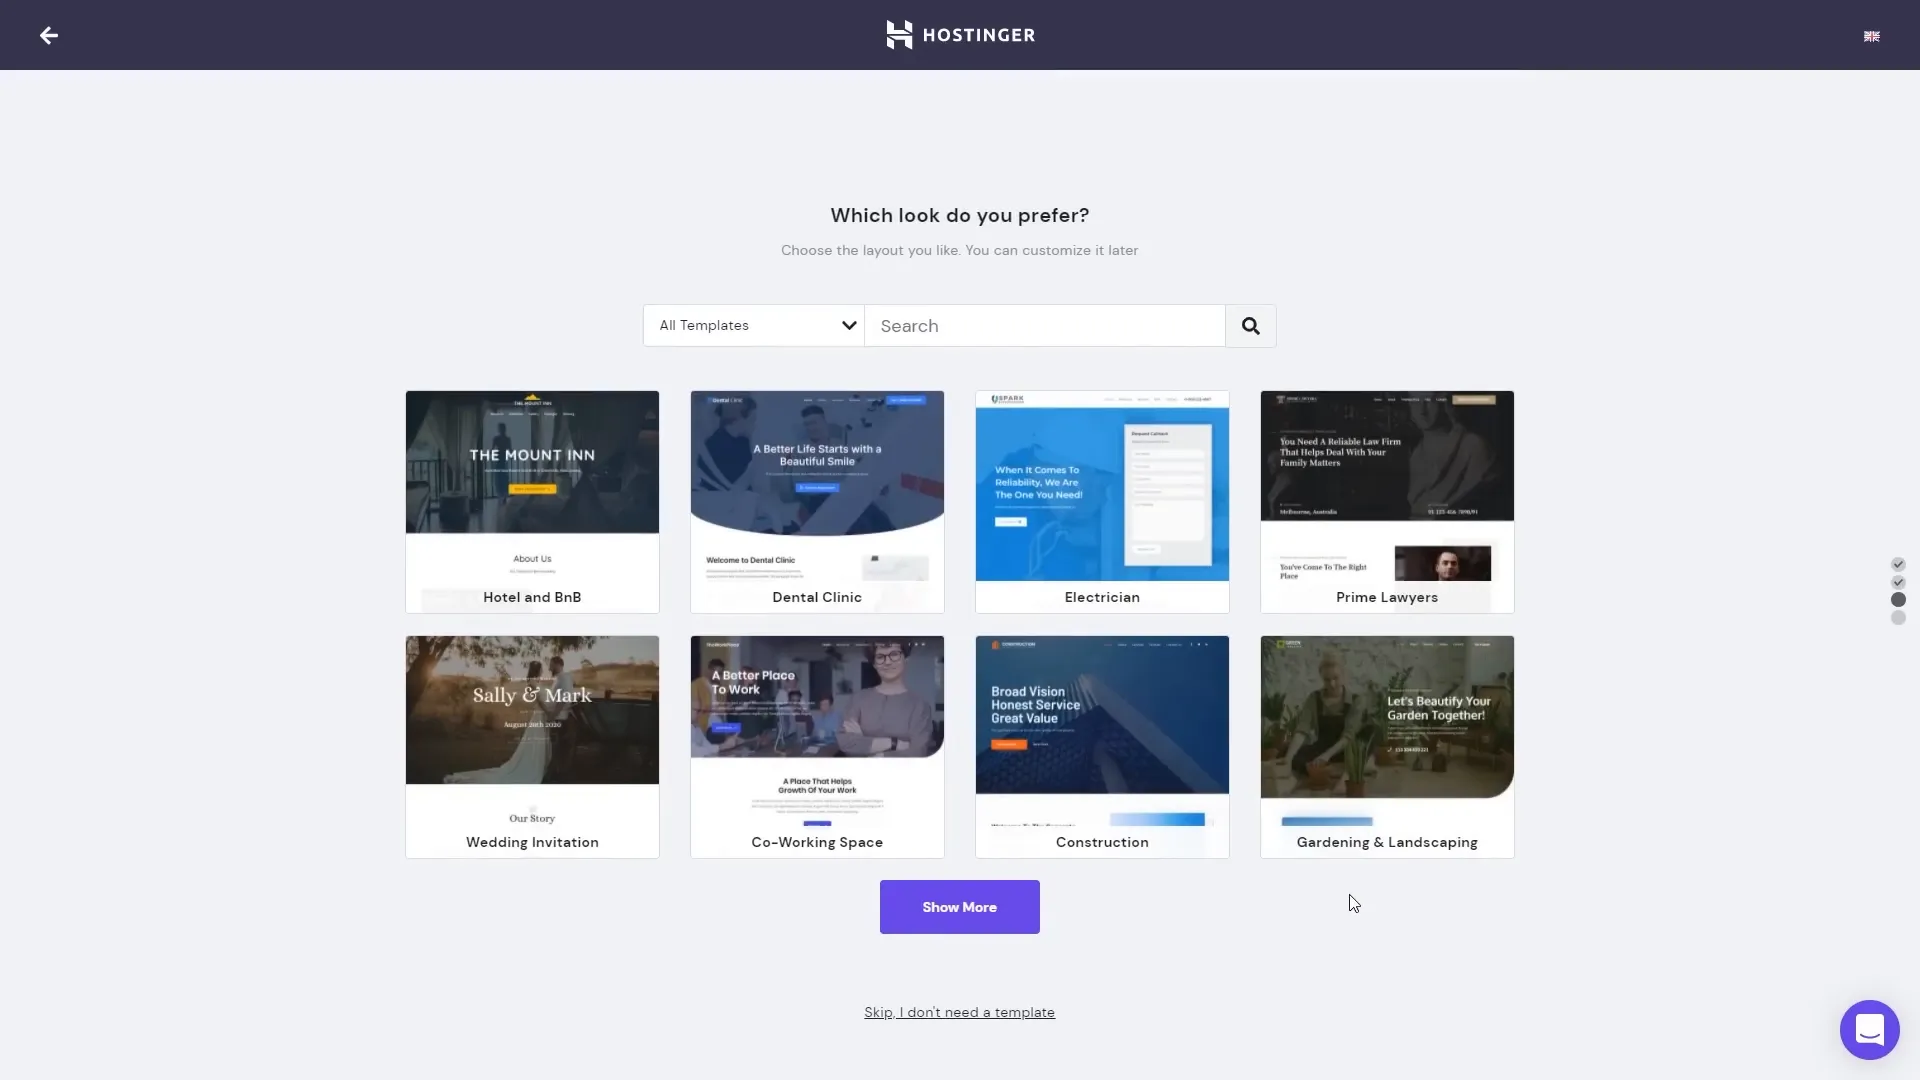
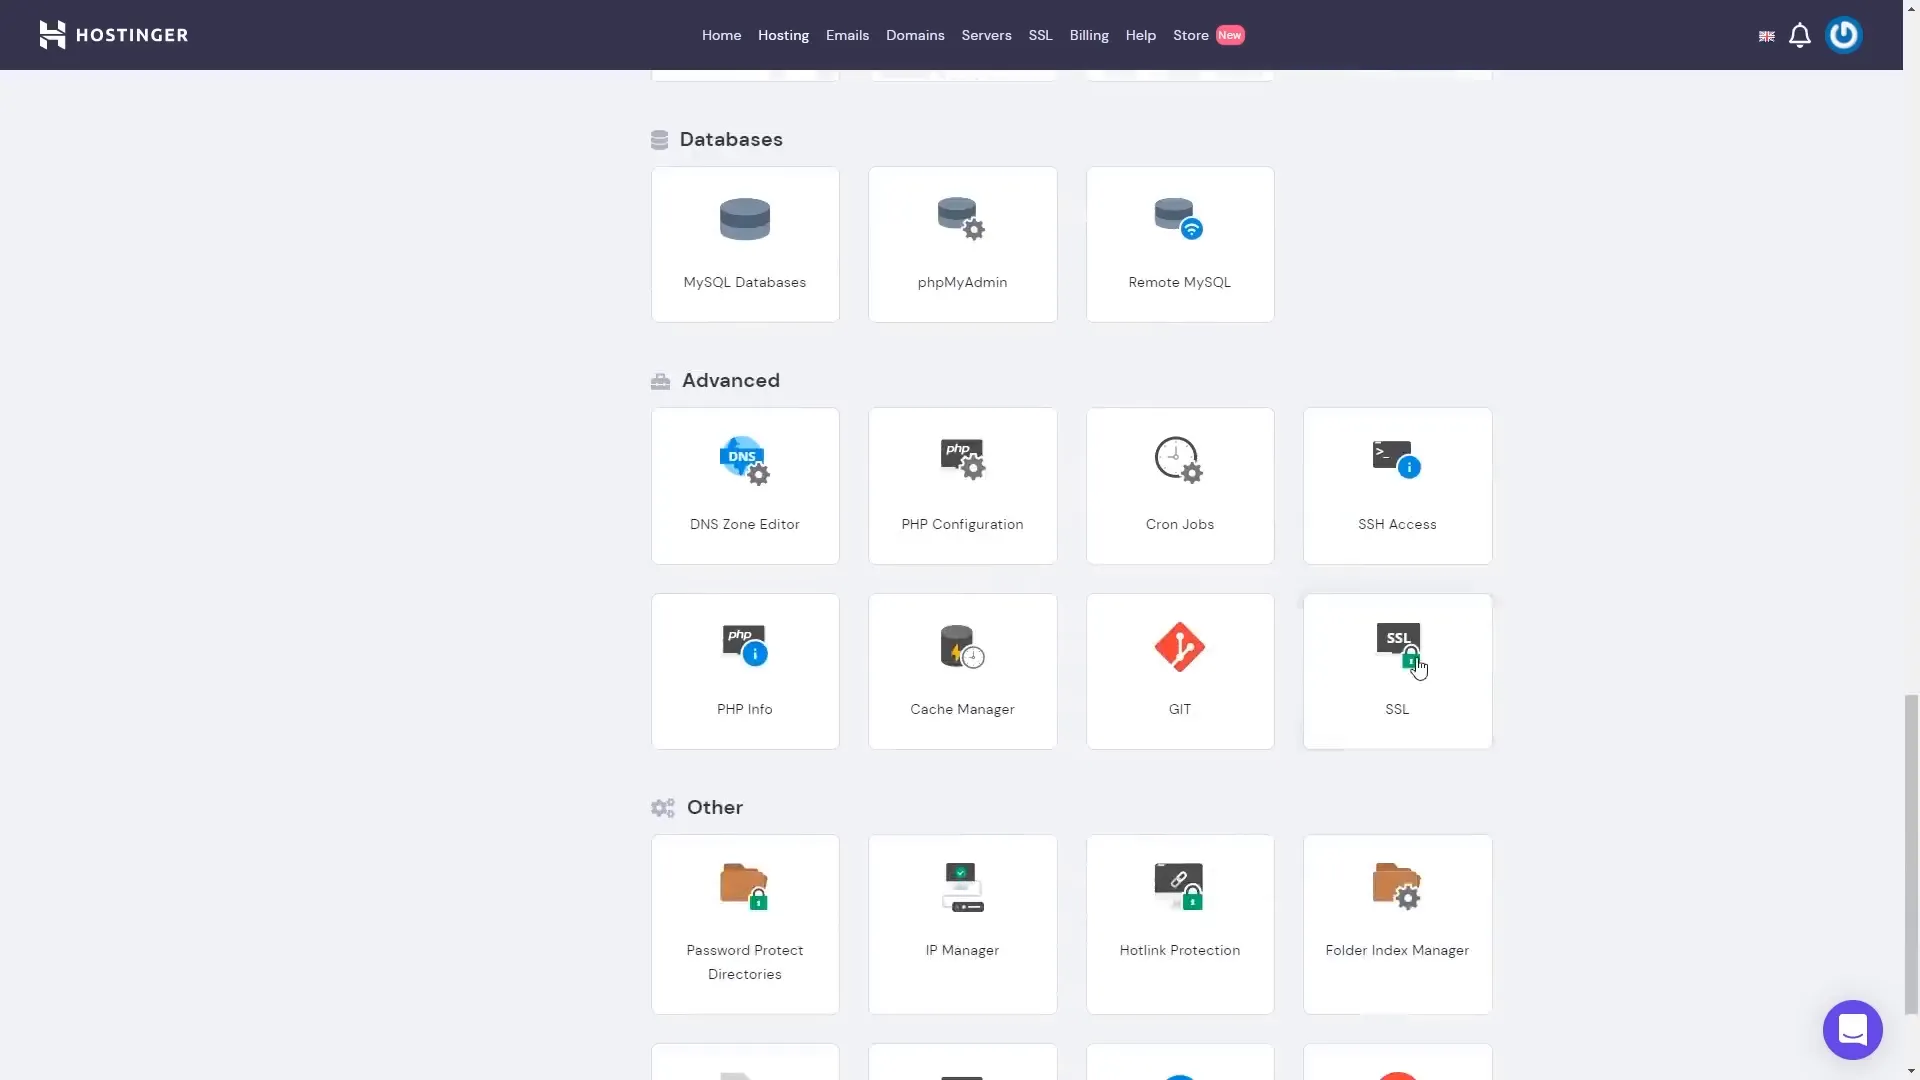
After selecting a template, click on ‘Finish Setup’. It may take a few minutes for the setup to complete. Once done, you will be prompted to install your SSL certificate. If your domain registration is not complete, complete that first before installing the SSL. Once your domain is active, navigate to the SSL section in your dashboard and click on ‘Install’.
Step 3: Creating a Navigation Menu
Now that your website is set up, it’s time to customize your navigation menu. Log in to your WordPress dashboard by adding /wp-admin to your URL. Once logged in, visit the homepage to view the top navigation menu and the default pages it contains.
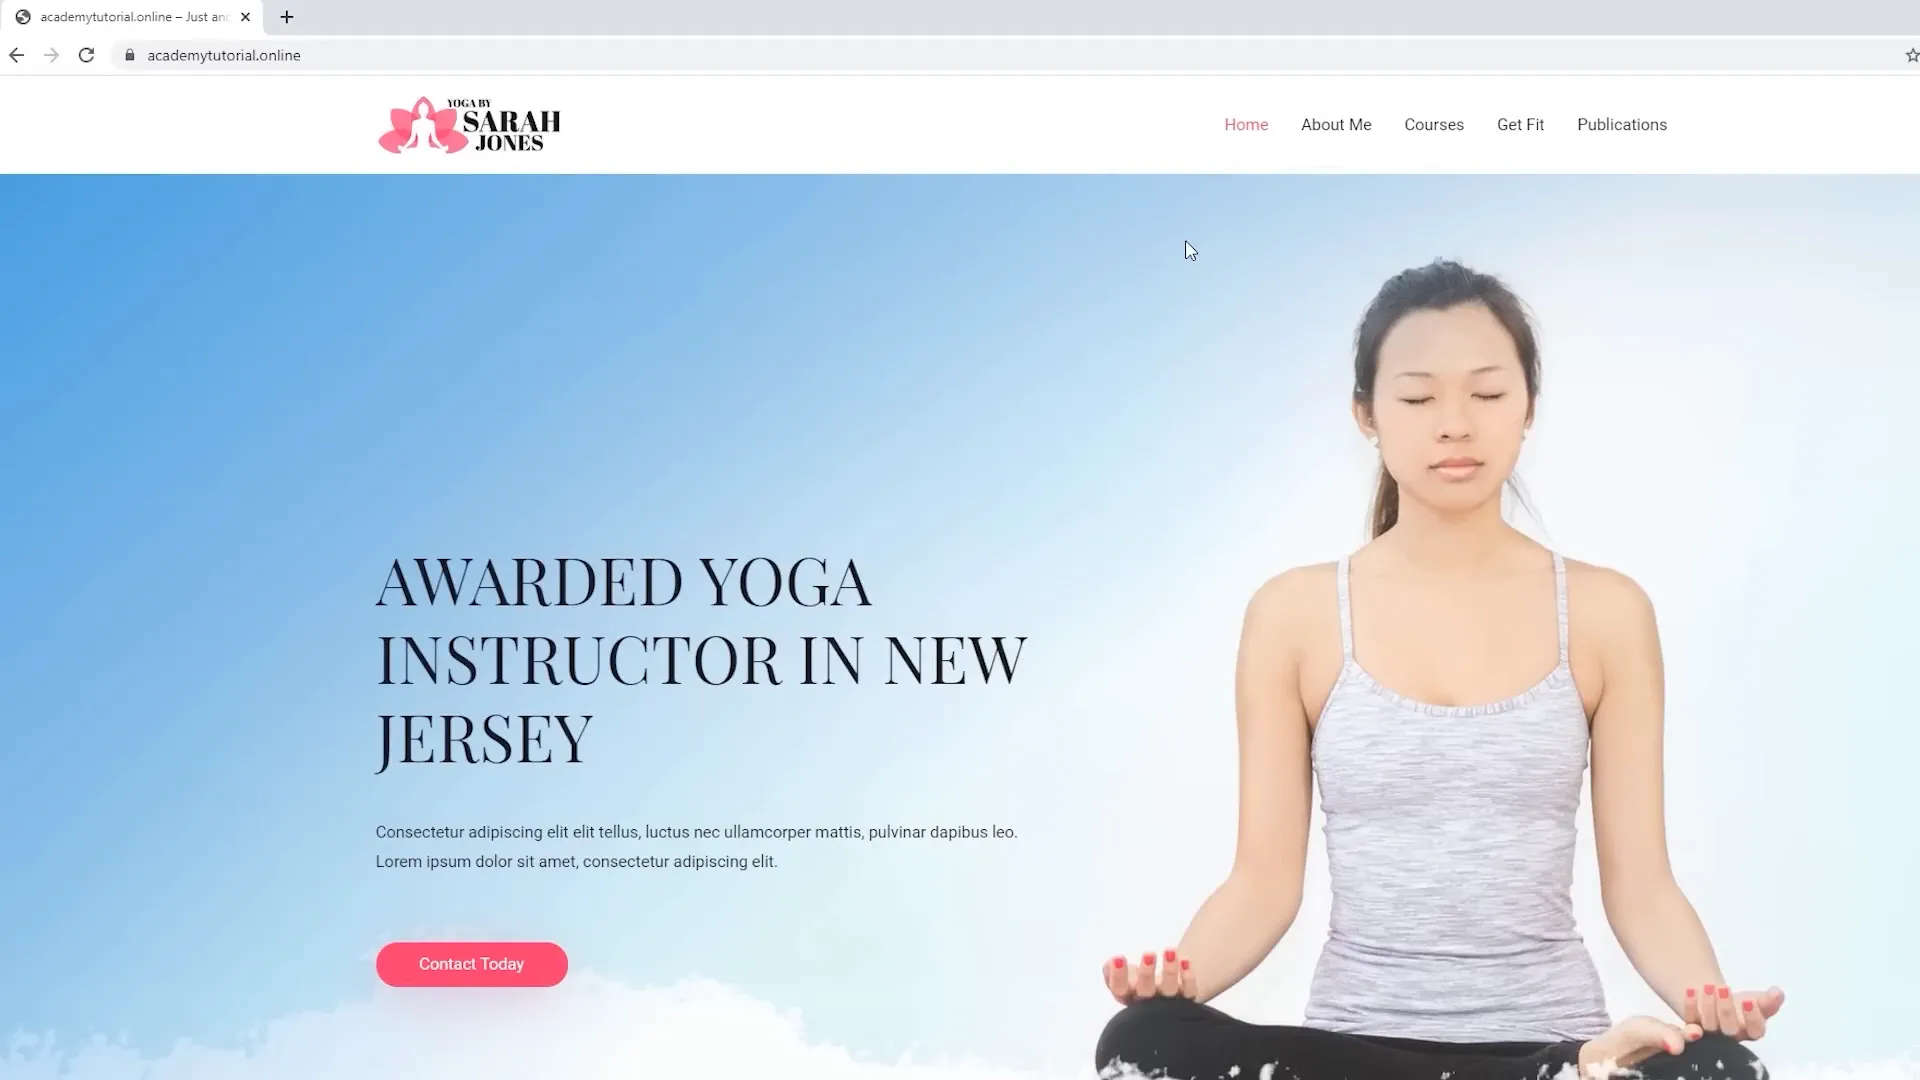
Decide which pages you want to keep or rename. For instance, keep the homepage and about page but rename the ‘Get Fit’ page to ‘Contact Us’. Remove the ‘Publications’ page as it may not be necessary.
To rename pages, go to the ‘Pages’ section in your dashboard. Here, you can quickly edit page titles and delete any pages you don’t need. After organizing your pages, add a new page titled ‘Blog’ that will serve as the home for your blog posts.
Step 4: Adding a Logo and Customizing the Website Using the Astra Theme
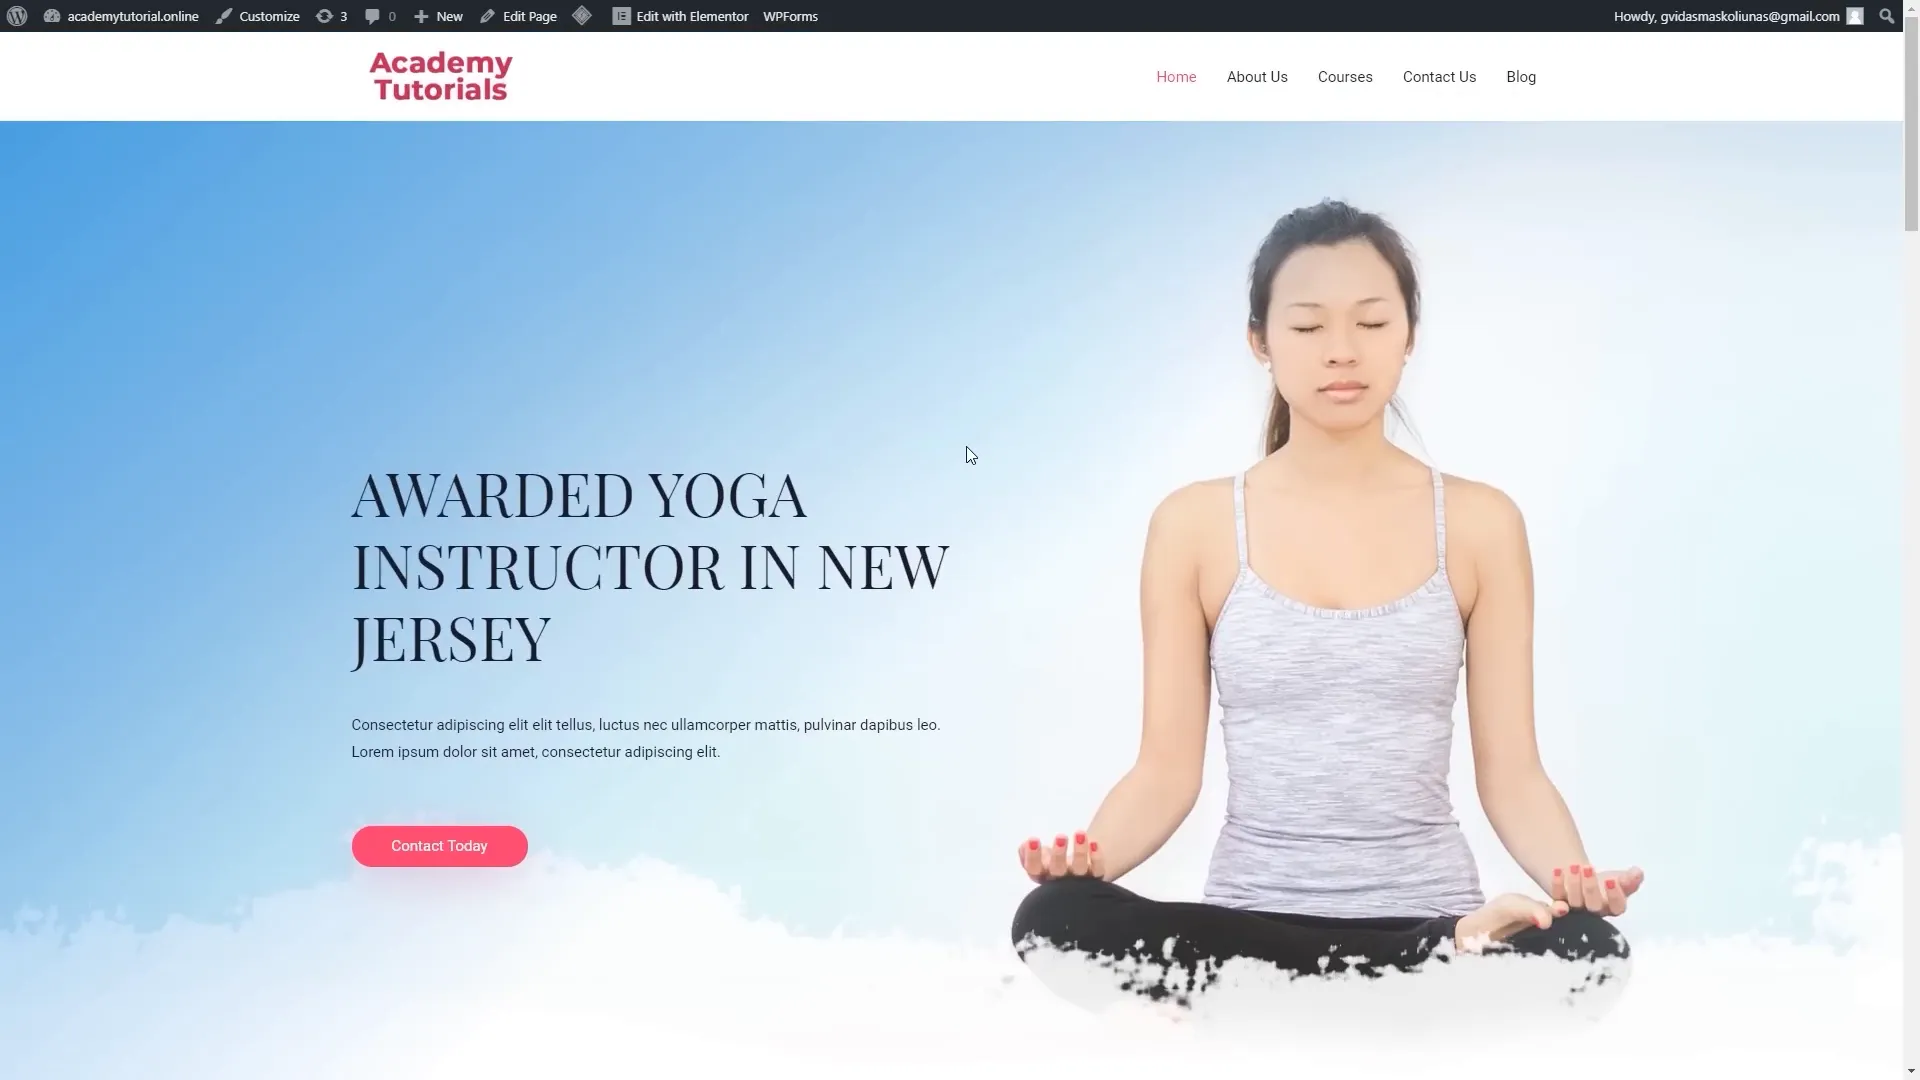
Now that your pages are set, it’s time to customize your website’s appearance. Start by clicking on ‘Customize’ in your dashboard. Here, you can upload your logo and make adjustments to your site’s layout and design.
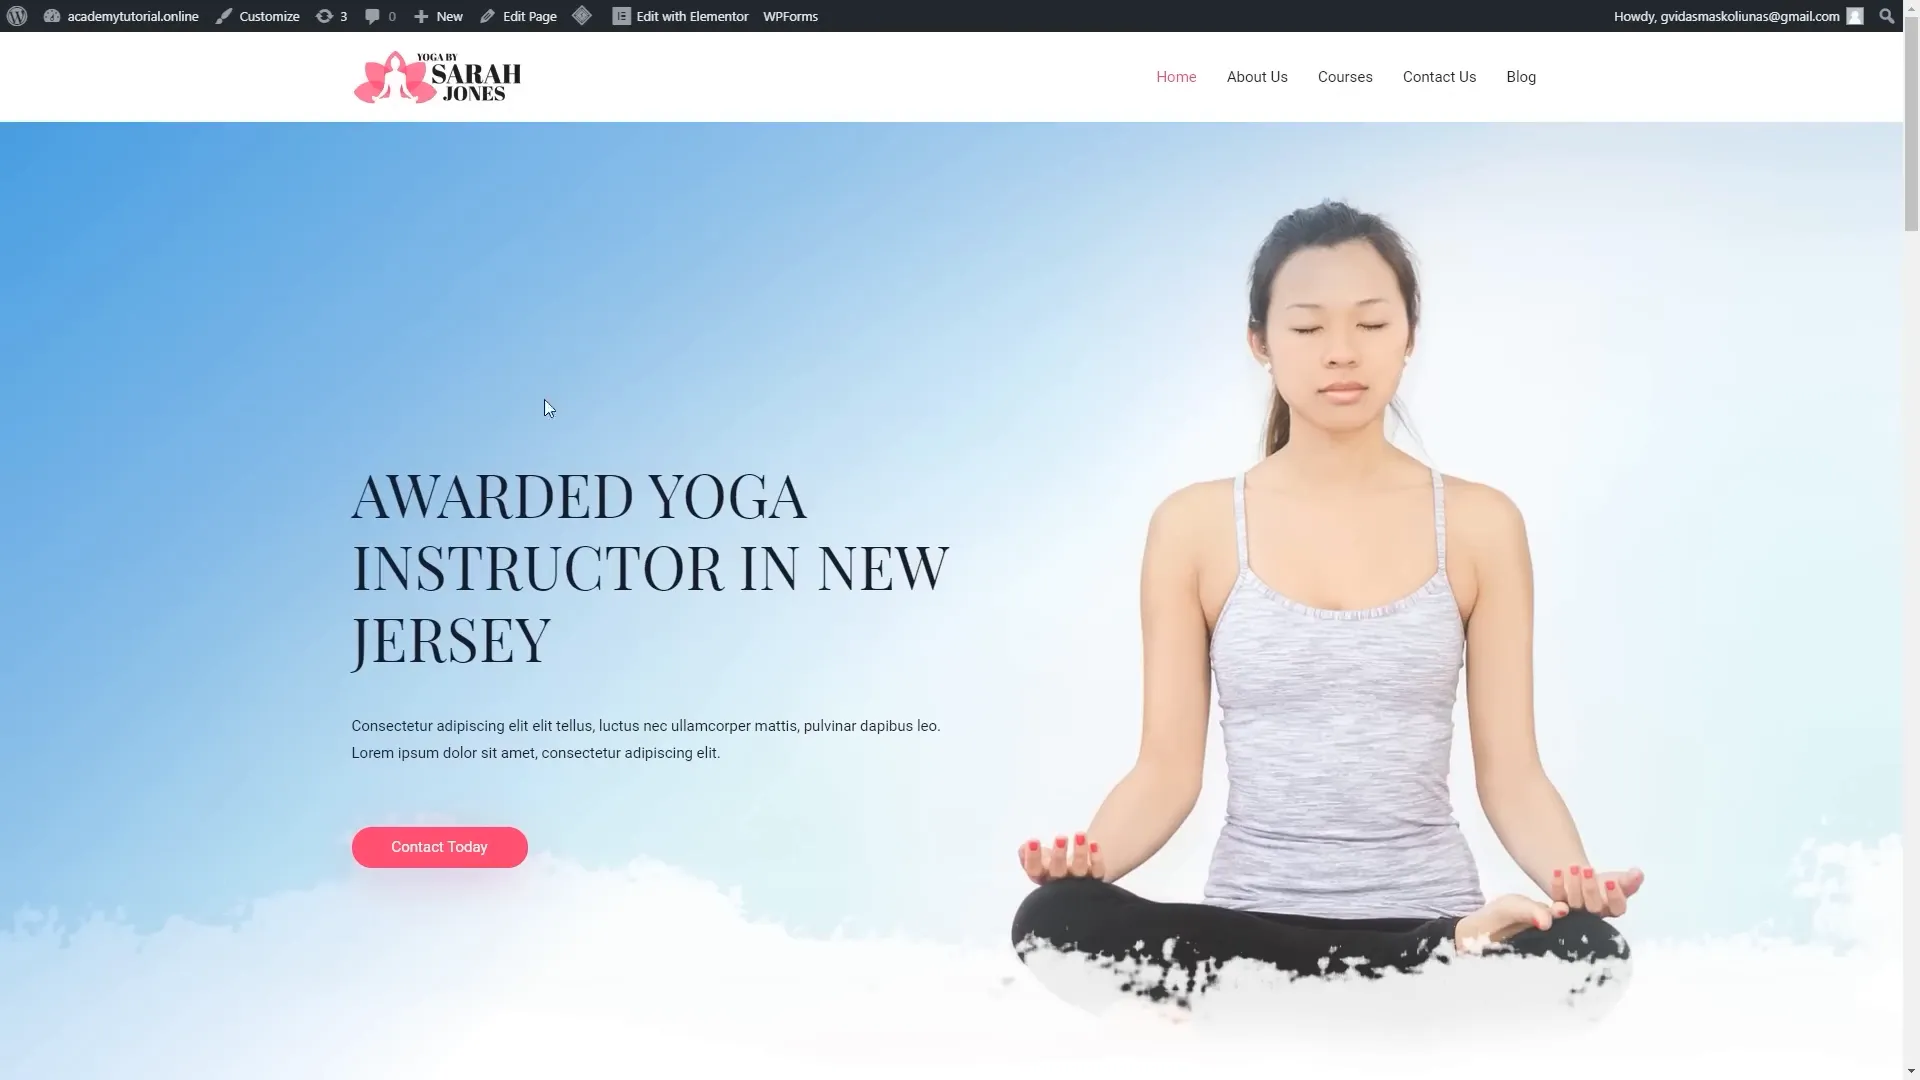
To change your logo, click on ‘Edit’ and select ‘Change Logo’. Upload your logo from the media library or upload a new file if you haven’t done so yet. Once you are satisfied with how it looks, click ‘Publish’ to save your changes.
Feel free to explore other customization options available to enhance your site’s look. This way, you can learn how to use WordPress more effectively.
Step 5: Editing Pages Using Elementor
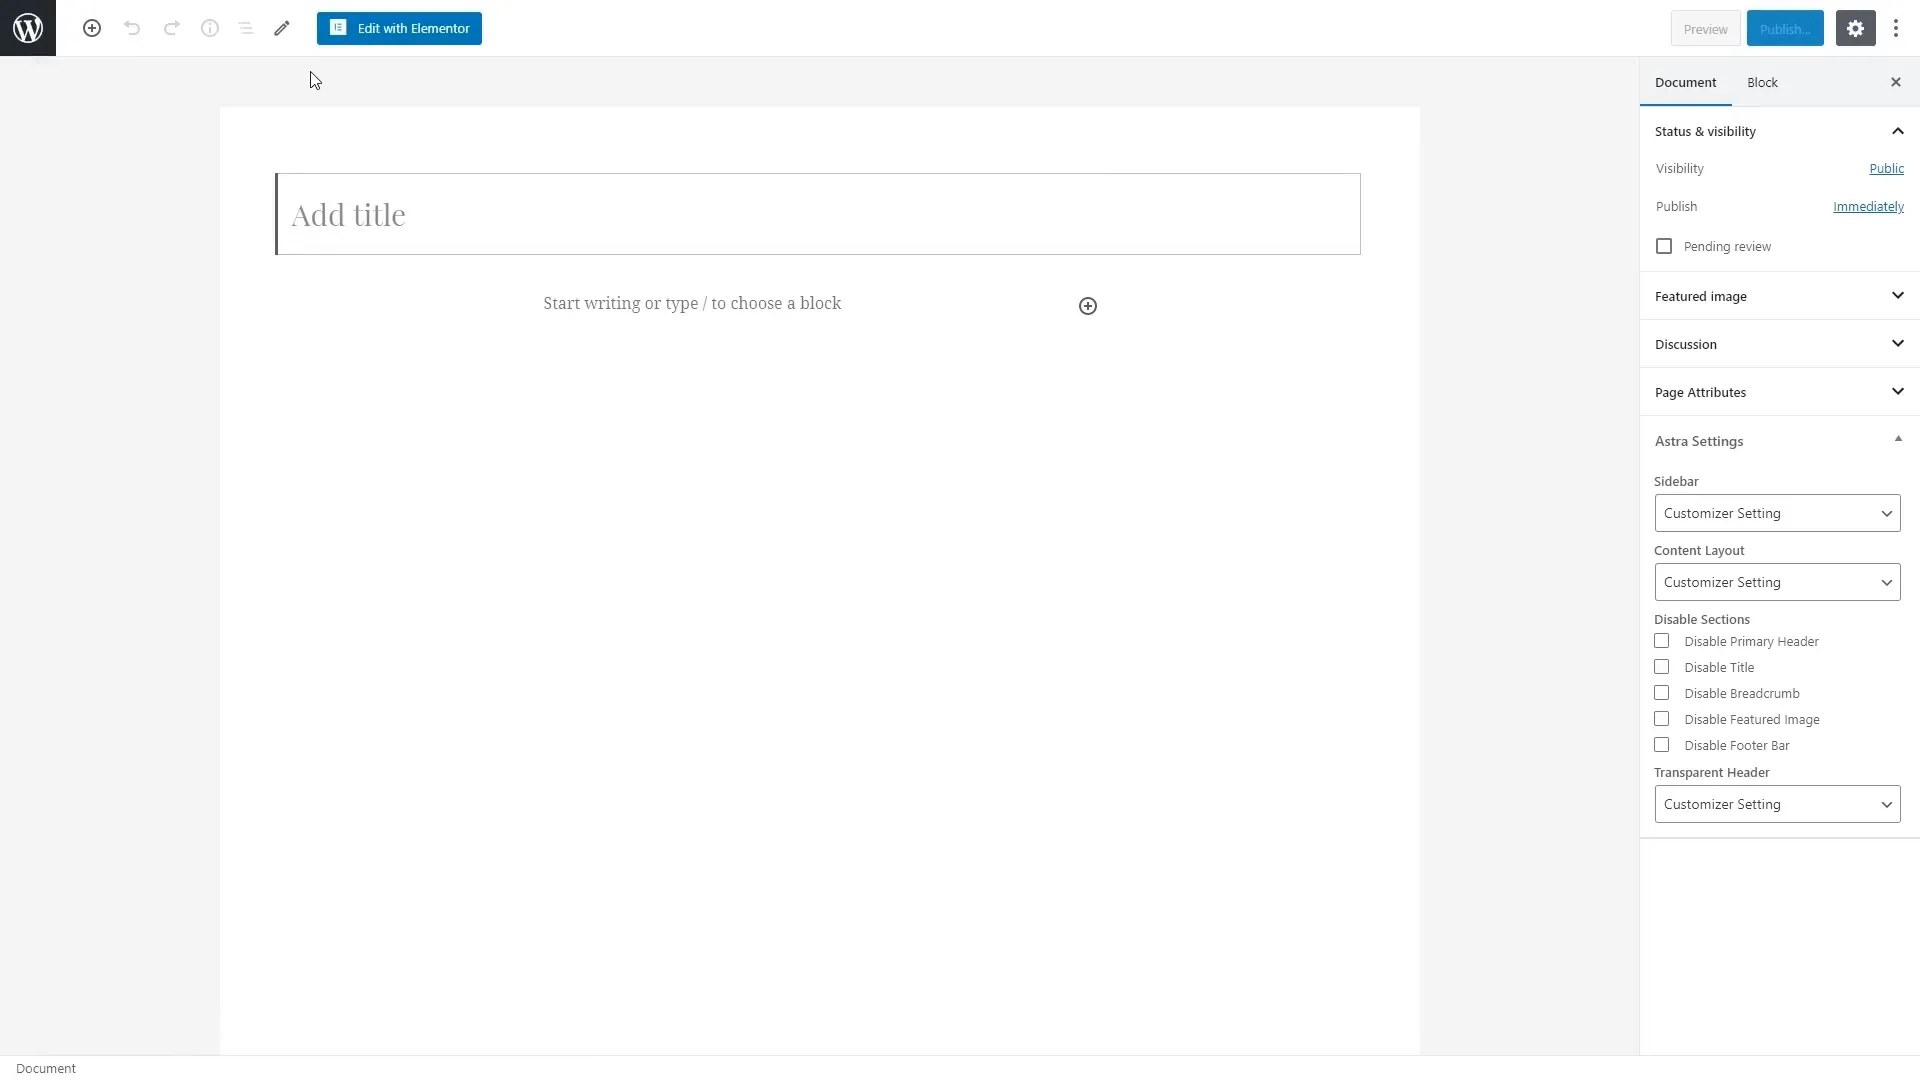
All your pages can be edited using Elementor, a powerful page builder. To edit a page, click on ‘Edit with Elementor’. This will open the Elementor editing interface where you can change the background image, text, and other elements on the page.
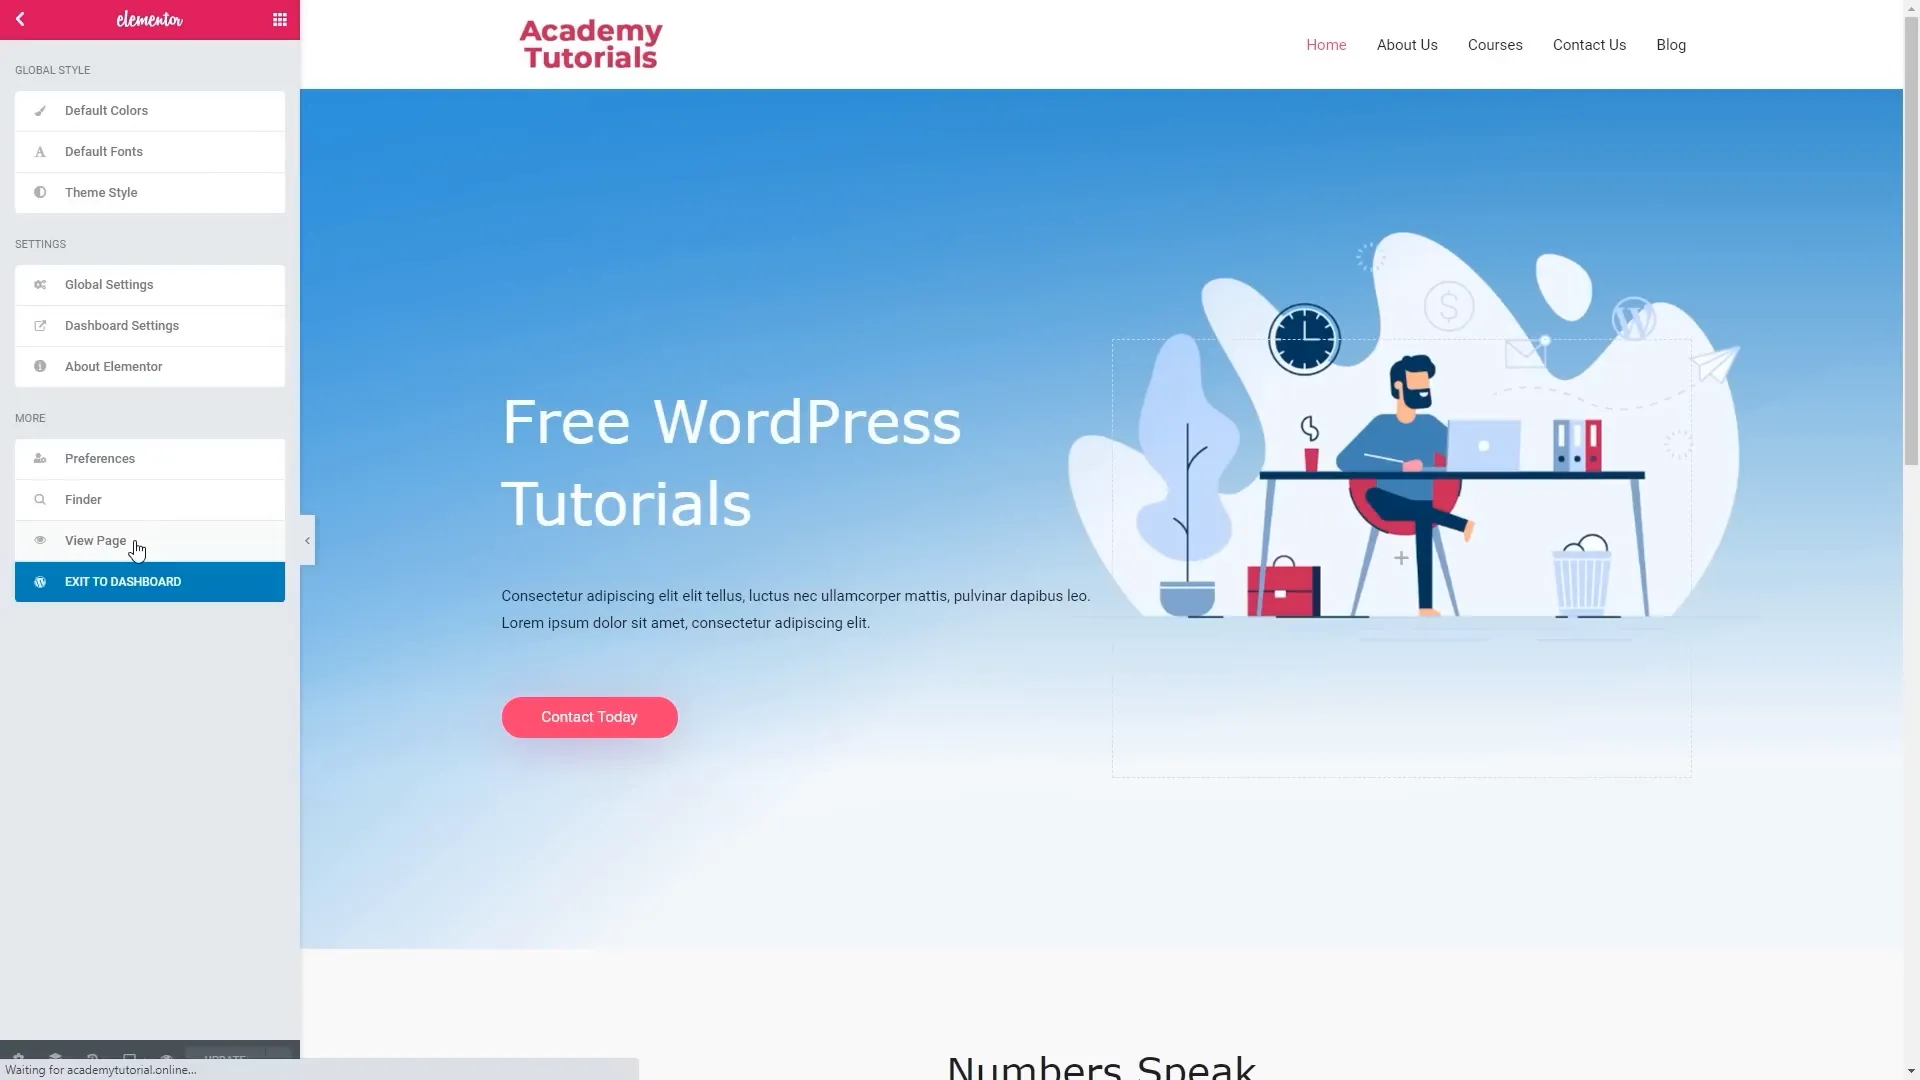
To change the background image, click on the section you want to edit and select ‘Styles’. Choose an image from your media library and insert it. You can also modify the text by simply clicking on it and editing it directly.
Once you are happy with your changes, make sure to click ‘Update’ to save your edits. Return to the main page to see how your changes look.
Step 6: Creating Categories and Adding Blog Posts
To enhance your website further, it’s time to create categories for your blog posts. Navigate to the ‘Categories’ section in your dashboard. Here, you can add new categories or modify existing ones to better organize your content.
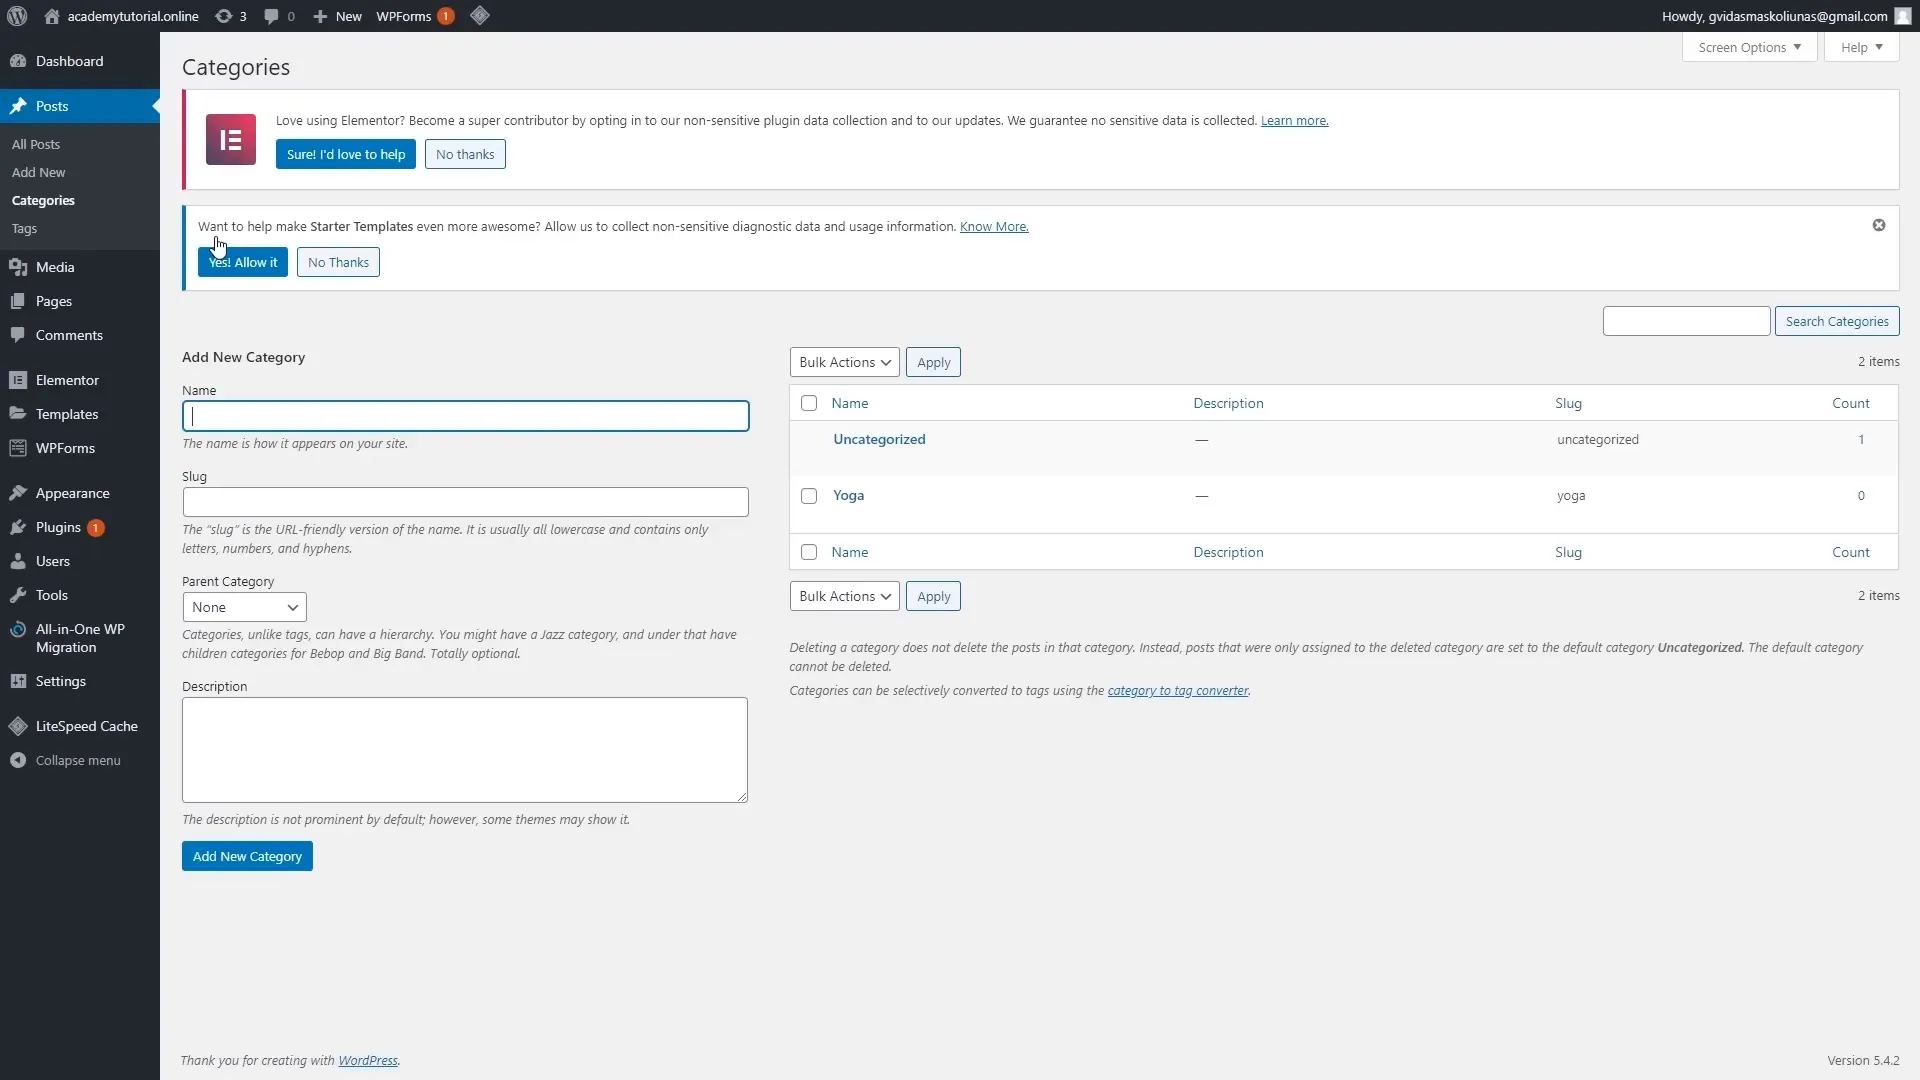
Once your categories are set, add your first blog post by clicking ‘Add New’. Enter a title and the content for your post. You can also add images, lists, or any other elements by using the available options in the editor.
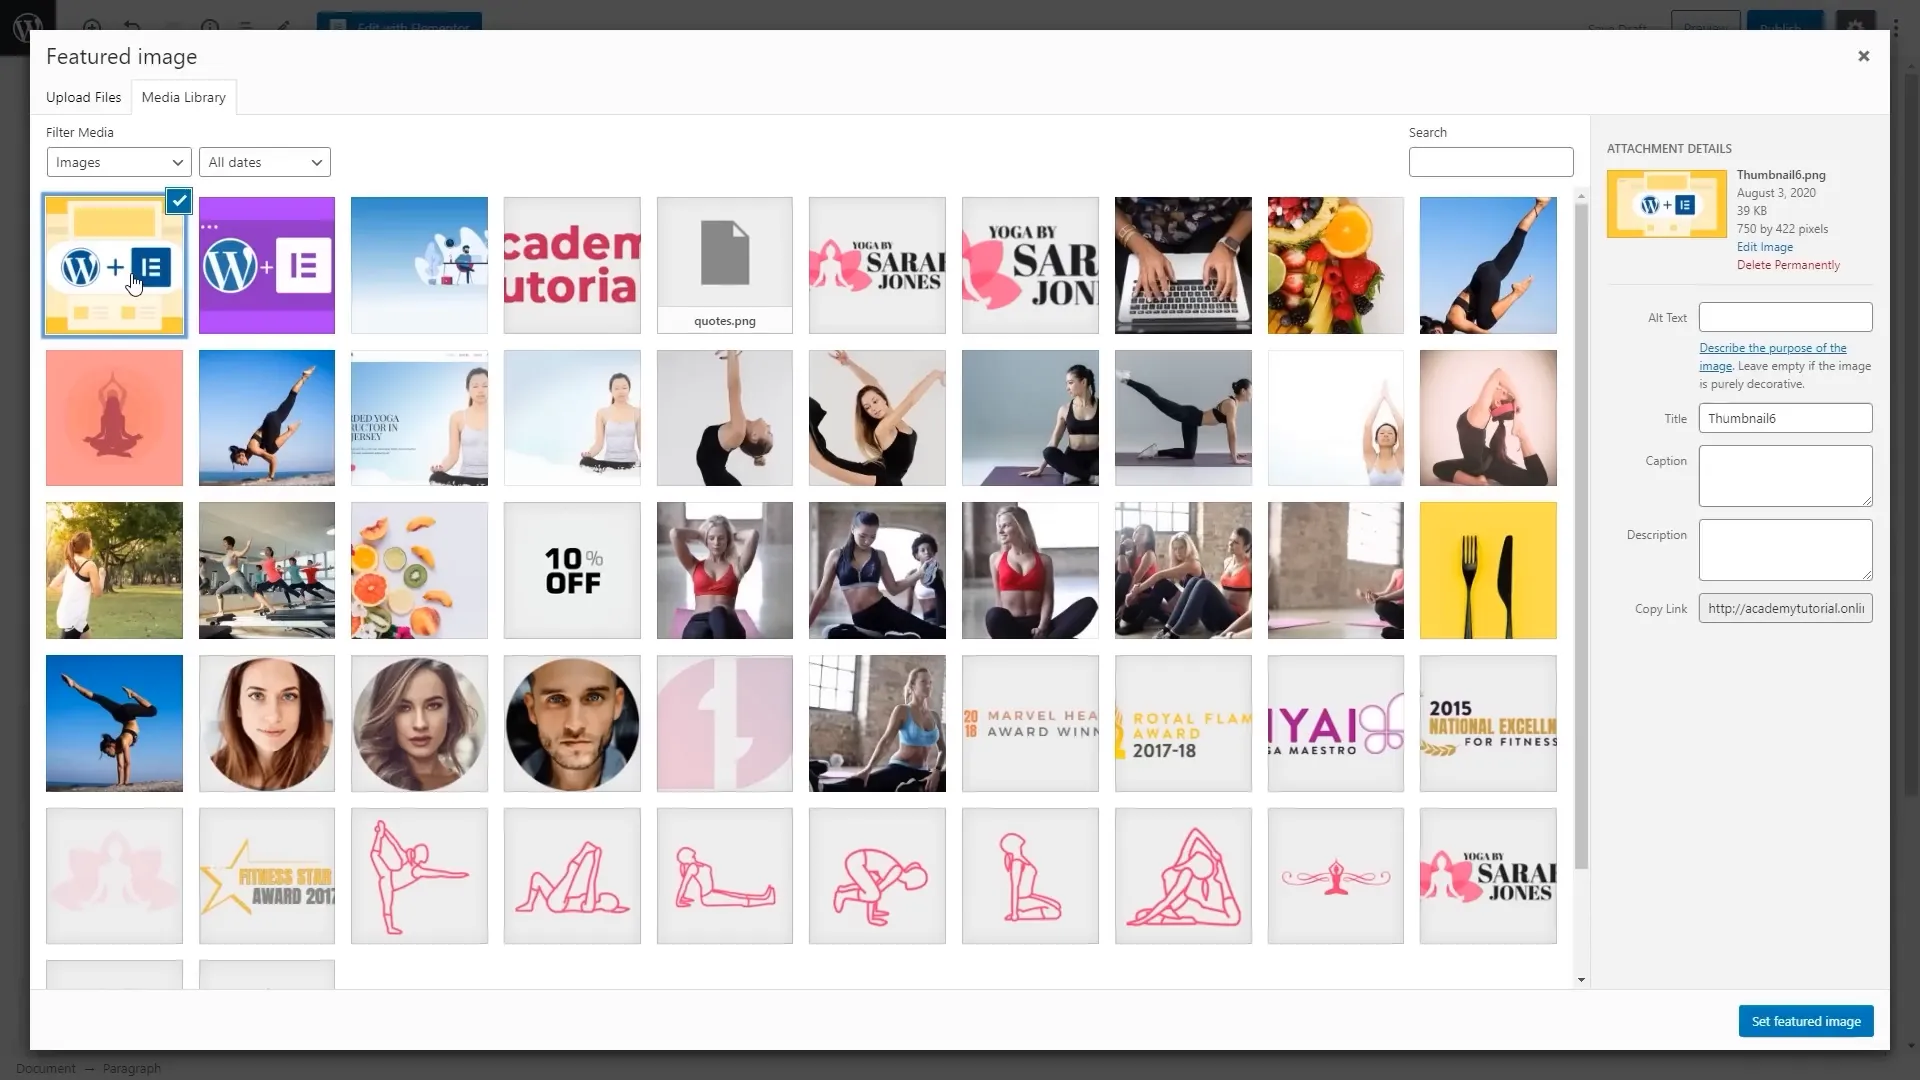
Don’t forget to set a featured image for your post and assign it to a category before publishing. After you’ve completed your post, click ‘Publish’ to make it live on your website.
Conclusion
Congratulations! You have successfully created your WordPress website using Hostinger in under ten minutes. This quick and straightforward process allows you to establish an online presence without needing extensive technical knowledge. Remember, this is just the beginning; the real fun starts as you continue to add content and customize your site.
To further improve your website’s visibility, consider exploring SEO strategies. For more tips and tutorials, feel free to visit Hostinger’s resources. Happy blogging!



![Read more about the article Multifunction Wireless Charger Pad Stand Speaker TF RGB Night Light: The Ultimate 15W Fast Charging Station For IPhone Samsung Xiaomi Huawei [AliExpress]](https://store.woowhouse.com/wp-content/uploads/2024/11/53a2ac90-9171-4087-abcb-bf4b89e05f96-1-300x300.jpg)