In this guide, we will explore how to set up a WordPress site using Hostinger. Hostinger is a popular web hosting provider known for its affordability and excellent performance. Whether you’re a beginner or an experienced developer, this tutorial will provide you with the necessary steps to create your website efficiently.
Step 1: Getting a Hostinger WordPress Plan!
To begin, you need to choose a suitable hosting plan with Hostinger. Navigate to the Hostinger pricing page by clicking the link provided in this guide. You will see various plans available. It is recommended to opt for the Premium plan, as it offers ample storage space, bandwidth, SSL certificates, weekly backups, and a free domain for the first year.
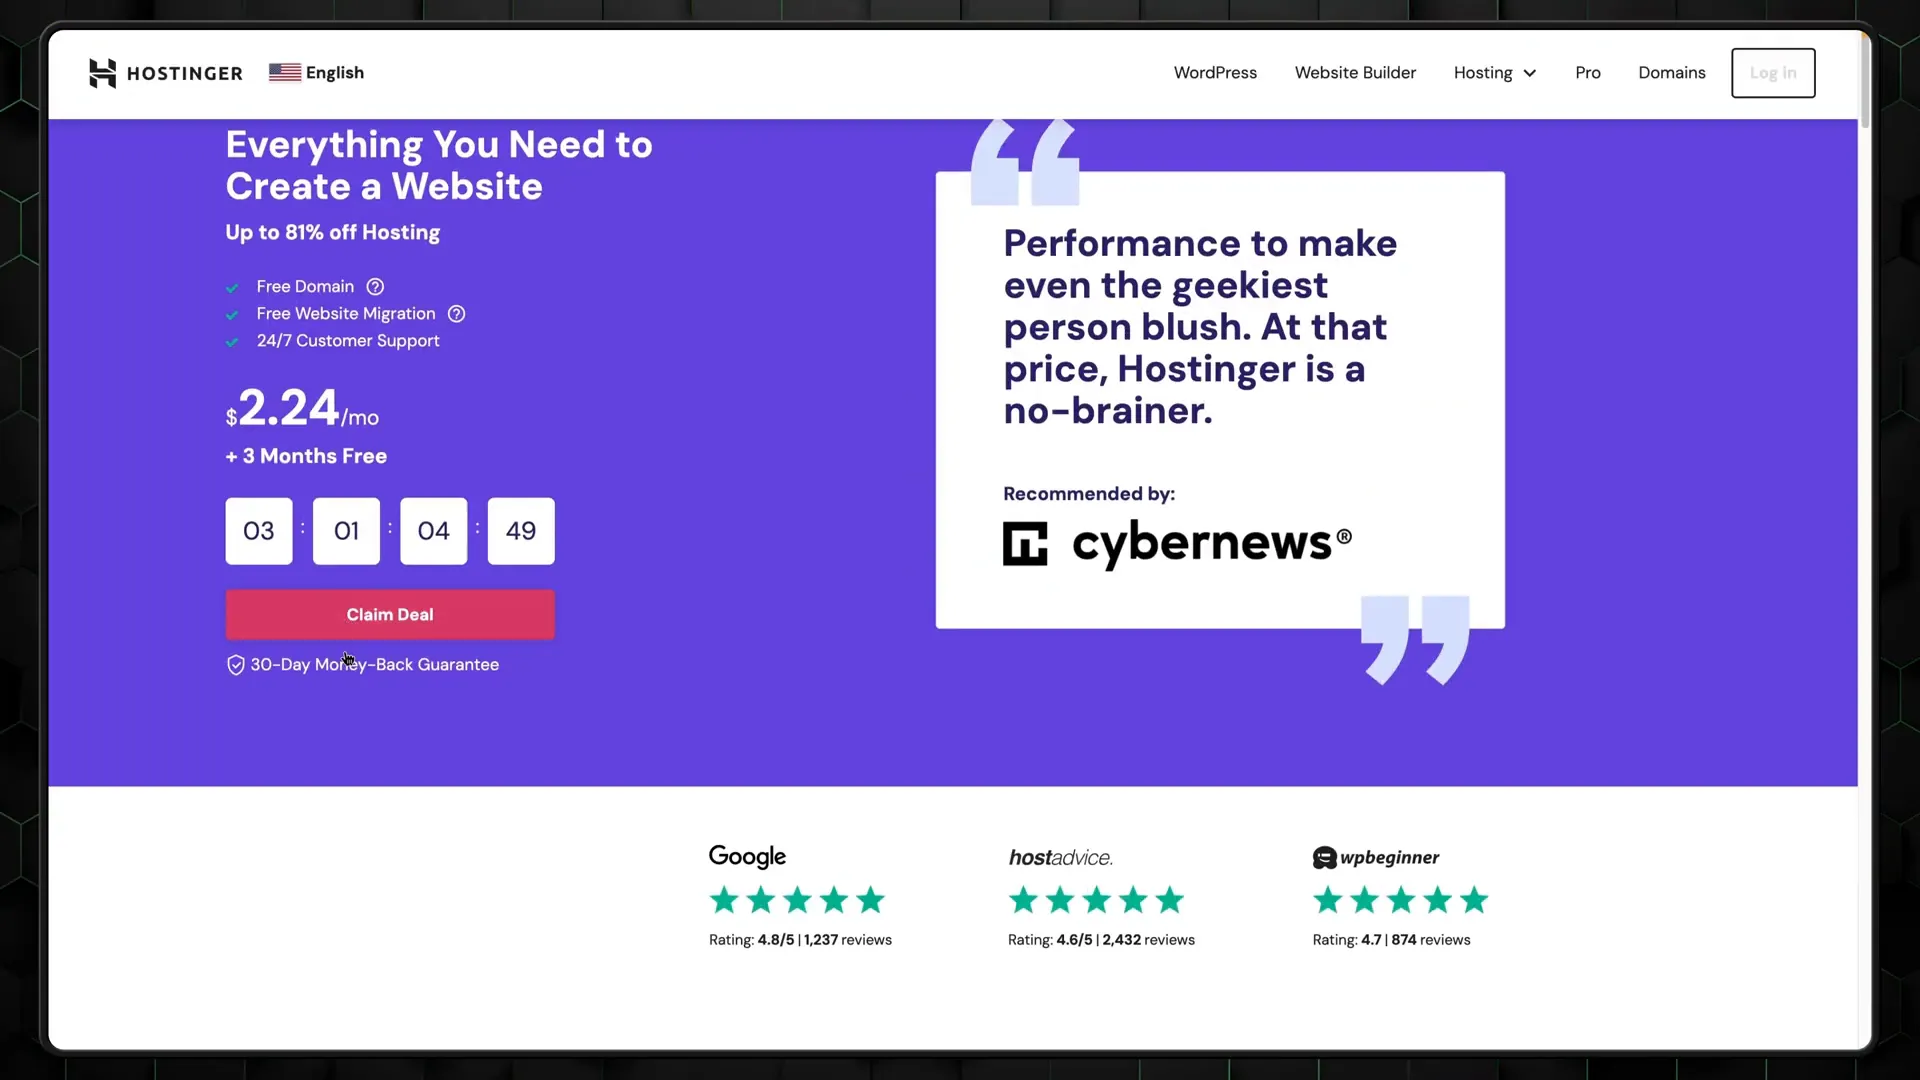
When selecting your plan, consider the following:
- Choose a longer billing period to reduce your monthly fees.
- discount code Click Here For %75 Off “1LAMINE44“.
Step 2: Hostinger Initial Setup!
Once you have selected your plan, proceed to set up your account. You will need to confirm your email address and create a password. After that, you can start the WordPress installation process.
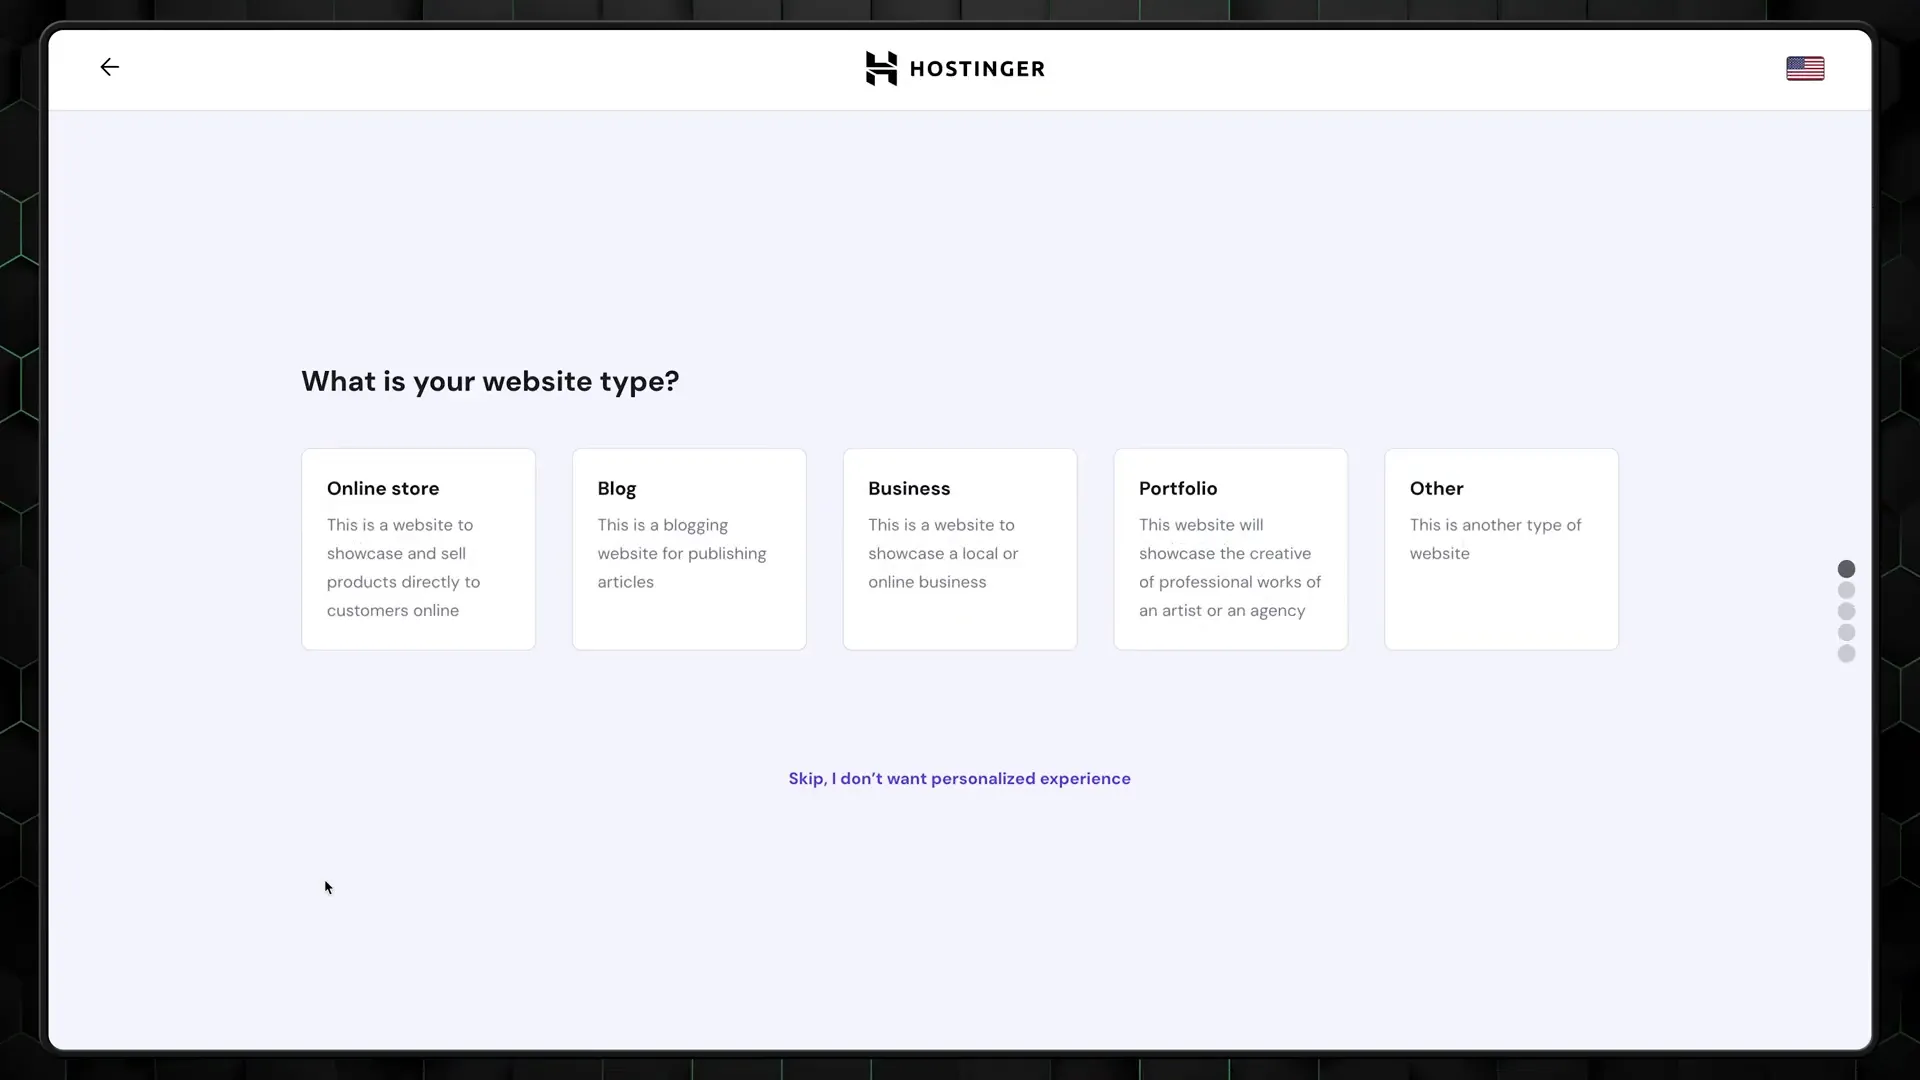
During the installation, you’ll be asked to choose the type of website you want to build. While this step is not critical, it helps tailor your experience. You can select options like “Business” or “Portfolio.” After making your selection, choose whether to create a new website or migrate an existing one.
Step 3: WordPress or Hostinger Website Builder?
For this tutorial, we will select WordPress. However, it’s worth noting that Hostinger also offers a website builder that is user-friendly and ideal for beginners. It features drag-and-drop controls and AI design tools.

After that, you will need to create an admin account by selecting a username and generating a strong password. Make sure to save this information securely.
Step 4: Hostinger Plugins and Themes!
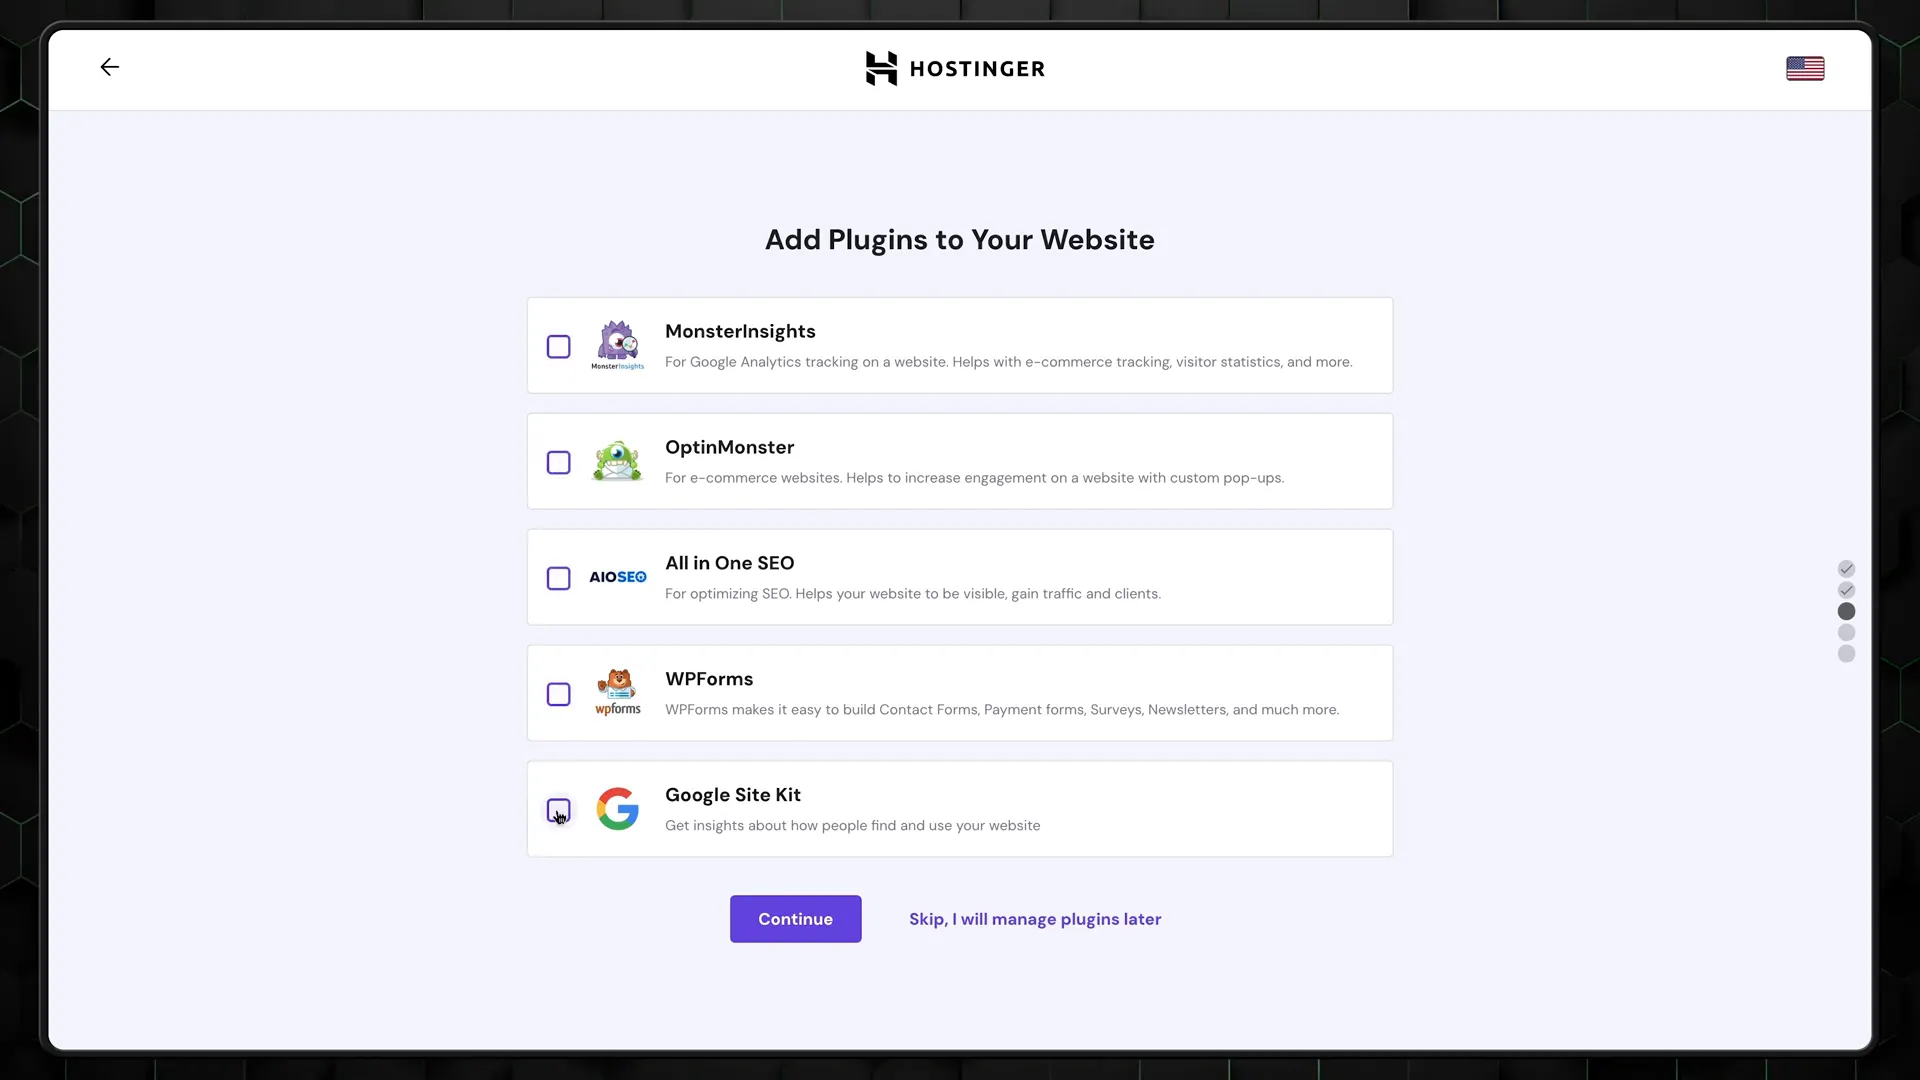
Next, you’ll be prompted to choose which plugins to install automatically. It is advisable to leave the Google Site Kit plugin checked, as it allows you to access analytics data easily. Other plugins may have limited features unless you upgrade to a paid plan.
You will also have the option to select a theme. If you don’t want a specific theme, you can opt for a default WordPress installation. However, for a more attractive design, consider using Astra, which provides a versatile and modern appearance.
Step 5: Hostinger Domain and Finishing Setup!
The next step involves selecting a domain name. If you have chosen the Premium or Business plan, you will receive a domain credit. Enter your desired domain name and check its availability.

Make sure to check the renewal price for your chosen domain to ensure it fits within your budget. If you wish to use a subdomain, you can enter it manually during this step.
Step 6: The Difference in the First Hostinger Setup!
After selecting your domain, you will need to register it by providing your personal details and choosing a server location. Hostinger has servers located across four continents to optimize loading speeds.
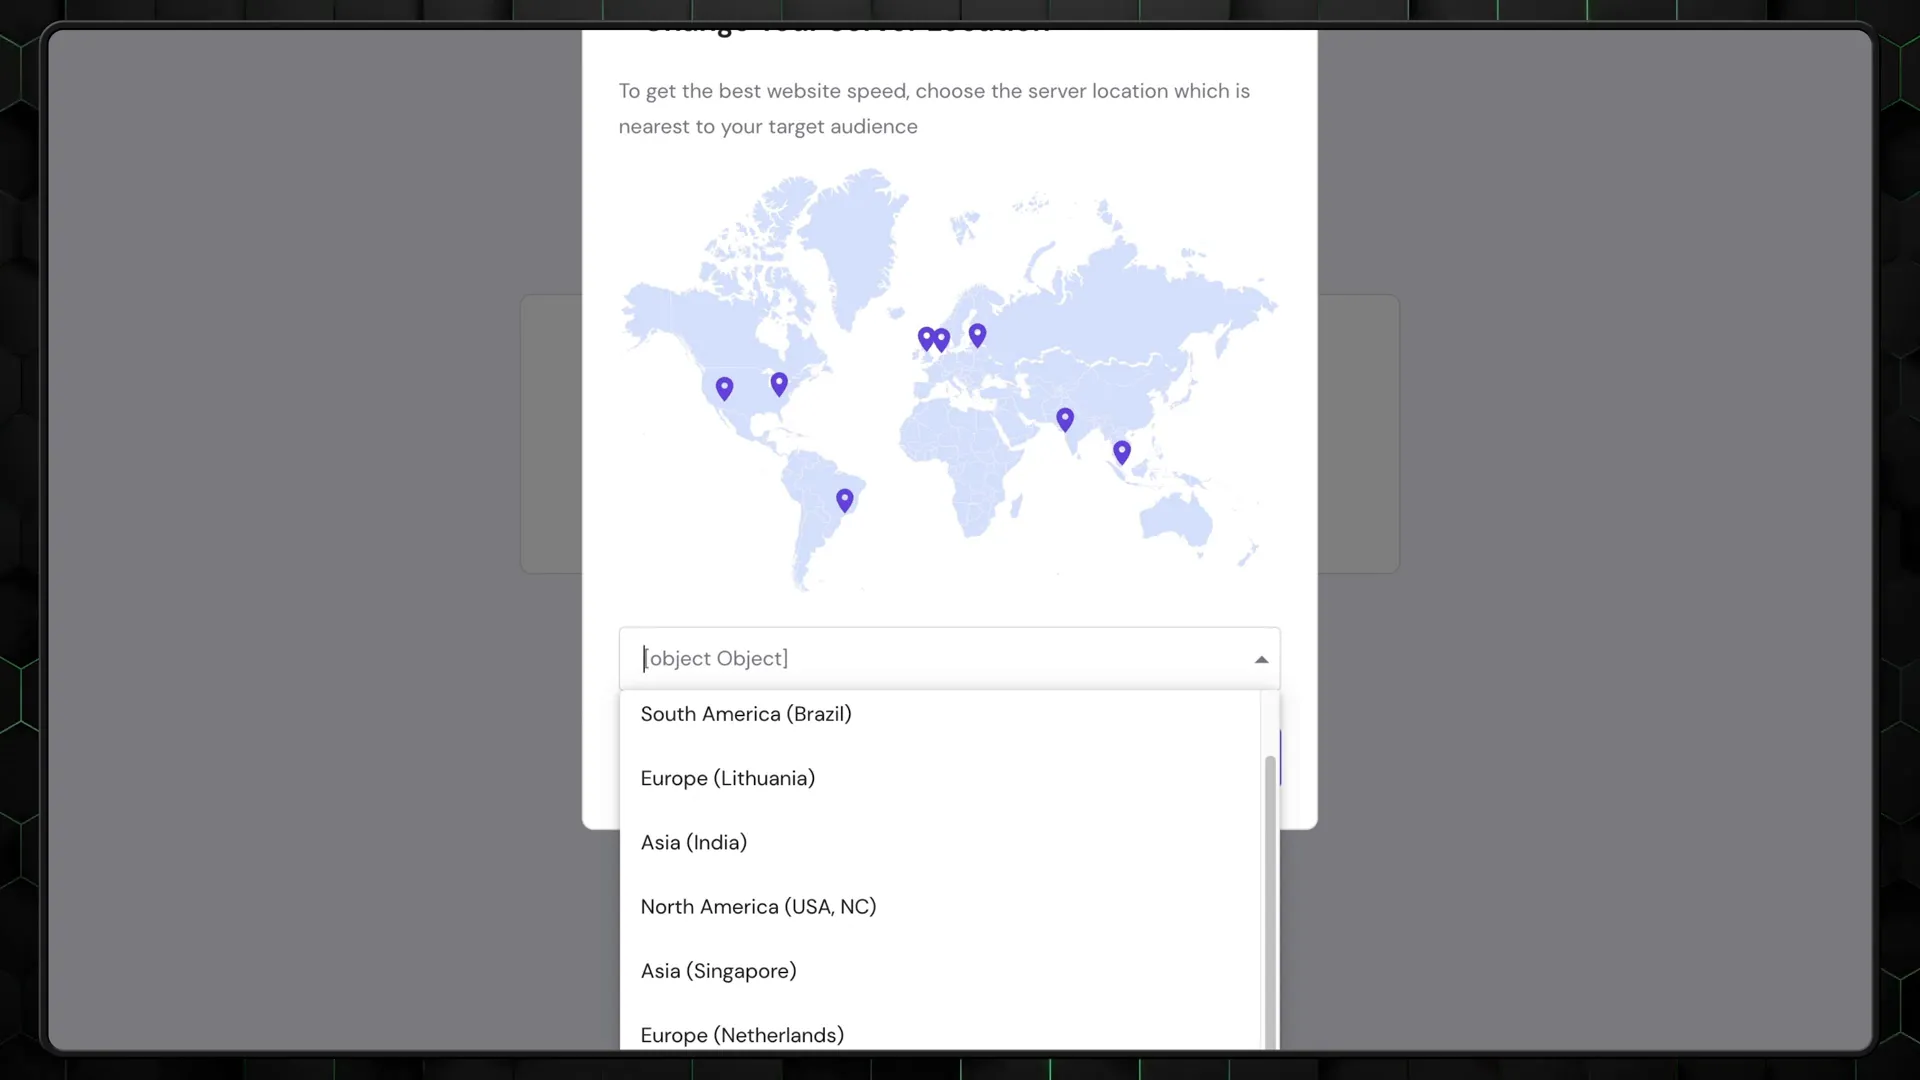
Remember, you can change your server location later if needed. Once everything is set, give it a moment for the setup to complete.
Step 7: Hostinger WordPress Plugin!
Once WordPress is installed, you will see a new dashboard that serves as a guide for managing your site. This dashboard provides basic information about uploading logos, changing site titles, and uploading images.
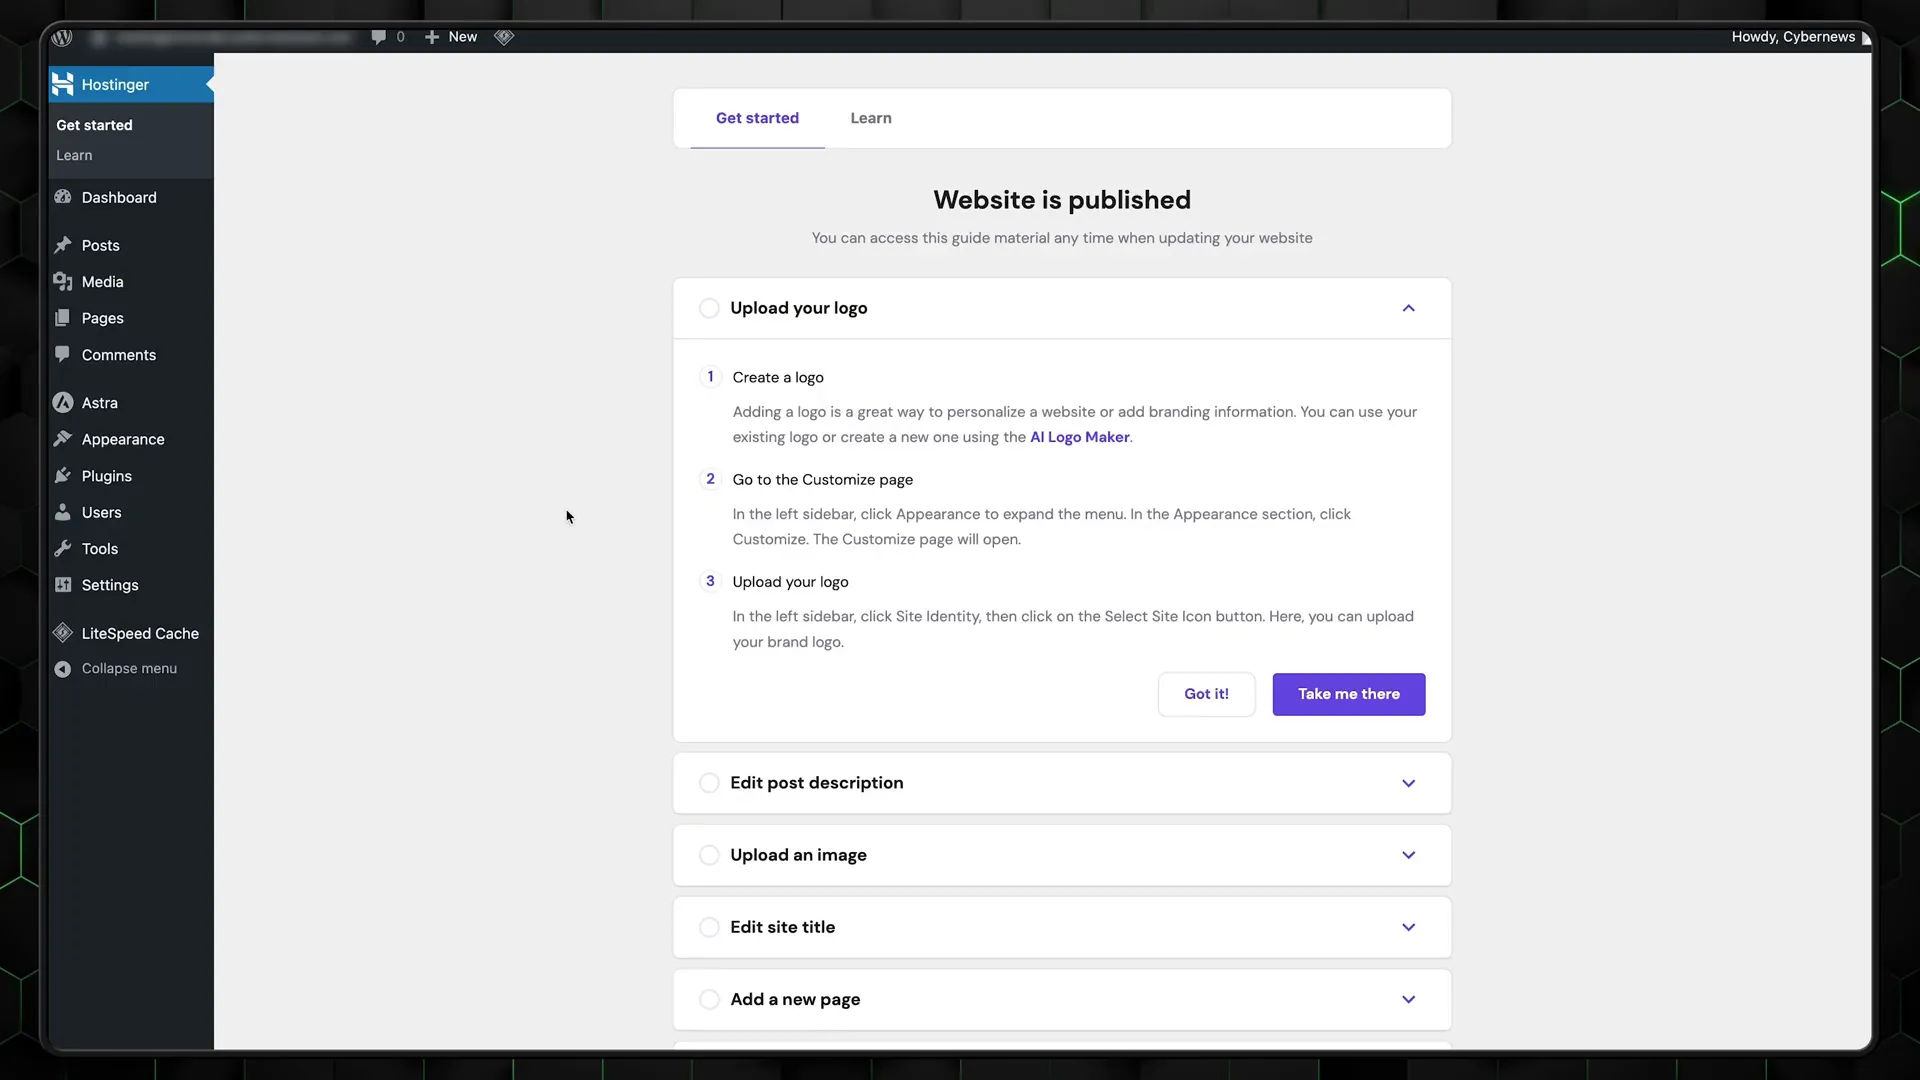
Familiarize yourself with this dashboard, as it offers a straightforward way for beginners to navigate WordPress features. If you’re using Astra, updating your title and logo is relatively simple.
Step 8: Hostinger WordPress – Information and Performance!
Next, navigate to the WordPress dashboard in hPanel. Here, you can view important information about your website, such as PHP and WordPress versions, SSL status, and database name. You also have the option to activate daily backups.

It’s crucial to enable the ‘Force HTTPS’ option to ensure SSL configuration is correctly applied. Additionally, you can activate maintenance mode to prevent visitors from seeing changes during development.
Step 9: Hostinger WordPress – Staging and Security!
Staging is a premium feature available for Business plans and above. It allows you to create a copy of your website for testing changes without affecting the live version. If you are on a lower plan, consider using the free WP Staging plugin as an alternative.

In the Security tab, you can deactivate or update plugins without logging into the WordPress admin dashboard. This feature is especially useful for beginners who may not be familiar with the technical aspects of WordPress.
Step 10: Hostinger AI Troubleshooter!
Hostinger has also introduced an AI troubleshooter, which can answer questions related to your hosting plans or WordPress setup. While it is still being developed, it can provide useful guidance for common issues.

Congratulations! You have successfully set up your WordPress site using Hostinger.


