
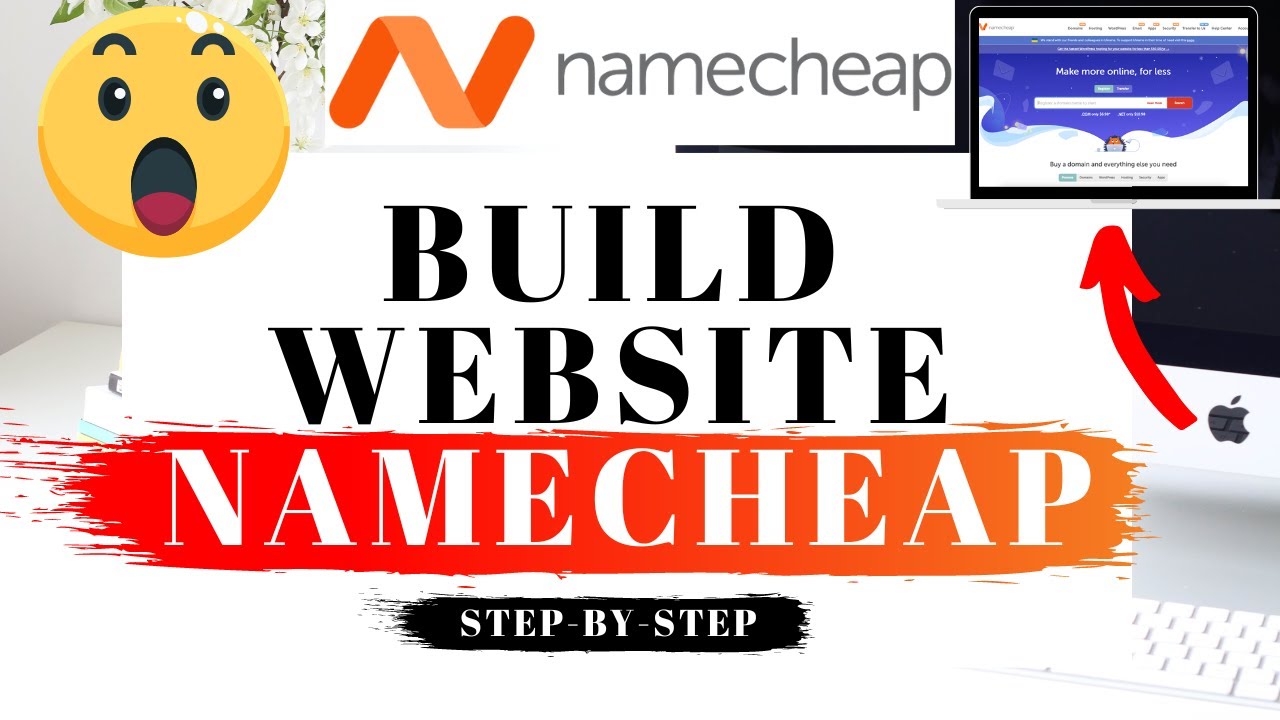
In this article, I’m going to be going over how to build a website with Namecheap step by step from start to finish. I’ll be showing you how to access professional pre-made WordPress website templates to make creating your site an easy process. I’ll also be going over how to edit your WordPress website using one of the most popular drag and drop editors Elementor page builder so you can create a professional looking website on Namecheap via drag and drop. You’ll see the discounted amount for Namecheap hosting for the 1st year or you’ll get the best discounted price with the 2 year term. Plus you’ll get a free domain name that includes free domain privacy on annual plans. I’ve provided the link to Namecheap in the description below so you can easily follow along with me in this quick and easy Namecheap tutorial. A little disclosure. The link is an affiliate link, meaning I’ll receive a commission from Namecheap at no extra cost to you. Let’s get started with the Namecheap website tutorial. If you haven’t already, feel free to click the link in the description below to be taken to Namecheap. You’ll be on the Namecheap shared hosting plans page. You’ll see three different plans you can choose from. The Stellar, Stellar Plus, and Steller Business plan. You’ll see the billing cycle is set to yearly by default. If you click this you can change the term to monthly, yearly, or every 2 years.
Table of Contents
Choosing the Right Namecheap Plan: Monthly vs. Yearly Options
The monthly plans you won’t receive a discounted price and the free domain name and domain privacy isn’t included. The yearly term you’ll get a great Namecheap discount. The 2 year term you’ll save the most money on your Namecheap hosting purchase. If you click data center location you can choose the data center you want. You can choose between US, UK, and EU. The cost of the plans will vary depending on the data center you choose. Here’s the UK pricing for the 2 year term, and EU pricing for the 2 year term. I’m going to select the US data center. Now let’s go over the Namecheap plans. The Stellar plan you’ll get a free domain name and free domain privacy if going with an annual term. It includes 3 websites, 20 GB SSD Storage, and 30 domain-based mailboxes. The Stellar Plus plan you’ll receive a free domain name and domain privacy if going with an annual term. This plan comes with unlimited websites, unmetered SSD, unlimited domain based mailboxes, and autobackup.
How to Choose and Register a Domain with Namecheap: Step-by-Step Guide
The Stellar Business plan comes with a free domain name and domain privacy if going with an annual term. This plan comes with unlimited websites, 50 GB SSD storage, unlimited domain based mailboxes, and autobackup and cloud storage. Click the get started button on the plan you want to select. I’ll choose the Stellar plan for this tutorial. You’ll now be on the domain name connection page. You can select new domain name or existing domain name if you already have one. I’m going to select new domain name. Scroll down to the find a domain name. Enter in the domain name that you’d like to have. Once you type it in it’ll begin checking to see if that domain is available. If it’s available you’ll see the green check mark and your domain showing green. You can scroll through the domain extensions if you’d like. You’ll notice it’ll give you lots of domain extensions for free. You won’t receive top level domain extensions like .com, .net, . org and more for free. You’ll see on my .com domain the cost for the year. I’ve included a domain promo code you can enter at checkout with the link in the description to save you more money than the price you see here. We’ll be entering that promo code in the next section. Go ahead and click connect to hosting to proceed. You’ll see the new domain name and the price. You’ll see the total amount for your Namecheap purchase. Click the add to cart button. You’ll see the promo code section over to the right. Enter the promo code I’ve included in the description with the link. Click apply. You’ll see a notification show up here at the top. You’ll just need to create a free Namecheap account to use the promo code. I’m going to click create a free account. Input the information you’d like. Click create account and continue. Paste the promo code. Click apply. You’ll now see the discounted amount showing. Click confirm order to proceed.
Customizing Your Namecheap Domain and Hosting: Features and Extras
Next, you can change the term for your domain name if you’d like. If you click 1 year you can select how many years you want to purchase your domain name for. Next to it, you can toggle on auto-renew if you’d like so that the domain auto-renews at the end of the term. You’ll see domain privacy being enabled. I recommend keeping this enabled as it keeps your personal information private and secure so that spammers and telemarketers don’t get a hold of your personal information and start calling you and emailing you about offers of their services. This comes free. You can toggle auto-renew to on if you’d like. Next, you’ll see Premium DNS. You can choose to enable this or not. This is an extra cost. Premium DNS delivers 100% DNS uptime and DDoS protection with ultra-fast DNS responses worldwide. Next, if you click 1 year you can change the term for your Namecheap hosting. You can toggle auto-renew on or off. If you scroll down to improve your site you’ll see some Namecheap extras. All of these are completely optional and up to you whether you want any of them. Let’s start with the first one the SSL.
Finalizing Your Namecheap Purchase: SSL, VPN, and Additional Features Explained
Namecheap does come with a free let’s encrypt SSL Certificate for your site so this add-on is if you want to purchase an SSL Certificate from them. You’ll get the SEO boost with the free let’s encrypt SSL Certificate. Next, is VPN. VPN will protect your privacy and you can browse the web fast and secure. You can unblock websites that might be blocked in your country and gain internet freedom. The WordPress hosting is if you want to use Namecheap’s WordPress hosting for your site. It costs more than the Namecheap shared hosting price. You can launch and host your WordPress site in less than 30 seconds with it instead of installing it with the one-click WordPress install. Business Email is email ending in your domain name. You’ll get free email accounts with the Stellar plan and unlimited with the Stellar Plus and Stellar Business. This isn’t necessary unless you need more than the 30 that the Stellar plan comes with. The website builder is included free so this is automatically added. Premium DNS will give you 100% uptime guarantee, faster DNS speeds for website speed and it secures your domain and closes any security gaps. You won’t have to worry about data leaks and lost connections of your site with this add-on. Lastly, Social Media Manager. This will allow you to post, reply, or share on social media platforms in seconds in one place. Click the confirm order button when you are ready to proceed. You’ll now want to login if you already have a Namecheap account or create an account over to the right. Click the create account and continue button to proceed. Next, you want to enter your payment information in. You can pay via card by entering your card information in. You can select Paypal or account funds. You can make a payment via Bitcoin with account funds. if you click account funds. This notice that shows up you can click add funds. You just want to be logged in with the login details you used for creating your Namecheap account. You can then add funds via card, PayPal, or Bitcoin. Scroll down and it’ll list out the receipt details. You can select the dropdown if you need to change this. Scroll down and you’ll see the renewal settings for your purchase. You can select or un-select how you want too. When you are done click the continue button. You’ll now be on the order review page. Scroll down to the bottom and accept the terms and conditions.
Completing Your Namecheap Purchase and Getting Started with WordPress Installation
Click the pay now button to complete your Namecheap purchase. The Namecheap order will now begin processing. When it’s done you’ll be on the thank you for your purchase page. Namecheap will now email you your receipt. Scroll up to the top under the username you created. From the dropdown click dashboard. You’ll now be in the Namecheap dashboard. Now let’s install and setup WordPress so you can start creating and building your WordPress site with Namecheap. You’ll see in the left side menu hosting list. Click this. Next, click the go to cPanel button. You’ll now be redirected to cPanel. Scroll down to the Softaculous Apps Installer section. You’ll see WordPress. Click WordPress. You’ll now be on the WordPress install page.
Setting Up WordPress on Namecheap: Installation and Initial Configuration
Click the install now button. You’ll now be on the WordPress setup page. Where you see the choose a Protocol you want to change this to https. Next, choose a domain that you want to have for the WordPress installation. You’ll see the version of WordPress you want to install. I’m going to keep it on the current version. Next, put in the site name, site description. You’ll see you can select enable multisite WPMU and disable WordPress CRON. I’m going to keep these unselected. Over to the right put in the admin username which will be the username for logging in to WordPress. Put in a password and put in an email address. Scroll down and you can change the language for WordPress if you’d like. If you want anything over on the right you can select or unselect anything if you want it removed. Next, if you click advanced options there are selections you can select if you’d like. I’m going to keep these as they are. Next, scroll down to select a theme. You can choose a WordPress theme for your site here. There are thousands of themes to choose from in the WordPress dashboard. I’m going to be showing you pre-made professional WordPress themes you can use and create your site via drag and drop. If you happen to see one here you like feel free to select it but you can do this in WordPress. Click the install button. WordPress is now being installed. It’ll just take a few minutes. Once it is done installing you will see congratulations the software was installed successfully. Click the administrative URL to go to the WordPress dashboard. This is the WordPress dashboard. Something to note. I would bookmark the administrative URL as this is the easiest way to log in to WordPress to begin in creating your site. To log in to WordPress just enter your domain name with a /wp-admin just like you see here. This will take you to the WordPress login page for your site. Once logged in you’ll be in the WordPress dashboard. Now we want to pick out a theme to begin creating a site. To pick out a theme for your site. On the far left, you will see tabs.
Selecting and Activating a WordPress Theme: Using Astra and Elementor for Easy Customization
Find the Appearance tab and hover over it. Click themes as this is where you can pick out a theme for your site. Next, Click add new theme. You’ll now see WordPress themes you can choose from. There’s thousands of free themes to choose from. Now I want to show you how to access free professionally designed WordPress themes and how to edit them easily with a drag and drop editor. Type in Astra in the search field. Click the install button. Once it is done installing click the activate button. Once it is done activating the theme you want to find the plugins tab in the side menu. Click add new. In the search field type in starter templates. You want to click install on it. Then click activate. Hover over the appearance tab in the side menu. Click on starter templates. You now want to click the build your website button. Choose Elementor for the page builder. It’ll now showcase a bunch of WordPress themes you can create your site with using drag and drop. You can type in the type of website you want to create to pull up templates based on that. You’ll see a bunch of categories you can hover over and select to build your site.
Choosing and Customizing Your WordPress Theme with Elementor: A Comprehensive Guide
If you click a theme it’ll show you what it will look like so you can preview it. Click the x button to go back to the themes page. Now let me walk you through the steps on how to choose your theme and build your site with the drag and drop editor Elementor page builder. Select a theme you want. I’ll choose this one. You can upload a logo if you’d like. You can do this at a later time so if you don’t have one now no worries. Click the skip and continue button. You now want to choose the colors and font for your site. You can update these at a later time or change them whenever you’d like. Click the continue button. You’ll now be on the tell us a little about yourself. You don’t have to fill this out if you don’t want too. Just make sure under advanced options you have each one selected. Click the submit and build my website button. It’ll begin building your website. Once it is done you’ll be on the congratulations page. Click the view your website button. It’ll now take you to your website and what it looks like. Now let’s go over how to make edits to the WordPress theme and how to use the drag and drop editor to create your site. To make edits to your site click the edit with elementor tab on the top of the page. It’ll now bring you to the drag and drop editor where you can create your site quick and easy. To make edits to a part of the page just click where you want to make edits and start making edits. I can change Create Your Website to My Demo Website. If you want to make edits to the background image right click on the section. Click edit selection. Click style. Hover over the image and click the trash can icon if you want to remove the image. Click over the image and you can upload a photo to place here or click media library to upload images already uploaded in WordPress. I’ll click the x button. I’ll click the 9 dots at the top to get back to where you can drag stuff in to the page. I’ll scroll down a bit on the page. You can select what you want over on the left and drag it in wherever you’d like it. If you right click on an area you can delete it if you don’t want it. By right clicking you can duplicate something if you need to duplicate it. You can drag something over to somewhere else on the page by selecting it and dragging it over to where you want it. Over on the left you’ll see where you can link out the text to a page. Change the sizing of the text. Change the alignment of the text. If you click style you can change the color of the text. If you click typography you can change the font of the text under Family. If you scroll down to the drag widget here section.
Designing Your Site with Elementor: Using Pre-Made Blocks and Customizing Forms
Click the plus icon. You can select the structure of the section of the page you want. I’ll select this one. You can then drag in whatever you’d like in the sections. If you click the folder icon. Then click blocks in the menu. You can scroll through lots of pre-made blocks that you can add to a page of your site and then start replacing with your content. This makes designing your site quick and easy because you can find almost any kind of design you want for a part of the page and start building it easily.
I’ll click this one. Click the insert button to insert it to the page. When you click the insert button on the block you like at first you’ll need to create a free Elementor account. Once it is created you’ll be able to add the blocks in quick and easy. I’ll click the insert button. What I selected is now inserted on the page where I can begin editing. I’ll scroll back down to the drag widget here section. If you click the Starter templates icon. You can click blocks in the menu and then it’ll give you lots more page design ideas you can choose from. For these, you can just click one you like. I’ll click this one and then I’ll click the import button to import it to the page to then start adding your own content and editing it how you want it. Now I want to cover the contact us form to show you how this works. I’m just going to drag over the WP Forms. You can select a form. If you want to make edits to the form click edit the selected form. You can click the create a new form if you want to create a new form. I’m going to click edit the selected form. It’s now going to bring up the builder for the contact us form. You can hover over an area to delete it or duplicate it. You can click an area and drag it to wherever you’d like it. If you want to add something you can drag it over from the side. If you click Field Options you can click on a part of the form and then make changes from the side. You can select to make this part of the form a required or not required part to fill out. If you click advanced you can click the part of the form you want to change and you can select between the size of the form field for that area and then change if you want anything to show in the form field where they input their information. You can click preview to preview the form.
Click save to save changes. When you are done click the x button and you’ll be taken back to the editor for the page. Let’s get to know the drag and drop editor Elementor better. At the bottom left of the page you’ll see the update button. Click this when you want to update the changes you’ve made. If you click the arrow you can save it as a draft or save this page as a template to then use for another template of another page you create. To view changes you’ve made to your site click the preview changes button and it’ll showcase your site. If you click responsive mode you can view what your site looks like on desktop, tablet, or mobile devices. If you click the menu icon in the top left and click site settings you can change the colors of your site, fonts, and more. I’ll click the x button. Click the menu icon. If you choose view page it’ll show you the view of the page and this is the easiest way to get back to the WordPress dashboard. If you want to make edits to a certain page on your site you can click it in the menu and then click edit with elementor. To go to the WordPress dashboard hover over your site title name and click dashboard. If you hover over the pages tab click add new to add a new page to your site. If you click all pages it’ll showcase all the pages on your site. If you hover over the media tab and click on library it’ll show you all the images you have uploaded in WordPress. If you click add new at the top you can then upload or drag in an image into WordPress. If you hover over posts and click add new you can create a new blog post for your site. If you click all posts, it’ll pull up all the posts you have on your site. If you click the comments tab you will see all the comments you have on your blog posts. You can easily reply, mark it as spam, or trash the comment. If you hover over the plugins tab and click add new you can then search for or browse plugins to add to your site. Any feature or customization you might want on your site, more than likely there is a plugin for that. If you hover over the appearance tab in the left side menu click on menus.
Customizing Your WordPress Site: Editing Menus, Footers, and Adding Branding Elements
This is where you can edit the menu on your site. You can add new pages to the menu or drag a page to a different order. If you click the tiny arrow you can change the name of it or completely delete it from the menu. If you want to create a completely new menu you can click create a new menu. Now let me show you how to make edits to the footer area of your site along with uploading a logo, favicon, and other customizations. If you hover over the Appearance tab in the side menu and click Customize you’ll be on the customize page. Click the footer builder. You can then click an area in the footer area where you see the pencil icon to start making edits to that section over on the left side. You can also click what you’d like to edit in the left-side area. Both will take you to the same place to make edits like seen here. If you click the plus icon you can then add whatever you’d like to the footer area in that section. If you hover over an area of the footer and click the design button you can then design things like link colors, font colors, fonts, and more. You can click the x button to remove that area from the footer. If you click the pencil icon here on the left-hand side you can then choose how many columns you want your footer to be. You can then click the plus icon to add sections to that part of the footer. I’m going to click the back arrow twice. If you click Site Identity you can then upload a logo and a favicon which is the site icon for your site. Click select site icon to then upload your site icon also known as the favicon for your site.
If you click site title and logo settings you can then change the logo to your own and make other customizations to the logo area for your site. I’m going to click the back button twice. You’ll now see a bunch of different options you can select from for different parts of the site such as header builder, blog, pages, sidebar, performance to help speed up your site, and more. You now know how to access pre-made professional templates, how to build a website with Namecheap and making edits to it using the drag and drop editor Elementor page builder. That is my Namecheap tutorial going over how to build a website with Namecheap step by step. If you have any questions, get in touch in the comments as I’m here to help you with anything you need.