Creating a professional website has never been easier, thanks to platforms like Hostinger. In this step-by-step tutorial, we will guide you through the entire process of building your website, from signing up for Hostinger to launching your site. Whether you’re looking to create a business website, a personal portfolio, a blog, or an e-commerce site, this guide will cover everything you need to know.
Table of Contents
Step 1: Hostinger Setup (+Exclusive Discount)
To get started, you first need to sign up for Hostinger. It’s crucial to use the special link provided to ensure you receive the best deal available. This link will direct you to a page that offers an additional discount, making it the most competitive price you’ll find for Hostinger‘s services.
Once on the Hostinger page, navigate to the hosting section and select the website builder option. You will need to add the website builder to your cart and choose a billing cycle. Hostinger offers several options, including a 48-month plan that provides the most savings over time. If you’re unsure about a long-term commitment, the 12-month option is a good alternative.
Step 2: Getting Your Domain
Your domain name is vital as it represents your website. During the signup process, you will have the opportunity to select a domain name. It’s recommended to choose a .com domain if available, as it is universally recognized and trusted.

After selecting your domain name, fill out the necessary information to complete the registration process. Keep an eye on your email inbox for a verification email from Hostinger to confirm your domain registration.
Step 3: Website Setup
After confirming your email address, it’s time to set up your website. Go to the Hostinger dashboard and click on ‘Setup’ under the premium web hosting section. You will be prompted to create a new website.

You can choose to build your website using the Hostinger website builder or WordPress. For this tutorial, we will focus on the Hostinger website builder, which is user-friendly and designed for quick setup.
Step 4: AI Website Builder (Demo)
Hostinger also offers an AI website builder that can help you create a website based on your preferences. You will need to provide some basic information, such as your business type and a short description.

The AI tool will generate a website layout tailored to your input. You can view different templates created by the AI and choose the one that best fits your vision.
Step 5: Choosing a Template
If you decide to start with a template, Hostinger provides various categories to help you find the right design for your site. Browse through the templates and select one that resonates with your brand.
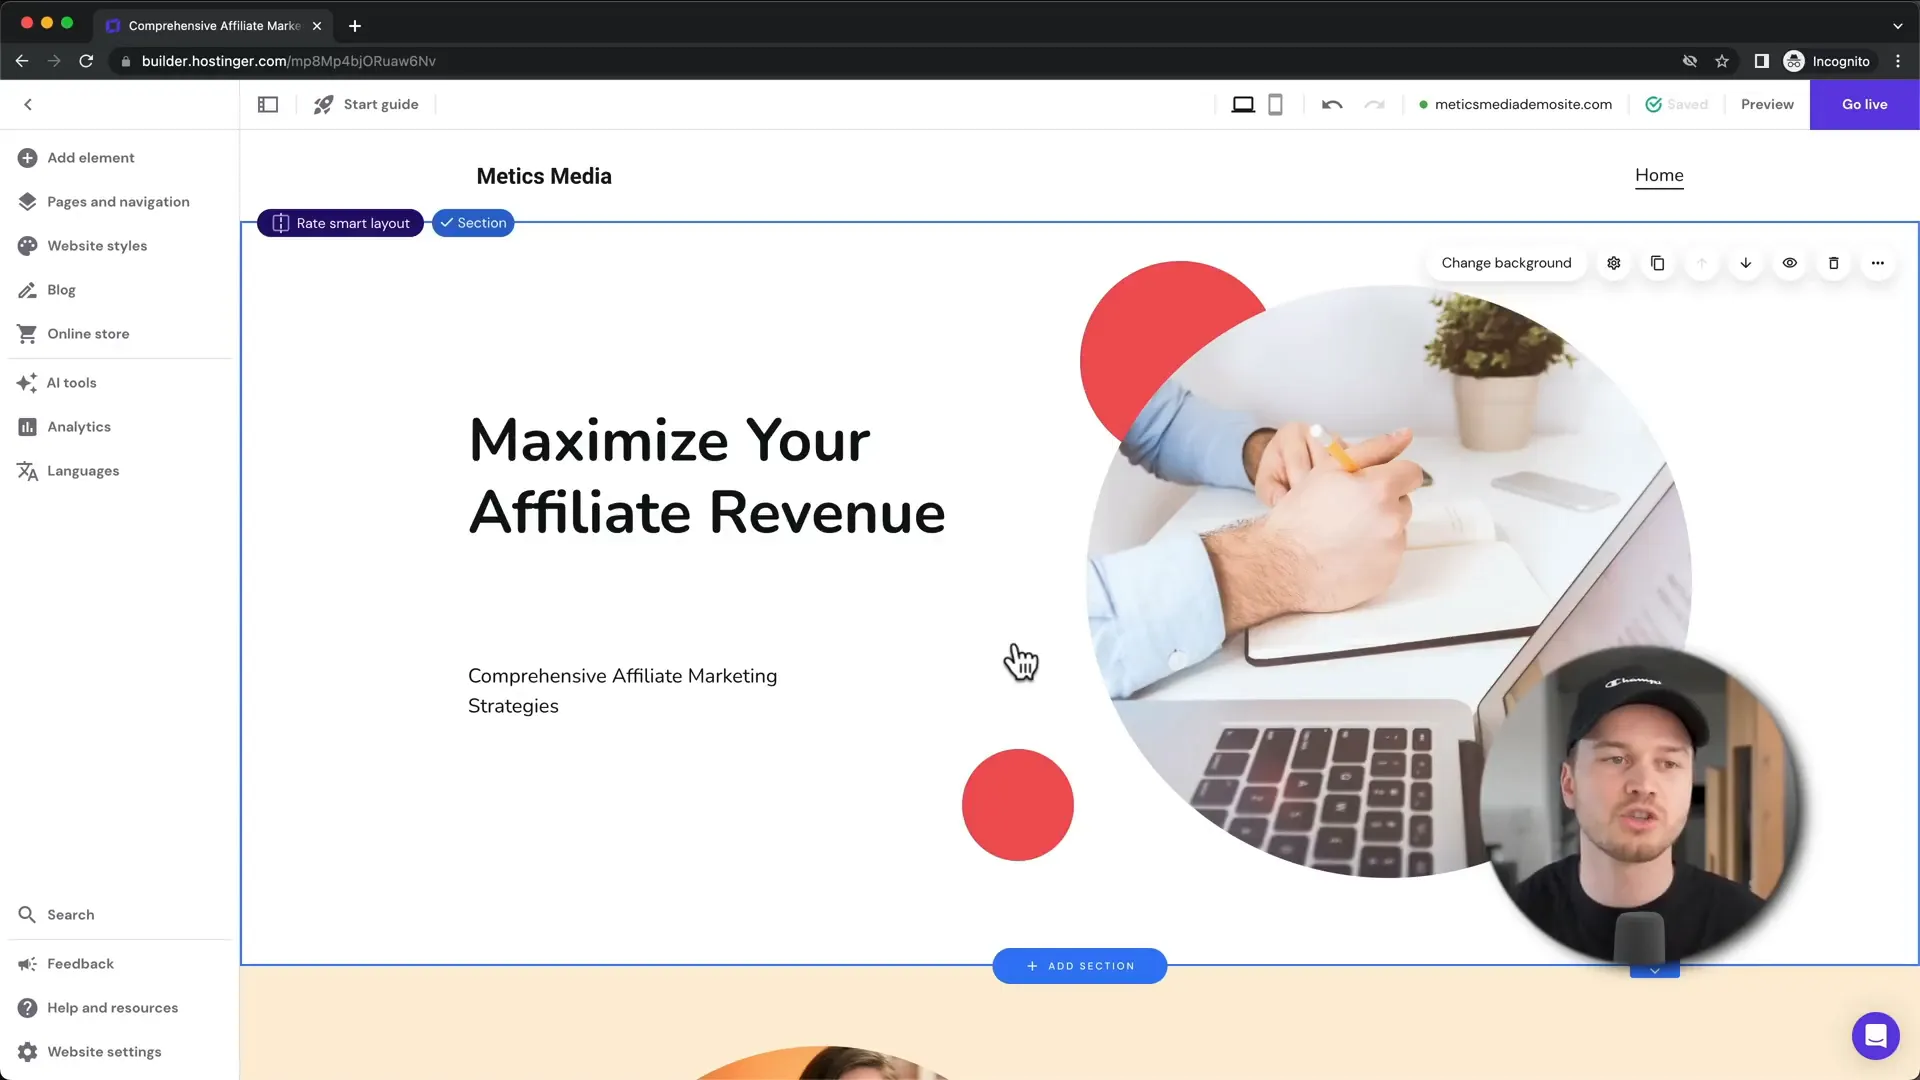
Remember, selecting a template doesn’t limit your design options; you can customize it extensively in the editor.
Step 6: Editor Overview
Once you’ve selected a template, you’ll enter the Hostinger website editor. This intuitive tool allows you to customize different elements of your website easily. On the left side, you will find a menu for various customization options.
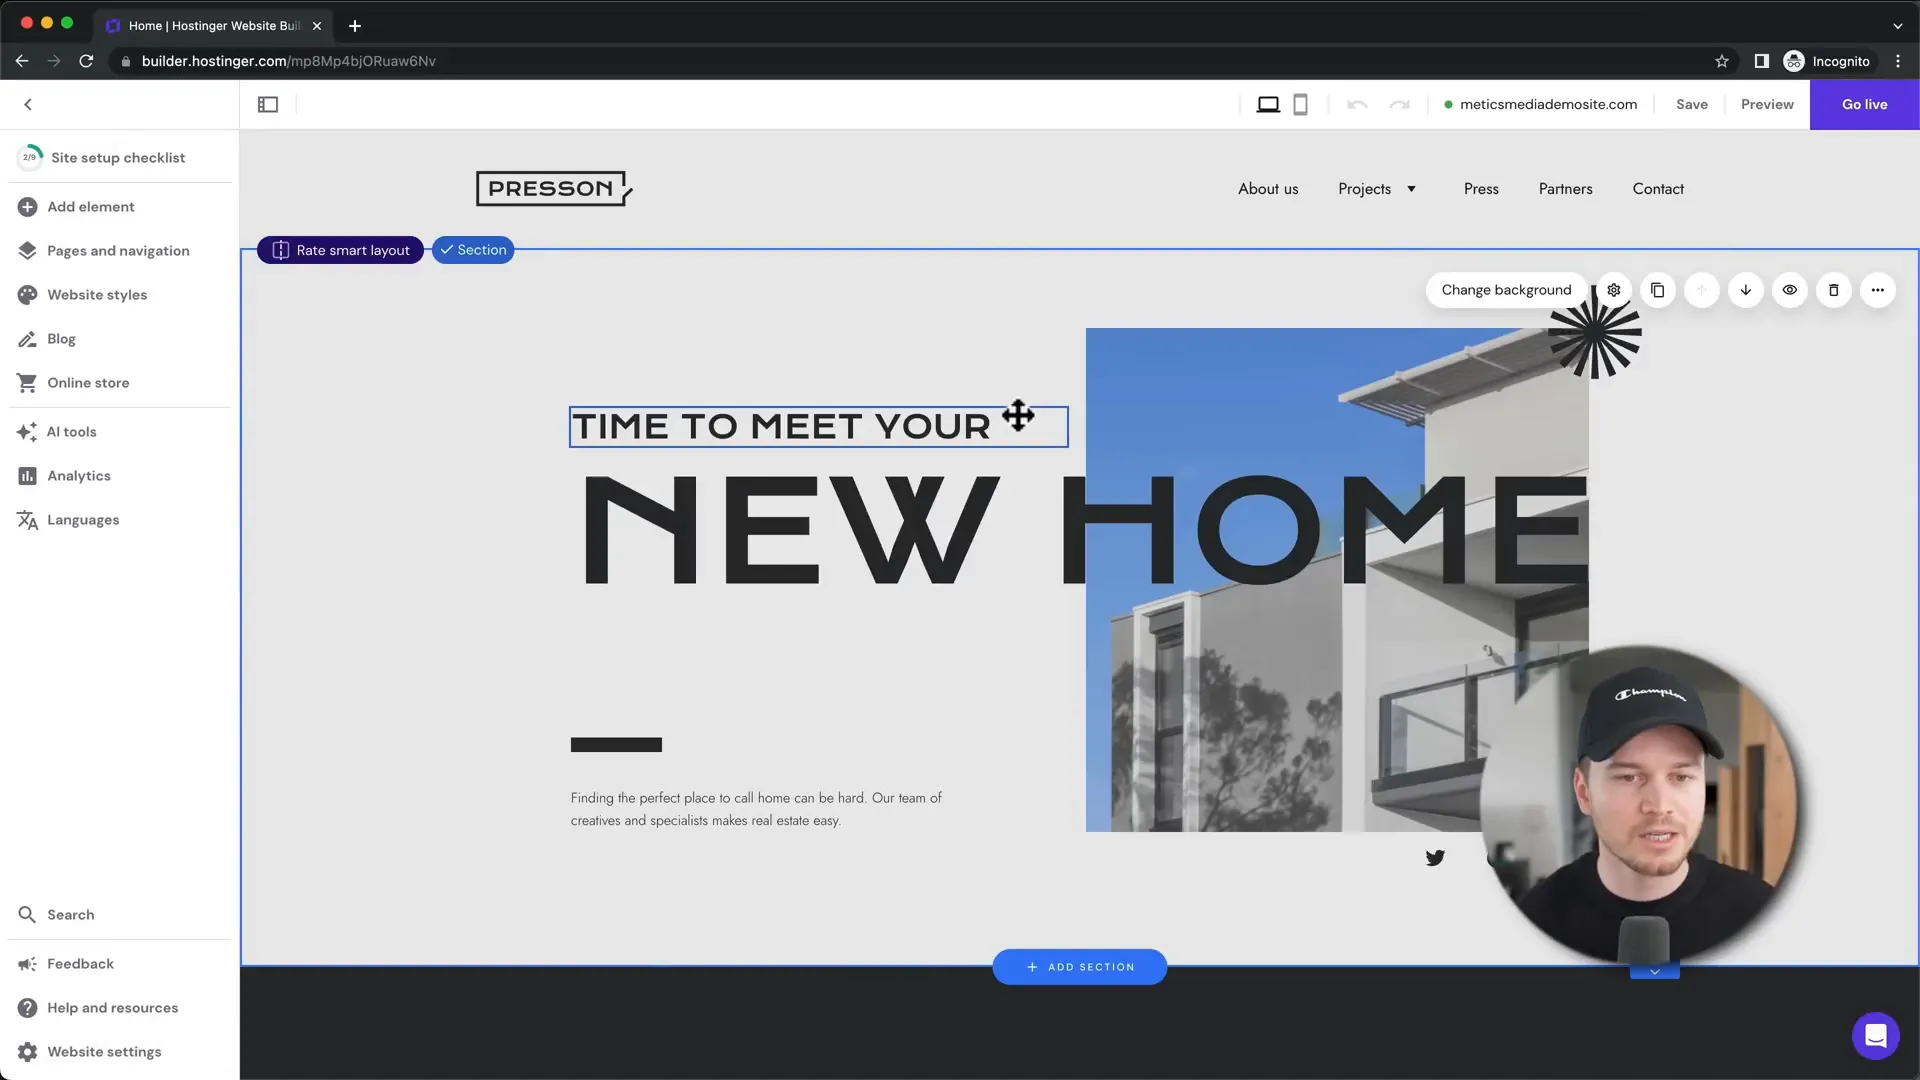
At the top of the editor, you can switch between desktop and mobile views to ensure your website looks great on all devices.
Step 7: Customizing Website
To customize your site, simply click on the elements you wish to change. You can edit text, replace images, and rearrange sections with a simple drag-and-drop interface.
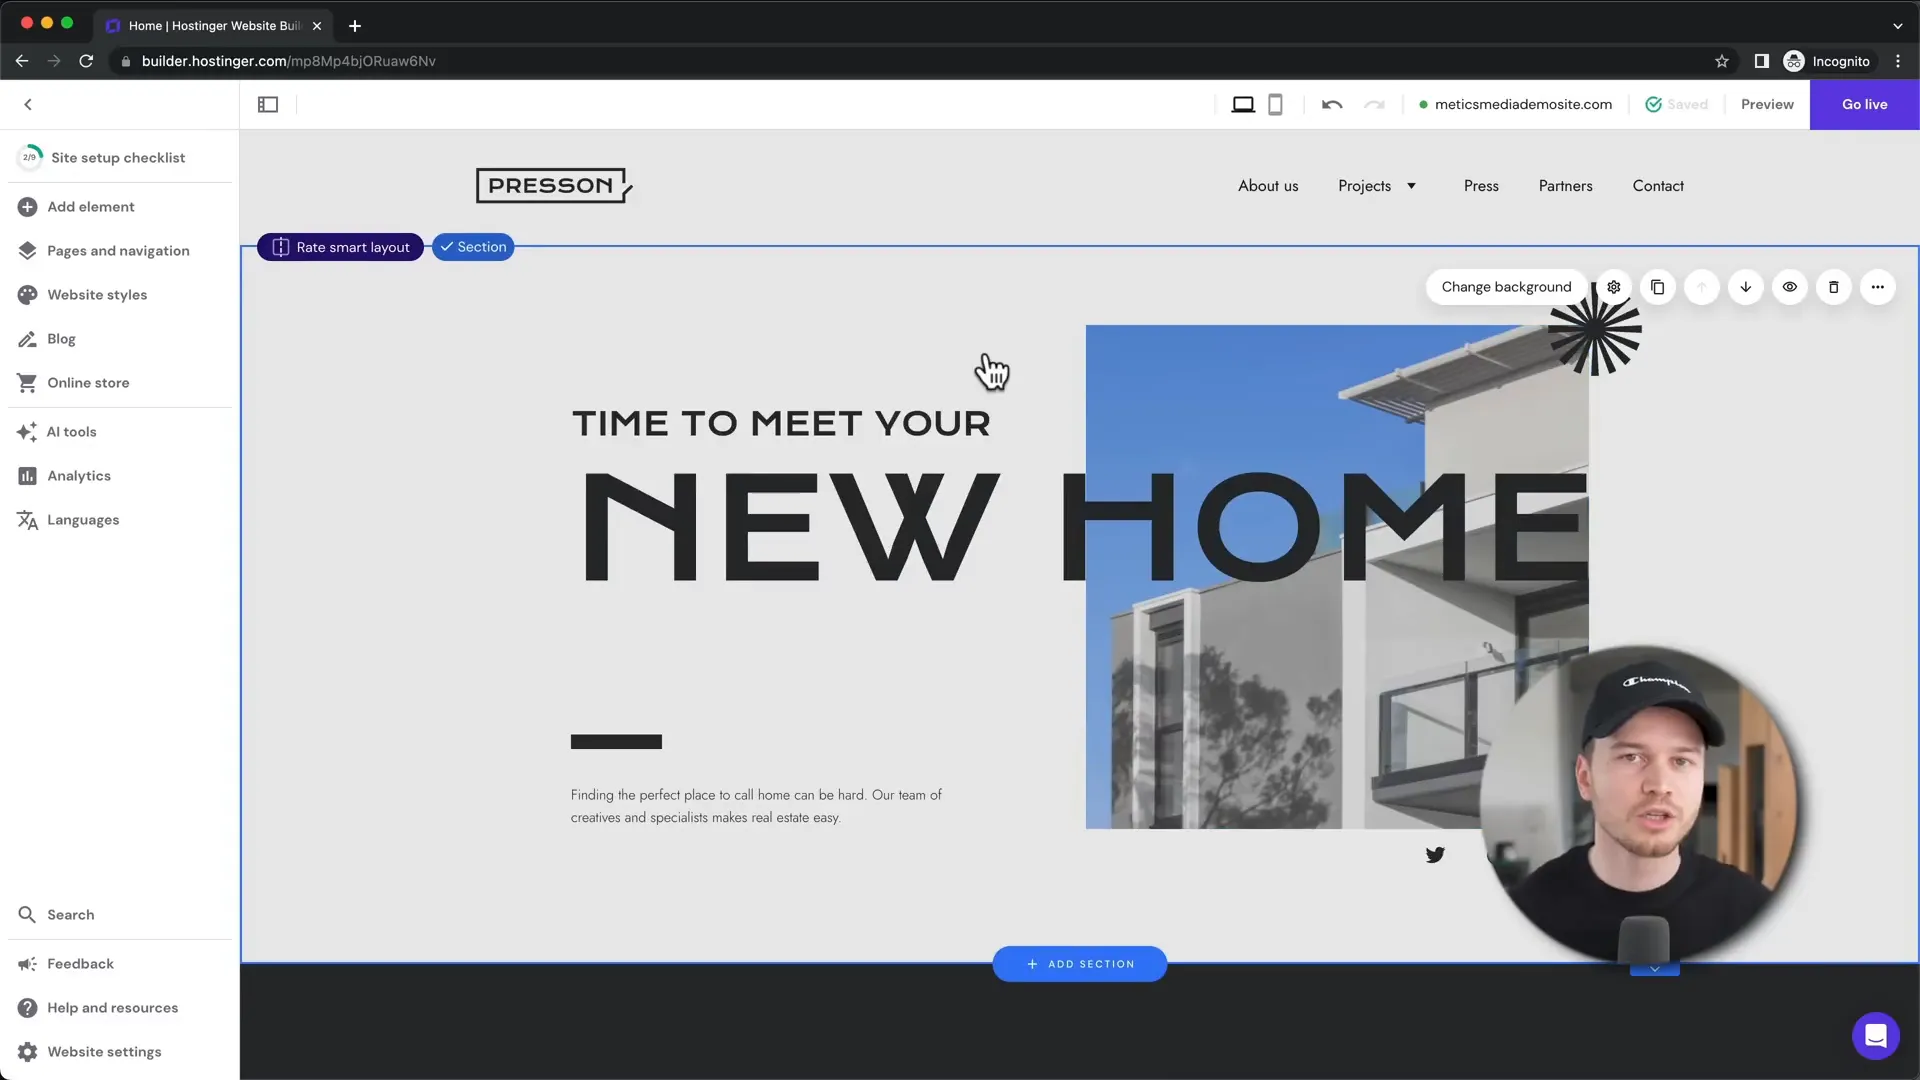
Hover over elements to see a blue outline indicating they are editable. You can adjust text sizes, colors, and even add new elements such as buttons or images.
Step 8: Website Styles
Before diving deeper into customization, it’s advisable to set your website’s overall styles, including fonts and colors. This will ensure consistency throughout your site.
Choosing your site’s style early on will save you time and prevent formatting issues later on.
Step 9: Managing Pages
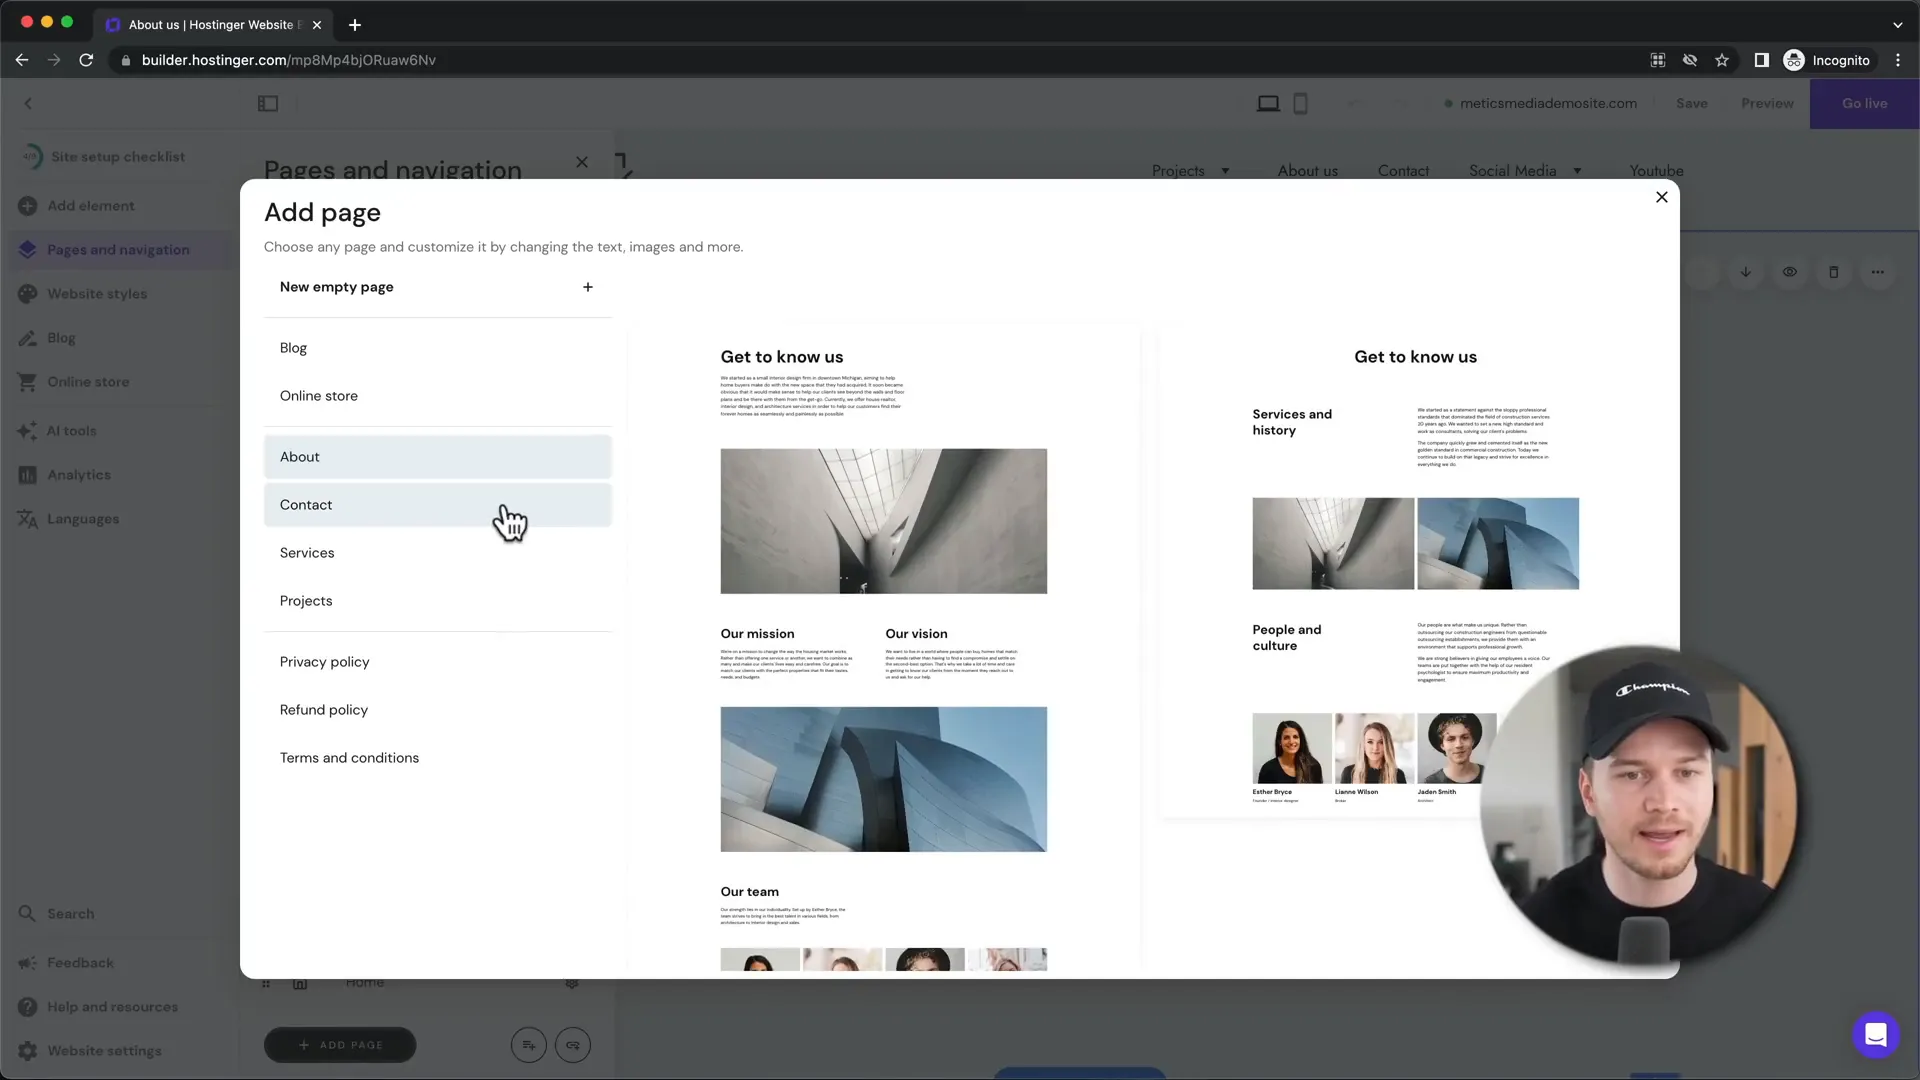
In the left menu, you can manage your website’s pages. This includes editing existing pages, rearranging them, or adding new ones. You can create dropdown menus to organize your navigation effectively.
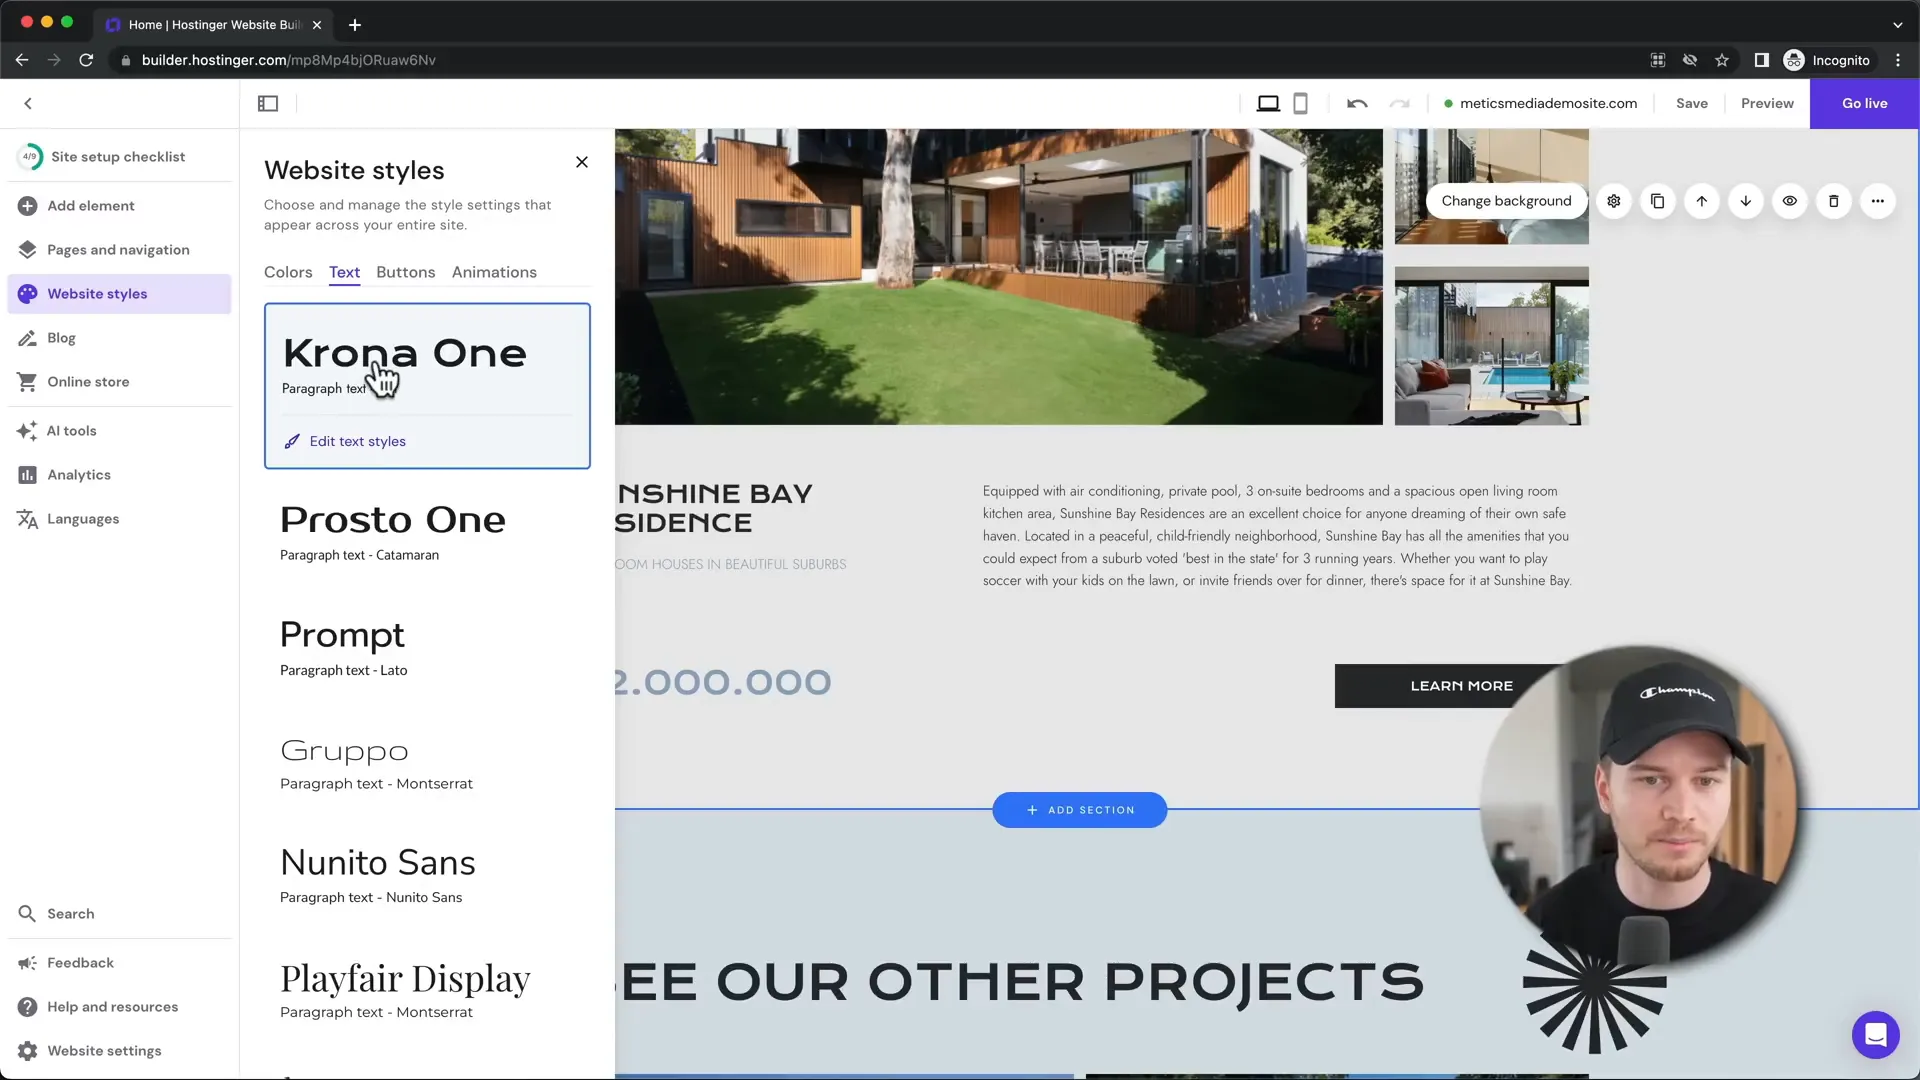
Adding new pages is straightforward, with options for pre-made layouts or creating a blank page from scratch.
Step 10: Creating a New Page
To create a new page, simply click on ‘Add Page’ and select your desired layout. Name your page and start adding content to it as you did with the main site.
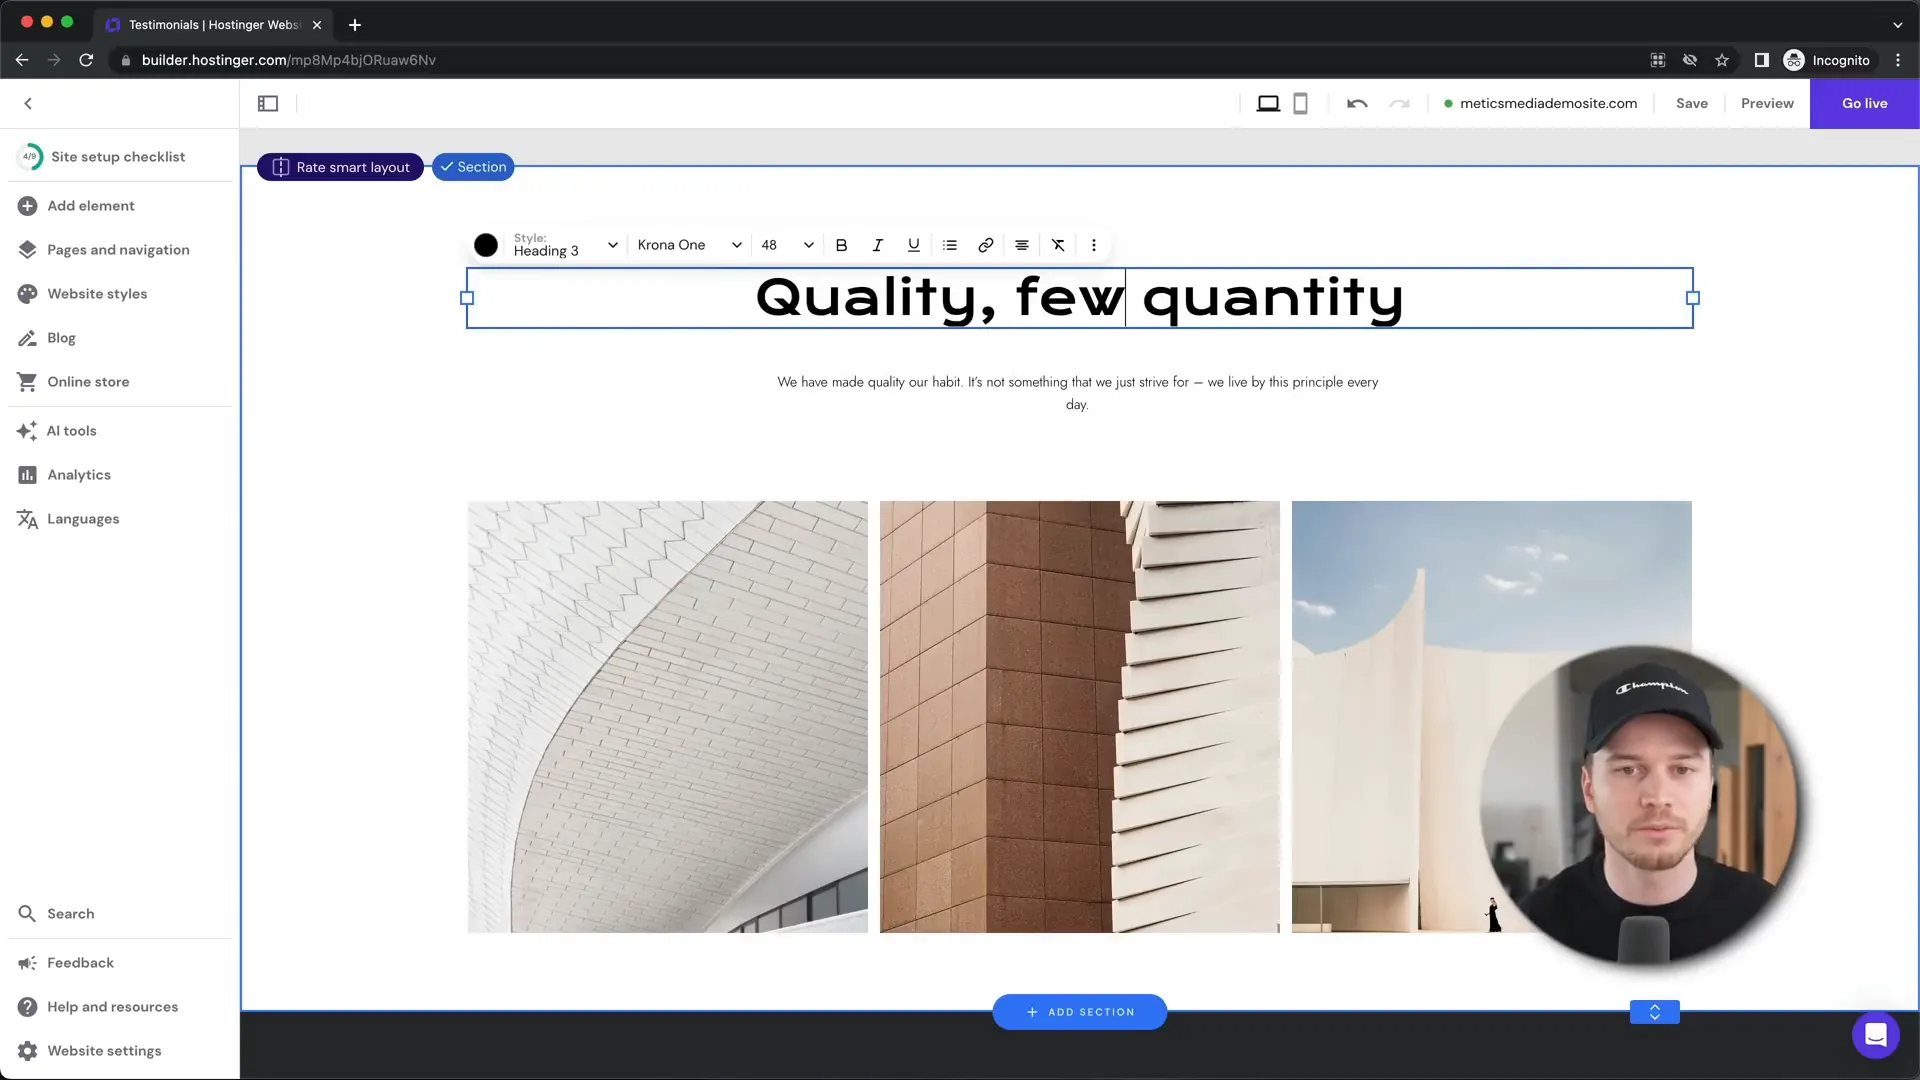
Utilizing sections allows you to structure your content effectively, making it easier for visitors to navigate.
Step 11: Header & Footer
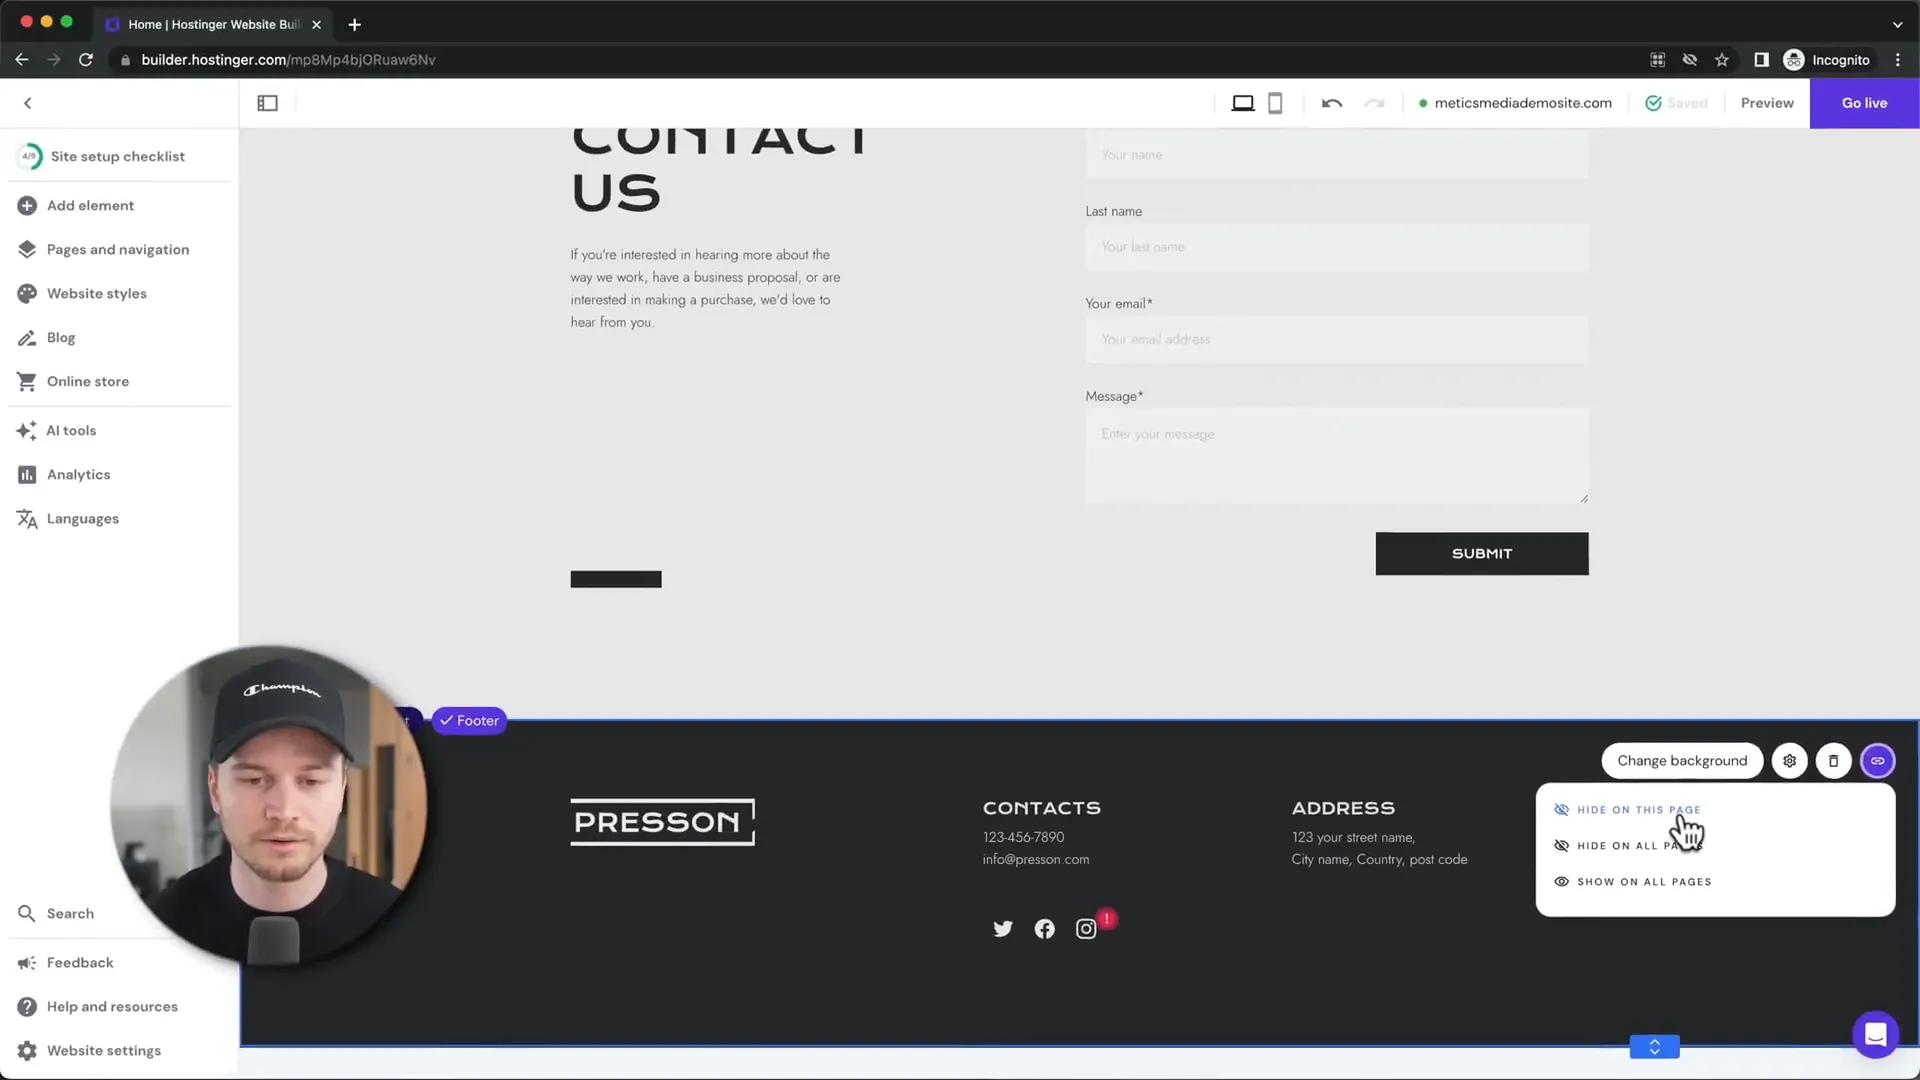
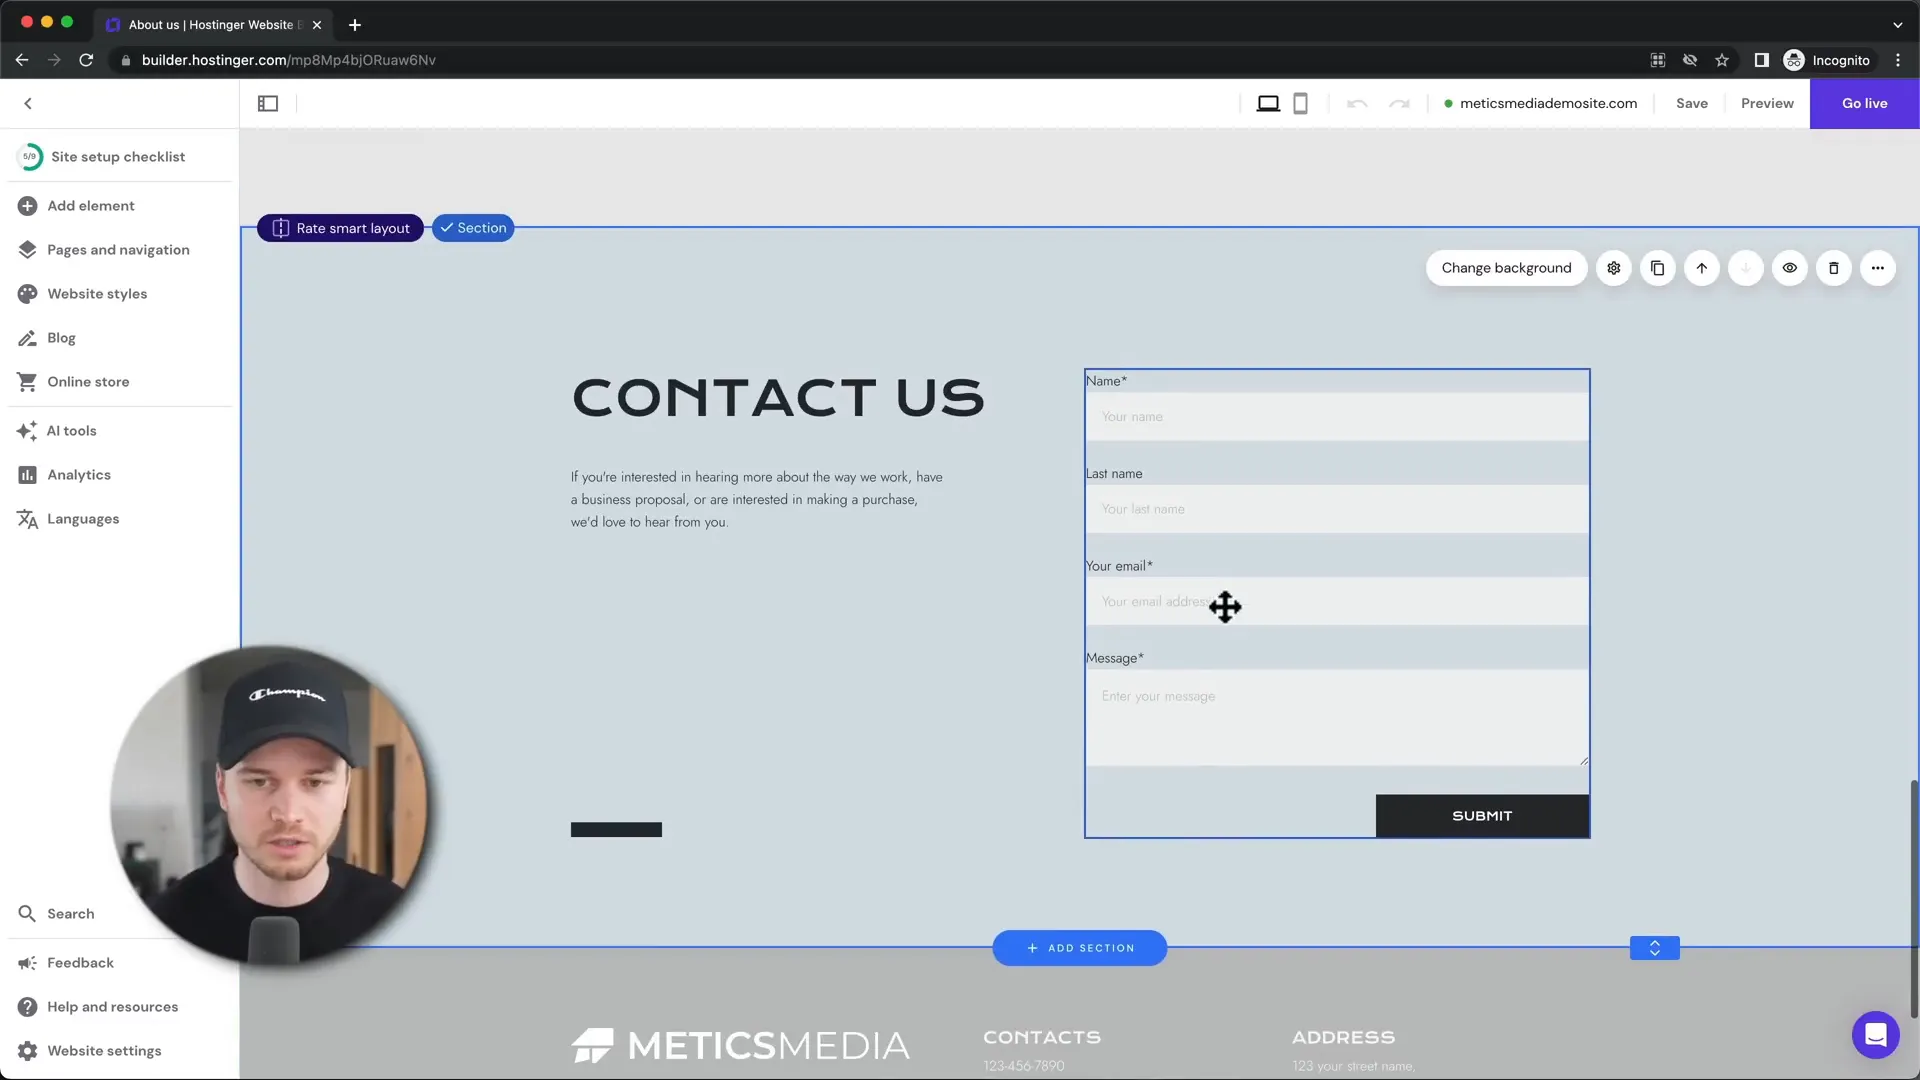
Your website’s header and footer are crucial for navigation and branding. You can easily edit these sections to include your logo, menu items, and contact information.
Make sure these sections are consistent across all pages for a professional look.
Step 12: Mobile Optimization
Once your desktop version is set, switch to mobile view to ensure everything displays correctly. Adjust any elements that may not align properly on smaller screens.
Mobile optimization is essential as many users will access your site via their smartphones.
Step 13: Setting Up a Blog
If you plan to include a blog on your website, click on the blog option in the left menu and select ‘Start a Blog’. You can use pre-existing posts as placeholders or create new ones from scratch.
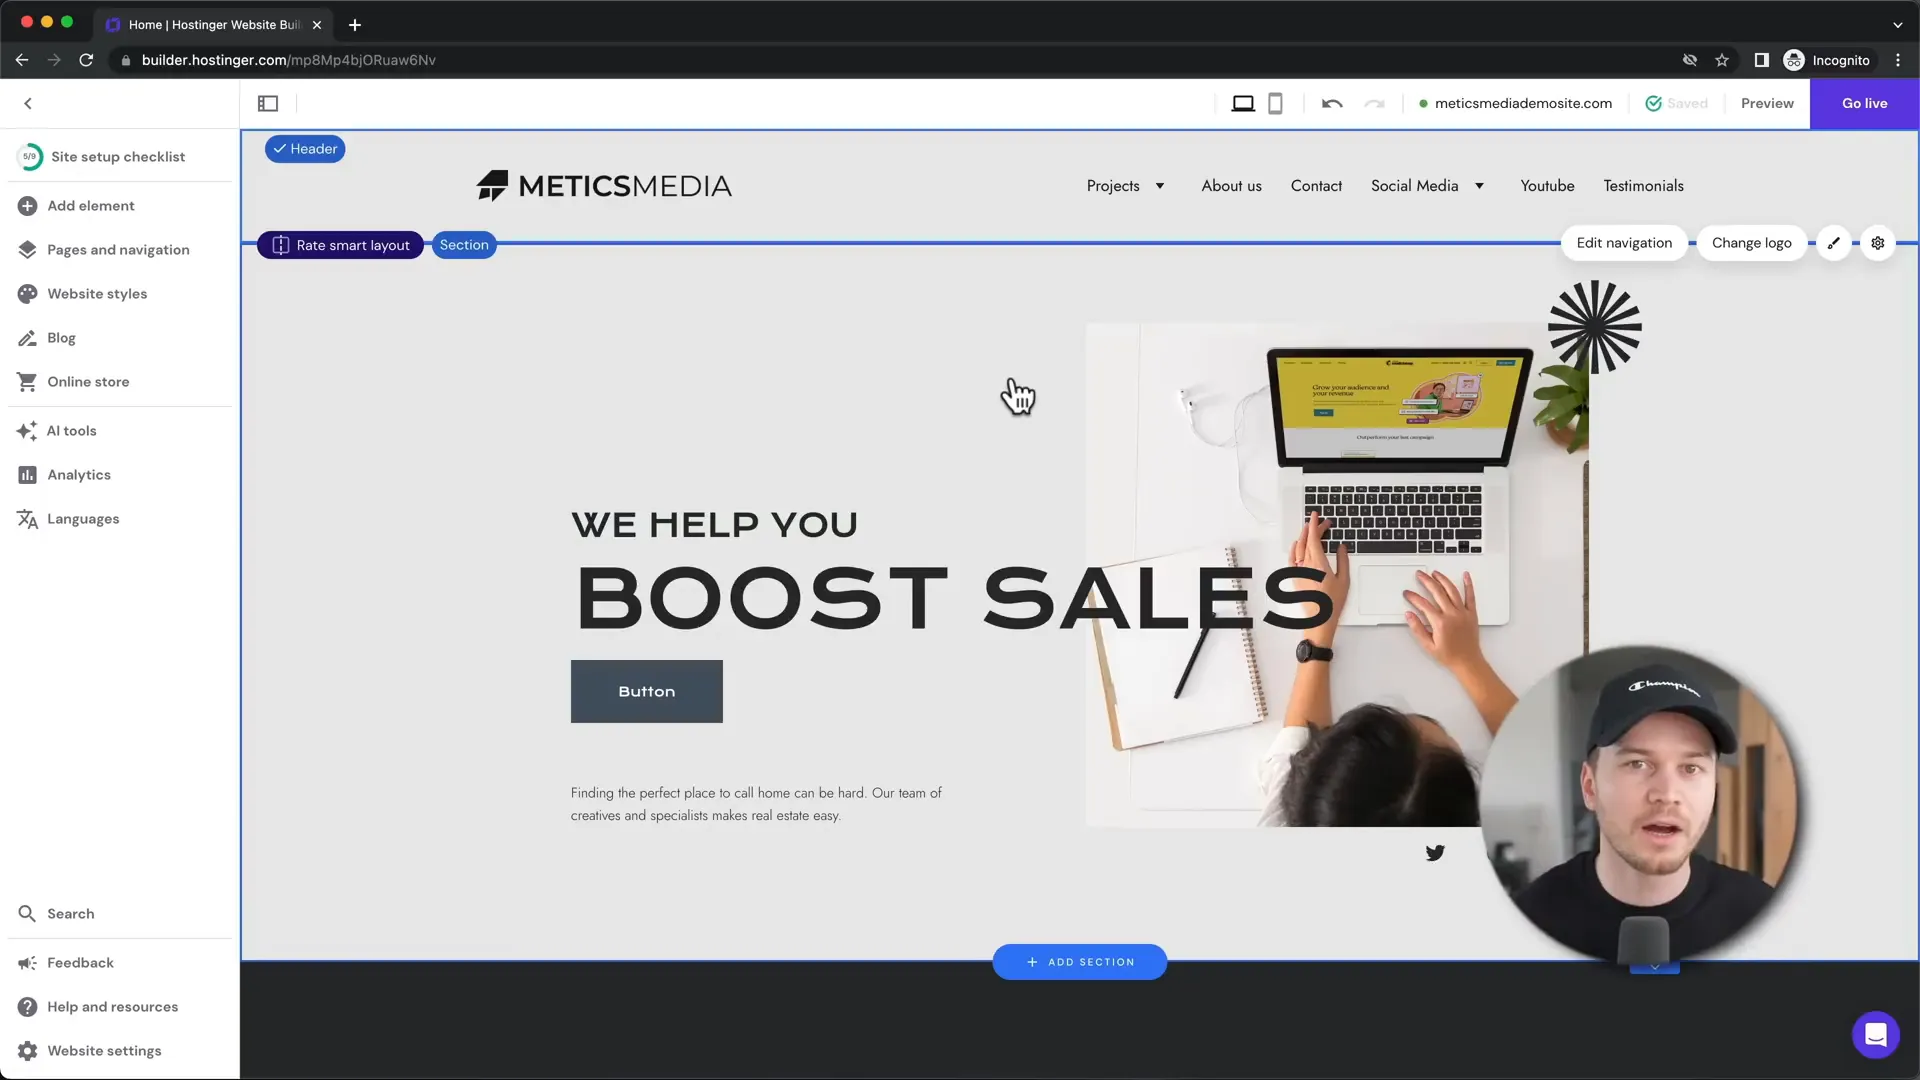
Blogging is a great way to engage your audience and improve your site’s SEO.
Step 14: Setting Up a Store (Ecommerce)
For those interested in e-commerce, Hostinger allows you to set up an online store seamlessly. Click on ‘Online Store’ and follow the prompts to add products and set up payment options.
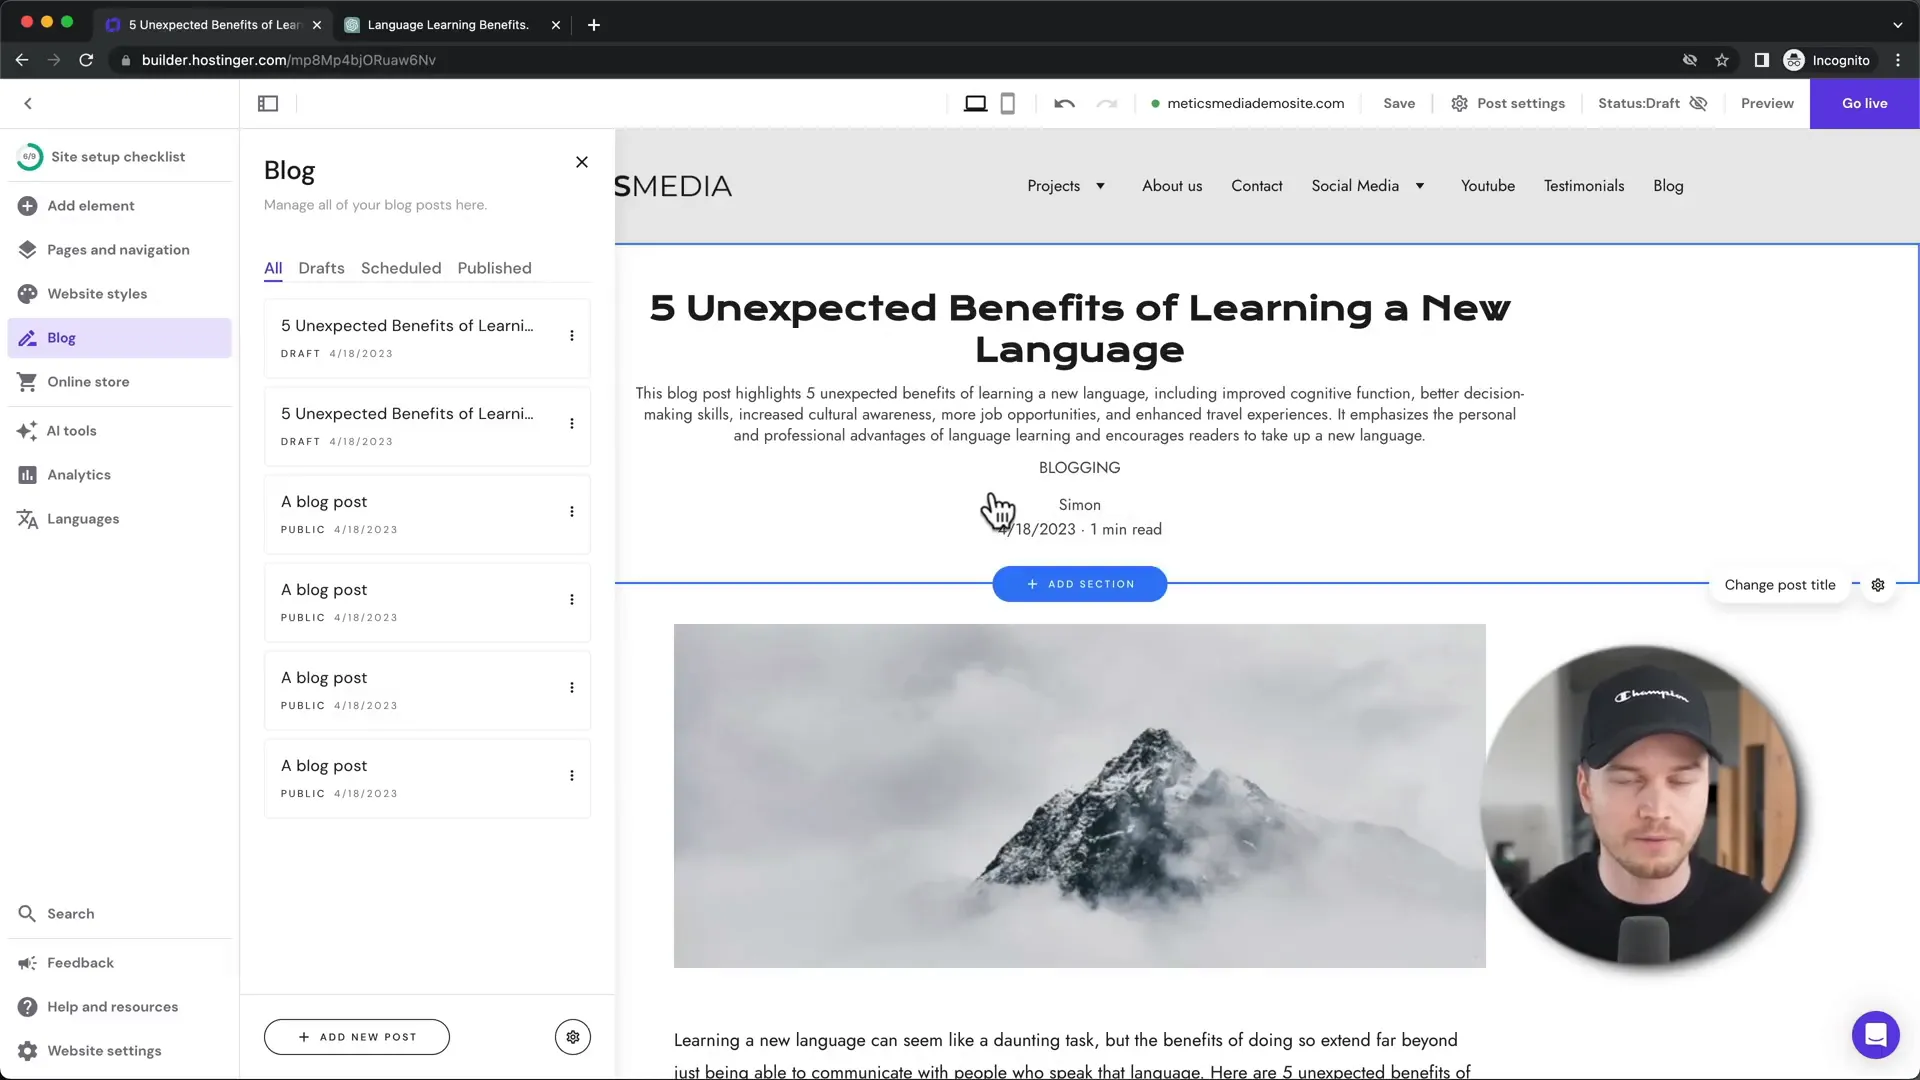
Ensure you configure shipping options, payment providers, and tax rates to streamline the purchasing process for customers.
Step 15: AI Tools
Hostinger offers AI tools to assist with branding and content creation. You can generate logos and text for your site, making it easier to establish your brand identity.

These tools can save you time and help you create professional-looking content effortlessly.
Step 16: Search Engine Optimization (SEO)
To ensure your site is discoverable, navigate to the SEO settings and fill out the necessary information, including keywords and descriptions that are relevant to your content.
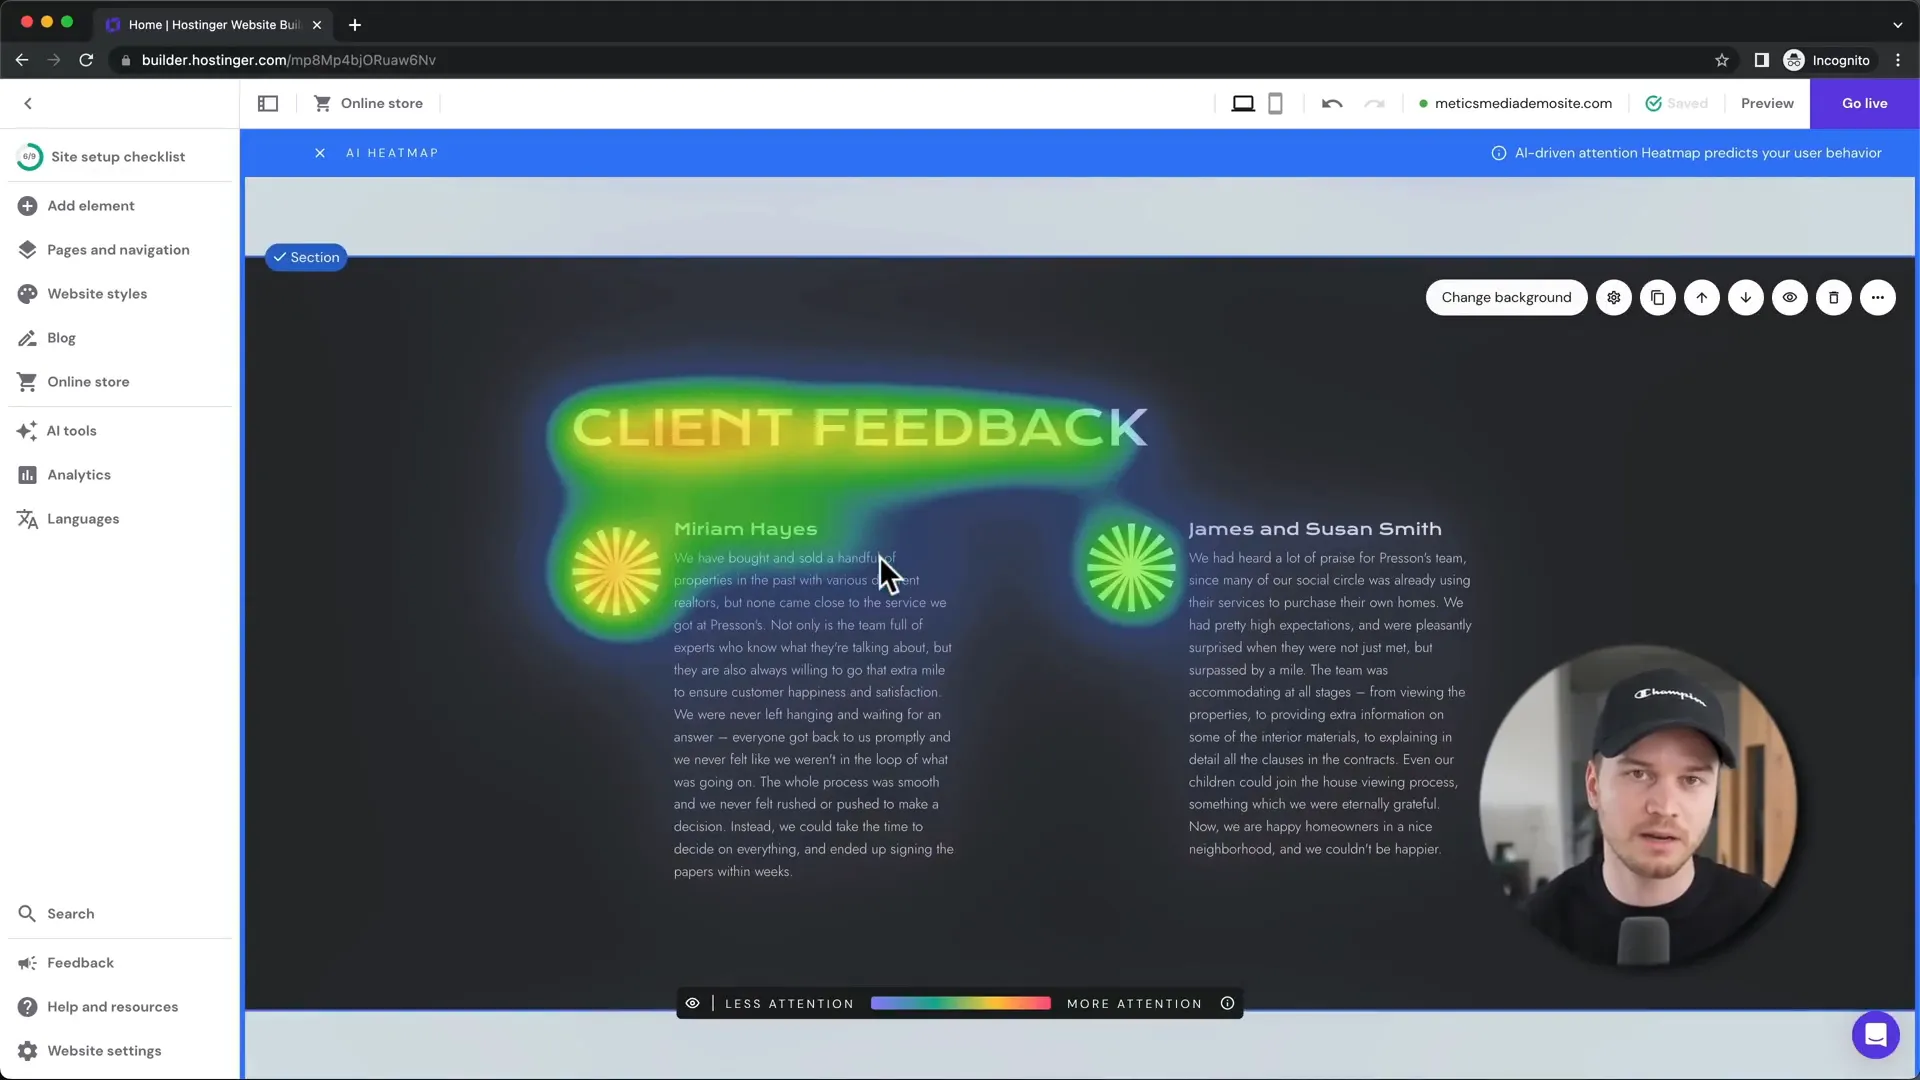
Effective SEO practices will enhance your site’s visibility on search engines, attracting more visitors.
Step 17: Adding Other Languages
If you wish to reach a broader audience, consider adding multiple languages to your website. Hostinger provides the tools to manage translations effortlessly.
This feature is especially useful for businesses targeting international markets.
Step 18: Publishing Website
Once you are satisfied with your website, it’s time to go live! Click on the ‘Go Live’ button to make your site available to the public.

Congratulations! Your website is now live and ready for visitors.
Step 19: Custom Email Setup
Finally, set up a professional email address using your domain. This adds credibility to your business and allows for better communication with clients.

Follow the prompts in the email section of your dashboard to create your new email account.
With these steps, you now have a fully functional website using Hostinger.


![You are currently viewing [Hostinger] How to Build a Professional Website Using Hostinger Best Guide 2024](https://store.woowhouse.com/wp-content/uploads/2024/09/image-3-1.jpg)


