
![You are currently viewing [Hostinger] Step-by-Step Best Guide to Setting Up Your WordPress Website with Hostinger](https://store.woowhouse.com/wp-content/uploads/2024/09/image-5-1.webp)
Creating a WordPress website can seem daunting, but with the right tools and guidance, it can be a straightforward process. This guide will walk you through setting up your WordPress website using Hostinger, a popular web hosting provider known for its affordability and performance. By following these steps, you’ll have your site up and running in no time.
Table of Contents
Step 1: Best Hostinger Deal
The first step in creating your website is to choose a hosting plan. Hostinger offers some of the most affordable web hosting plans in the industry, starting at around $2.99 per month. They provide both hosting and domain name registration, allowing you to manage everything from one platform.
When selecting a plan, consider what you need for your website. If you’re just starting, the basic shared hosting plan is sufficient. For more extensive needs, you might want to look at premium plans that offer additional features.
Step 2: Setting up Hosting and Domain
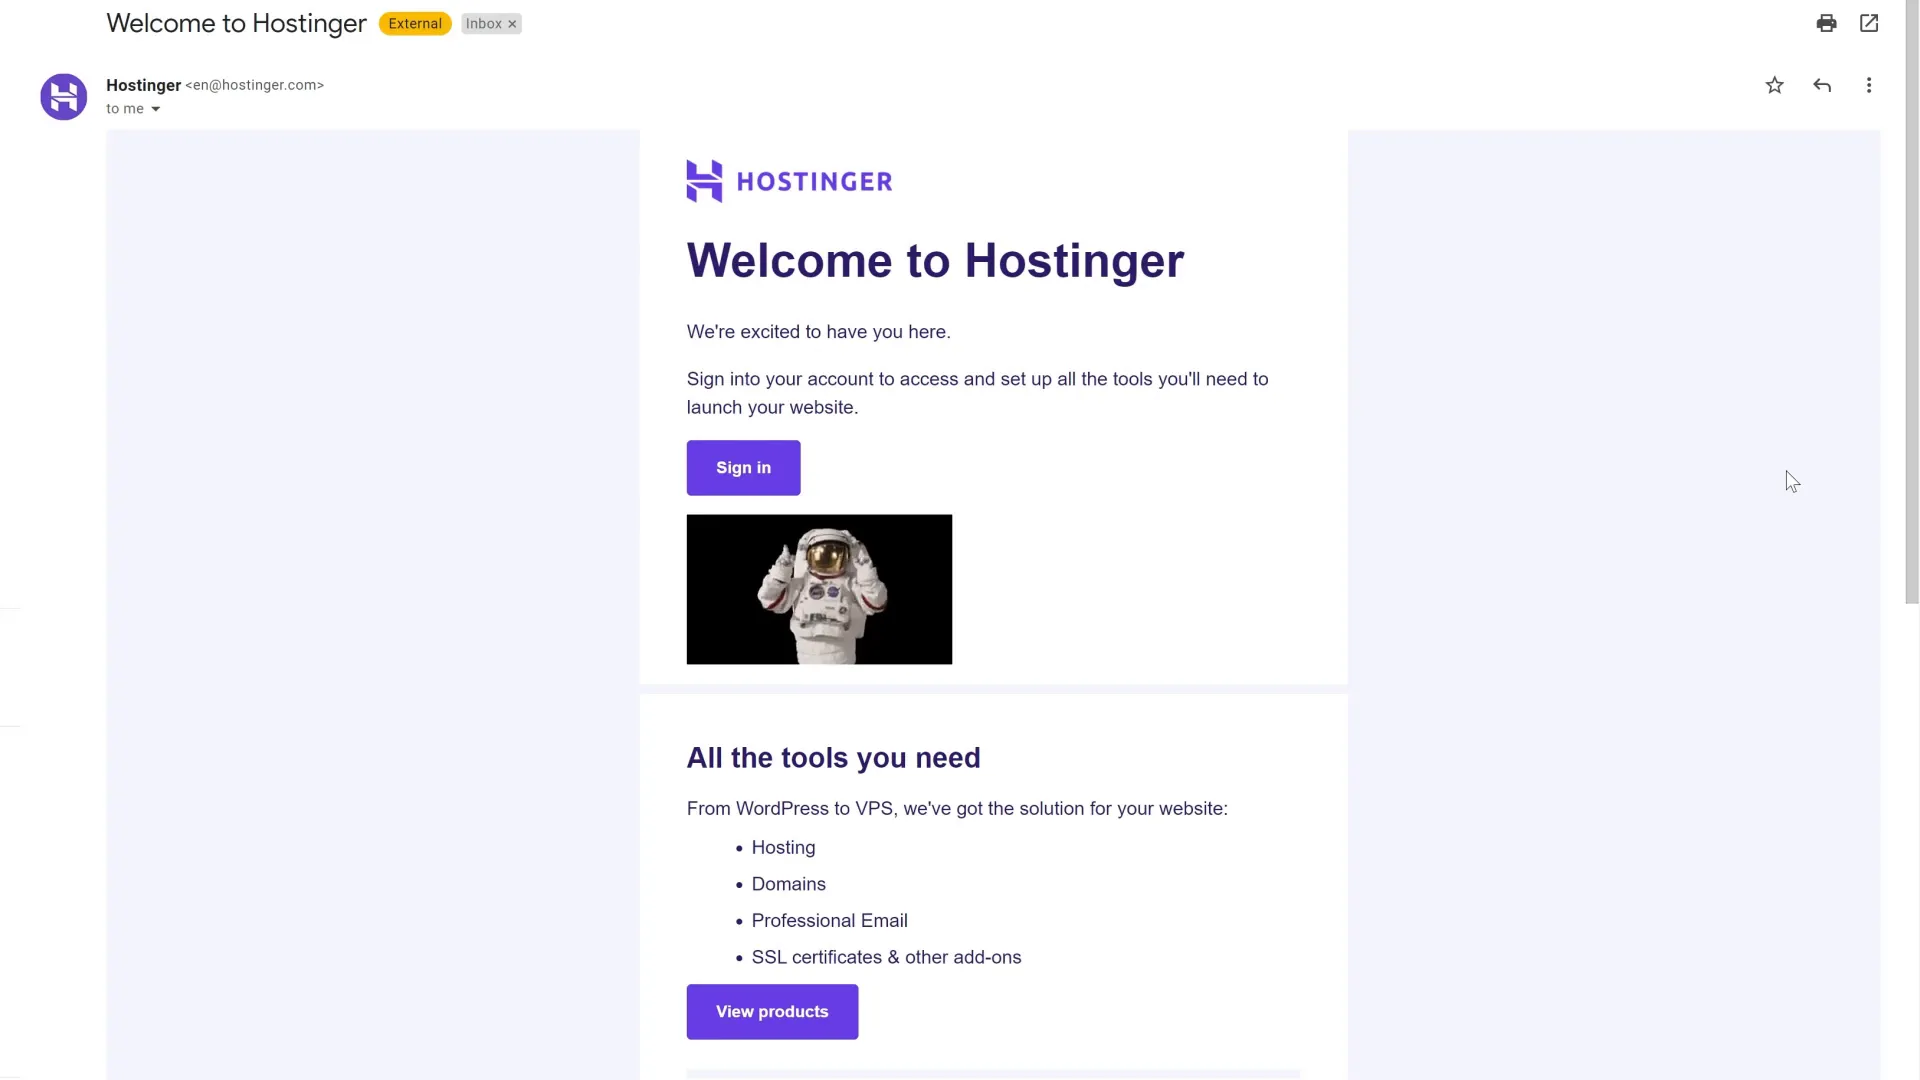
Once you’ve chosen your plan, the setup process is simple. After signing up, you will receive an email with your login information. Log in to your Hostinger account and start the WordPress setup process. You’ll be prompted to choose whether you’re creating a new site or migrating an existing one. Select the option for a new site.
Next, select WordPress as your platform and create your administrator account login details. You can skip the template selection step for now, as we’ll be adding a custom theme later.
Step 3: Add a Custom Theme
With your WordPress site set up, it’s time to enhance its appearance by adding a custom theme. Navigate to the admin panel, click on the “Appearance” tab, and select “Add New.” In the search bar, type “Astra” to find a popular and versatile theme.
Install and activate the Astra theme, and then look for a banner that prompts you to install the necessary plugin. If the banner doesn’t appear, you can manually install the “Starter Templates” plugin. Once installed, select Elementor as your page builder.
Step 4: Customizing Design
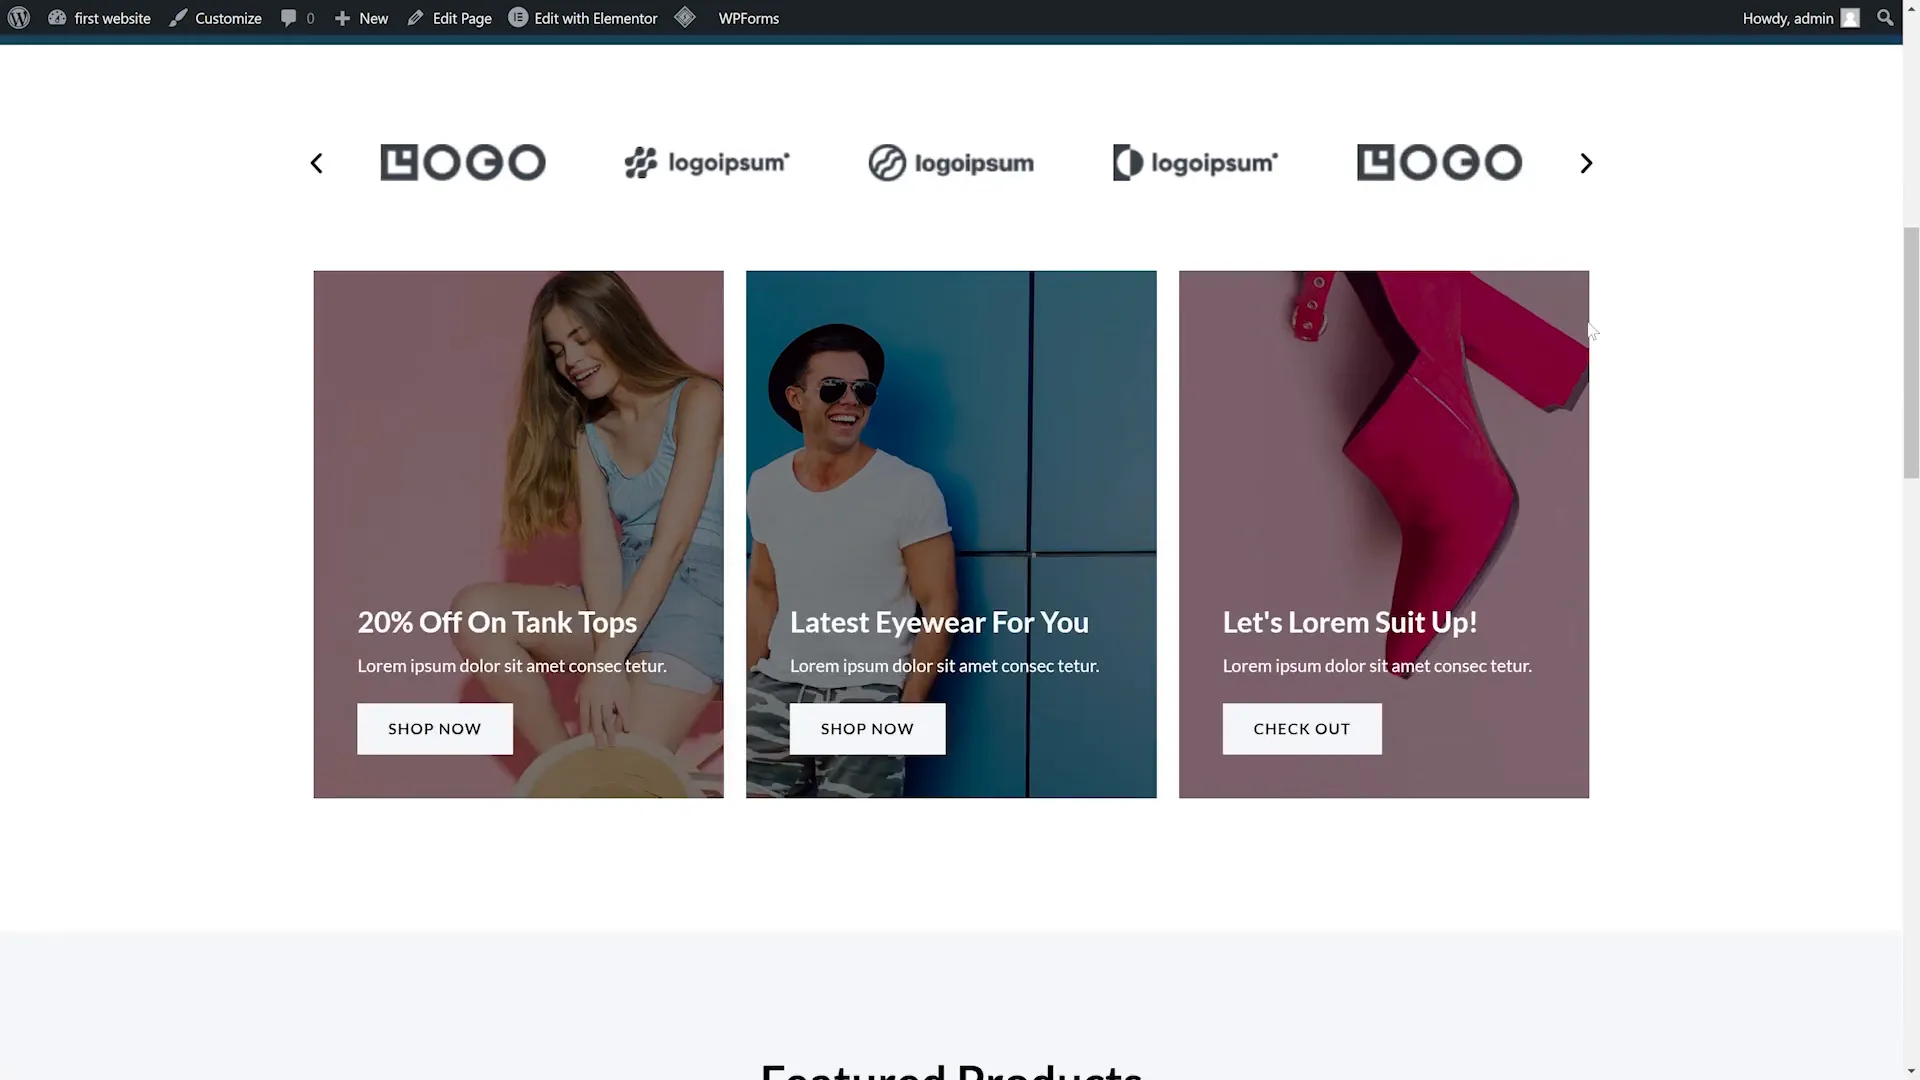
After activating your theme, you can start customizing your site. Choose a free template that fits your needs, upload your logo, and adjust the width as necessary. The customization options are user-friendly, allowing you to change color schemes and fonts easily.
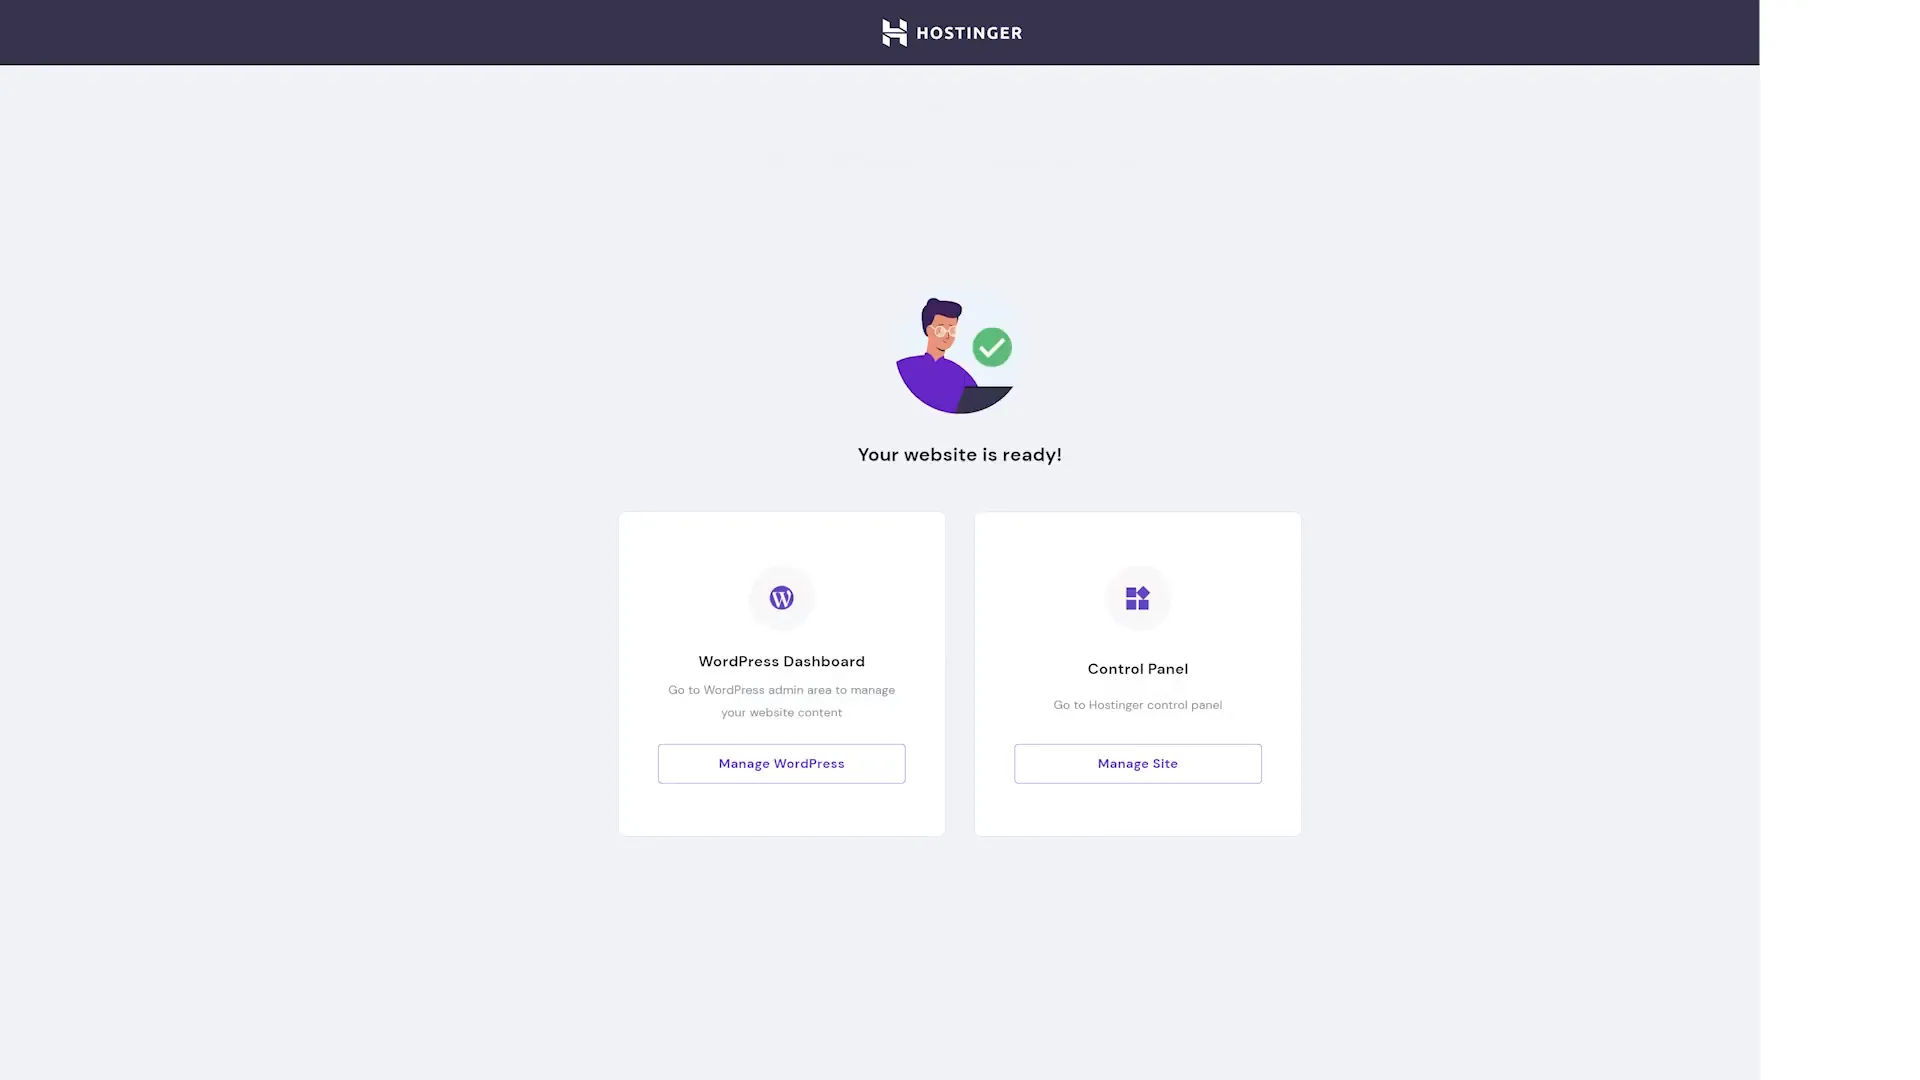
Once you’re satisfied with your design, fill in the required information and click “Submit” to build your website. Hostinger will generate a new design complete with images, text, and pages.
Step 5: Optimizing Speed
Website speed is crucial for user experience, and Hostinger helps with this by pre-installing the LiteSpeed cache plugin. This caching mechanism improves loading times for returning visitors by temporarily storing website files. Since it’s activated by default, you don’t have to worry about additional settings.
For those planning to include numerous high-quality images, optimizing them is essential. Large images can significantly slow down your site. To optimize, go to the plugins section, search for “TinyPNG,” install and activate it. This plugin will reduce image sizes without compromising quality, enhancing your website’s performance.
Step 6: Creating a Business Email
Establishing a professional email address is important for your business. In your Hostinger control panel, find the email accounts section next to your hosting plan. Enter the desired email address and password, then click “Create.”
To link this email to your personal Gmail account, log into Gmail, navigate to settings, and select “Accounts and Import.” Here, you can add your new Hostinger email account using the POP3 settings provided in your Hostinger dashboard.
Step 7: WHY HOSTINGER?
Hostinger stands out for its user-friendly control panel and fast, WordPress-optimized servers. With features like free SSL, unmetered bandwidth, and daily backups, it provides excellent value for money. The platform’s efficiency and reliability make it a top choice for both new and experienced website owners.
In conclusion, Hostinger offers a comprehensive solution for setting up a WordPress website. From selecting a plan to customizing design and optimizing performance, each step is designed to ensure your website runs smoothly and professionally. If you have questions or need further assistance, feel free to leave a comment.
For more information about web hosting, you can check out Hostinger’s website. They offer a variety of plans to fit your needs, whether you are starting a personal blog or a business site.