In the fast-paced world of digital marketing, having the right tools can make all the difference. GetResponse is a powerful online marketing platform designed to help businesses of all sizes streamline their marketing efforts. This guide will take you through the essential steps to effectively use GetResponse, allowing you to create stunning landing pages, automate your marketing campaigns, and grow your email list efficiently.
Table of Contents
Step 1: Getting Started with GetResponse
To begin your journey with GetResponse, you first need to sign up for the platform. GetResponse offers a 30-day free trial with no credit card required, allowing you to explore its features risk-free.
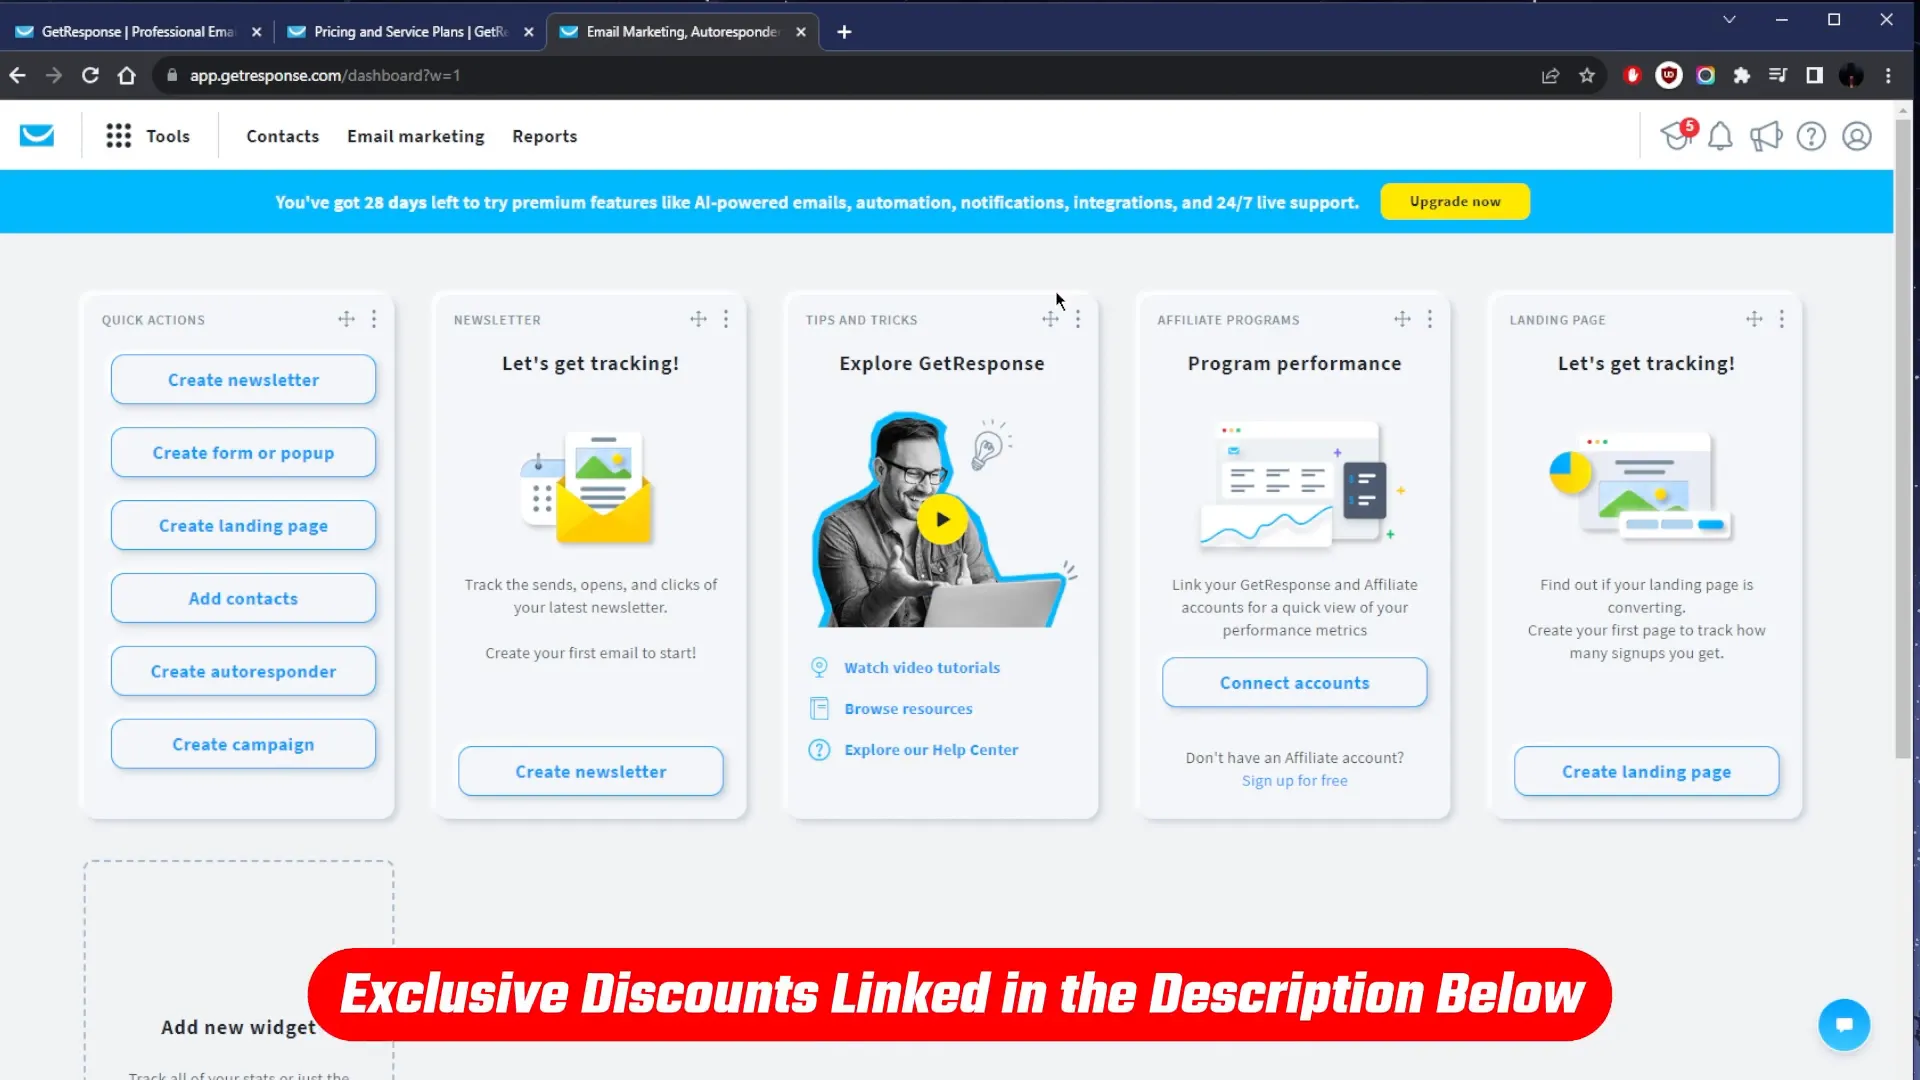
Once you’ve signed up, log into your GetResponse dashboard. The interface is user-friendly, providing easy access to various marketing tools tailored for small to medium-sized businesses, online marketers, e-commerce stores, educators, bloggers, and agencies.
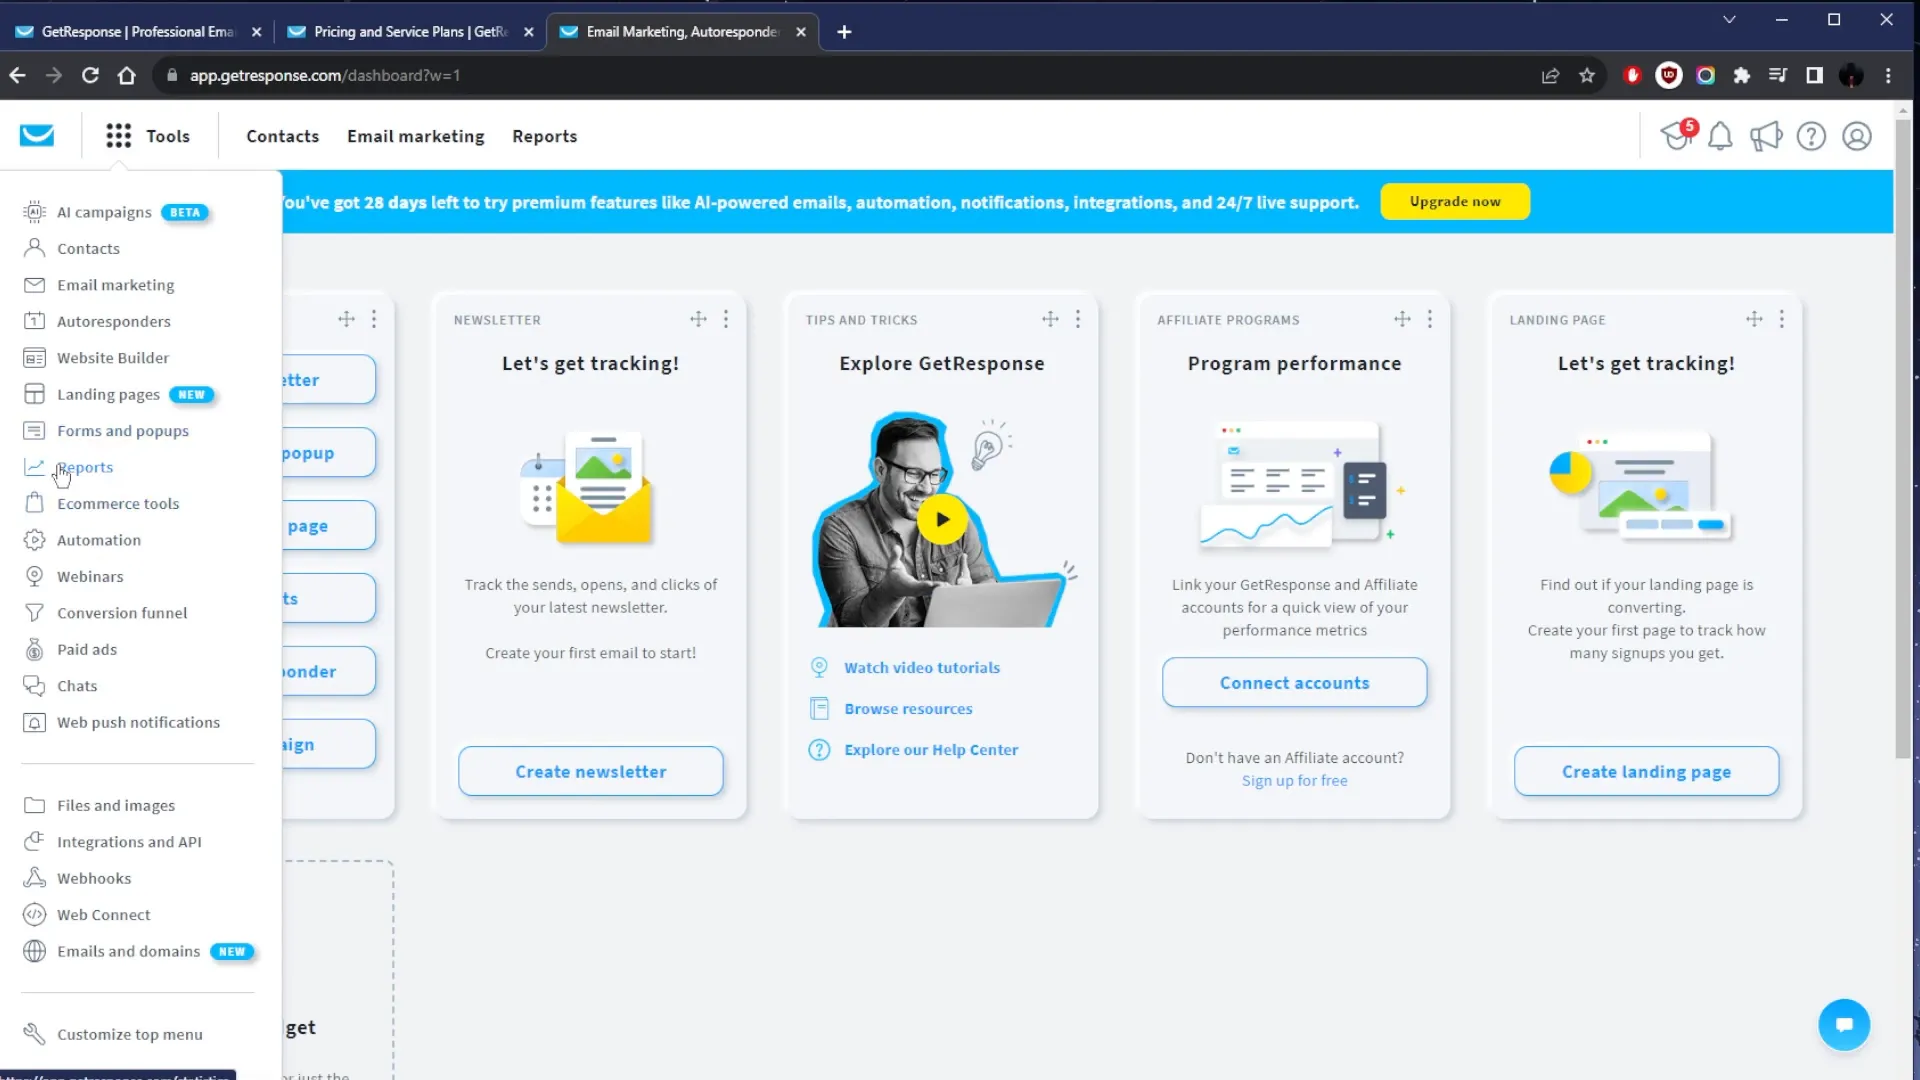
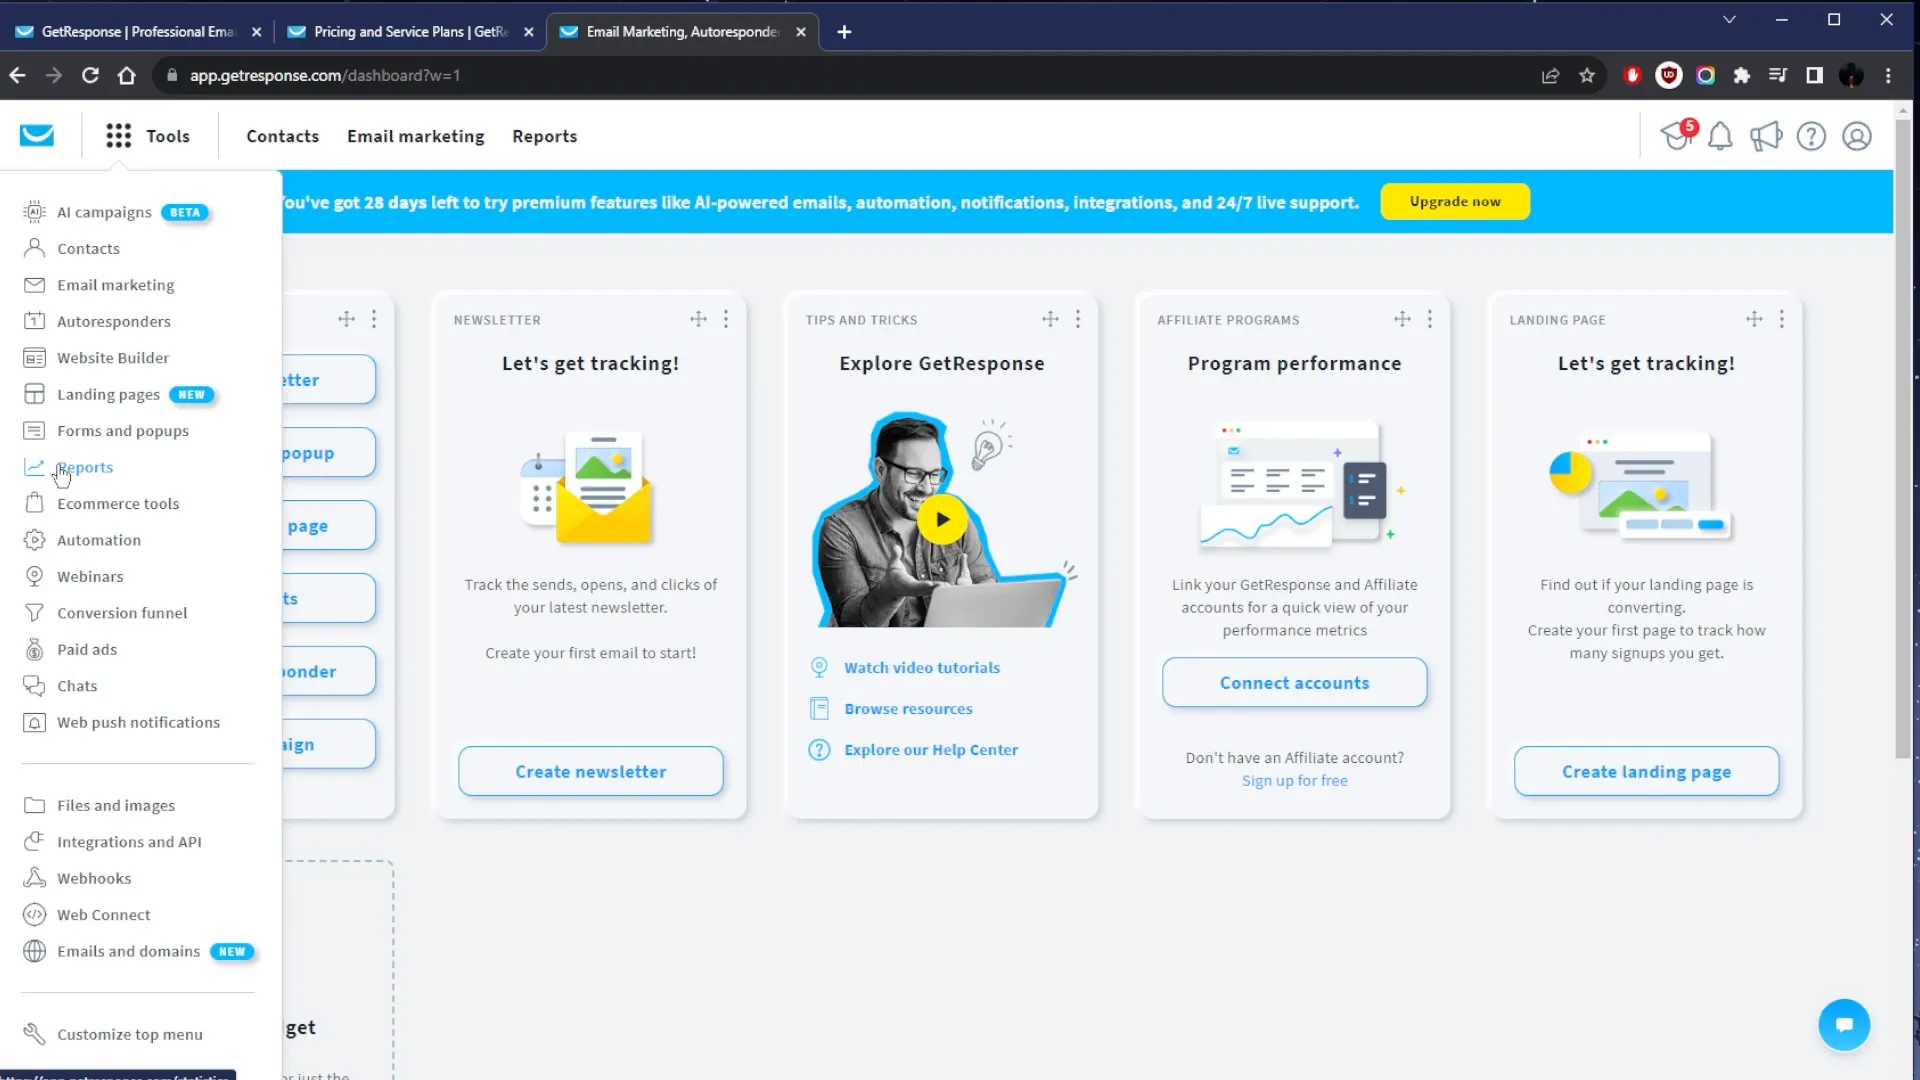
Step 2: Navigating the Dashboard
Upon logging in, you’ll see the main dashboard, which includes various tools such as:
- Email marketing
- Landing page creation
- Marketing automation
- Webinars
- E-commerce integration
- Basic customer relationship management (CRM)
This integrated approach allows you to manage all your marketing activities from one platform, making it easier to grow your email list, automate campaigns, or host online events.
Step 3: Creating Your First Landing Page
One of the standout features of GetResponse is its landing page creation tool. To create a landing page, select the landing page option from the dashboard. You can either use a pre-designed template or the AI-powered builder.
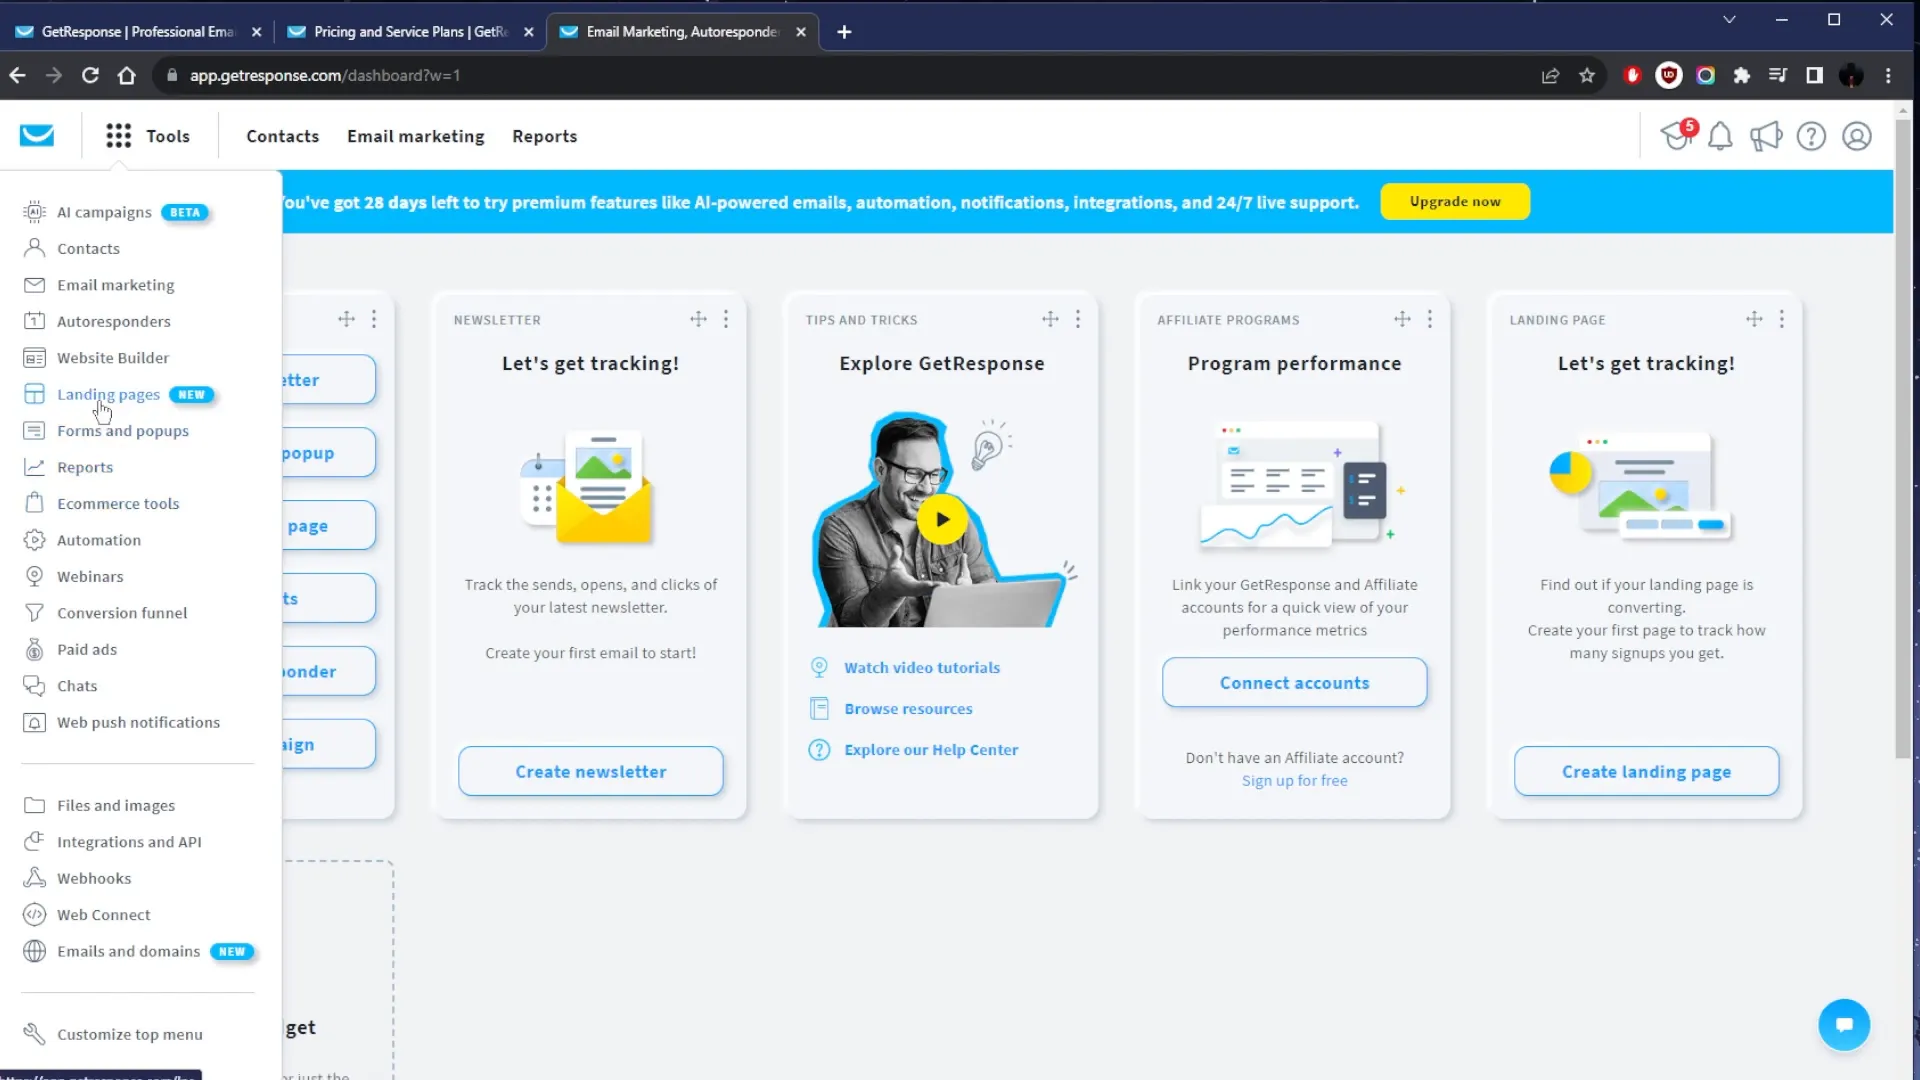
The AI integration simplifies the process, allowing you to create a landing page quickly by providing details about your product or service. For instance, if you’re selling a gaming keyboard, simply input the relevant details, and the AI will generate a design tailored to your needs.
Step 4: Customizing Your Landing Page
After selecting a template or using the AI builder, you can customize the landing page to match your branding. This includes changing the text, images, and overall layout. The drag-and-drop functionality makes it easy to adjust elements on the page.
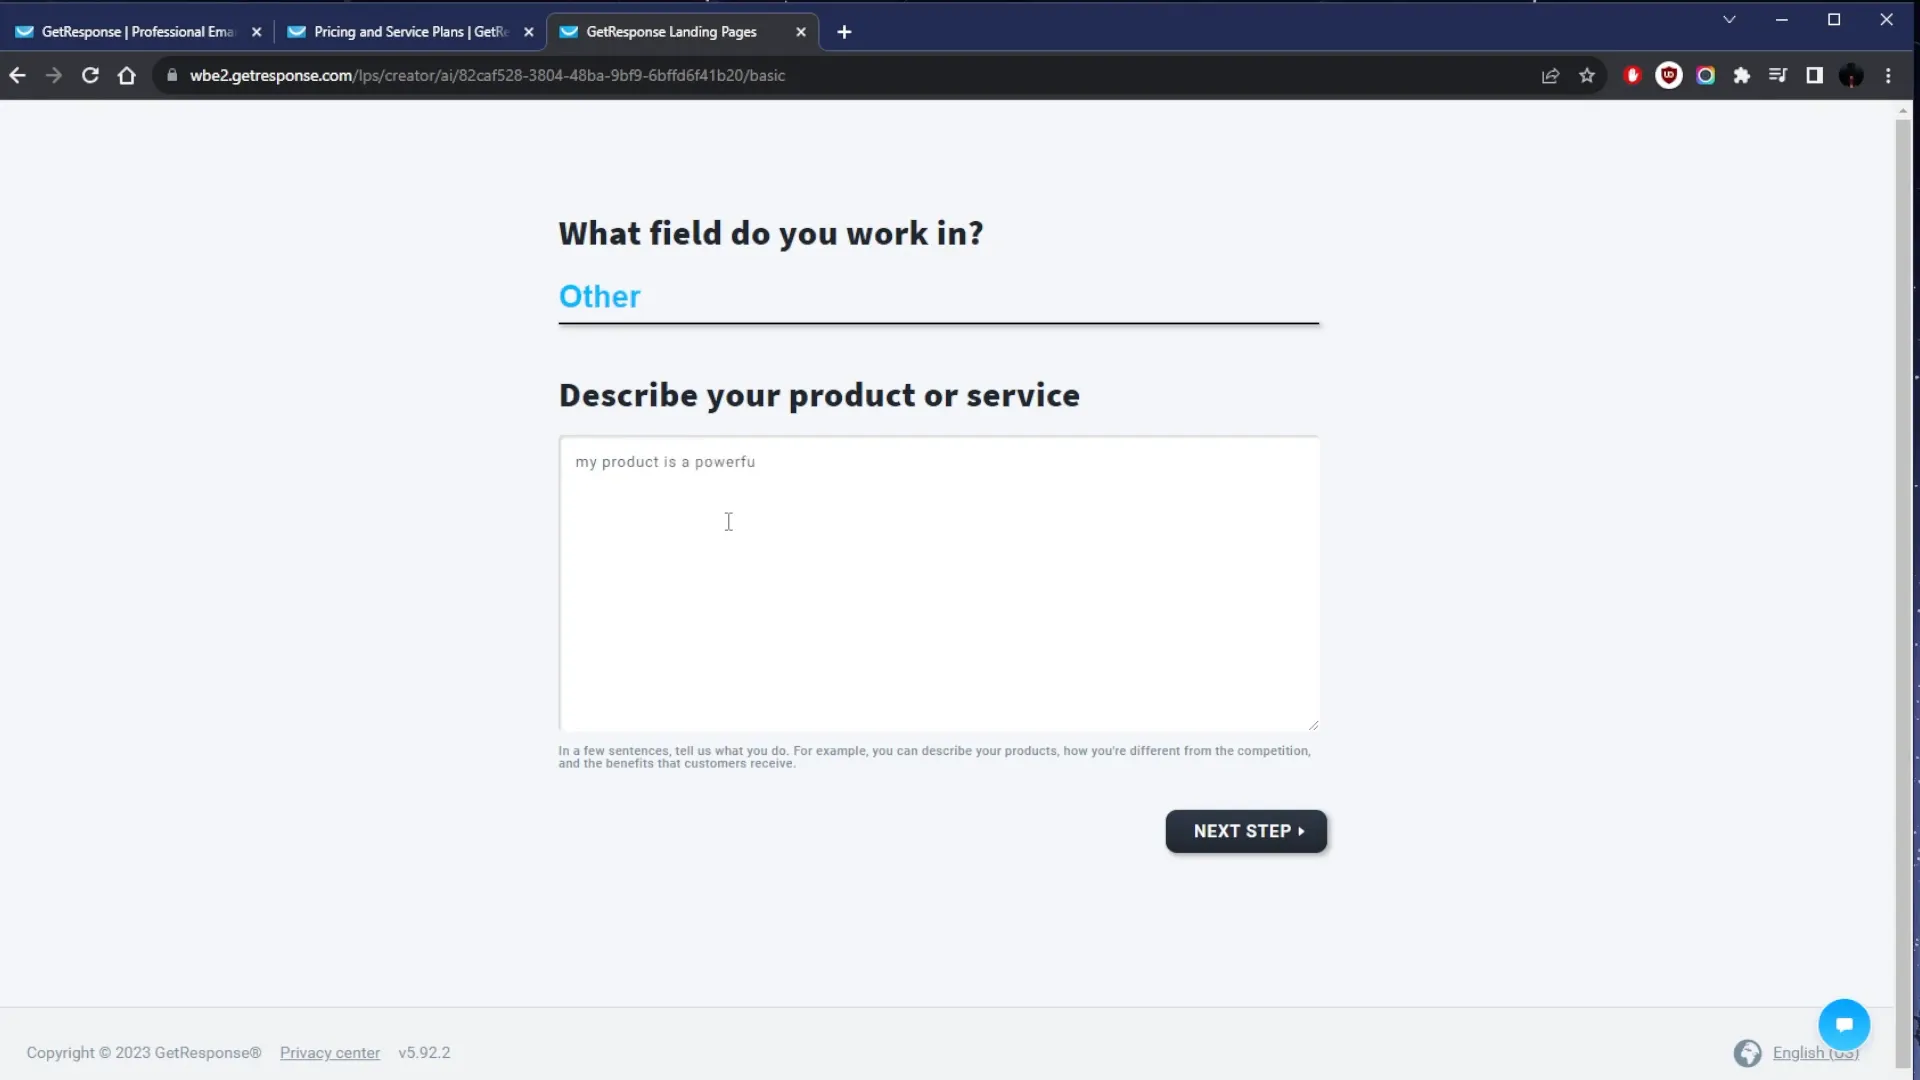
Additionally, you can add features like video sign-up forms, contact forms, and galleries to enhance user engagement. Once you’re satisfied with the design, preview it on both desktop and mobile to ensure it looks great on all devices.
Step 5: Optimizing for Mobile
Mobile optimization is crucial in today’s market. While previewing your landing page, you may notice elements that don’t display well on mobile devices. GetResponse allows you to hide specific blocks or images for mobile views, ensuring a cleaner presentation.
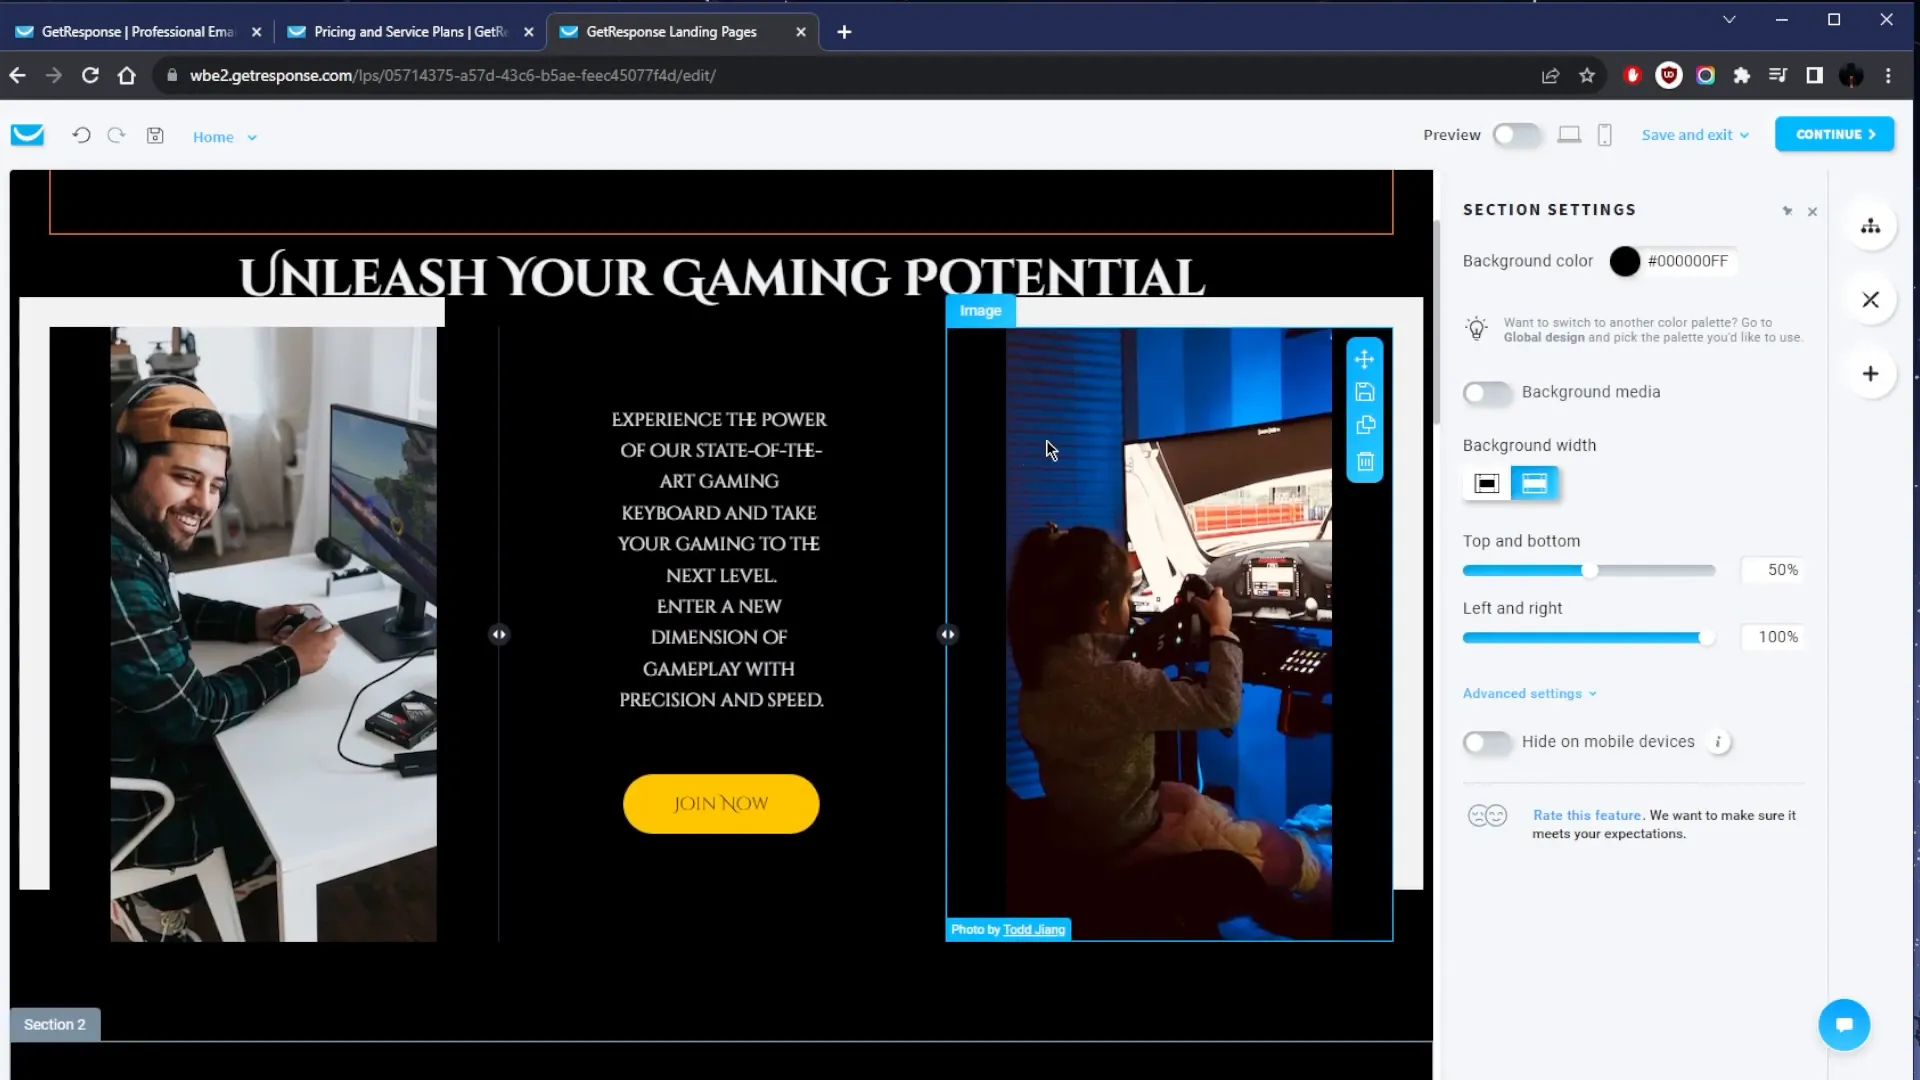
To optimize, simply select the elements you want to hide in the mobile view and make adjustments until everything appears as desired.
Step 6: Publishing Your Landing Page
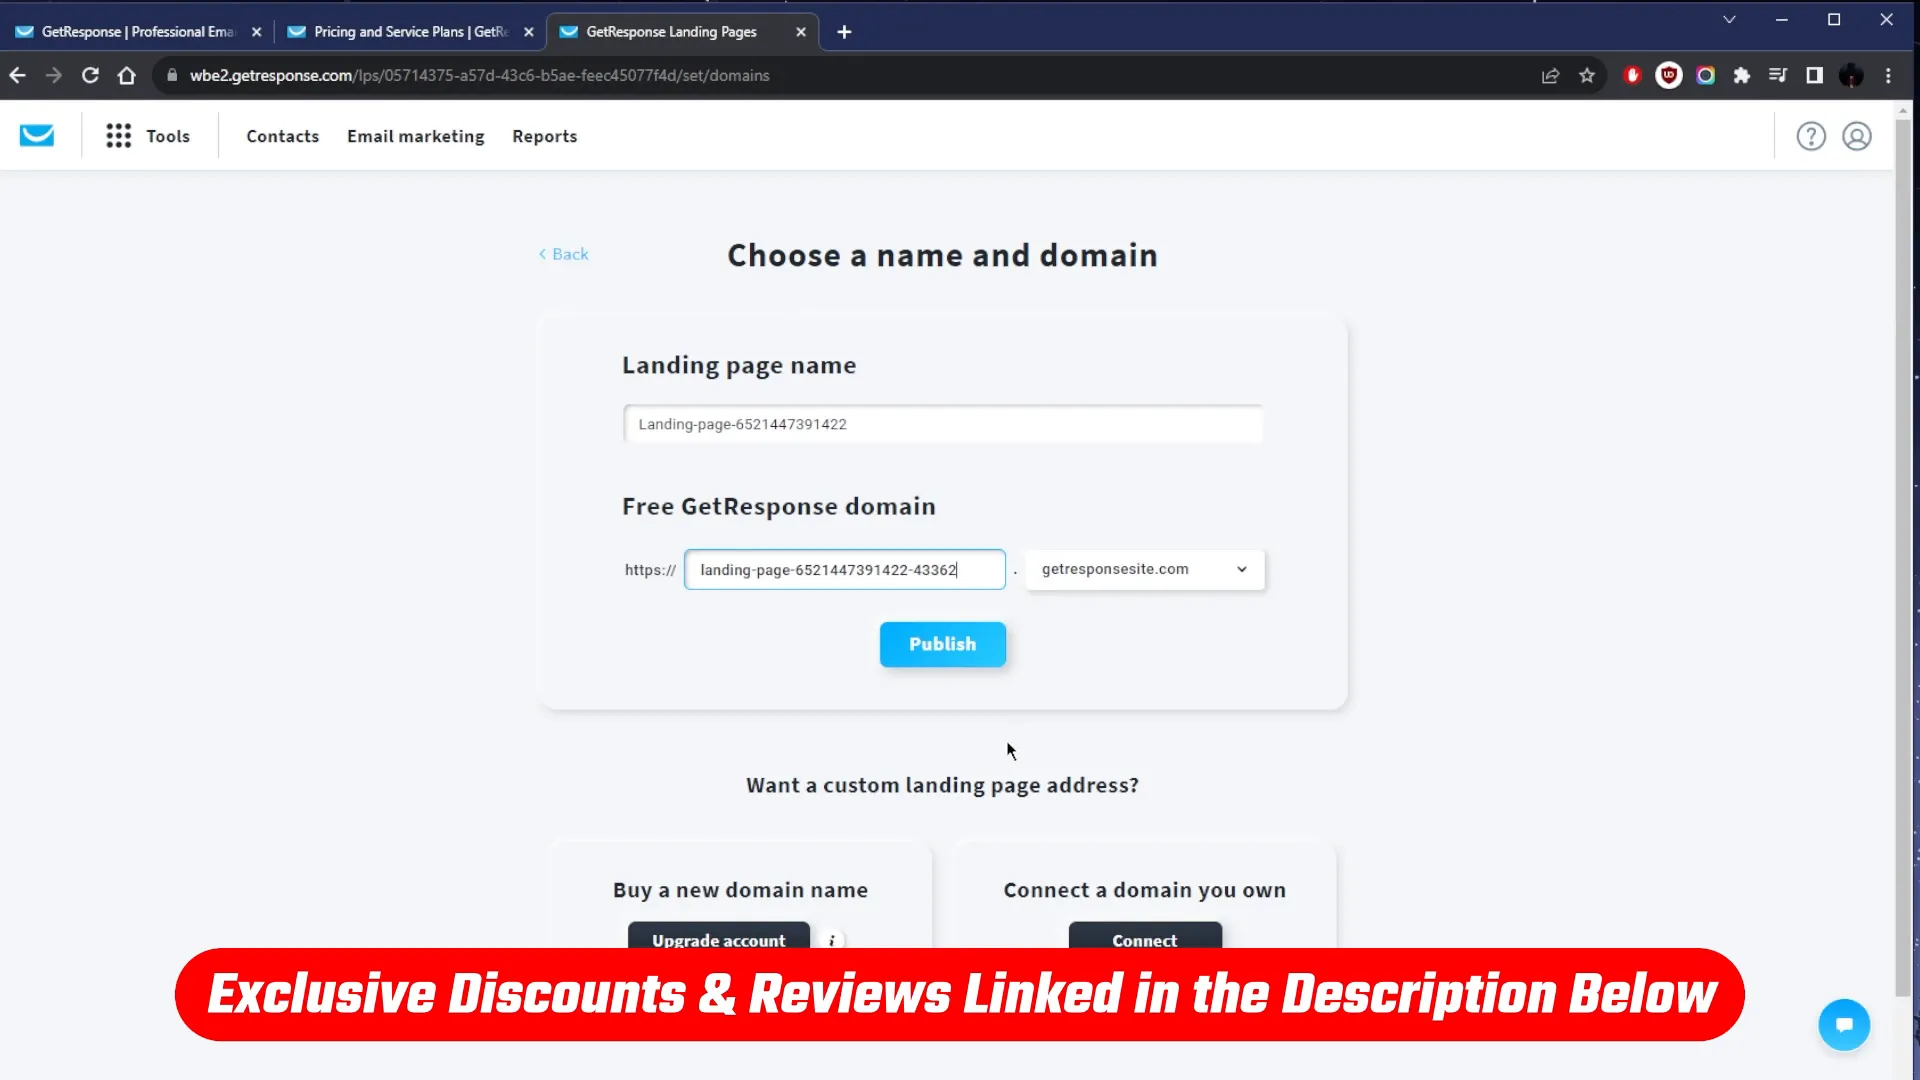
Once your landing page is ready, it’s time to publish. You can name your landing page and either purchase a new domain or connect an existing one. This process is straightforward and ensures that your landing page is live and accessible to your audience in just a few minutes.
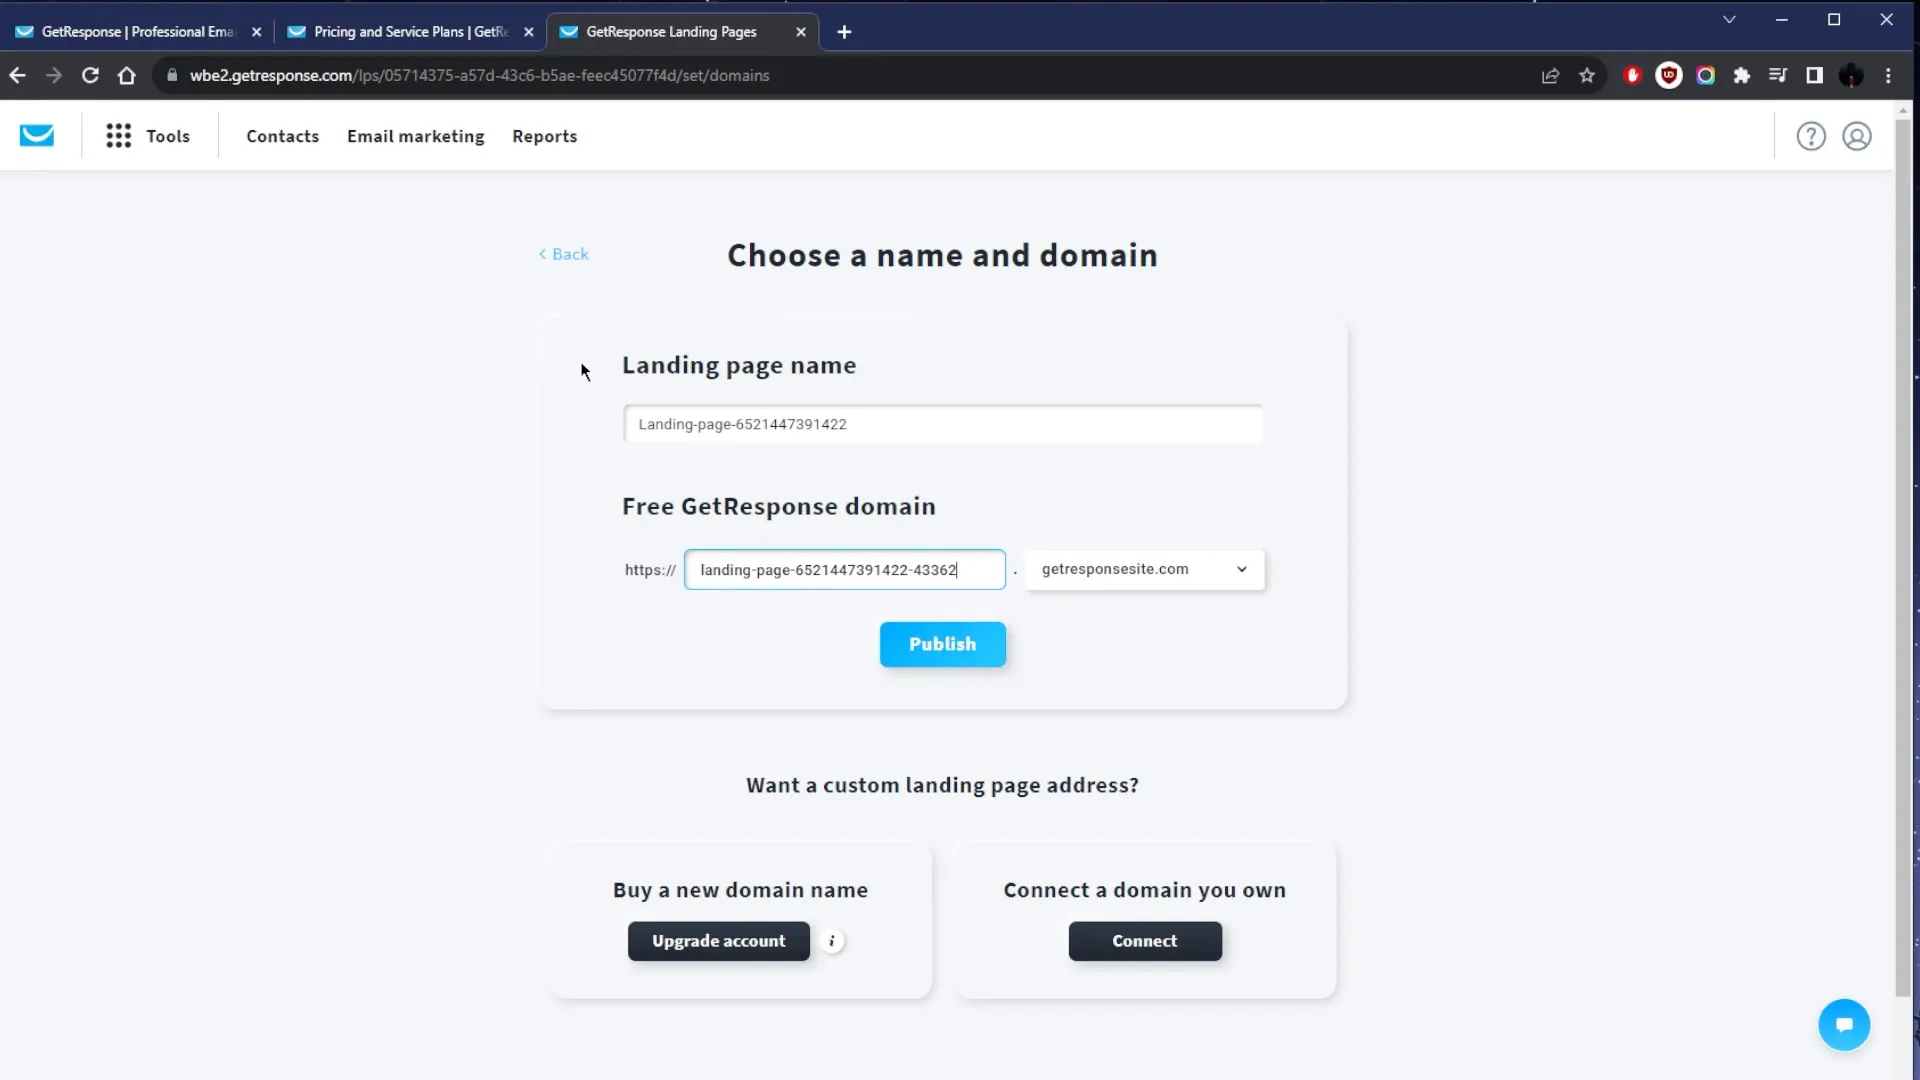
With all the necessary assets prepared, including images and text, you can efficiently create a landing page that fits your marketing goals.
Step 7: Leveraging GetResponse’s Marketing Automation
Marketing automation is another powerful feature of GetResponse. It allows you to create automated workflows that nurture your leads and engage your audience. You can set up email sequences, trigger actions based on user behavior, and much more.
To set up automation, navigate to the automation section and select from a variety of templates or create your own from scratch. This feature is vital for maintaining consistent communication with your audience without having to manually send every email.
Step 8: Analyzing Your Campaigns
After launching your campaigns, it’s important to track their performance. GetResponse provides detailed analytics that help you understand how your landing pages and emails are performing. This data is crucial for optimizing future campaigns and improving your marketing strategies.
Monitor metrics such as open rates, click-through rates, and conversions to gauge the effectiveness of your campaigns. Use this information to refine your approach and achieve better results over time.
Step 9: Exploring Additional Features
GetResponse offers a range of additional features, including webinar hosting and e-commerce integrations. These tools can enhance your marketing efforts and provide more value to your audience. Consider incorporating webinars to engage your audience in real-time or using e-commerce tools to streamline your online sales.
Step 10: Continuous Learning and Support
As you navigate GetResponse, take advantage of the resources available to you. The platform offers a comprehensive knowledge base, video tutorials, and customer support to help you get the most out of your experience. Don’t hesitate to reach out if you have questions or need assistance.
By following this guide, you’ll be well on your way to mastering GetResponse and utilizing its features to enhance your marketing efforts. Whether you’re looking to grow your email list, automate campaigns, or engage your audience through webinars, GetResponse has the tools you need to succeed.
Ready to get started? Sign up for your free trial of GetResponse today and unlock the full potential of your online marketing!
For more information about GetResponse, visit this link to explore their marketing software.


