Building a website can seem daunting, especially if you’re a beginner. But with Hostinger, creating a WordPress website takes just ten minutes! This step-by-step guide will show you how to set up your site quickly and efficiently. You don’t need any coding experience or a large budget to get started. Let’s dive into the process!
Step 1: Get Started
To kick off your website creation journey, you’ll need a hosting provider. Hostinger is a fantastic option as it provides both hosting and a free domain. A domain is your website’s address on the internet, while hosting is where your website files are stored.

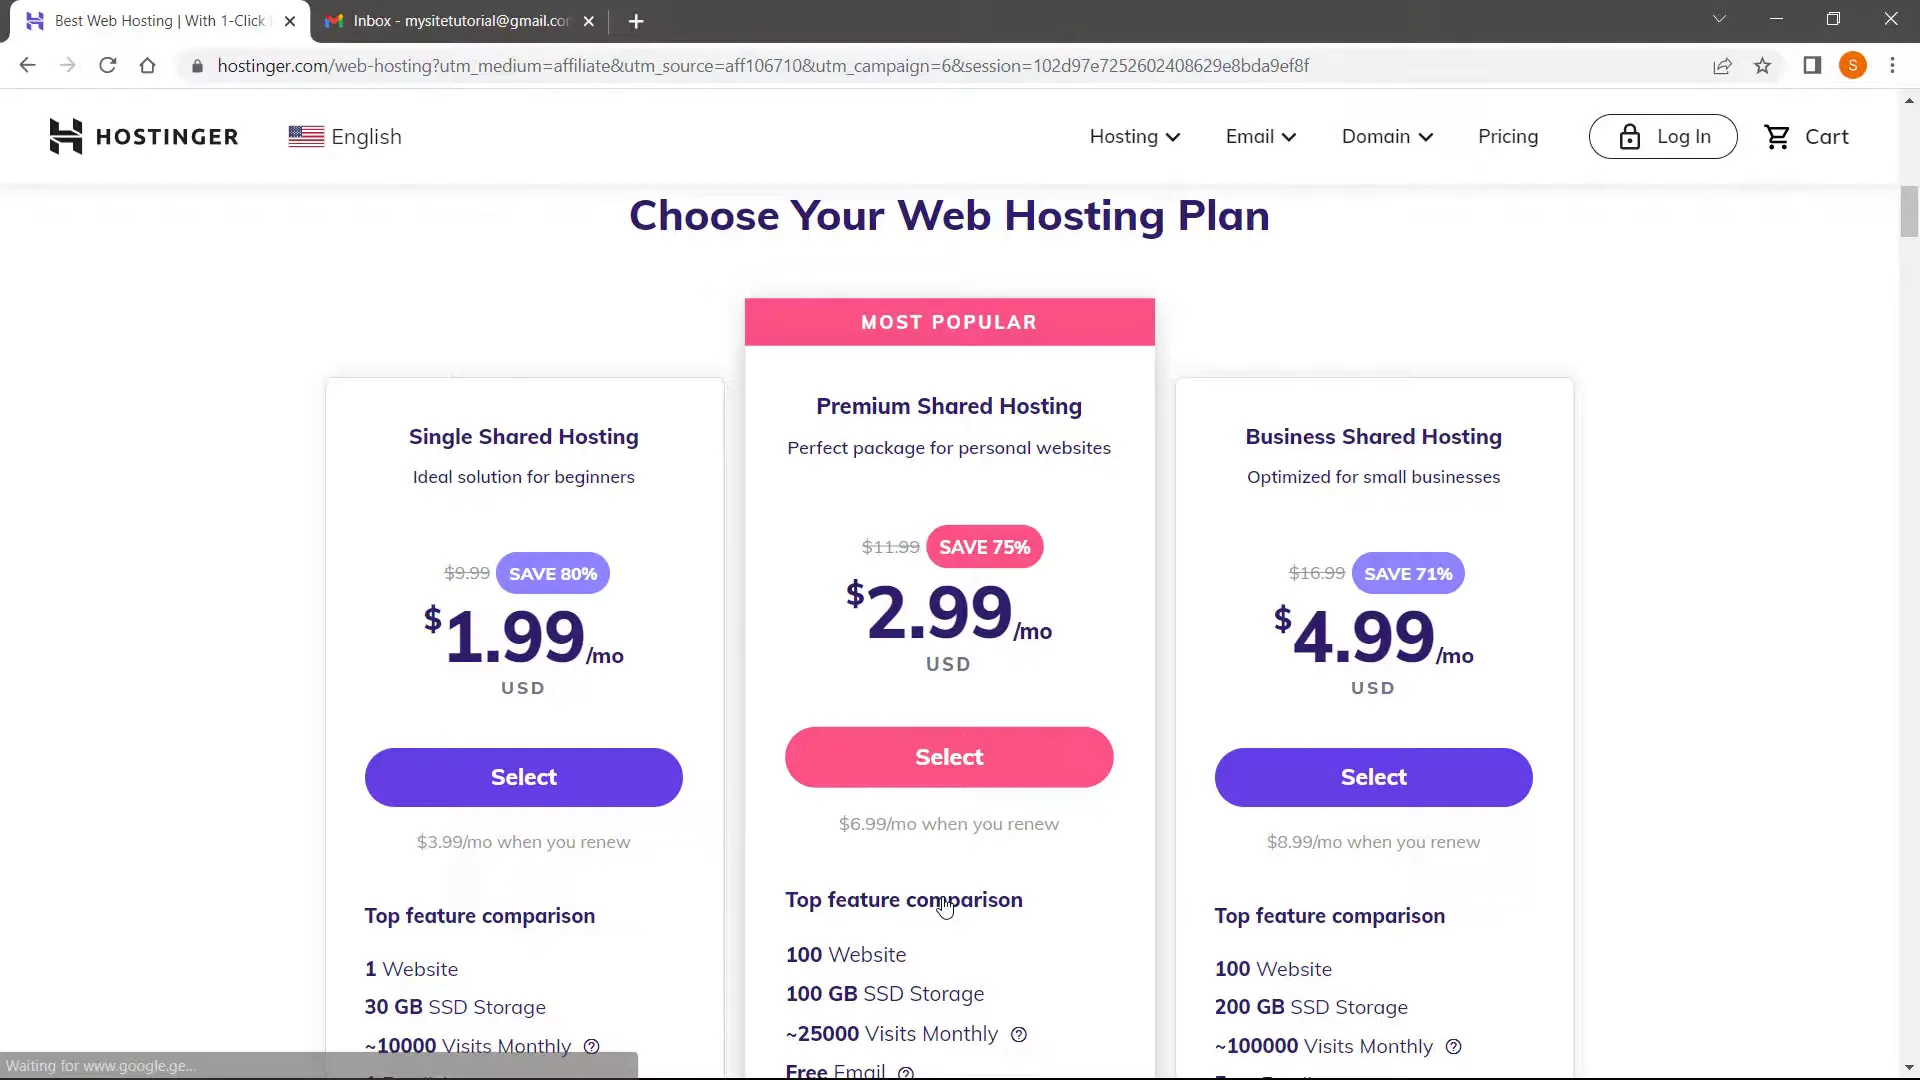
Visit the Hostinger website via the link provided in the description. Once there, you’ll see various hosting plans. For this tutorial, we will choose the Premium Shared Hosting plan, which includes a free domain name.
Step 2: Setup WordPress Automatically
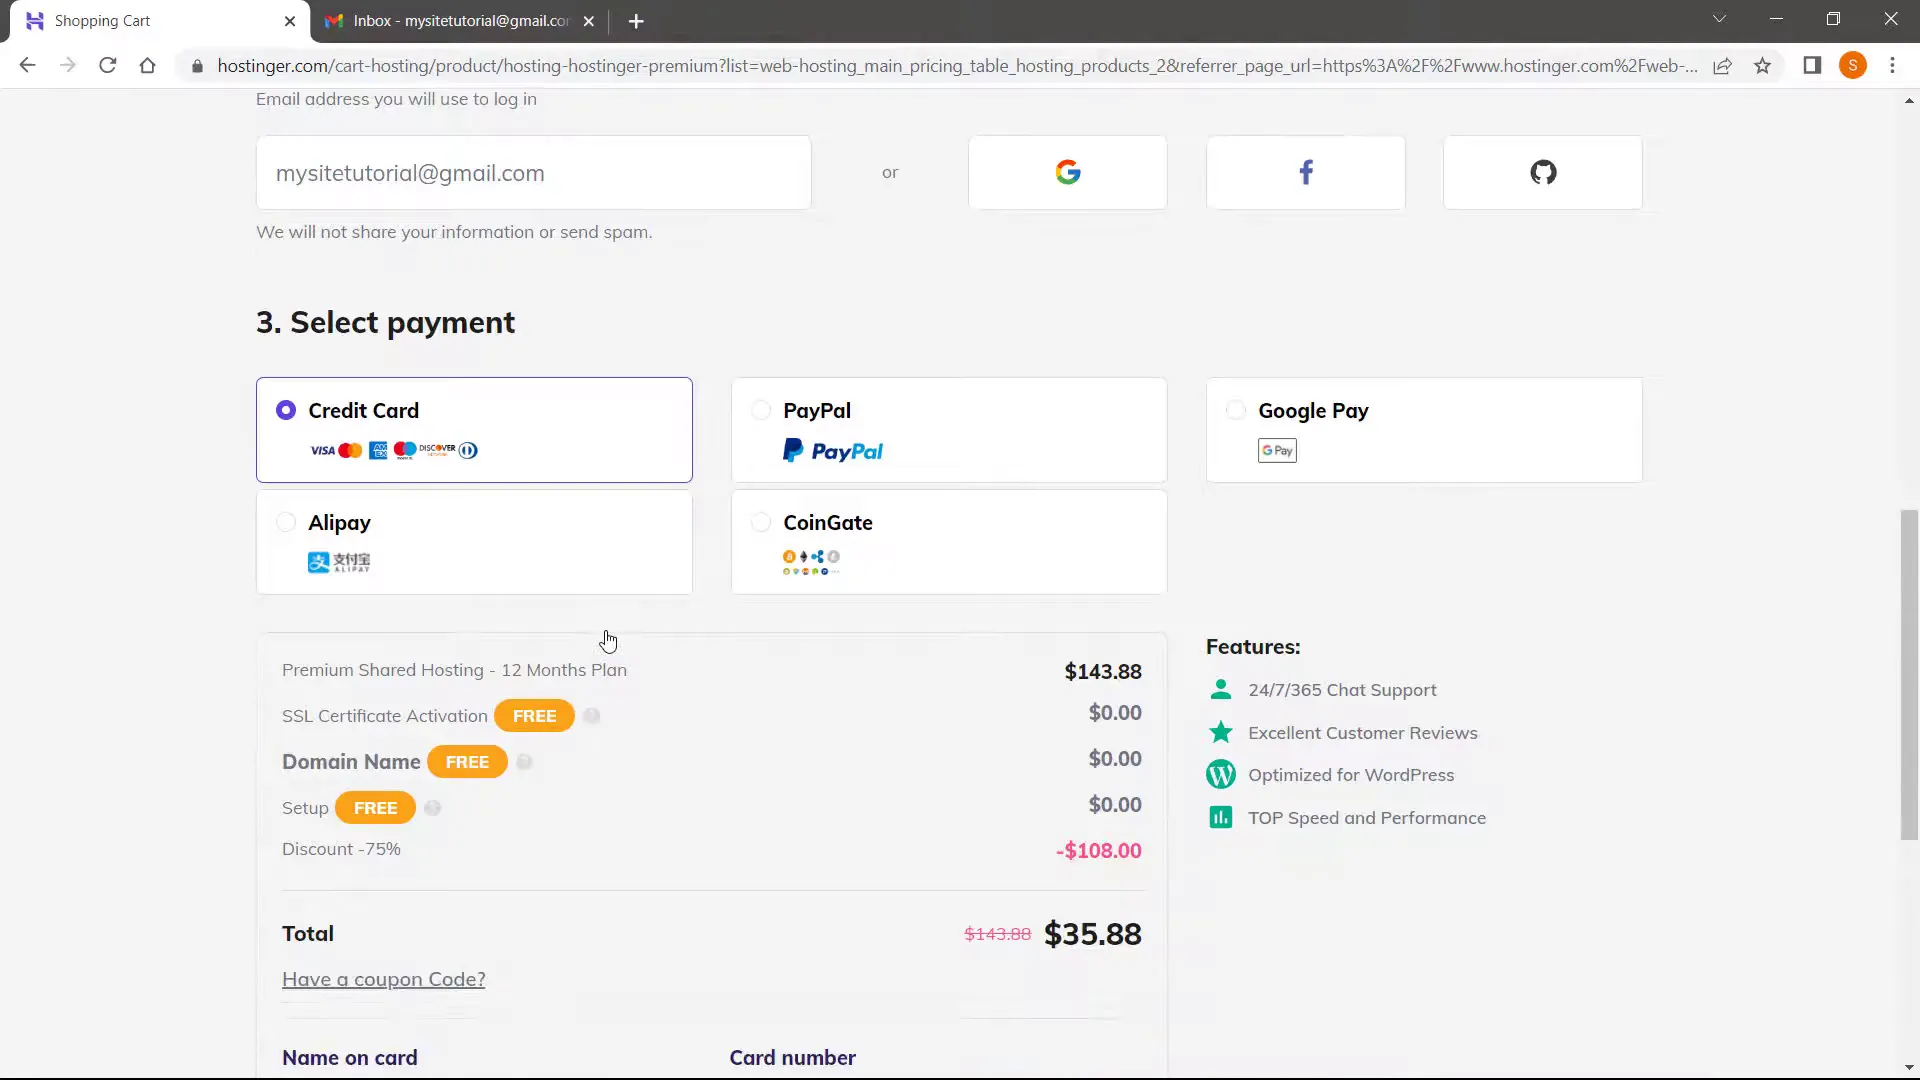
After selecting your hosting plan, you will need to create an account. Enter a valid email address, select a payment method, and enter your card details. take a discount code “1LAMINE44”, apply it here for additional savings.
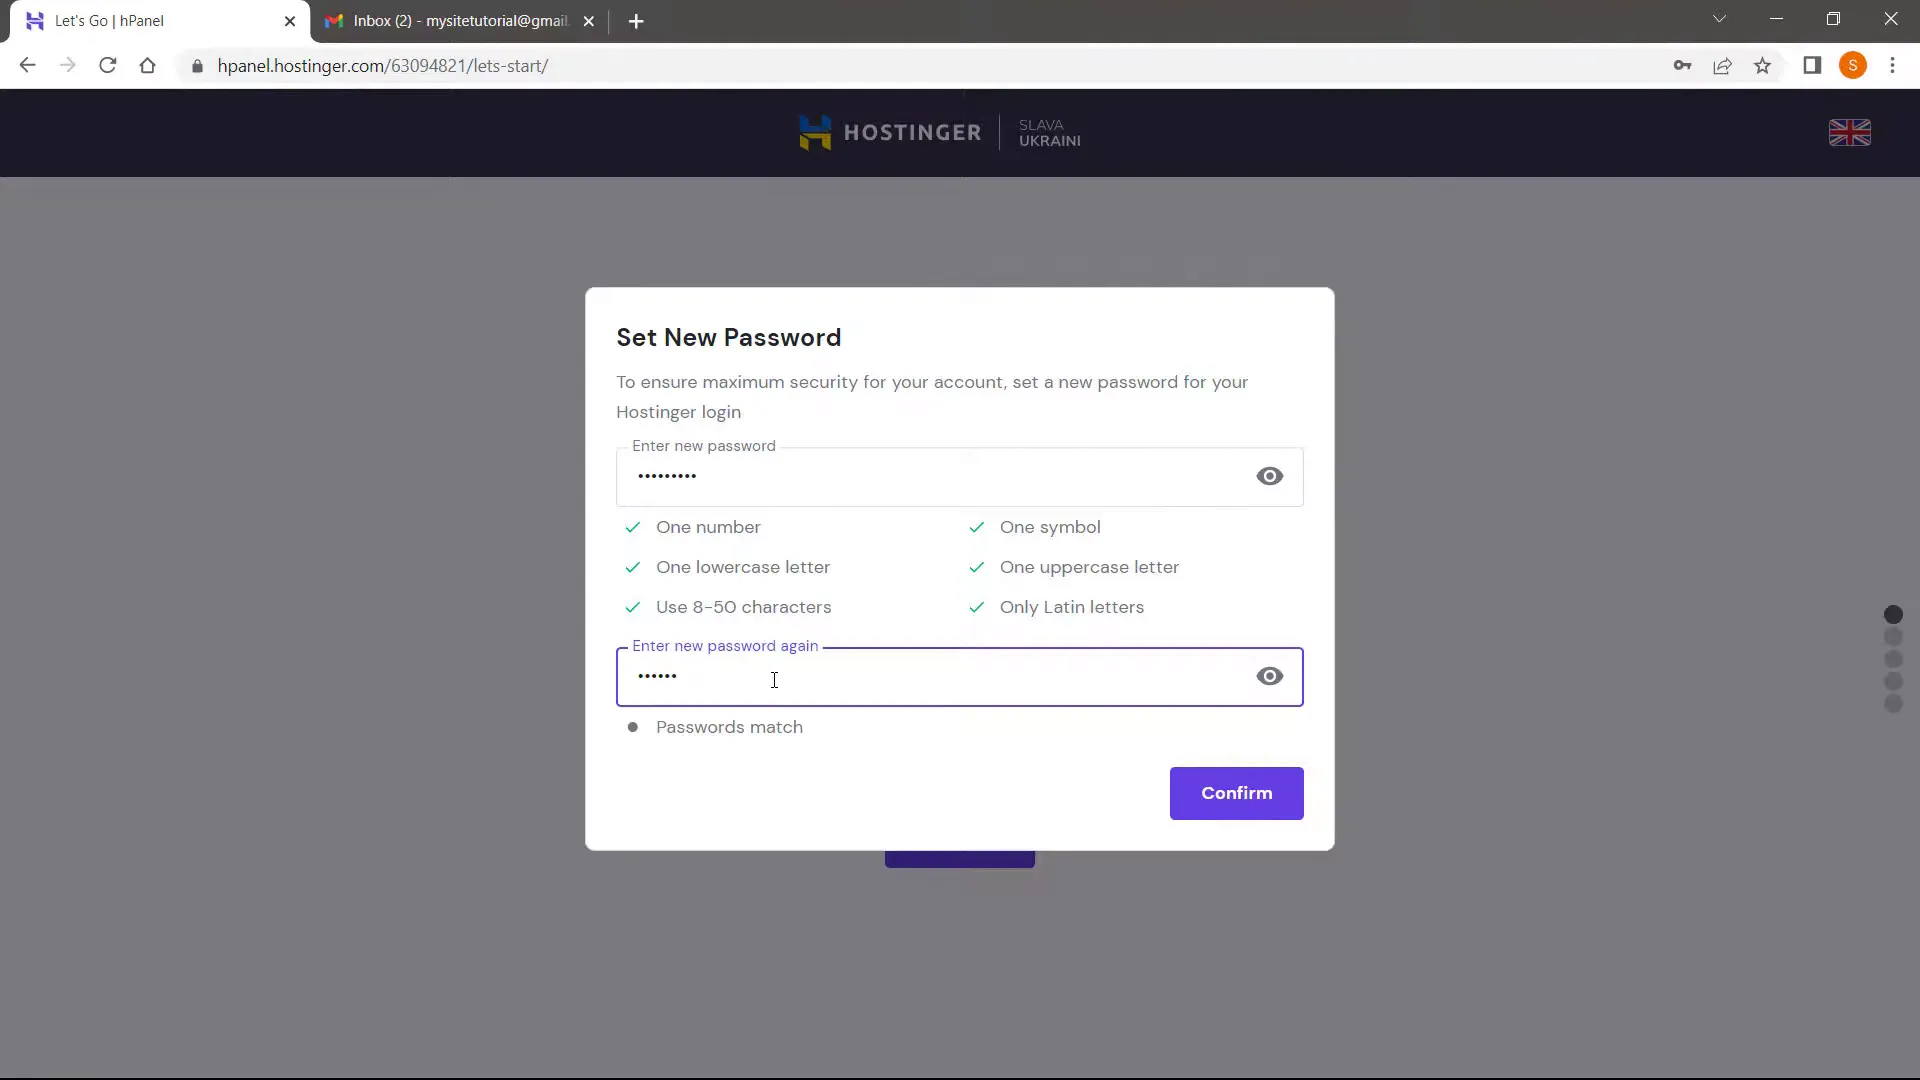
Once the payment is completed, Hostinger will prompt you to set a new password for your account. Make sure to save this password securely.
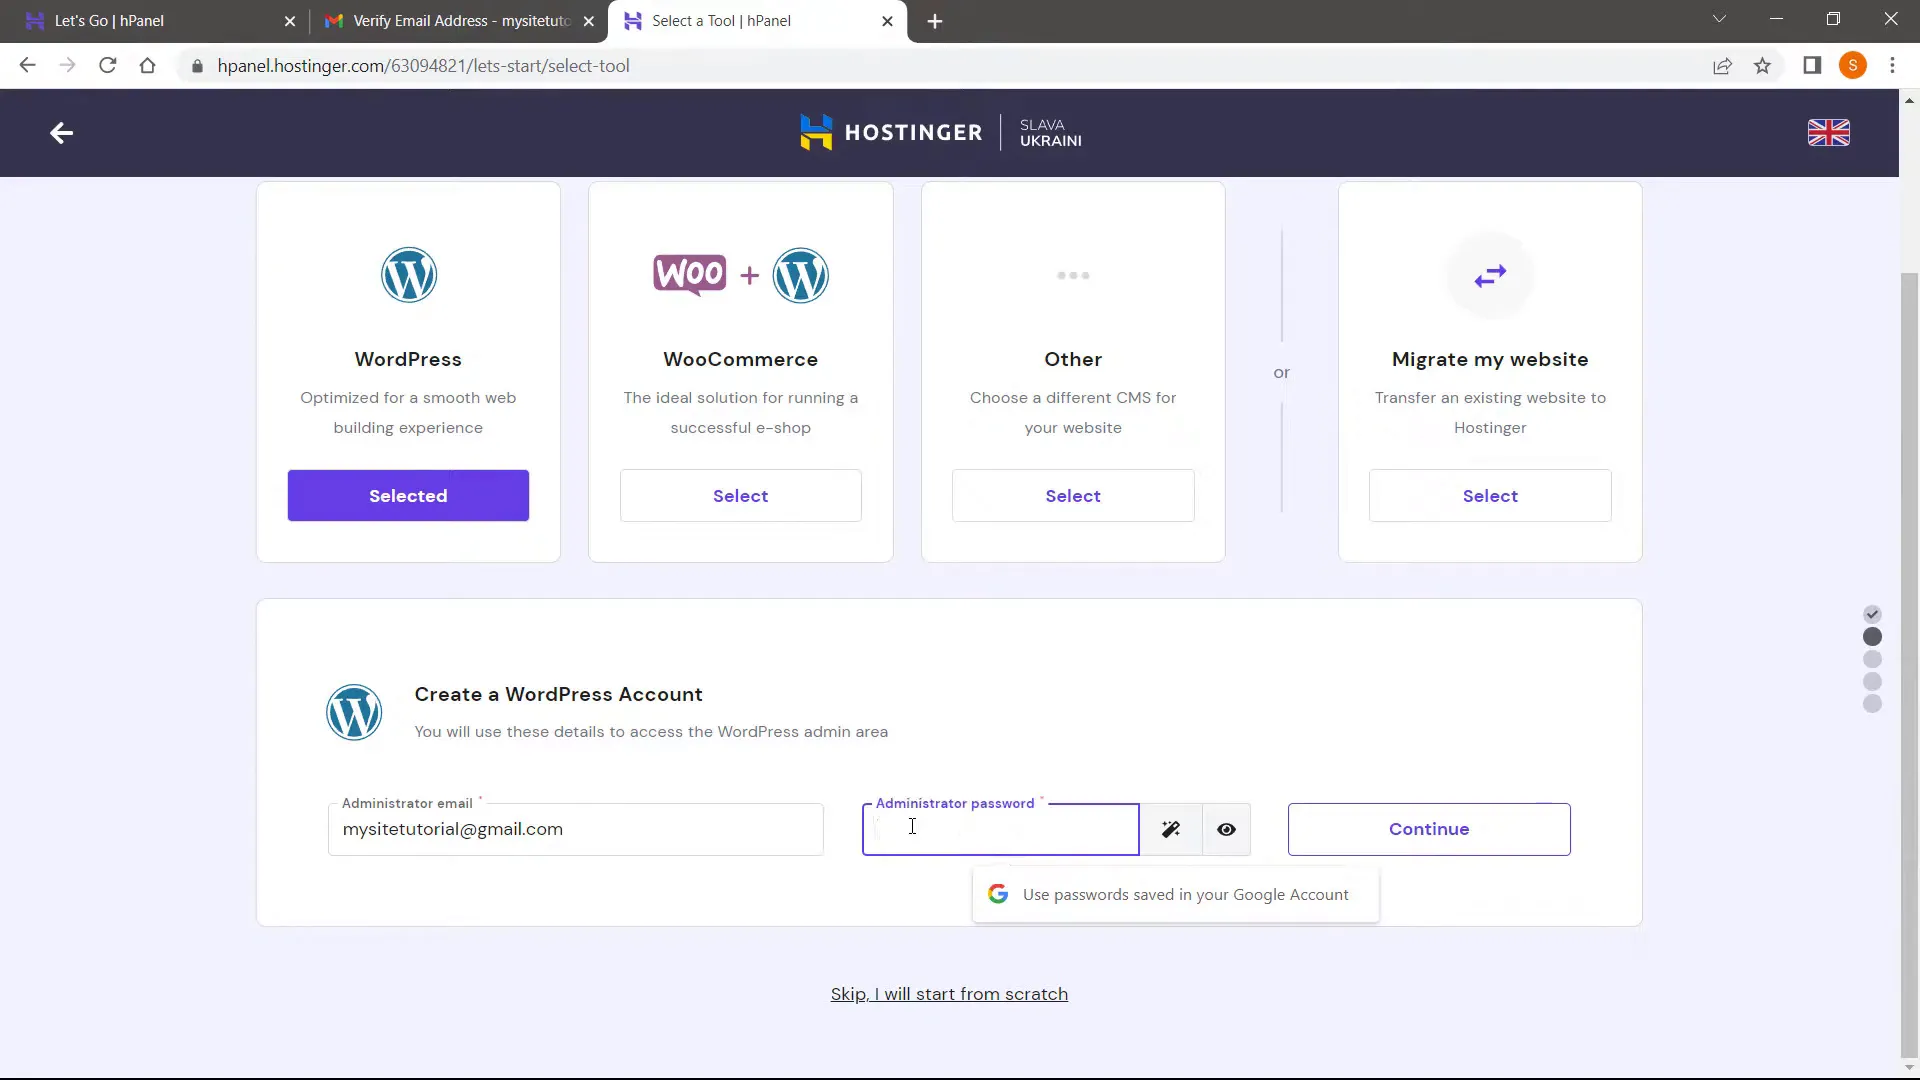
Next, log in to your account and click on “Start Now” to set up your hosting and domain. Choose “WordPress” and create an admin account by entering an email address and a password.
Step 3: Get Free Domain
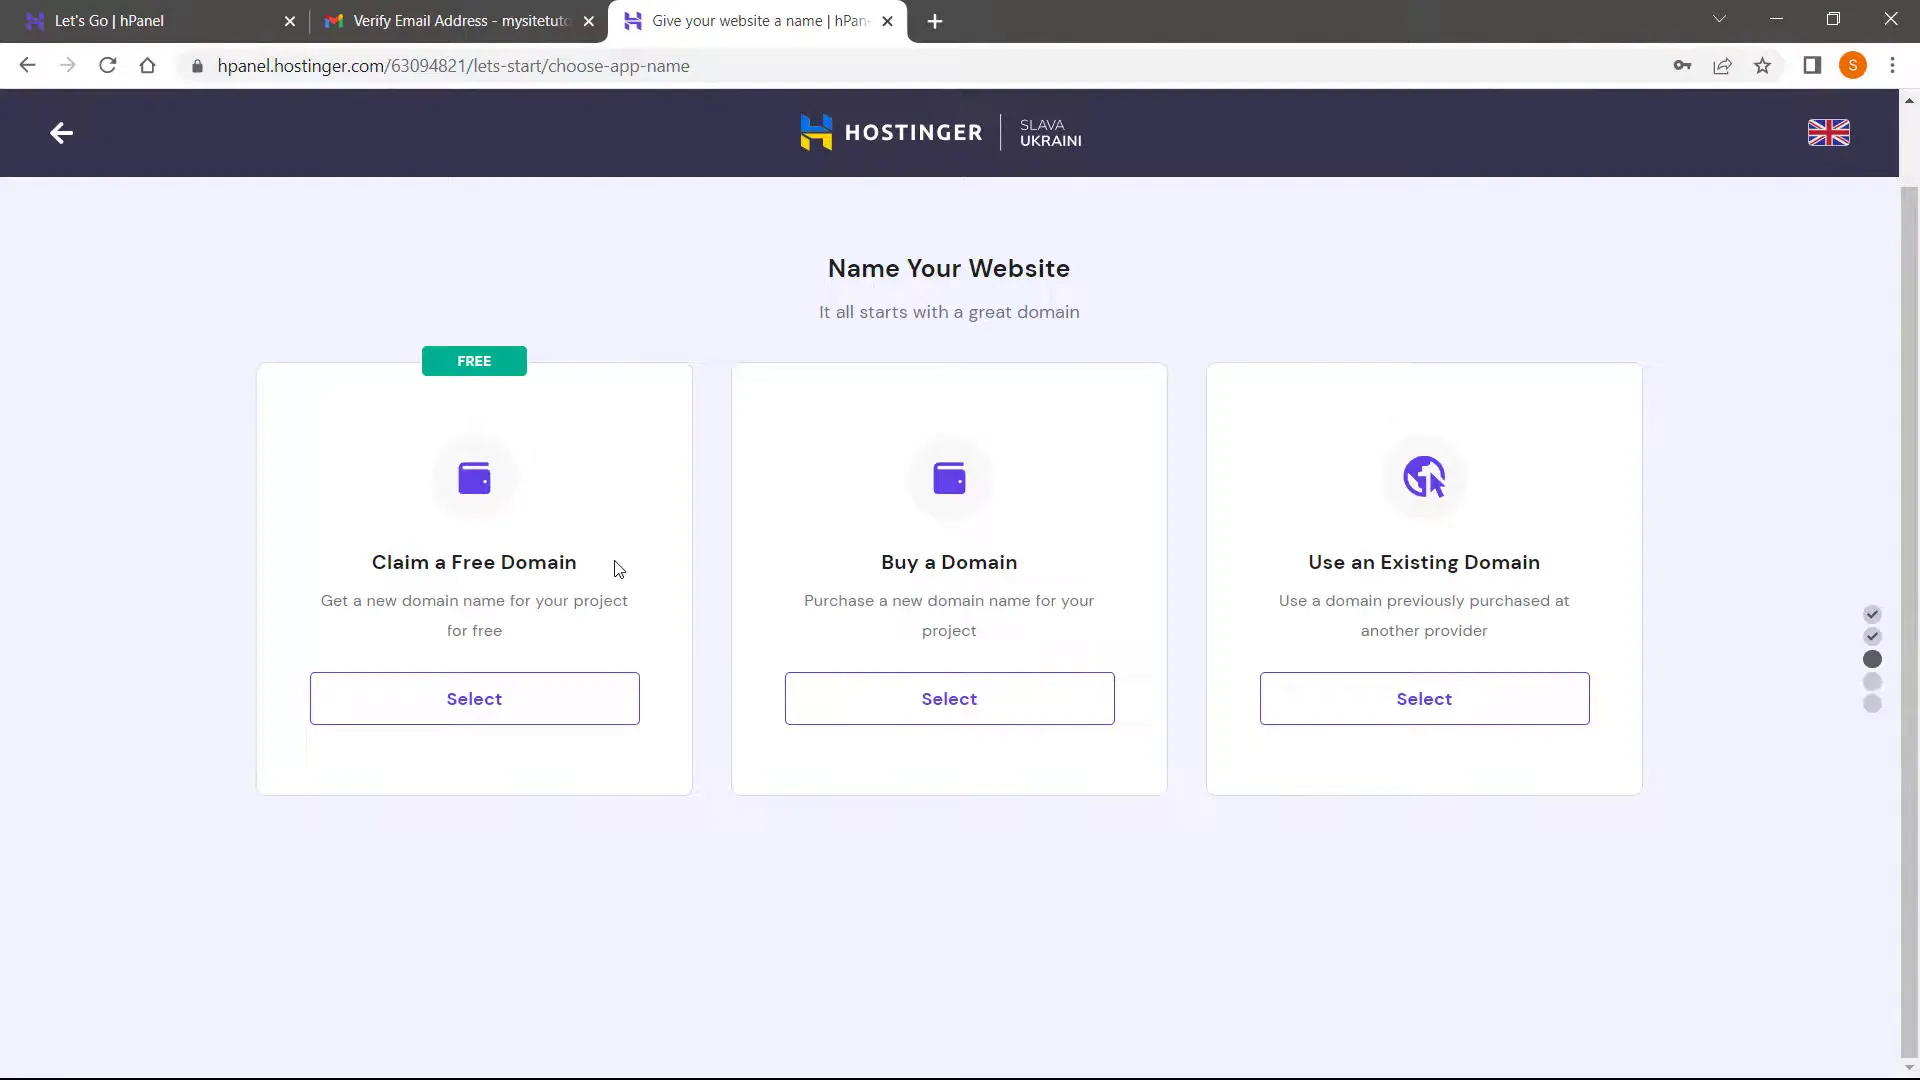
Now, it’s time to claim your free domain. Enter your desired domain name and check its availability. If it’s available, proceed to fill out the required personal information for domain registration.
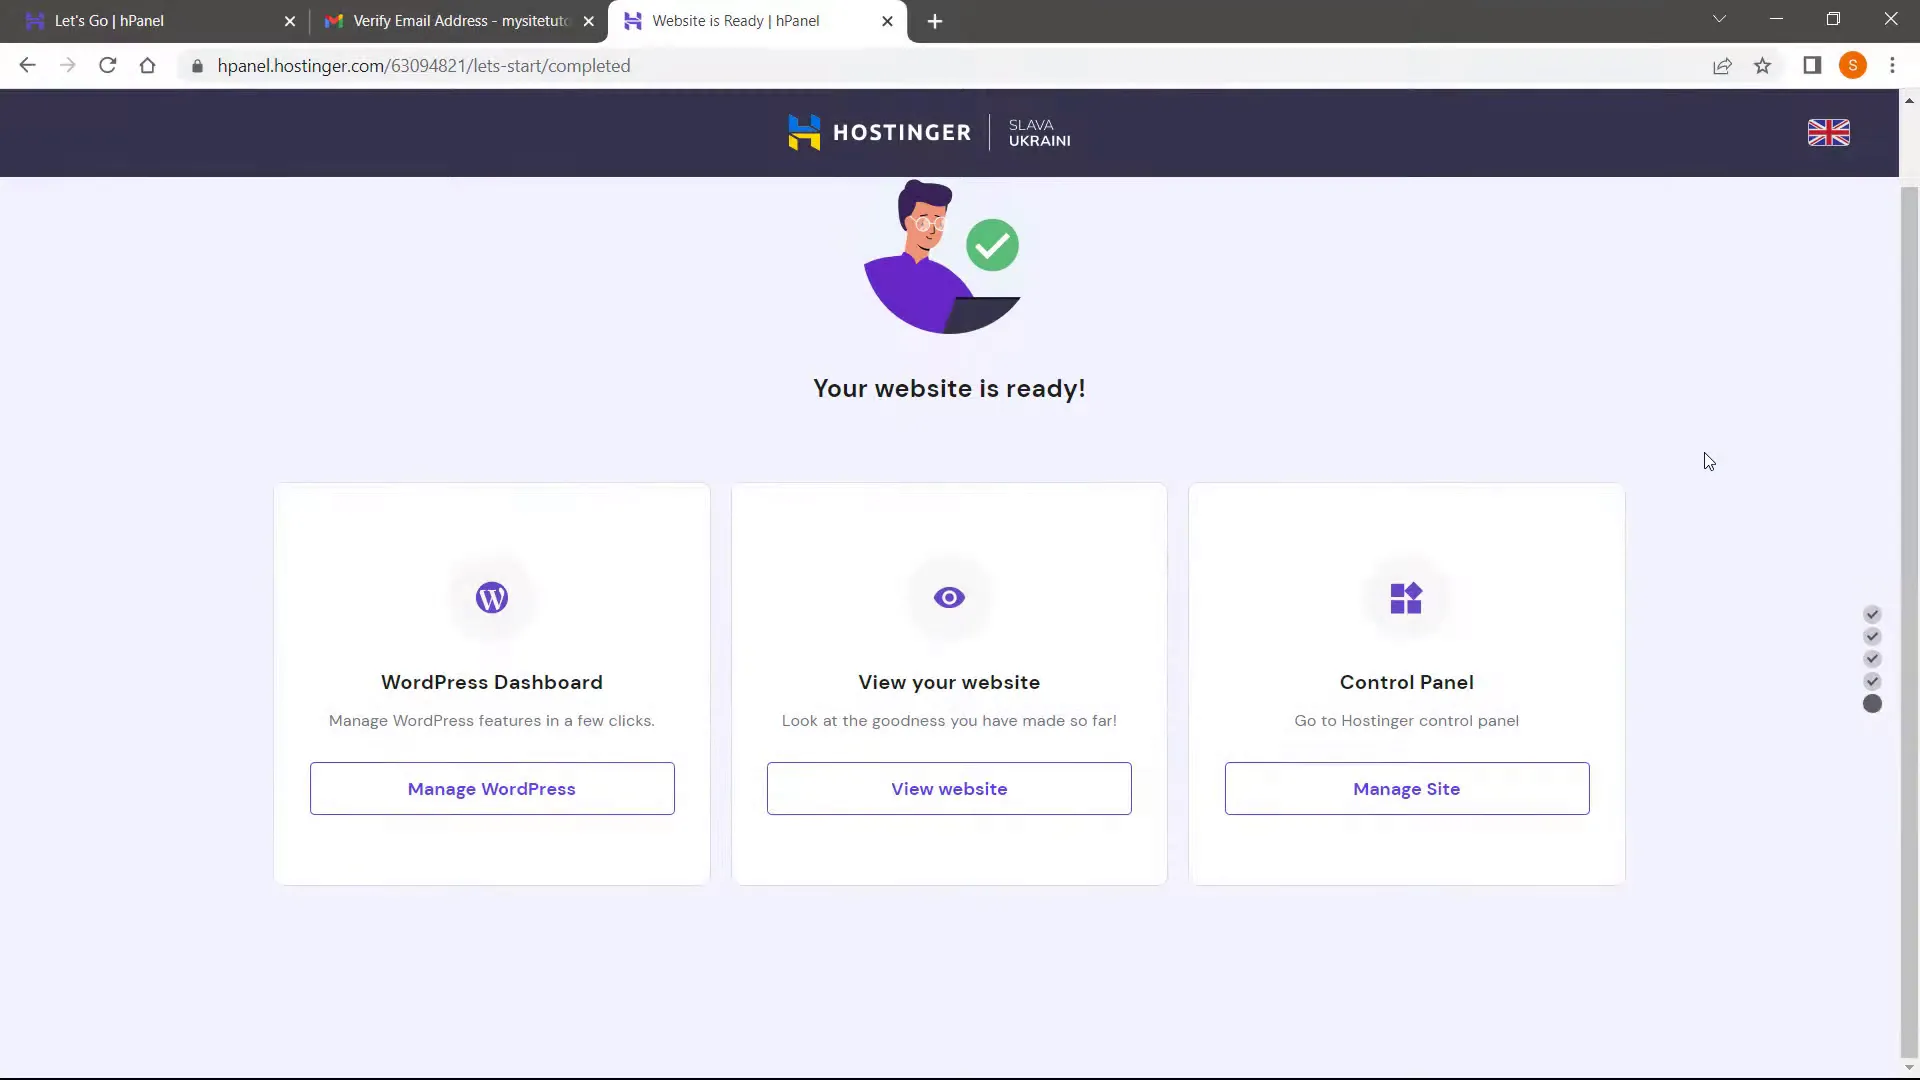
After filling in your information, click on “Finish Registration.” Hostinger will prepare your account, and after a few moments, you will be redirected to your dashboard.
Step 4: Setup SSL – Secure Connection to Your Site
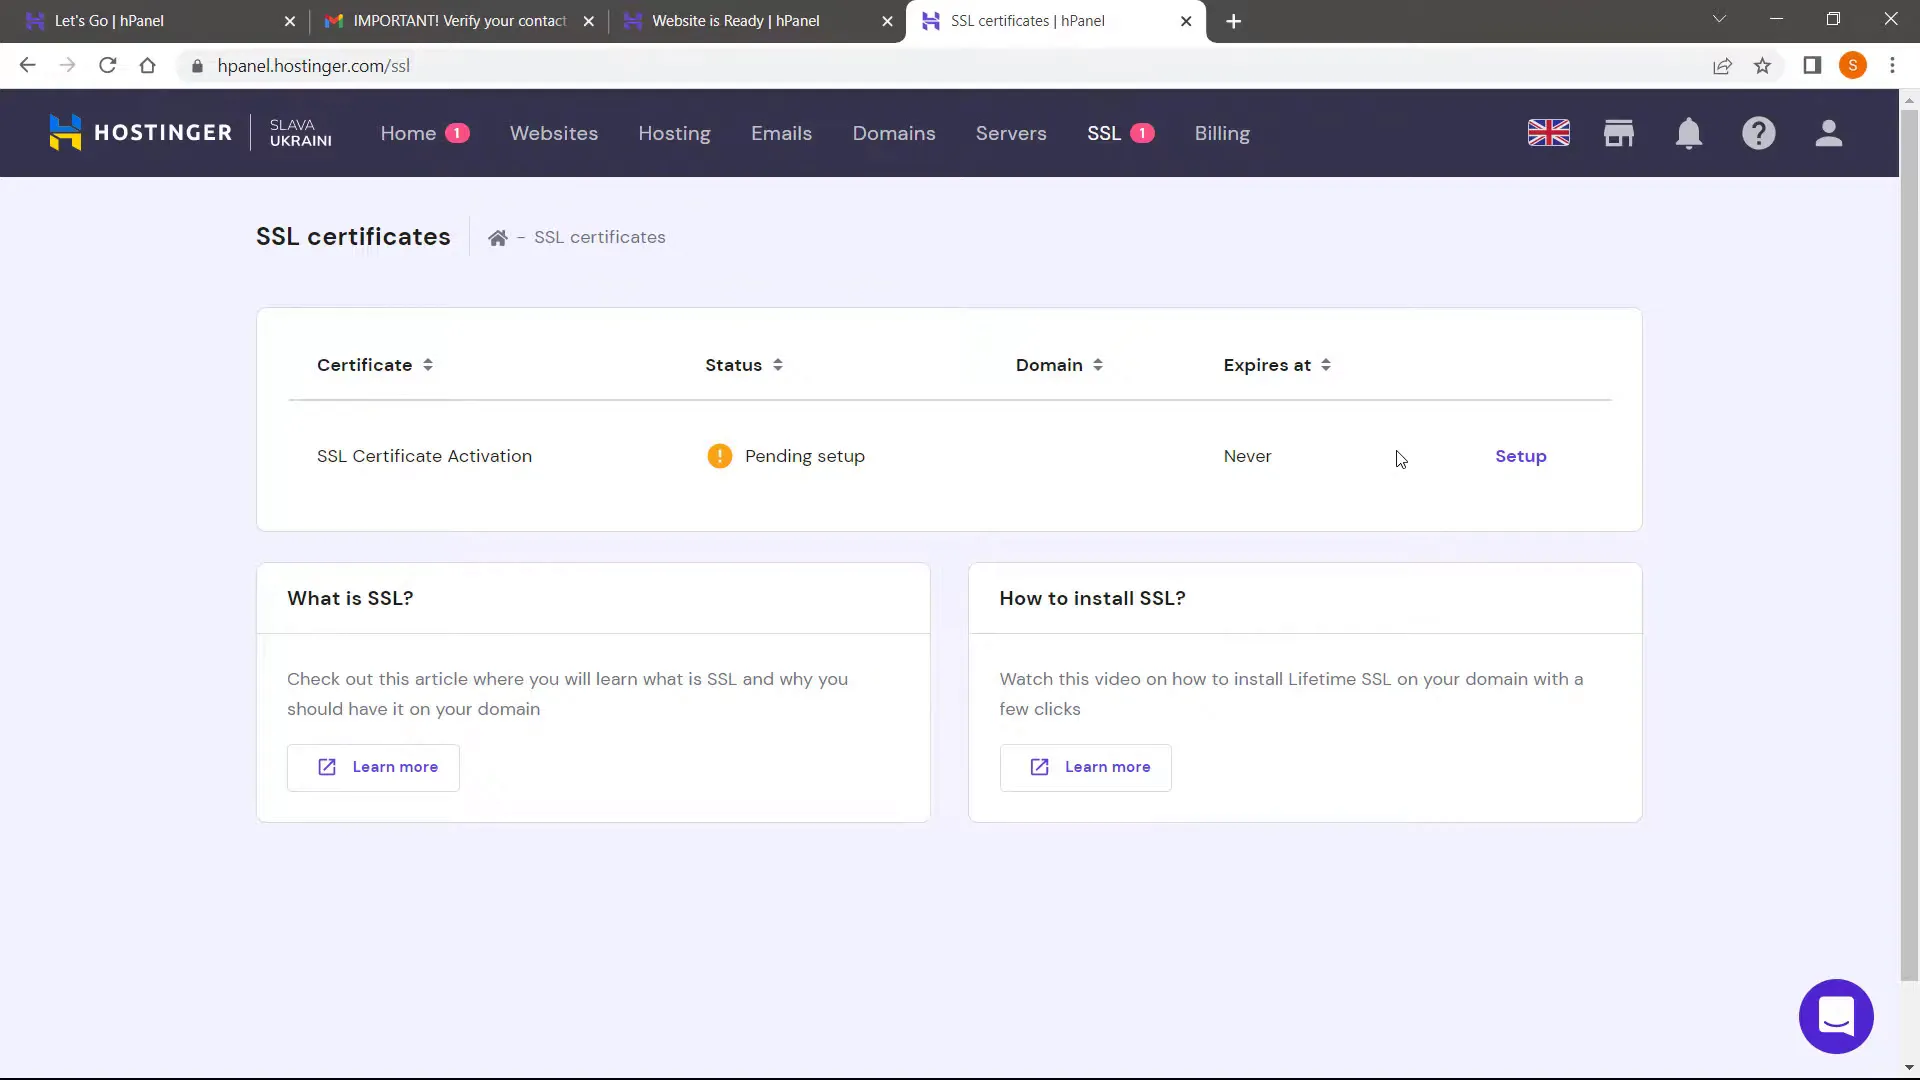
The next crucial step is to secure your website with an SSL certificate. Click on the SSL option in your dashboard and select your domain. Then click on “Install SSL.” This will encrypt the connection between your website and its visitors, enhancing security.
Step 5: Access Your New WordPress Website
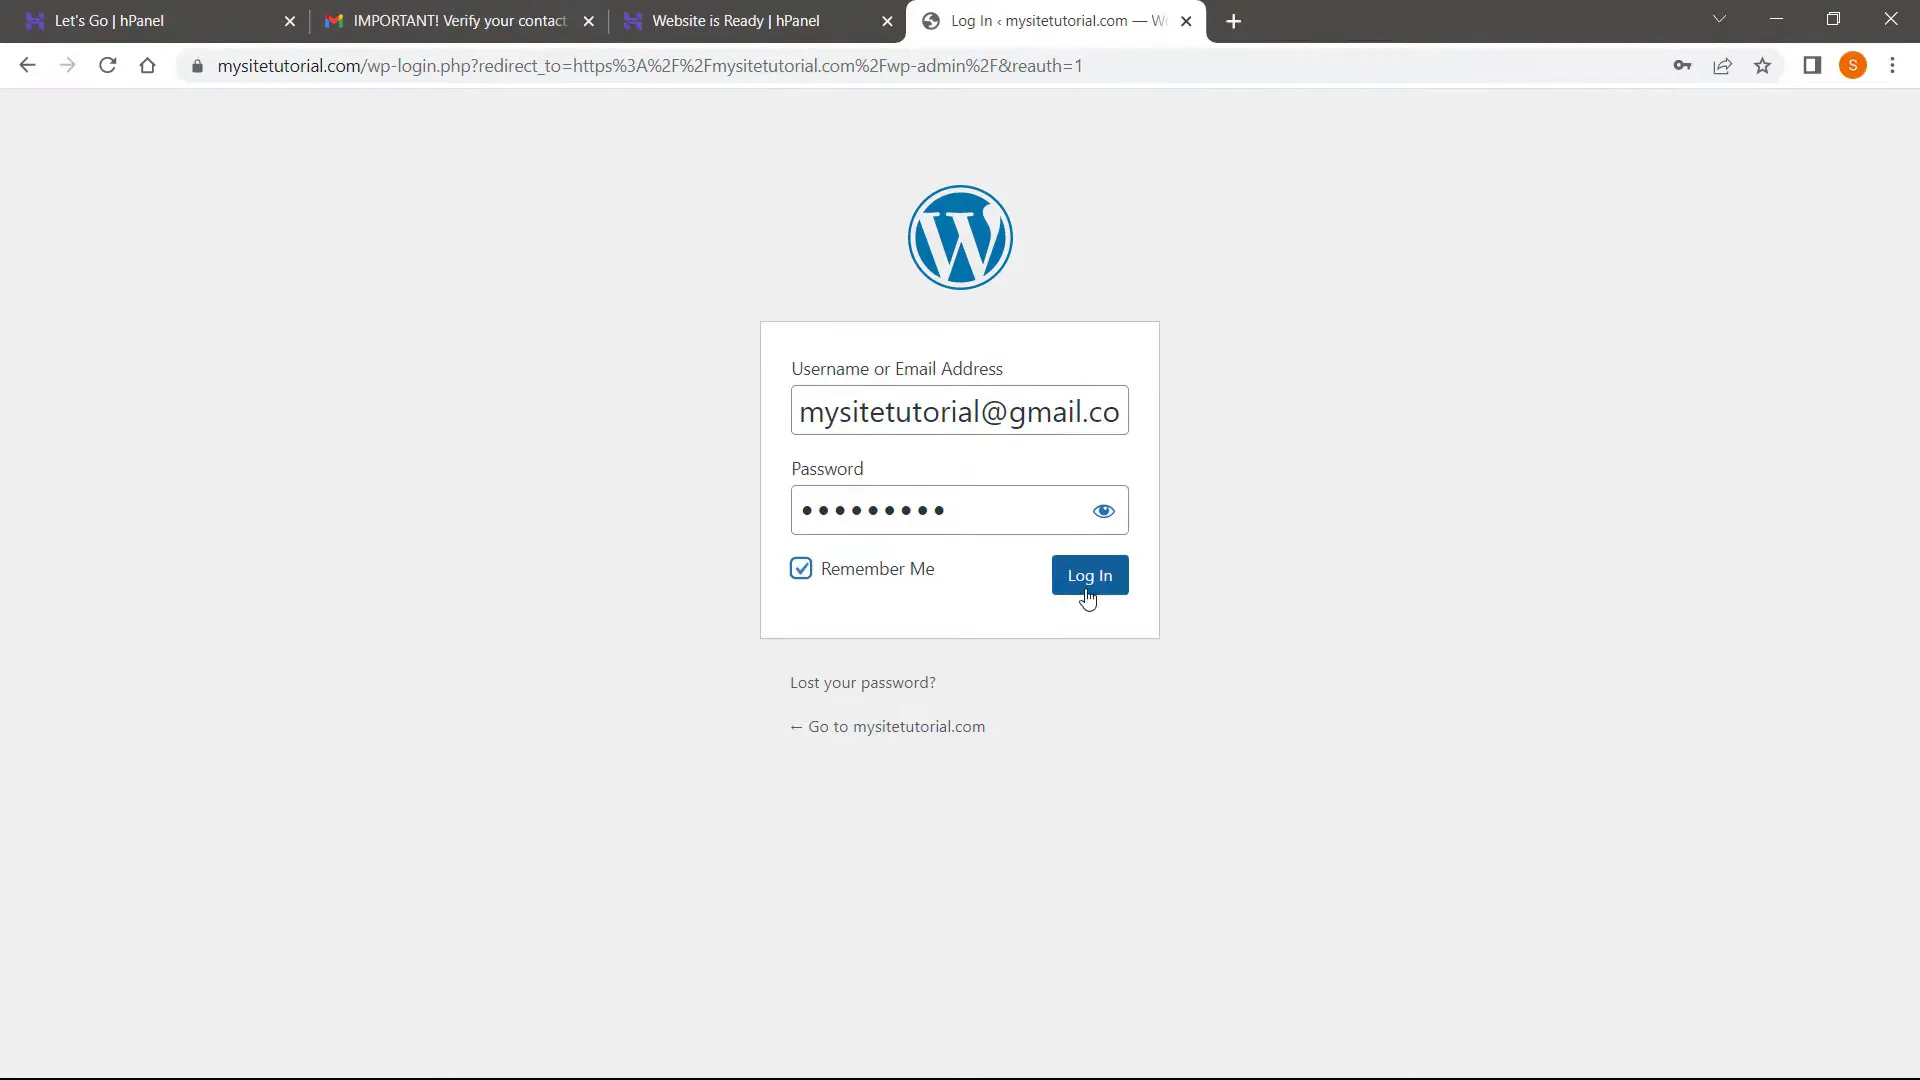
Your WordPress site is now set up! To access it, simply add “/wp-admin” at the end of your domain name in the browser. Log in using the credentials you created earlier.
Step 6: Install New Theme
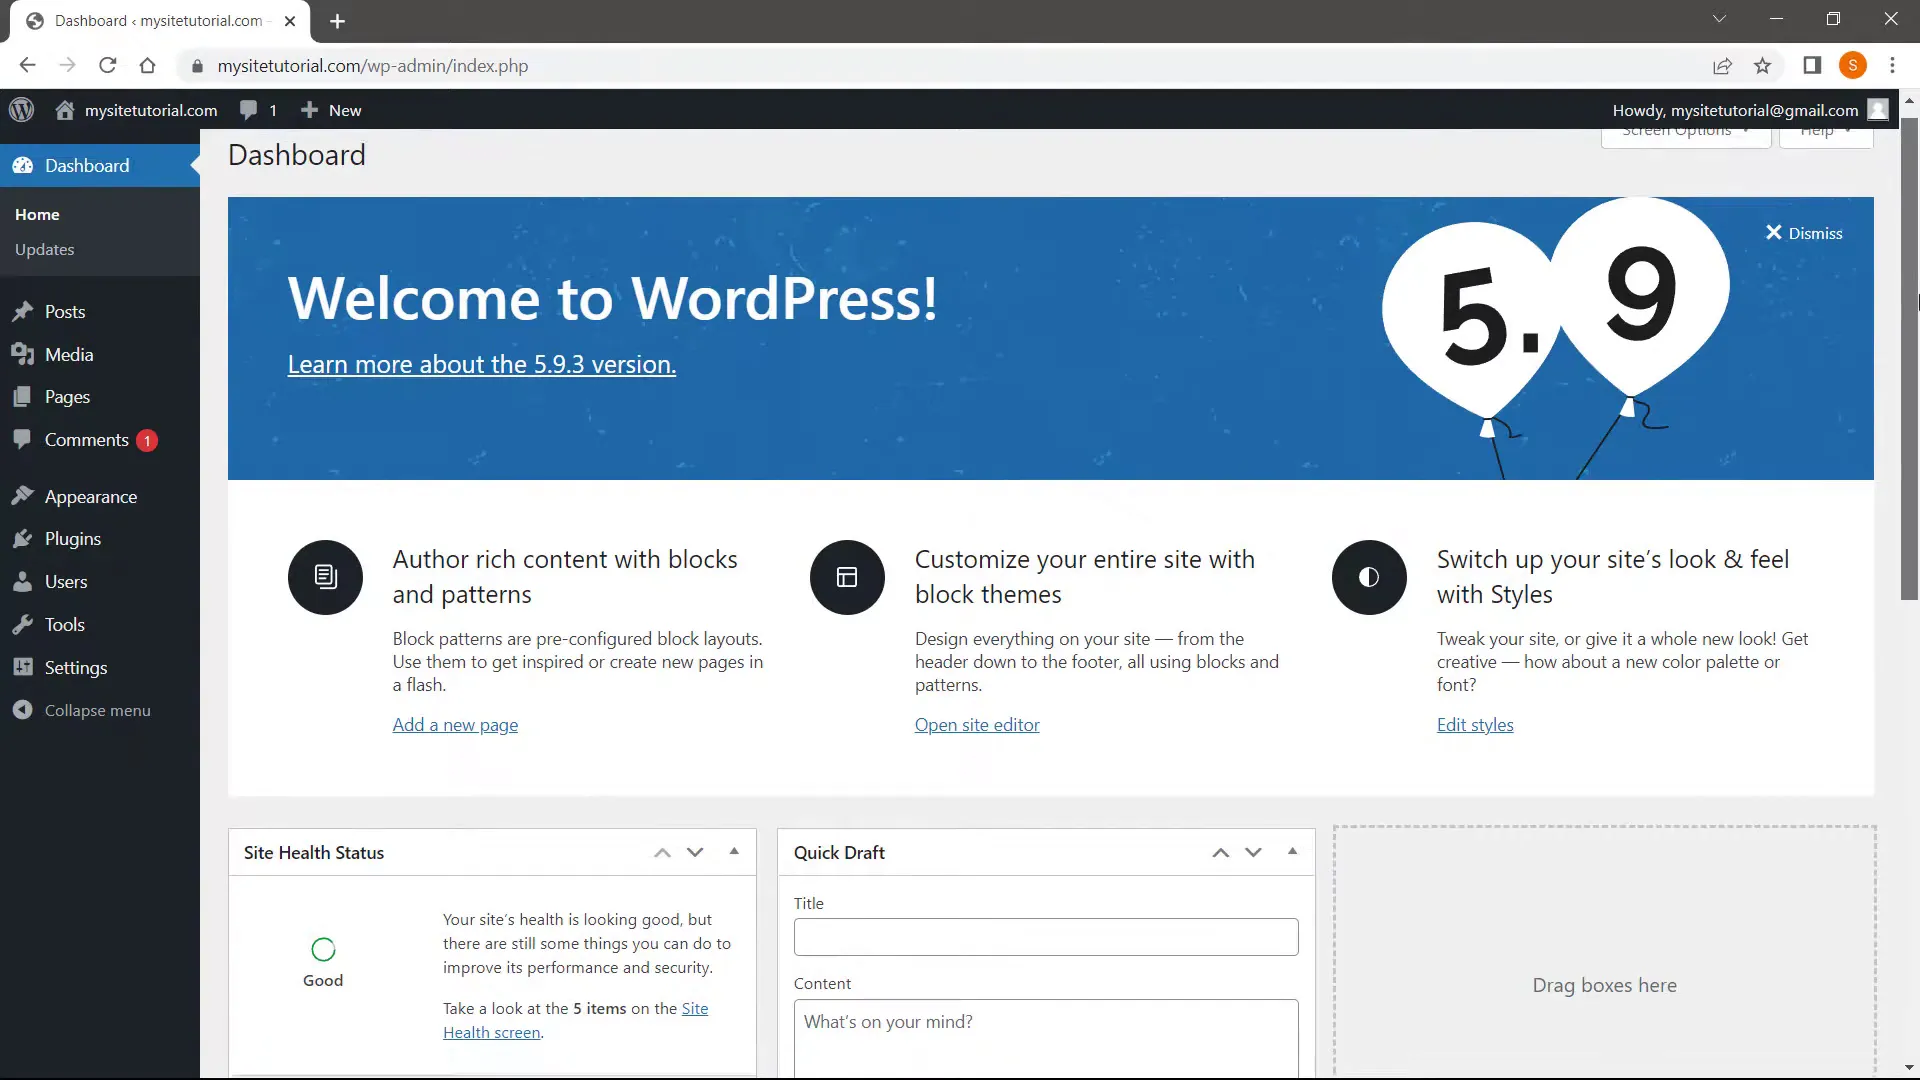
Once logged in, you’ll notice that WordPress comes with some default plugins and themes. For a cleaner start, deactivate and delete any unnecessary plugins. Now, let’s install a new theme. Go to “Appearance” and then “Themes.”
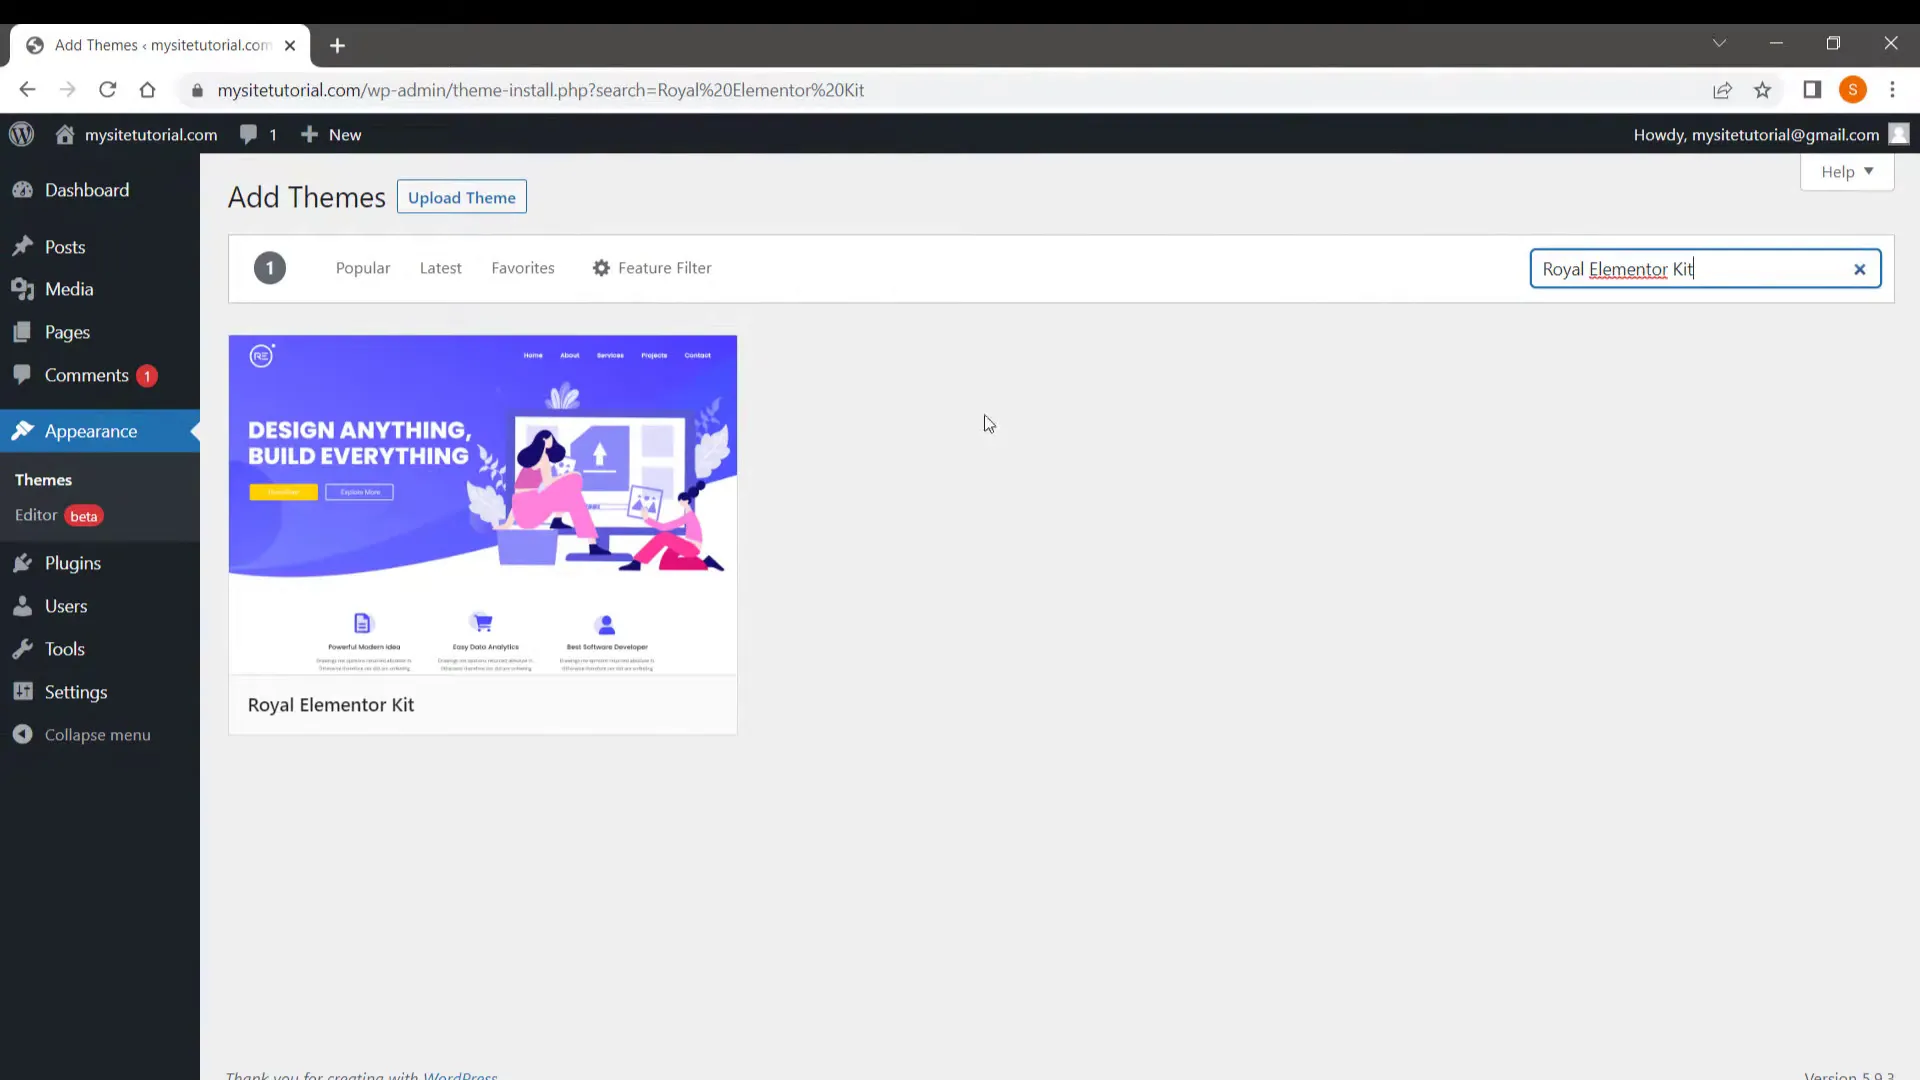
Click on “Add New” and search for the “Royal Elementor Kit.” This theme is fast, SEO-friendly, and optimized for the Elementor page builder. Install and activate it.
Step 7: Access Ready to Use Templates
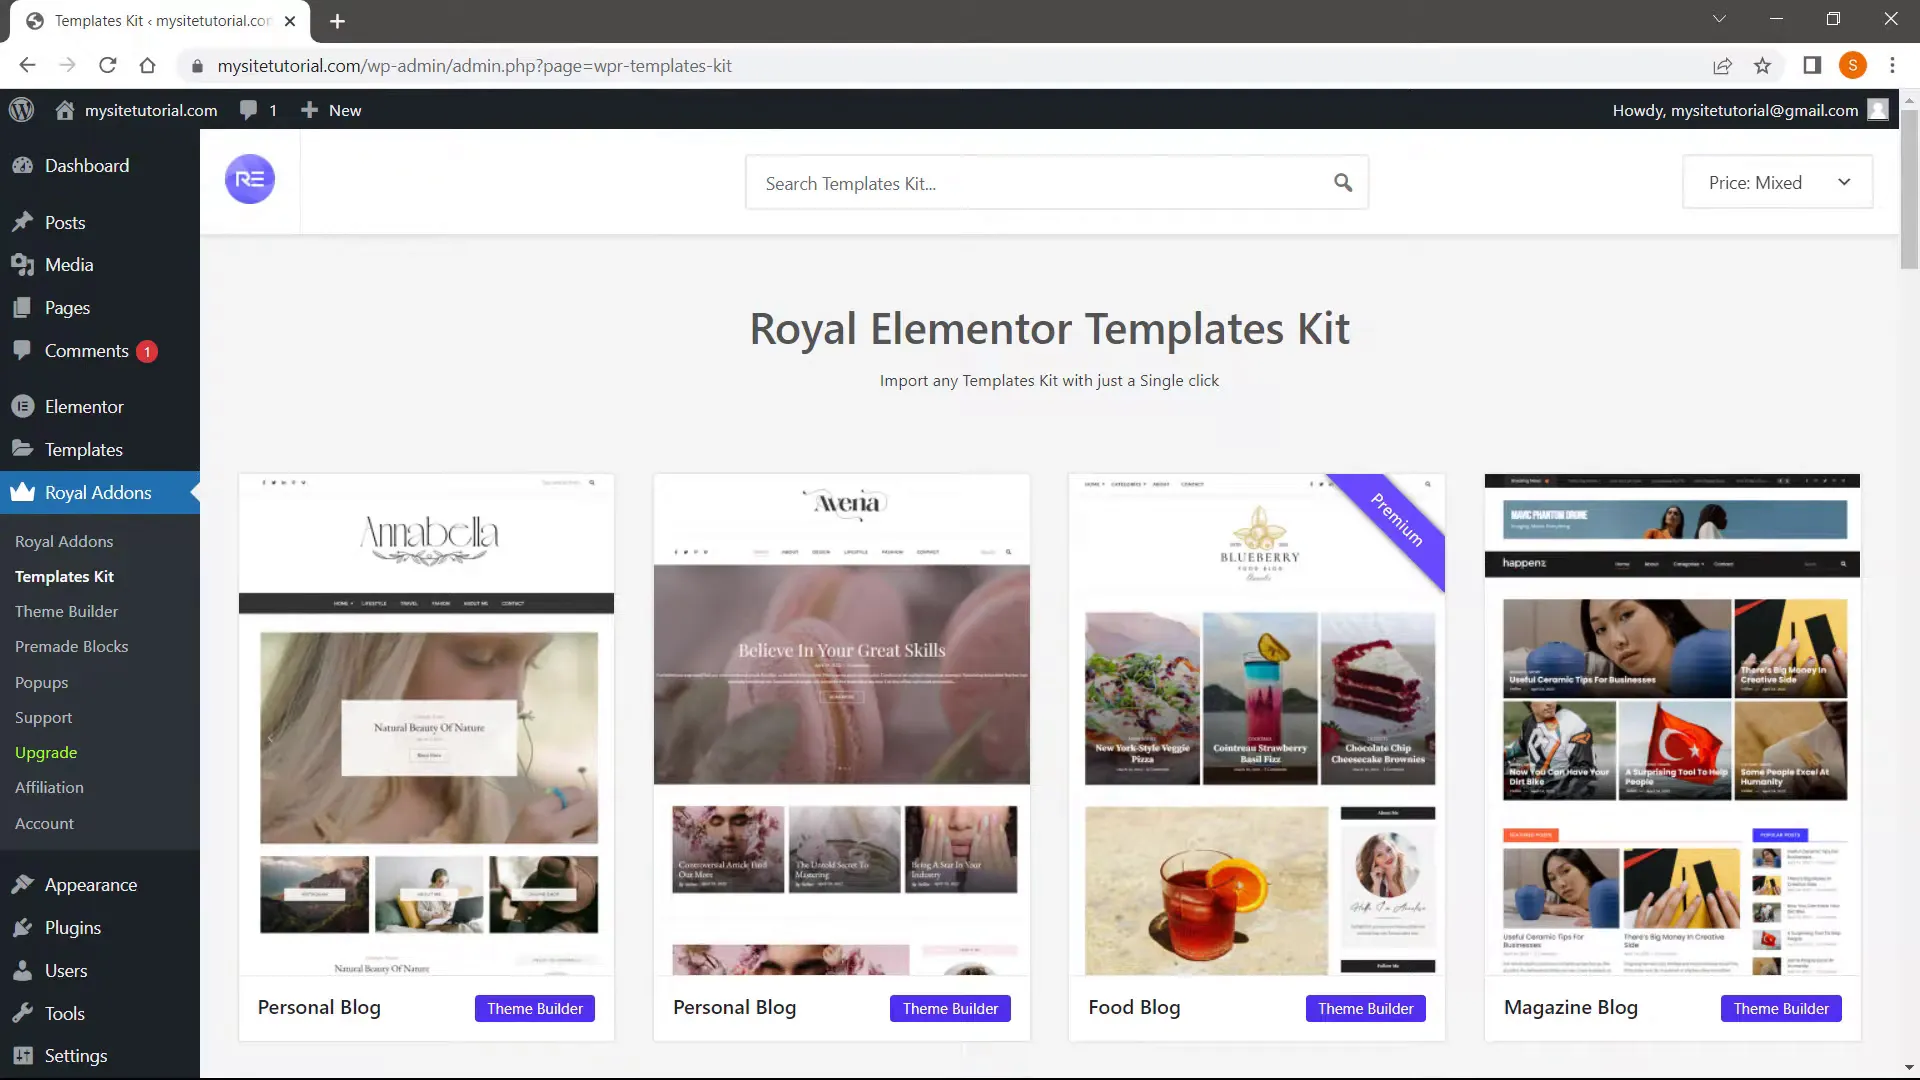
To make the design process easier, you can use ready-made templates. After activating the theme, click on “Get Started with Template Kit.” This will allow you to import pre-designed templates that suit your site’s needs.
Step 8: Your Site is READY in Less Than 10 Minutes
Congratulations! You have successfully registered your domain, set up hosting, and created a WordPress website using Hostinger in under ten minutes. Now, let’s learn how to edit your website.
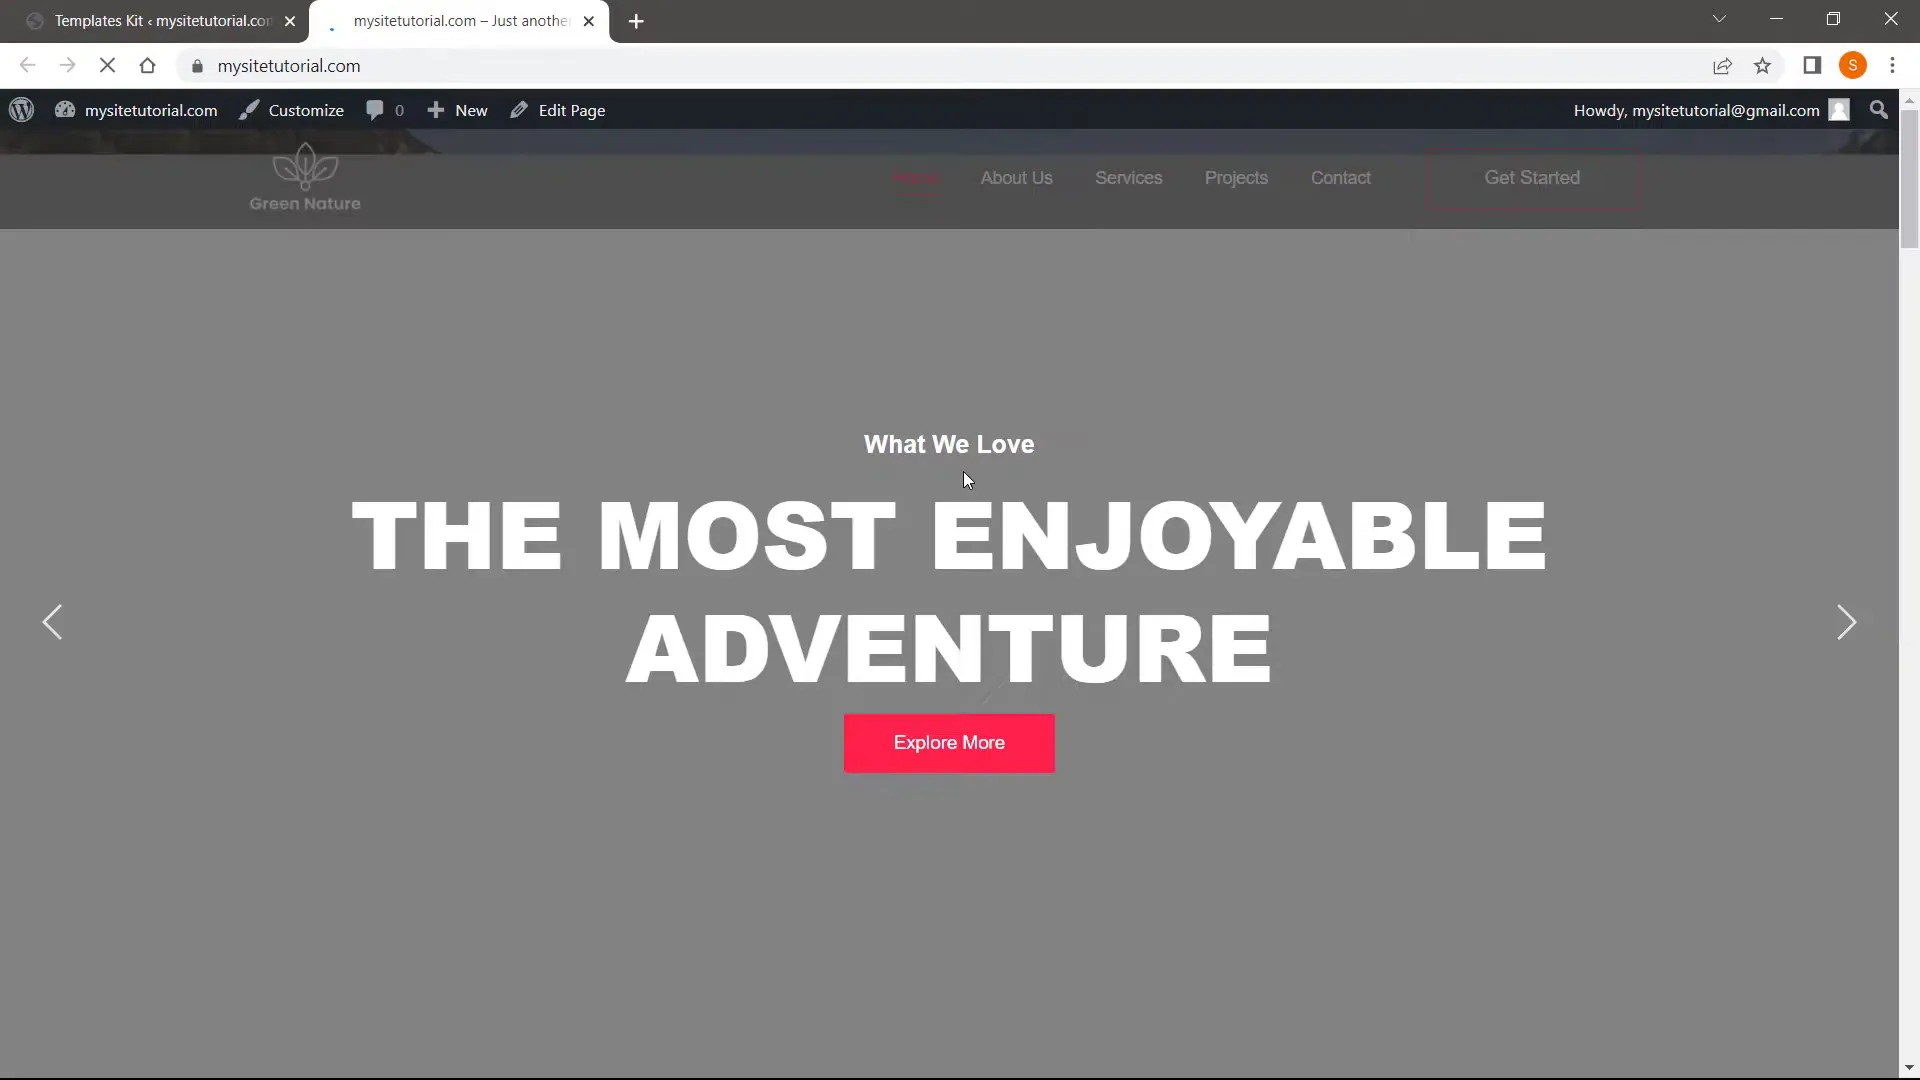
Step 9: Learn How to Edit the Website
To edit your website, hover over the page you want to edit and click on “Edit with Elementor.” This will open the Elementor page builder where you can customize your content visually.
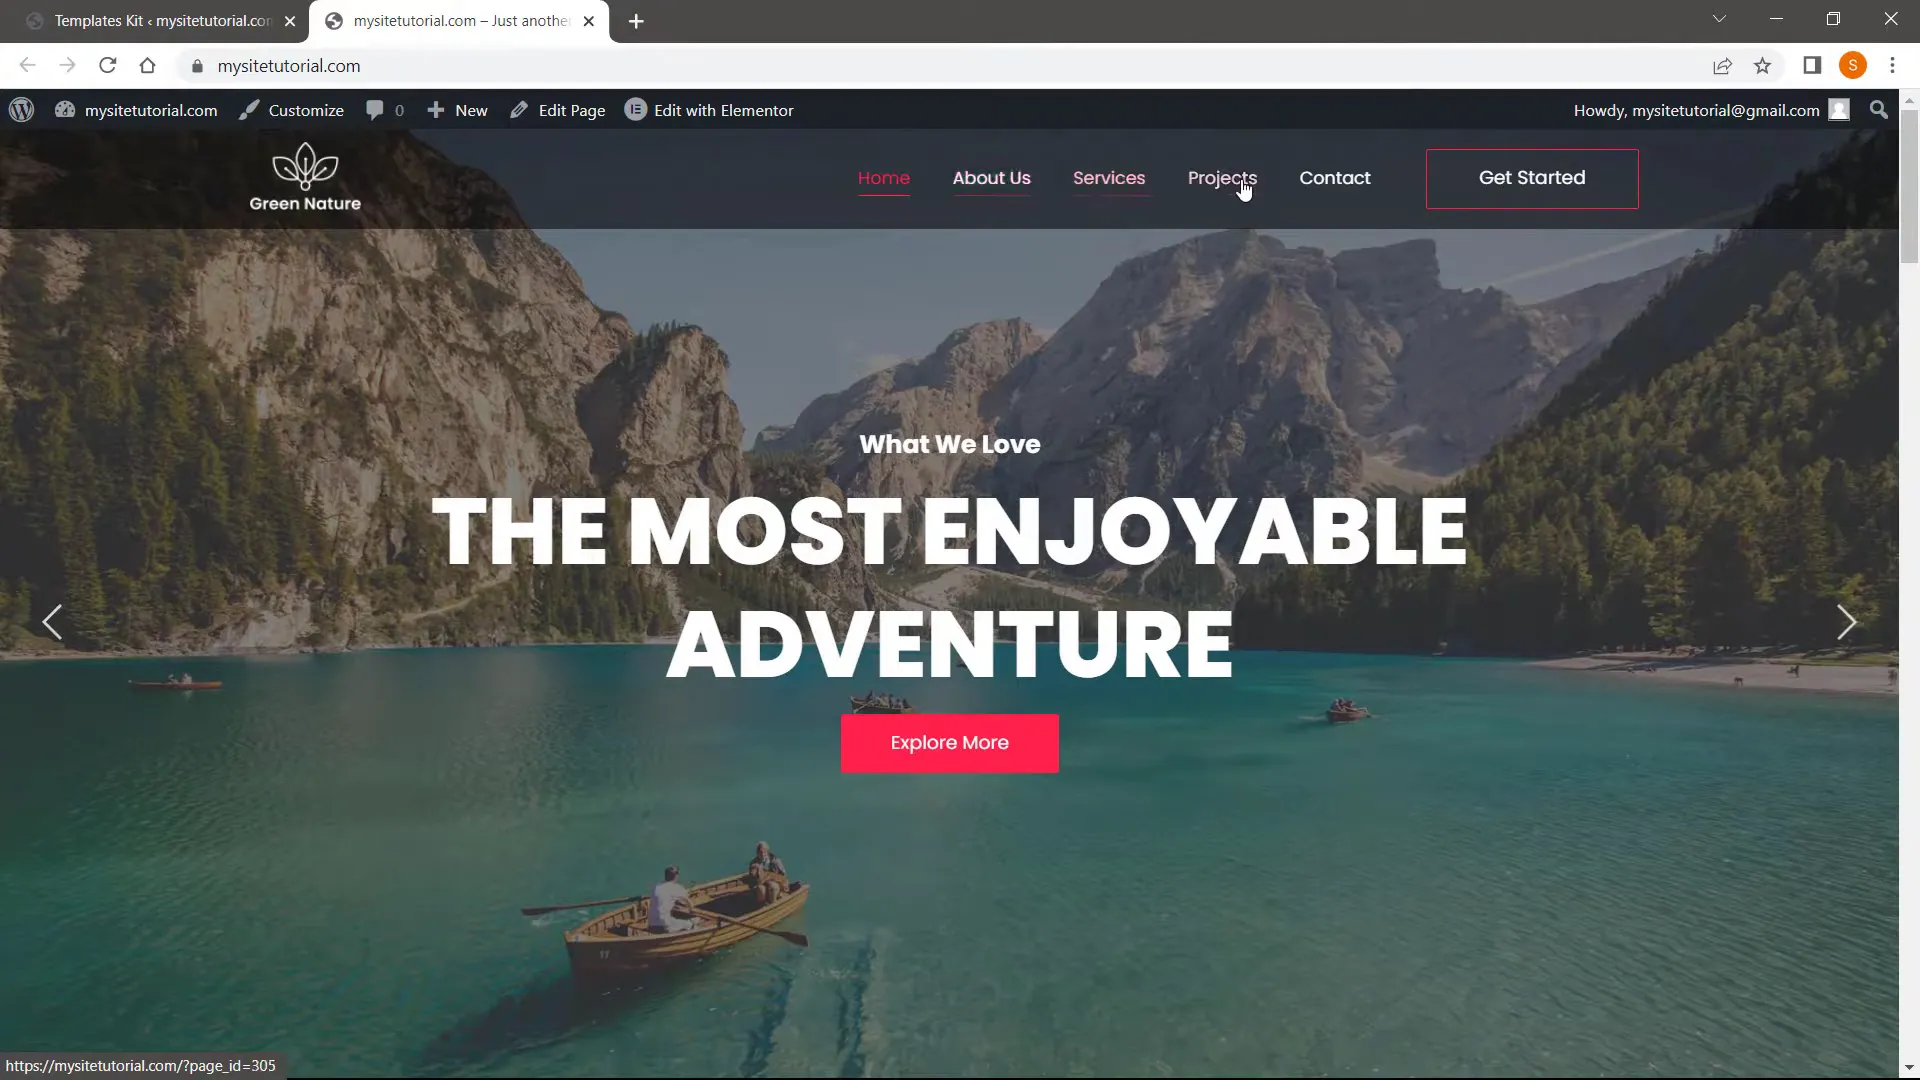
Step 10: How to Create or Delete Pages
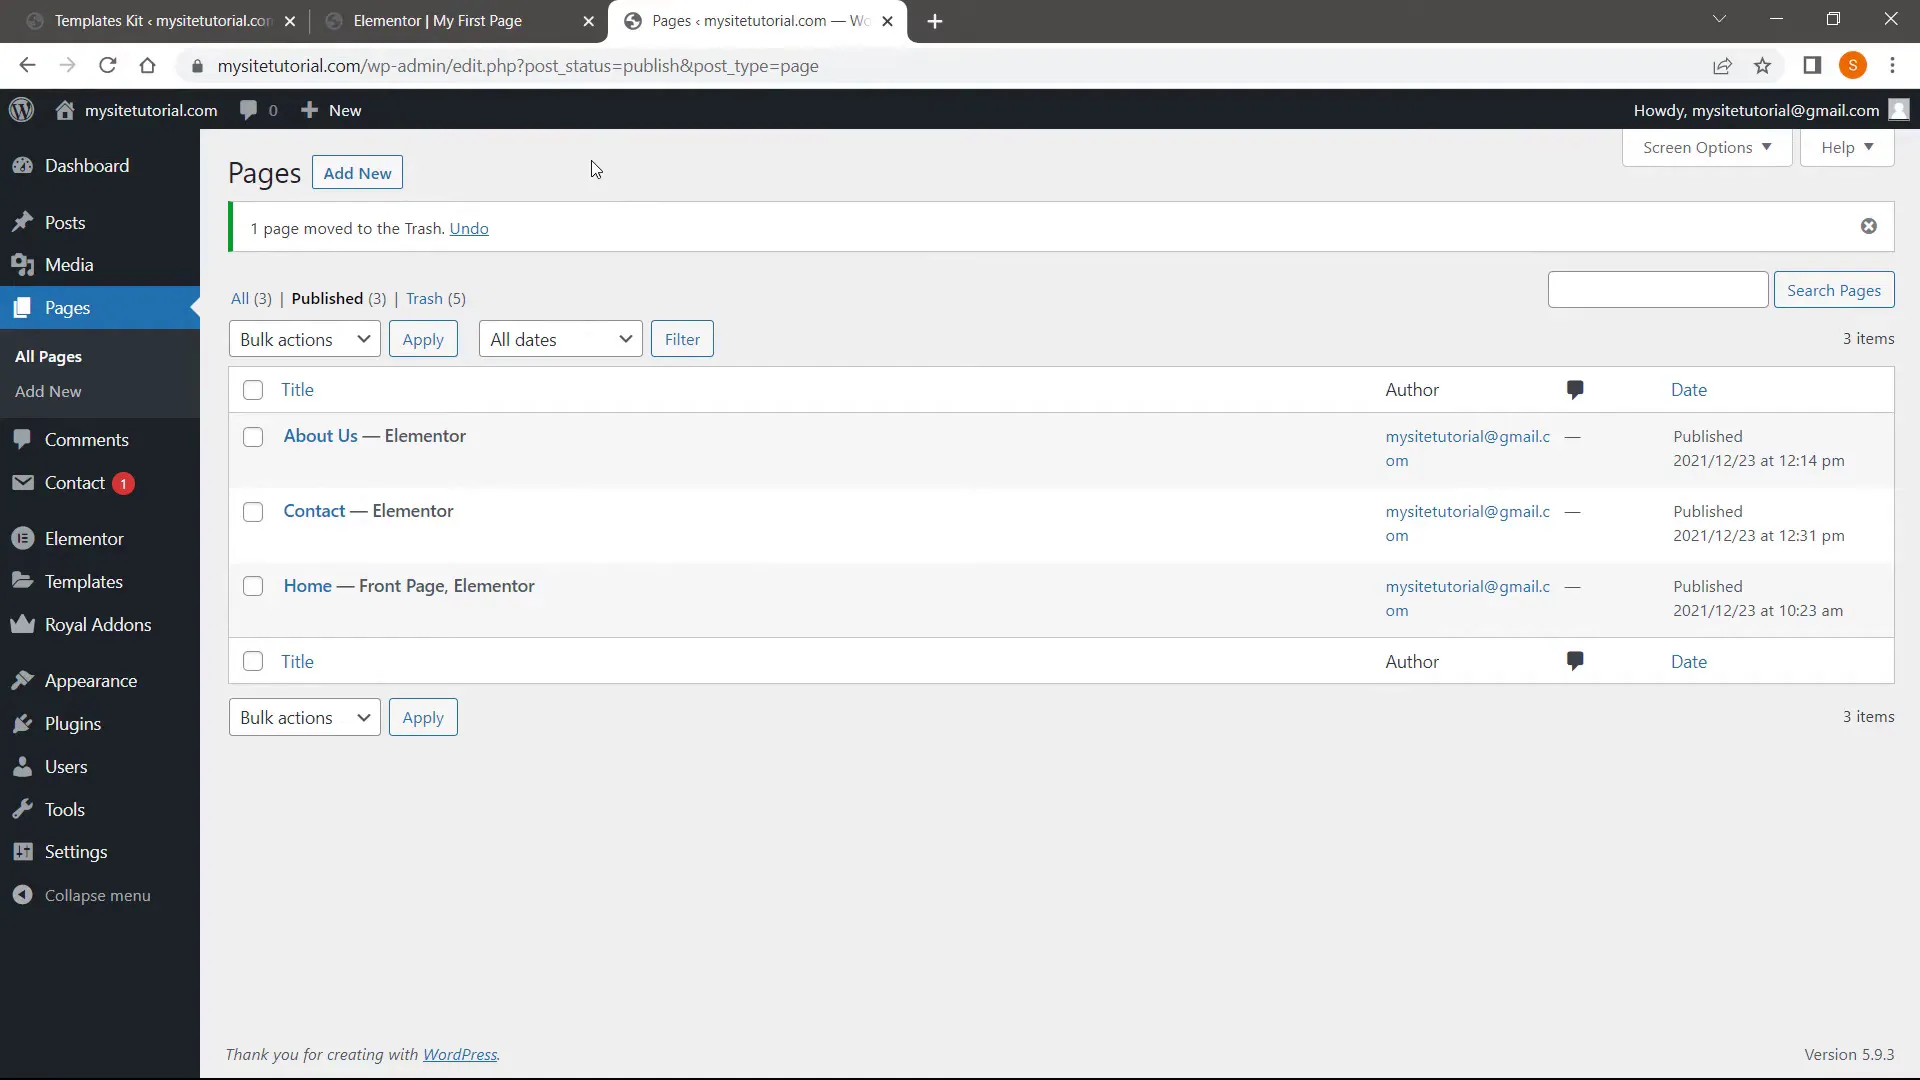
Creating a new page is simple. Go to “Pages” and click on “Add New.” You can use the block editor or edit it with Elementor. To delete a page, select the page from the list, choose “Move to Trash” from bulk actions, and click apply.
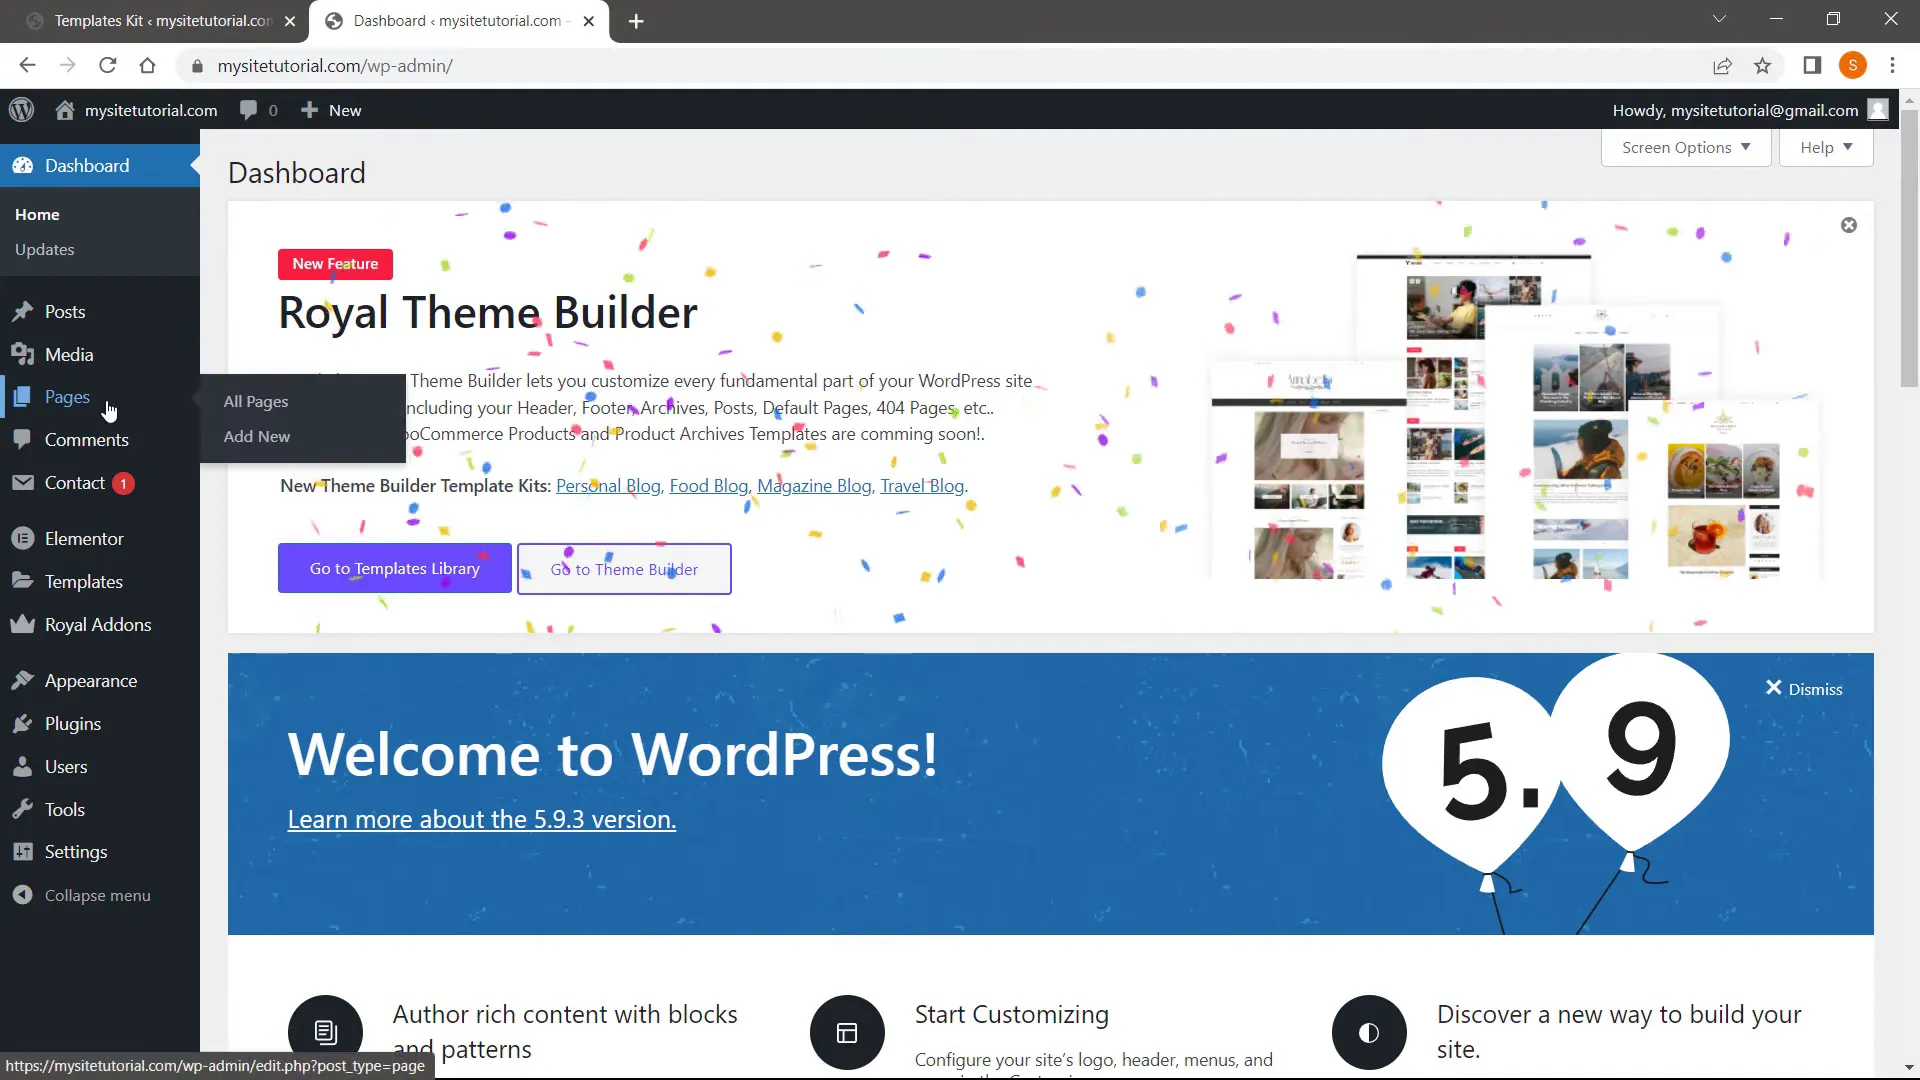
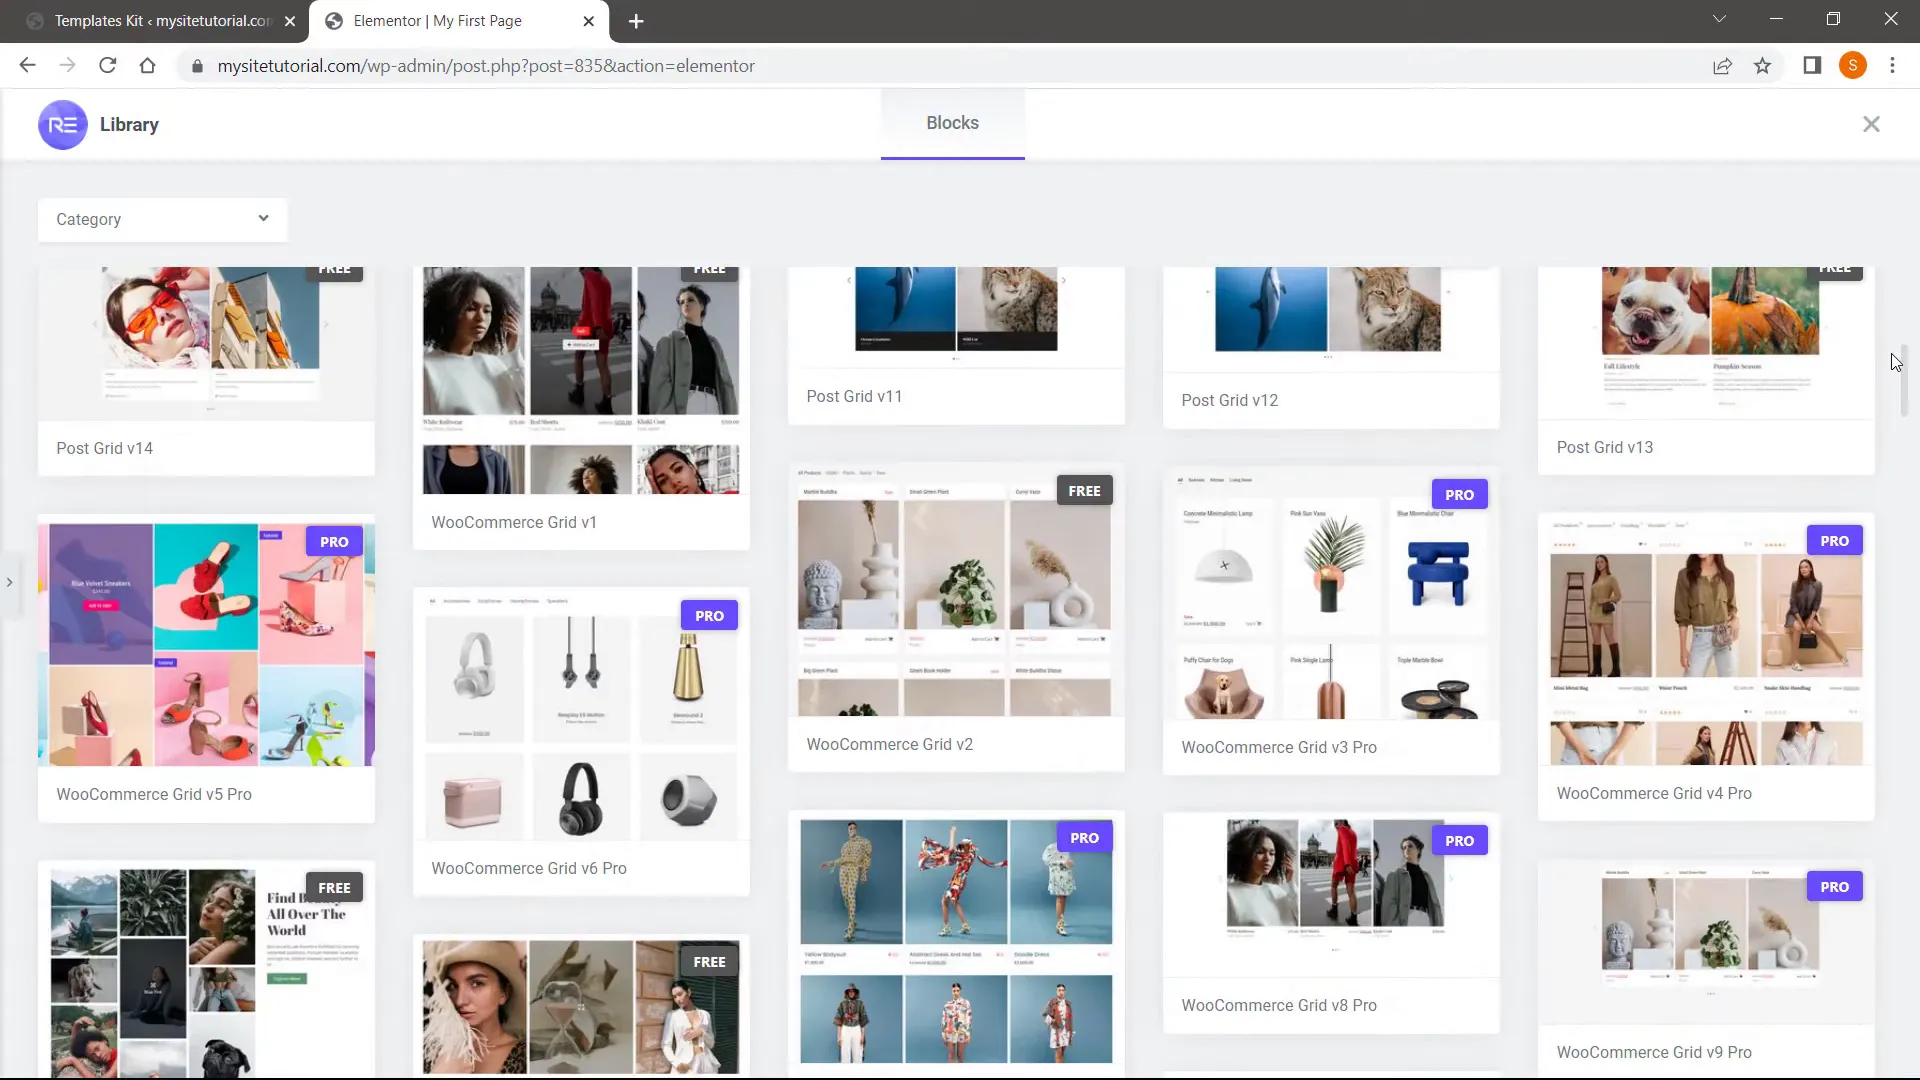
Step 11: How to Use Premade Blocks
Elementor provides premade blocks that you can easily insert into your pages. Click on the block icon, browse through the available options, and insert the one you prefer.
Step 12: Create Blog
To create a blog, simply add a new page and title it “Blog.” Publish the page, and then add it to your menu for easy access.
Step 13: Create Blog Posts
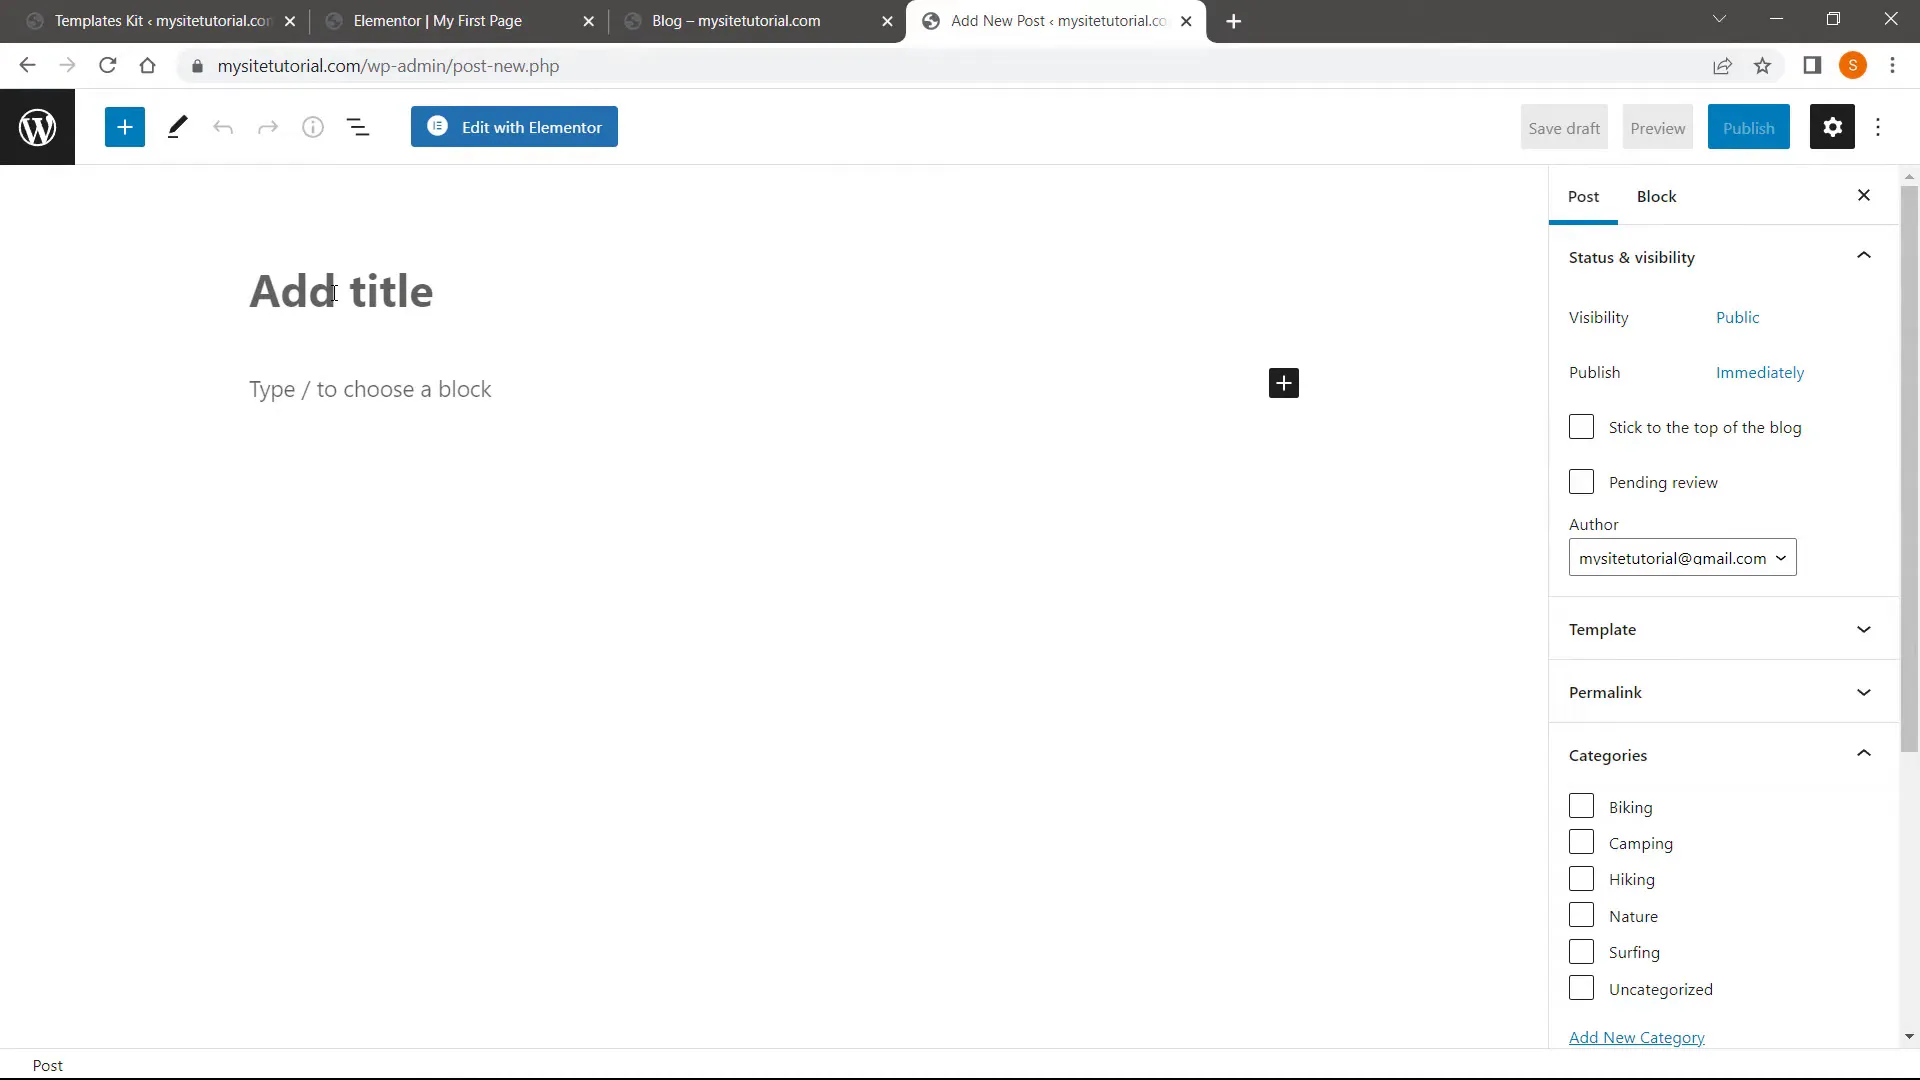
To add blog posts, go to “Posts” and click “Add New.” Enter your post title and content, assign a featured image, and publish it. Your post will now appear on your blog page.
Step 14: Change Site Title
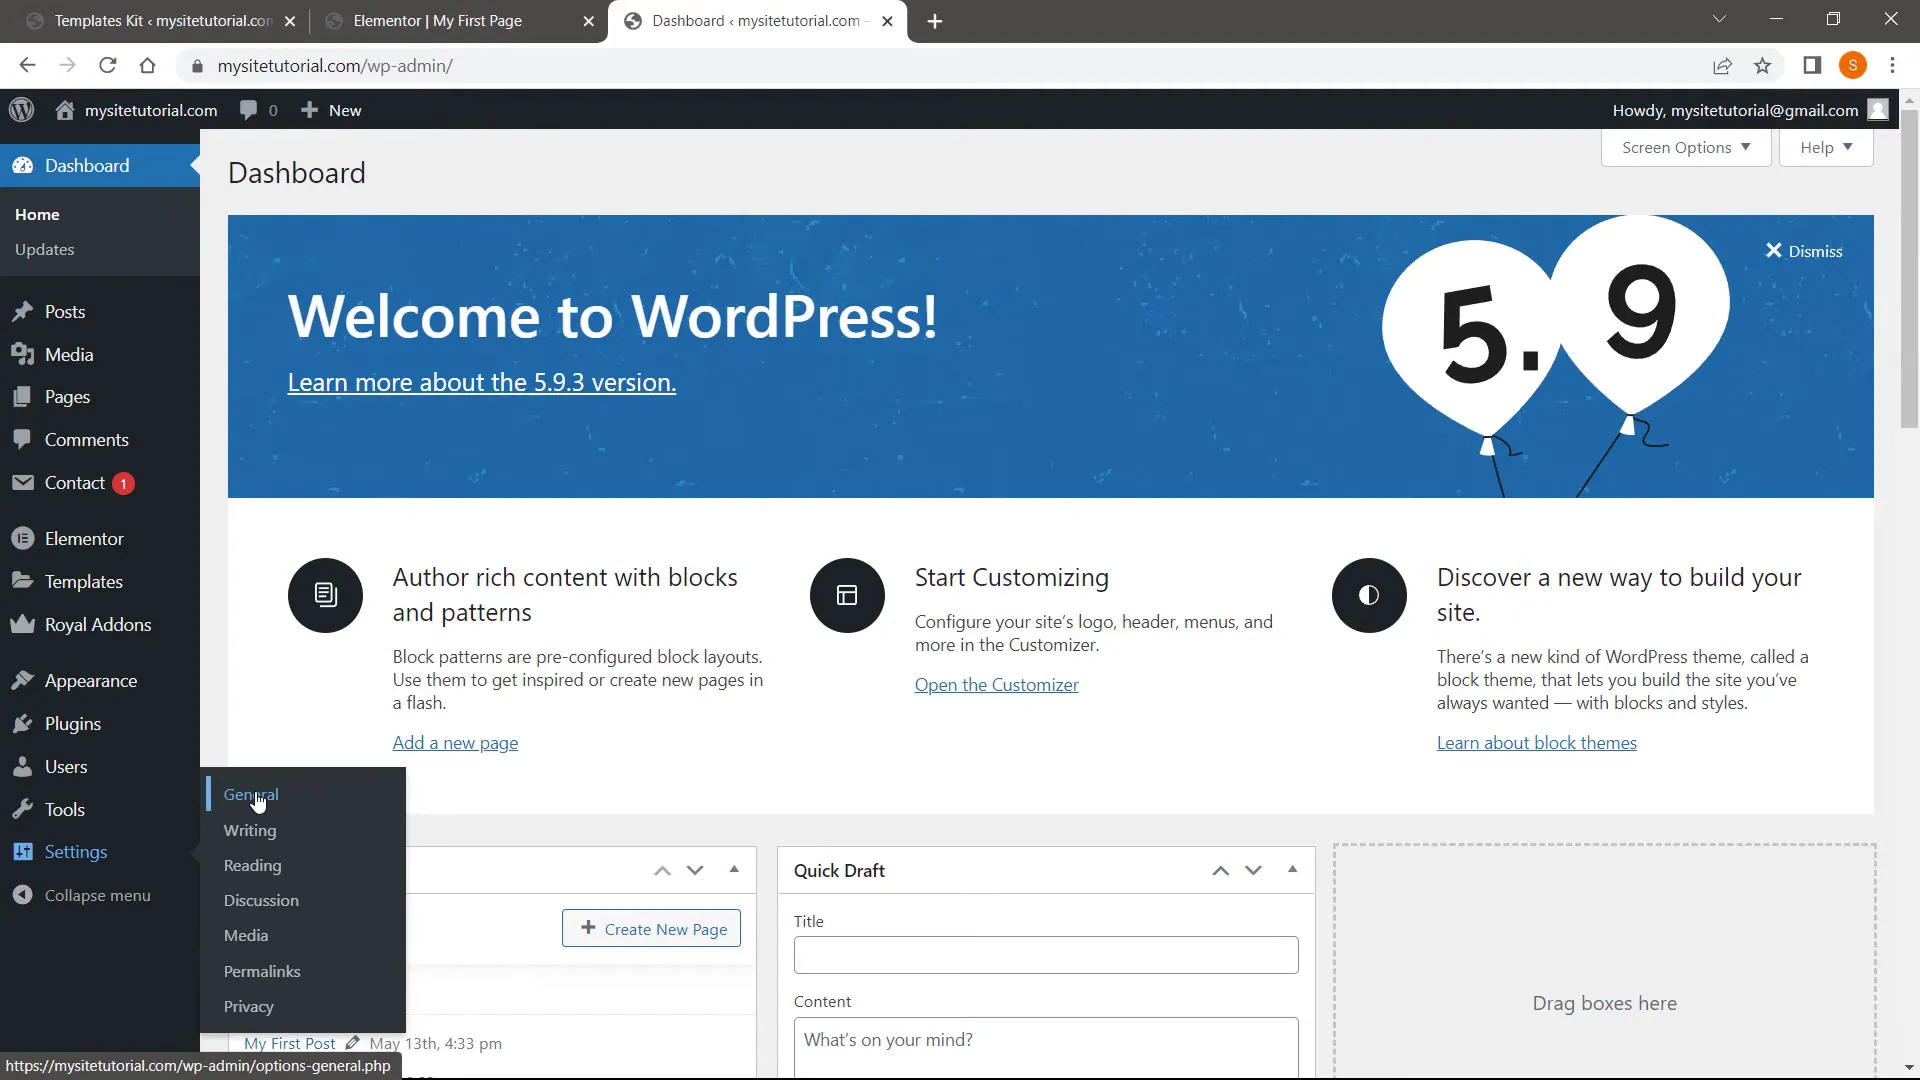
To change your site title, go to “Settings” and click on “General.” Here, you can edit your site title and tagline, which will appear in the browser tab.
Step 15: Edit Header & Footer
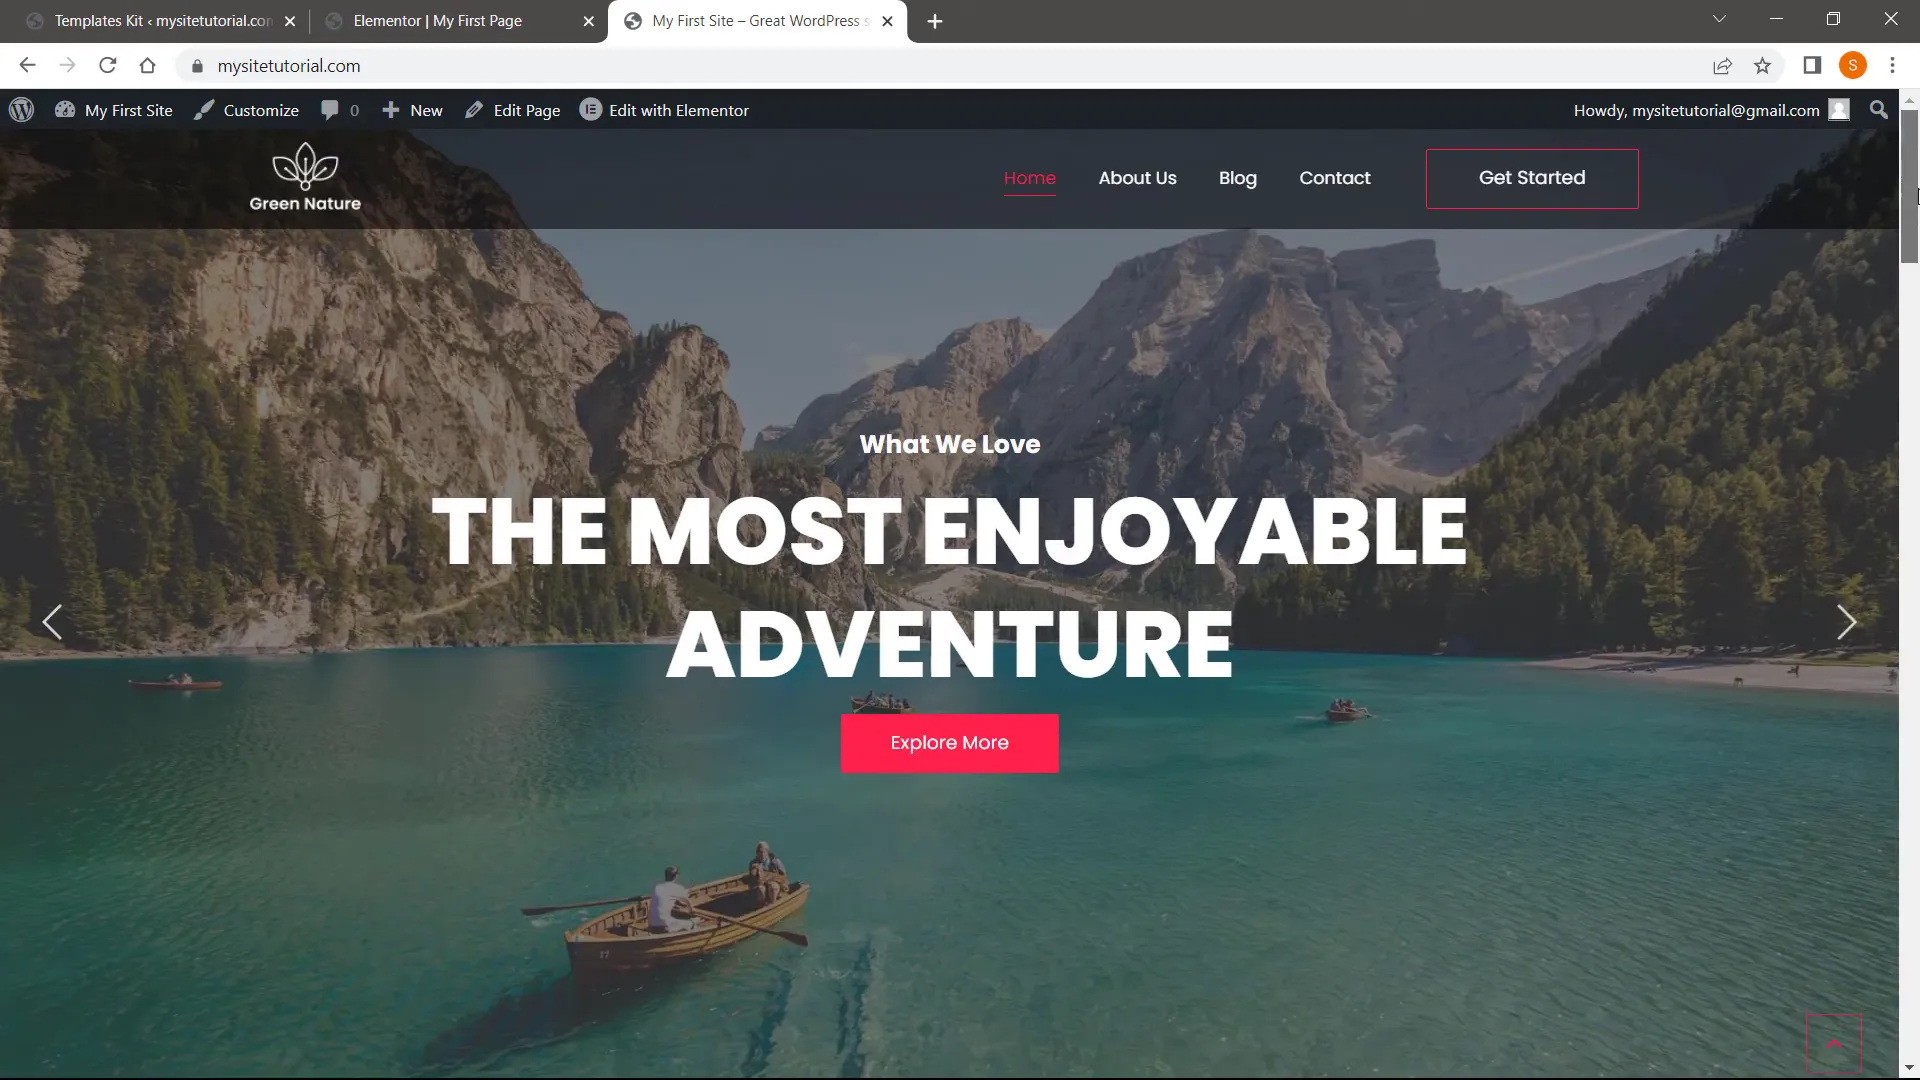
Editing the header and footer is just as easy. Hover over the header or footer section and click “Edit with Elementor.” You can customize everything from logos to text.
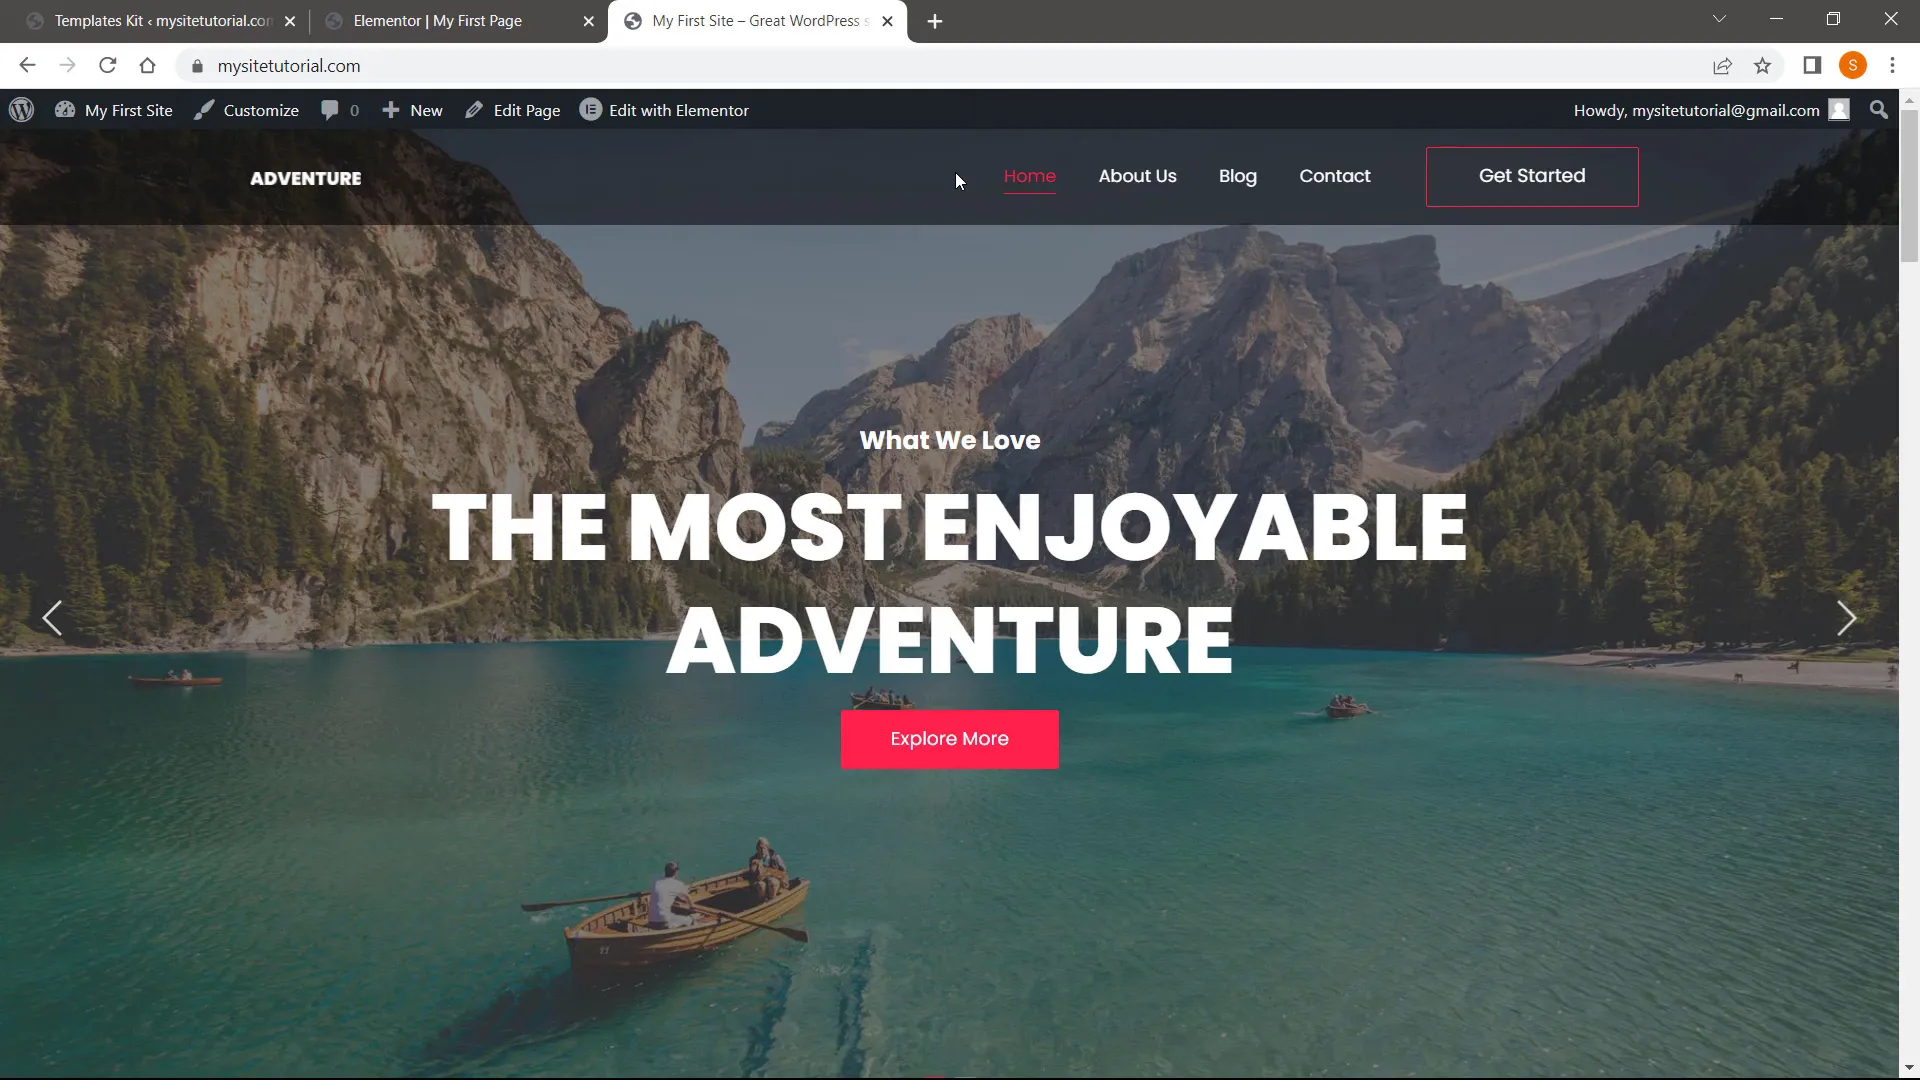
By following these steps, you can create a fully functional WordPress website quickly and easily using Hostinger. So, what are you waiting for? Start building your website today!


