If you’re looking to dive into the world of email marketing, GetResponse is a powerful tool that can help you build and manage your email campaigns effectively. This comprehensive guide will walk you through the essential steps to set up your GetResponse account and start your email marketing journey.
Table of Contents
Step 1: Sign Up
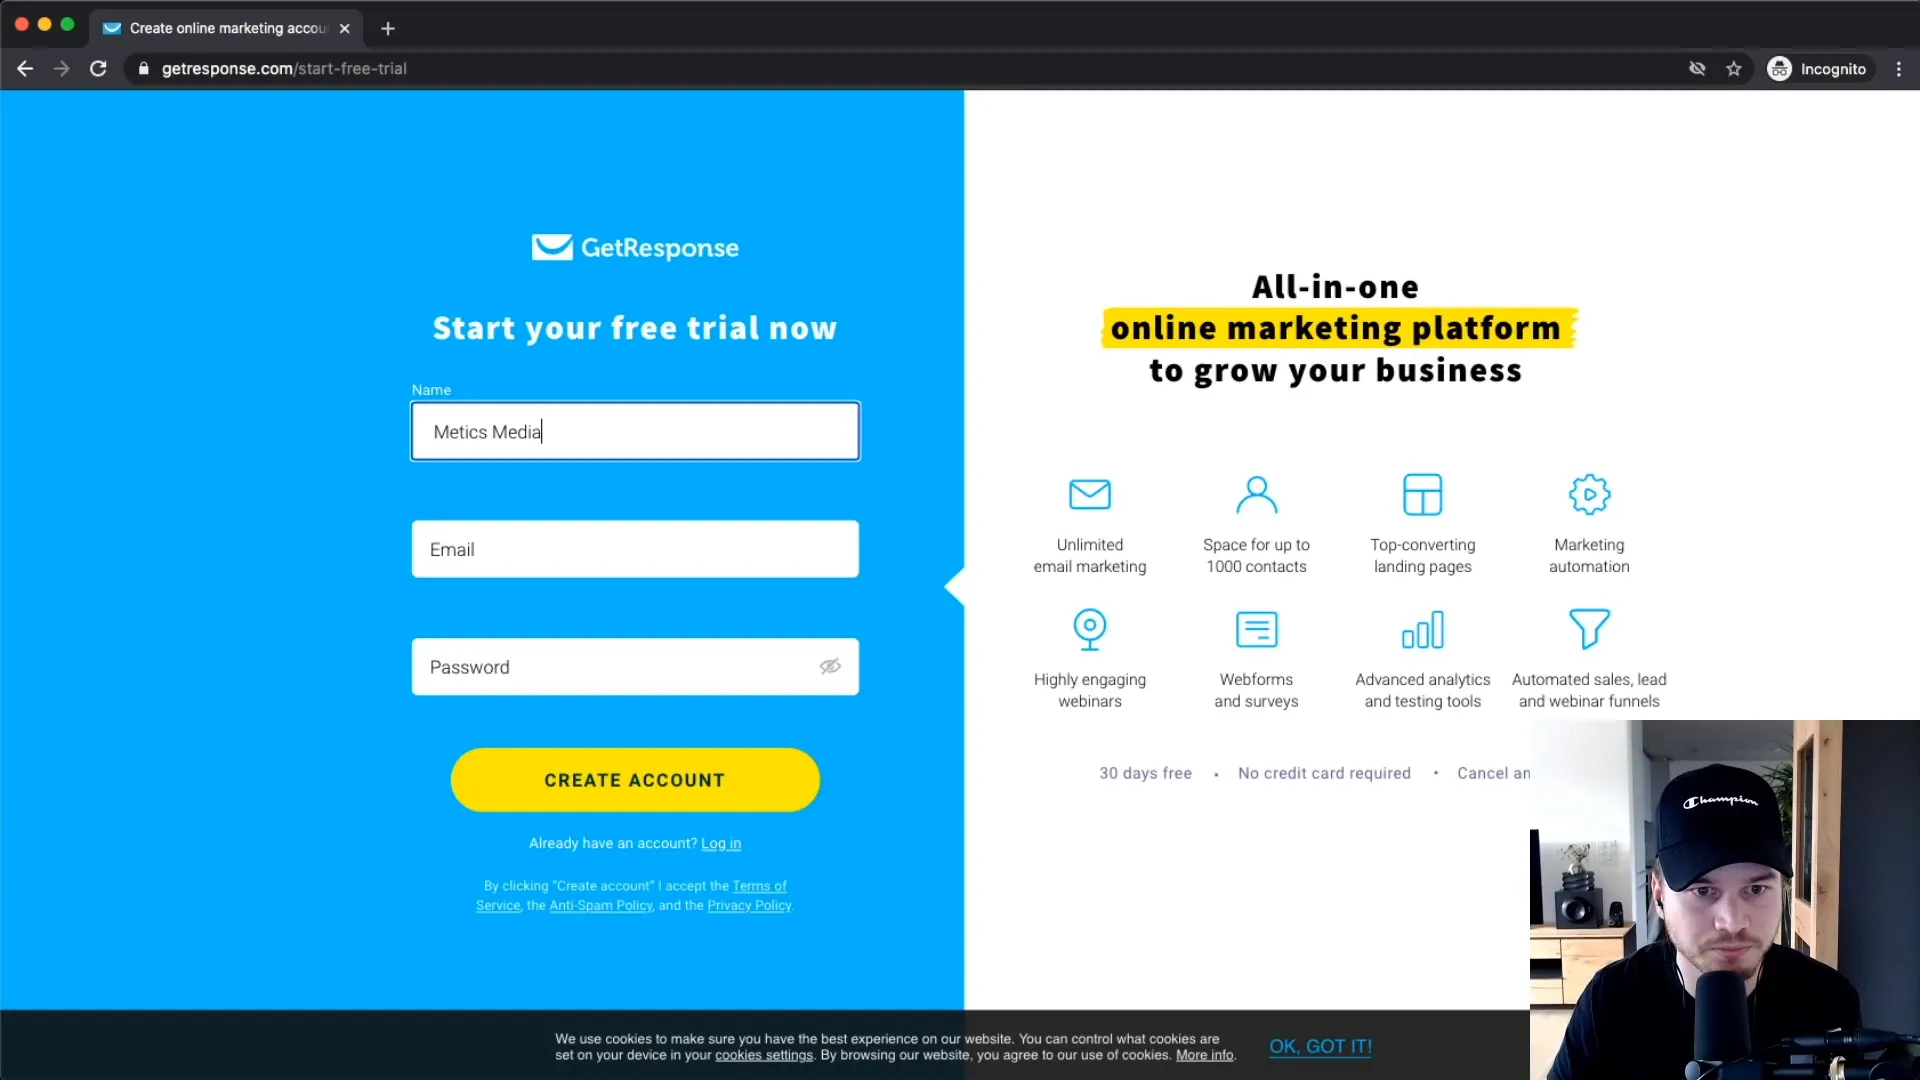
To get started with GetResponse, you first need to create an account. Visit this link to access the sign-up page. GetResponse offers a 30-day free trial, allowing you to explore its features without providing credit card information.

On the sign-up page, fill in your name and email address, and create a secure password. After entering this information, click on “Create your account.” You will receive a confirmation email. Click on the link in the email to activate your account.
Step 2: Explore Plans
Once your account is activated, you’ll be taken to the GetResponse dashboard. It’s important to familiarize yourself with the different plans offered by GetResponse. The Basic plan includes essential features like email marketing, autoresponders, and unlimited landing pages. If you need advanced features like the automation builder, consider upgrading to the Plus plan.

Step 3: Dashboard Overview
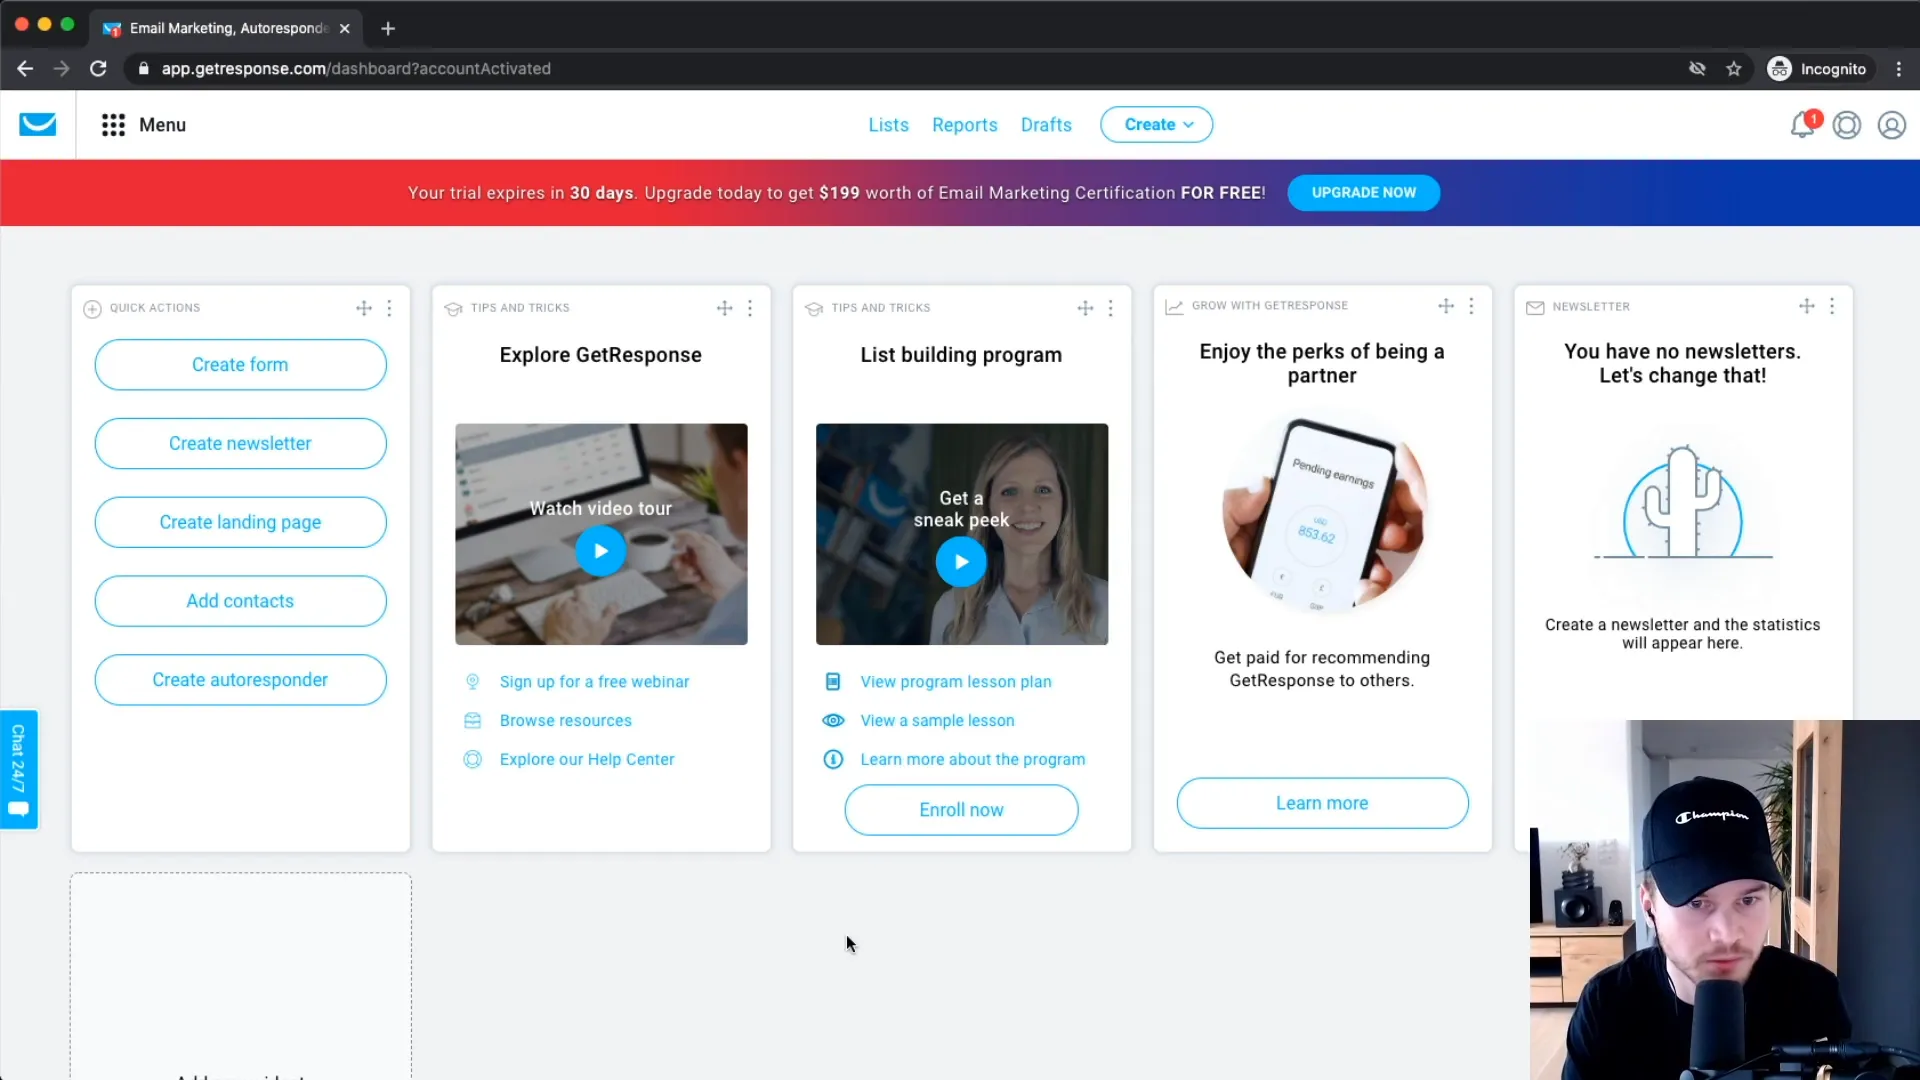
The GetResponse dashboard provides a centralized view of your email marketing activities. It includes various widgets that display important metrics such as your list size, recent campaigns, and tips for growing your email list. You can customize the dashboard by adding or removing widgets based on your preferences.
Step 4: Initial Setup (Important)
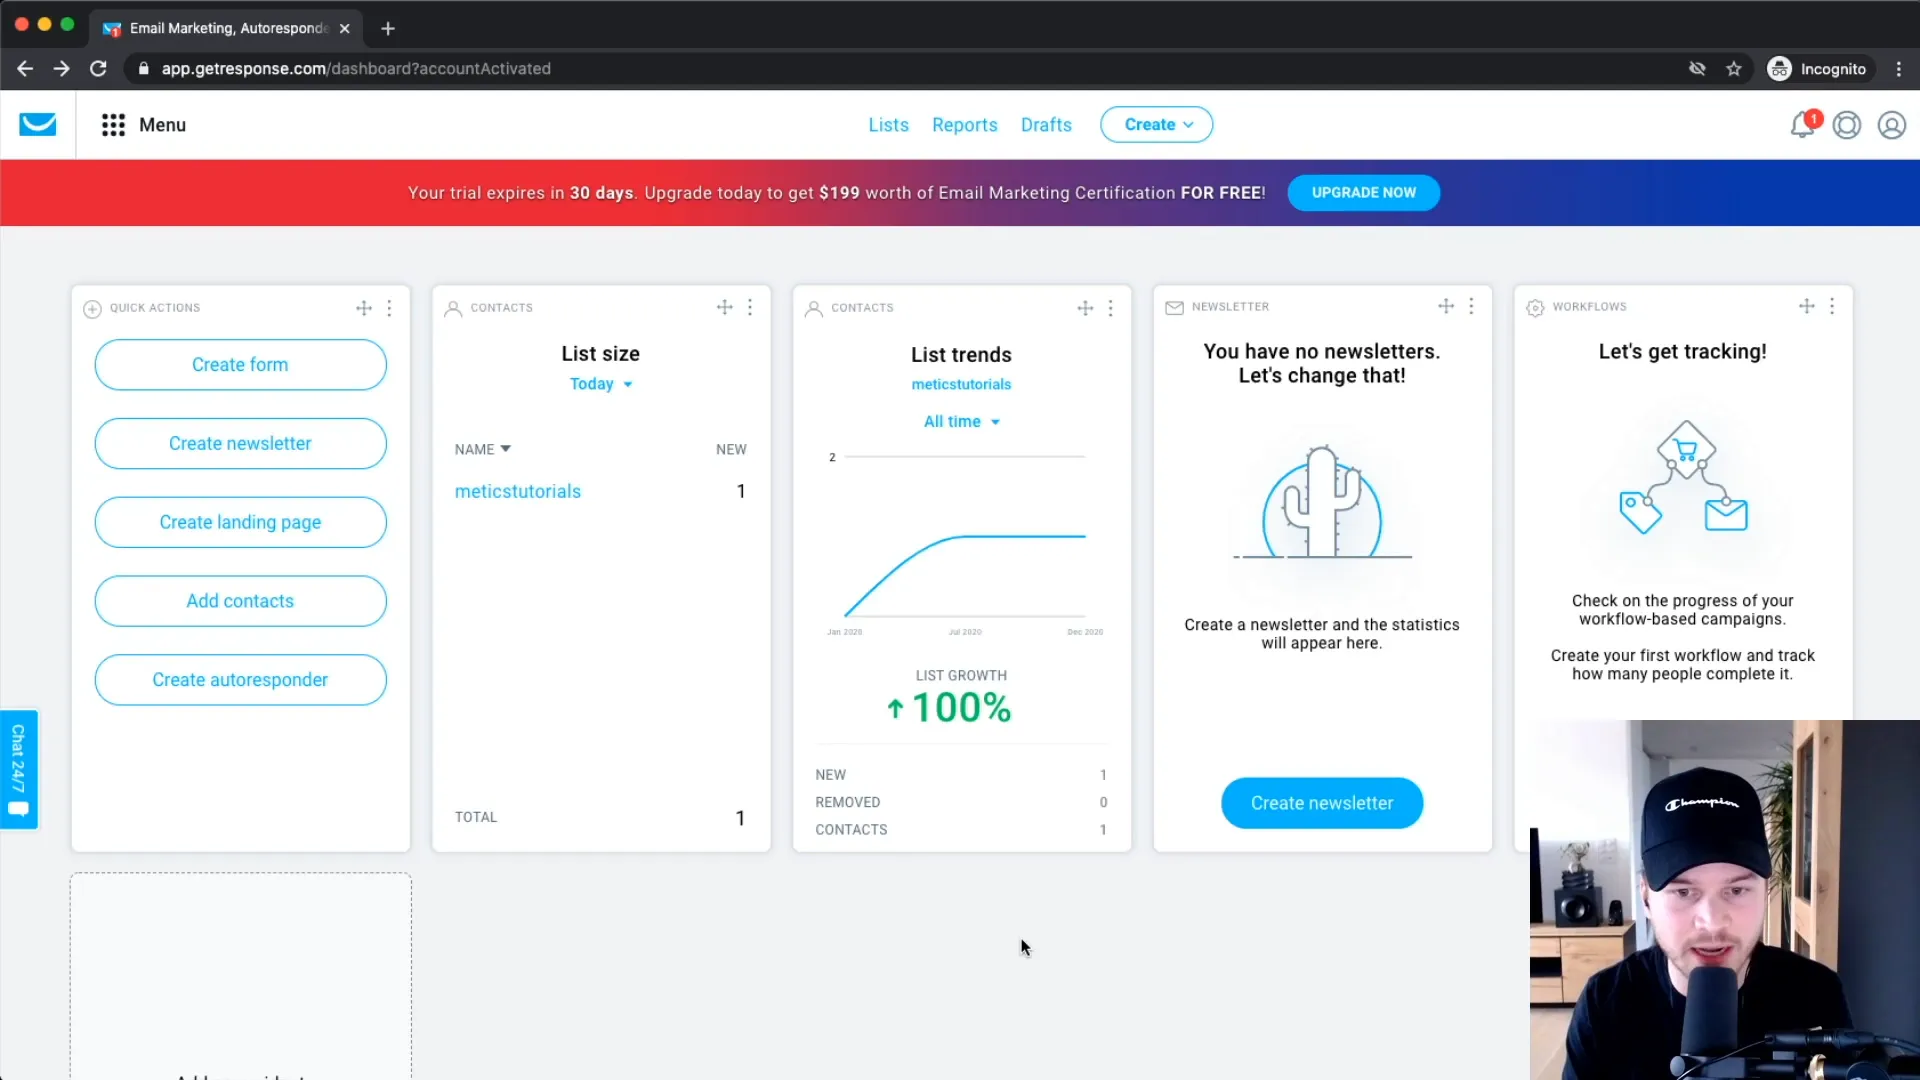
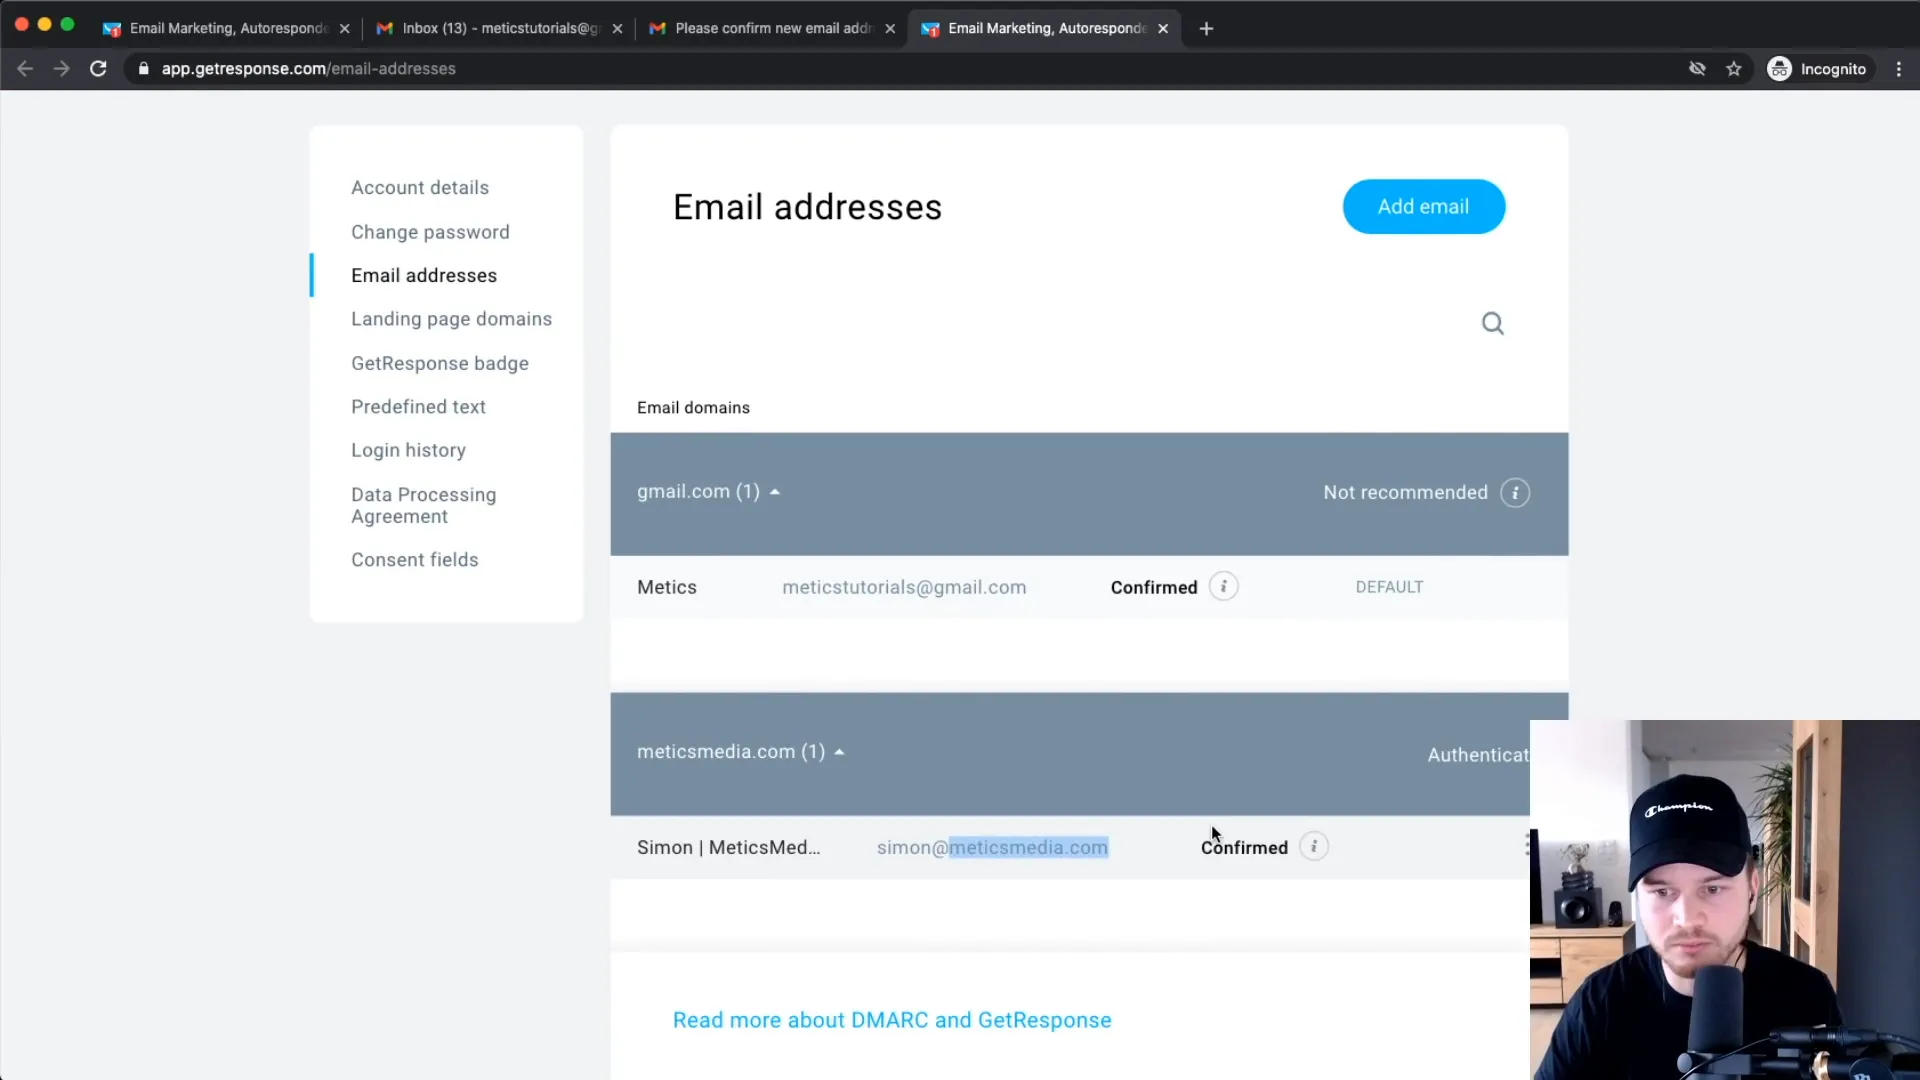
Before sending emails, you need to set up the email address that will be used for your campaigns. It’s crucial to use a branded email address rather than a generic one to improve deliverability. Navigate to “My Account” and then “Manage Account” to add your branded email address.
Additionally, authenticate your domain to enhance deliverability rates. This involves adding a text record to your domain registrar, which may take a few hours to propagate.
Step 5: Import Contacts
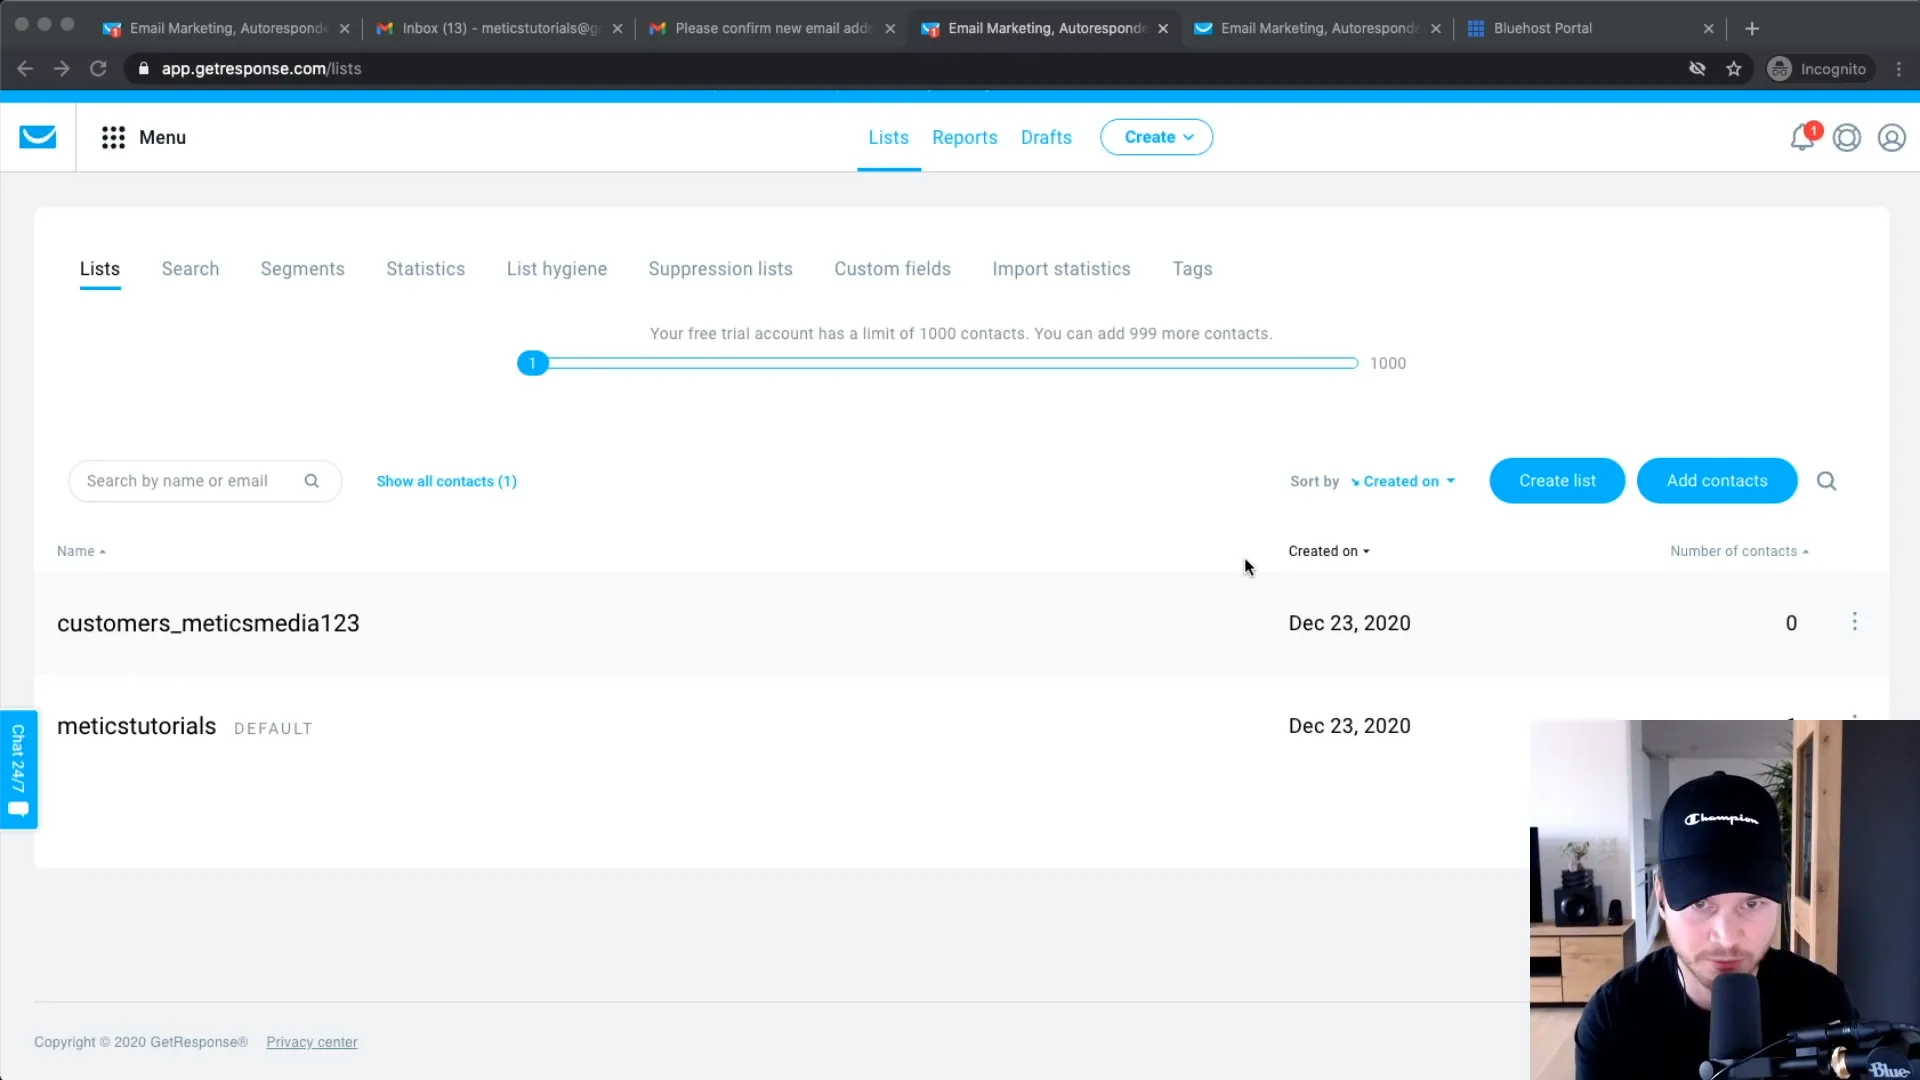
If you have an existing email list, you can easily import contacts into GetResponse. Go to the “Lists” section and click on “Add Contacts.” You can upload a CSV file containing your contacts. Ensure that you have permission to add these contacts to comply with email marketing regulations.
Step 6: Registration Forms (+WordPress)
To collect new subscribers, you can create registration forms. GetResponse offers a user-friendly form builder that allows you to customize forms according to your needs. You can embed these forms on your website or use them as standalone forms.
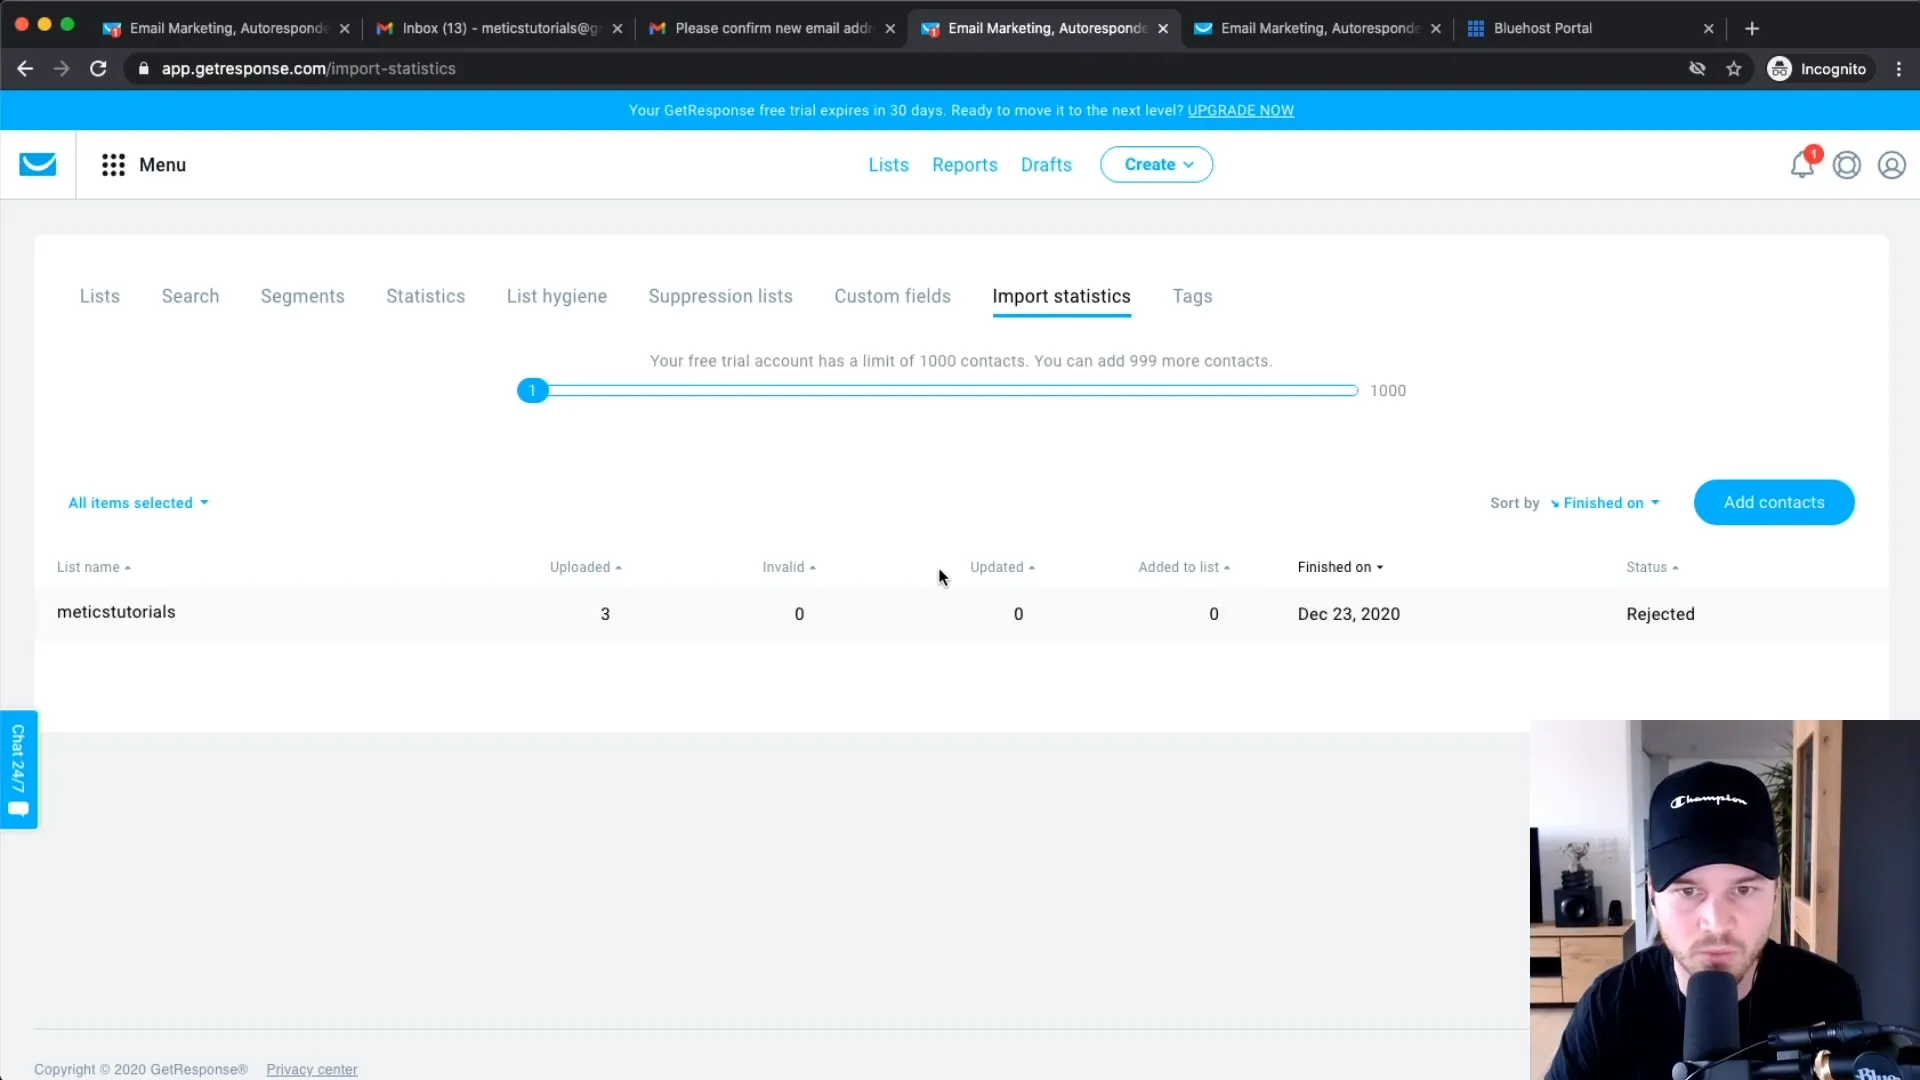
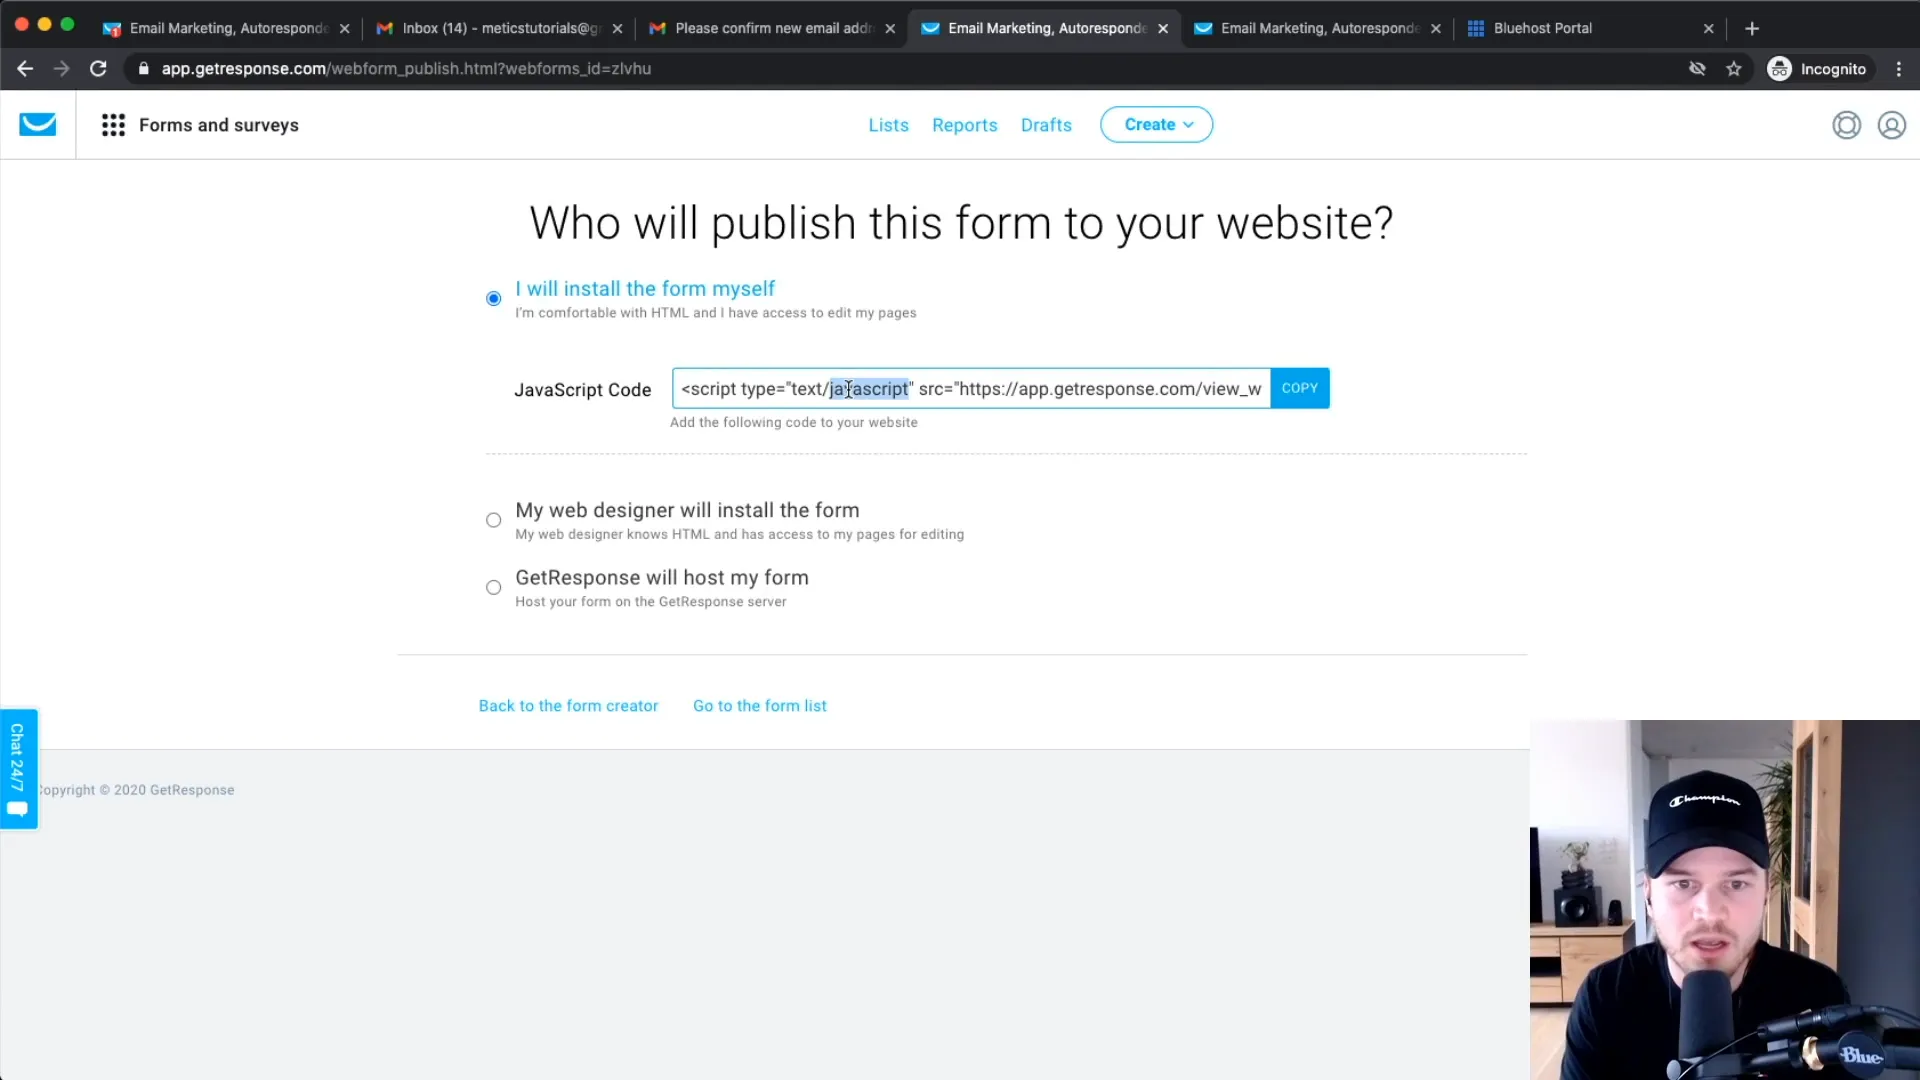
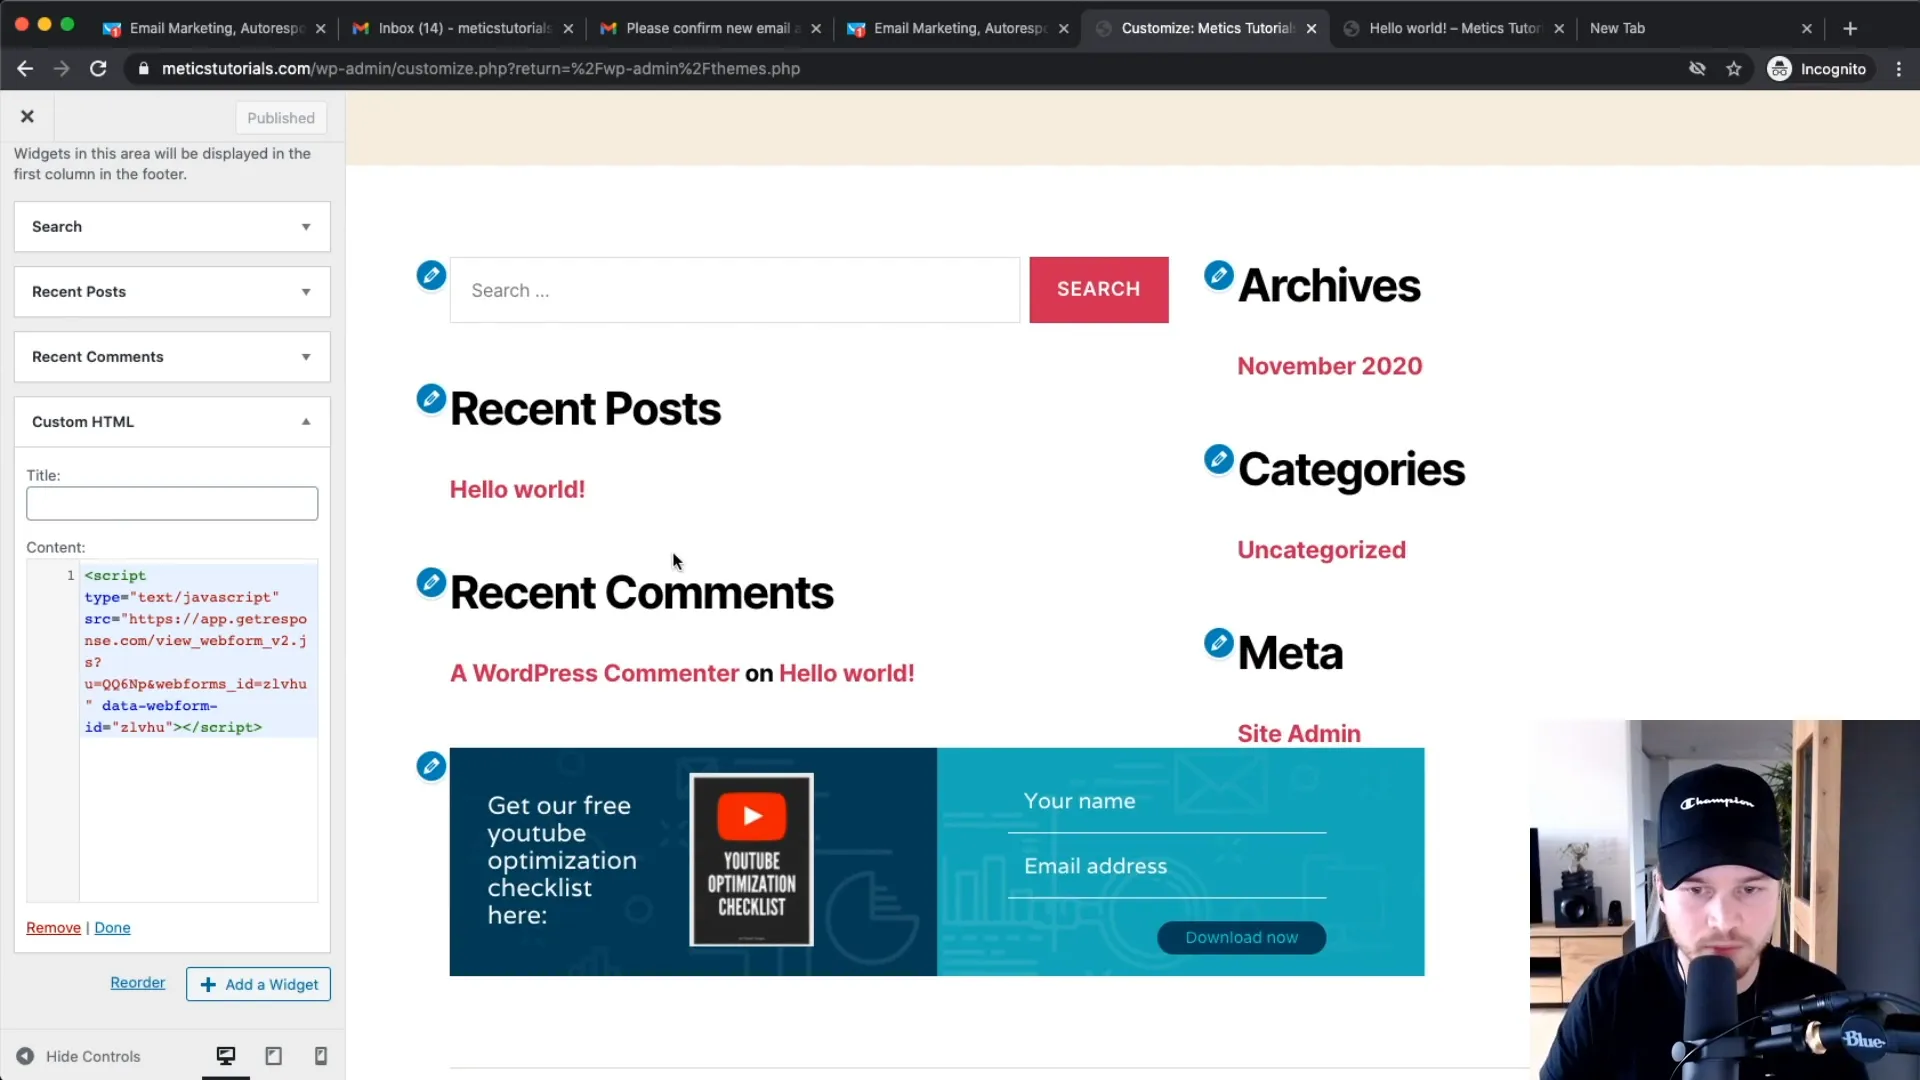
If you’re using WordPress, you can easily integrate these forms into your site. Simply copy the HTML code provided by GetResponse and paste it into your WordPress post or page.
Step 7: Conversion Funnel / Autofunnel (+Landing Pages)
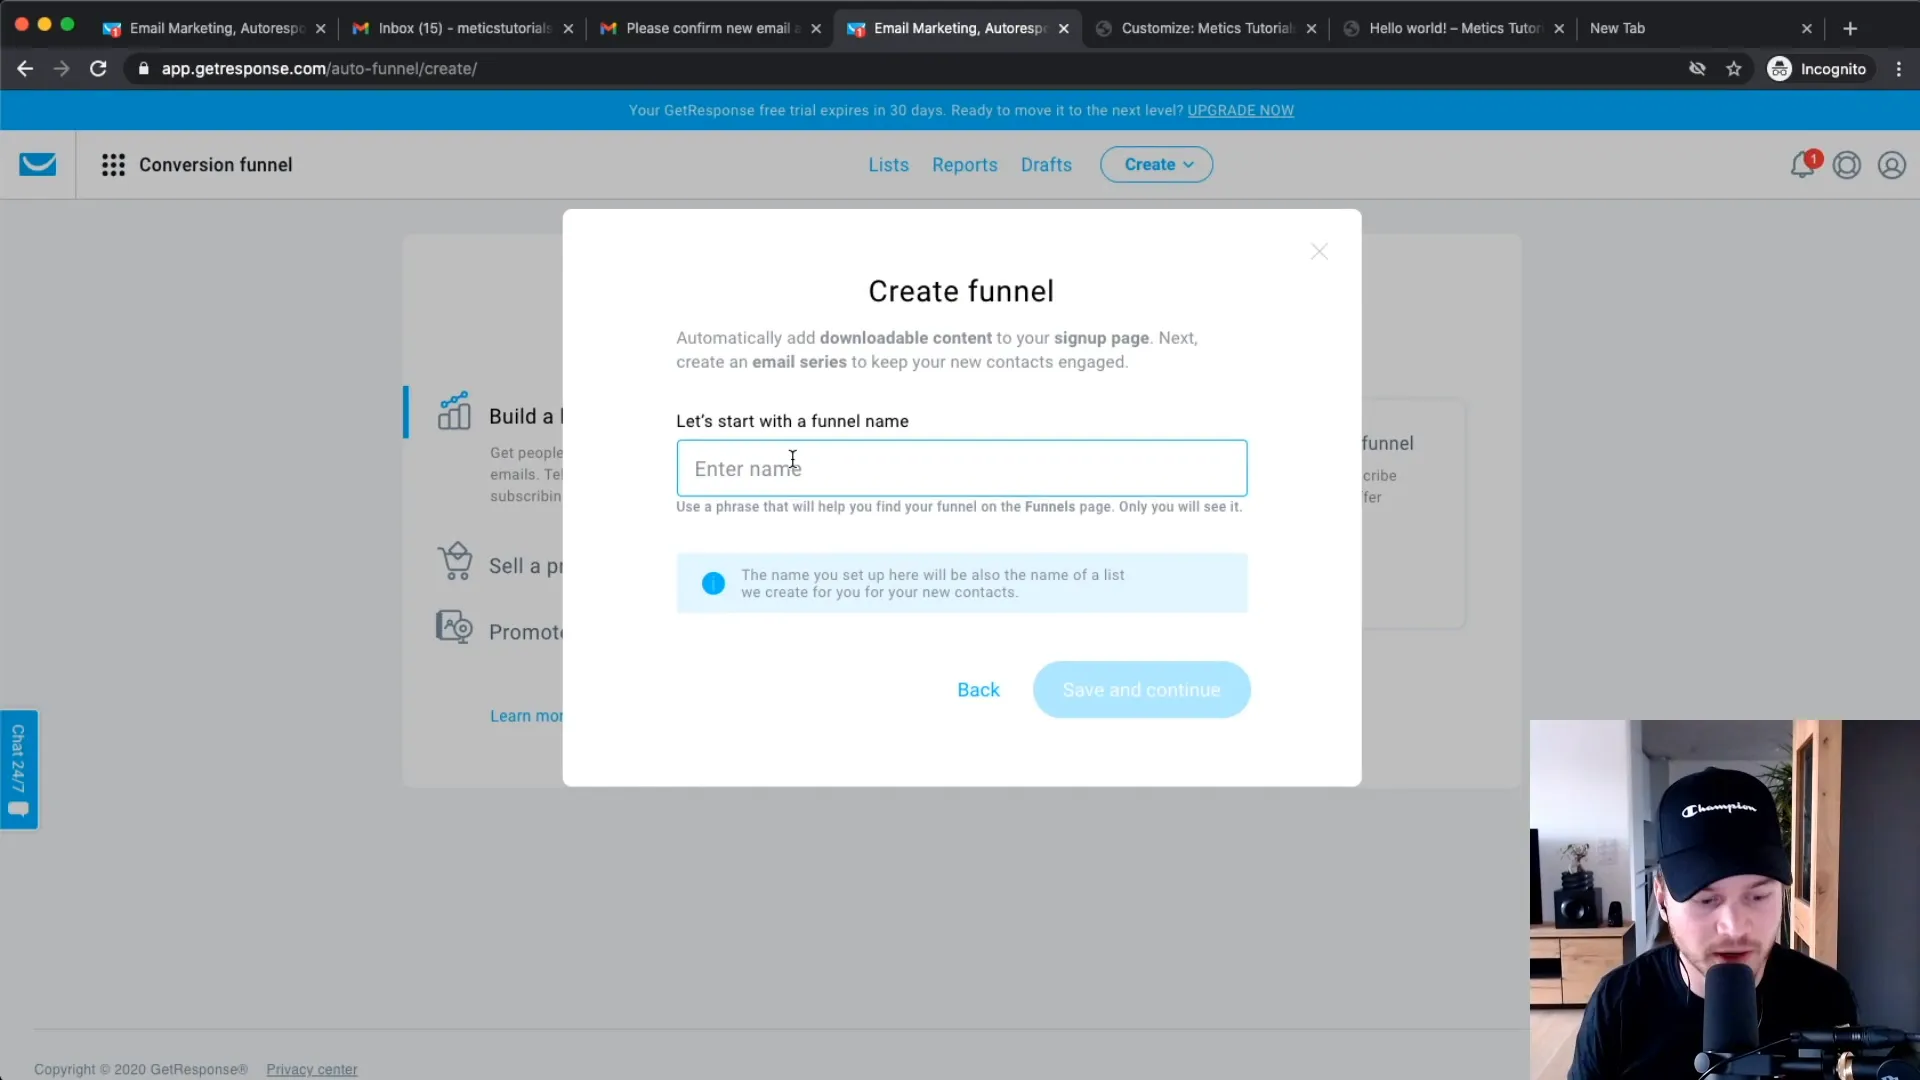
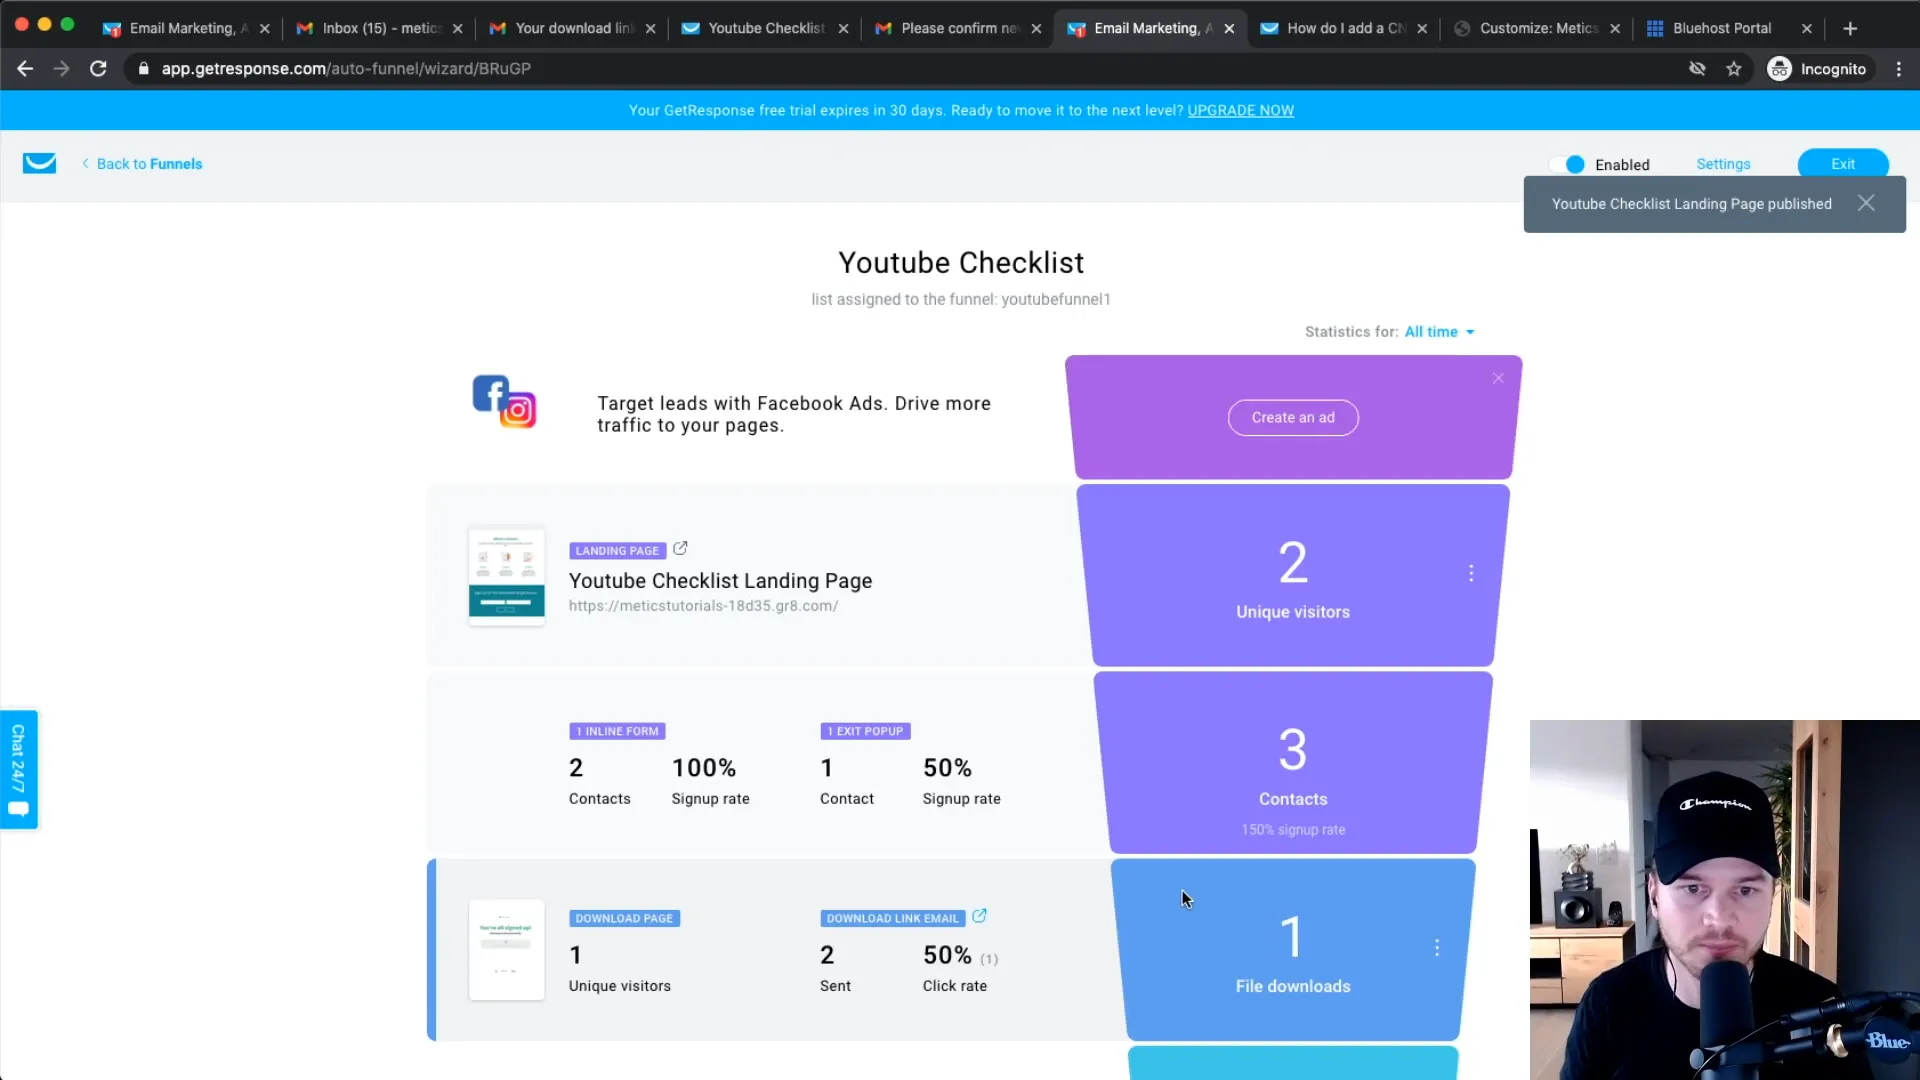
Creating a conversion funnel is a powerful way to boost your email list. With GetResponse, you can build a funnel that includes a landing page where users can sign up in exchange for a lead magnet, such as a free ebook or checklist. After signing up, they will be redirected to a thank you page.
To create a conversion funnel, navigate to “Conversion Funnel” and click on “Create Funnel.” Follow the prompts to set up your lead magnet and thank you page.
Step 8: Custom Domain Setup
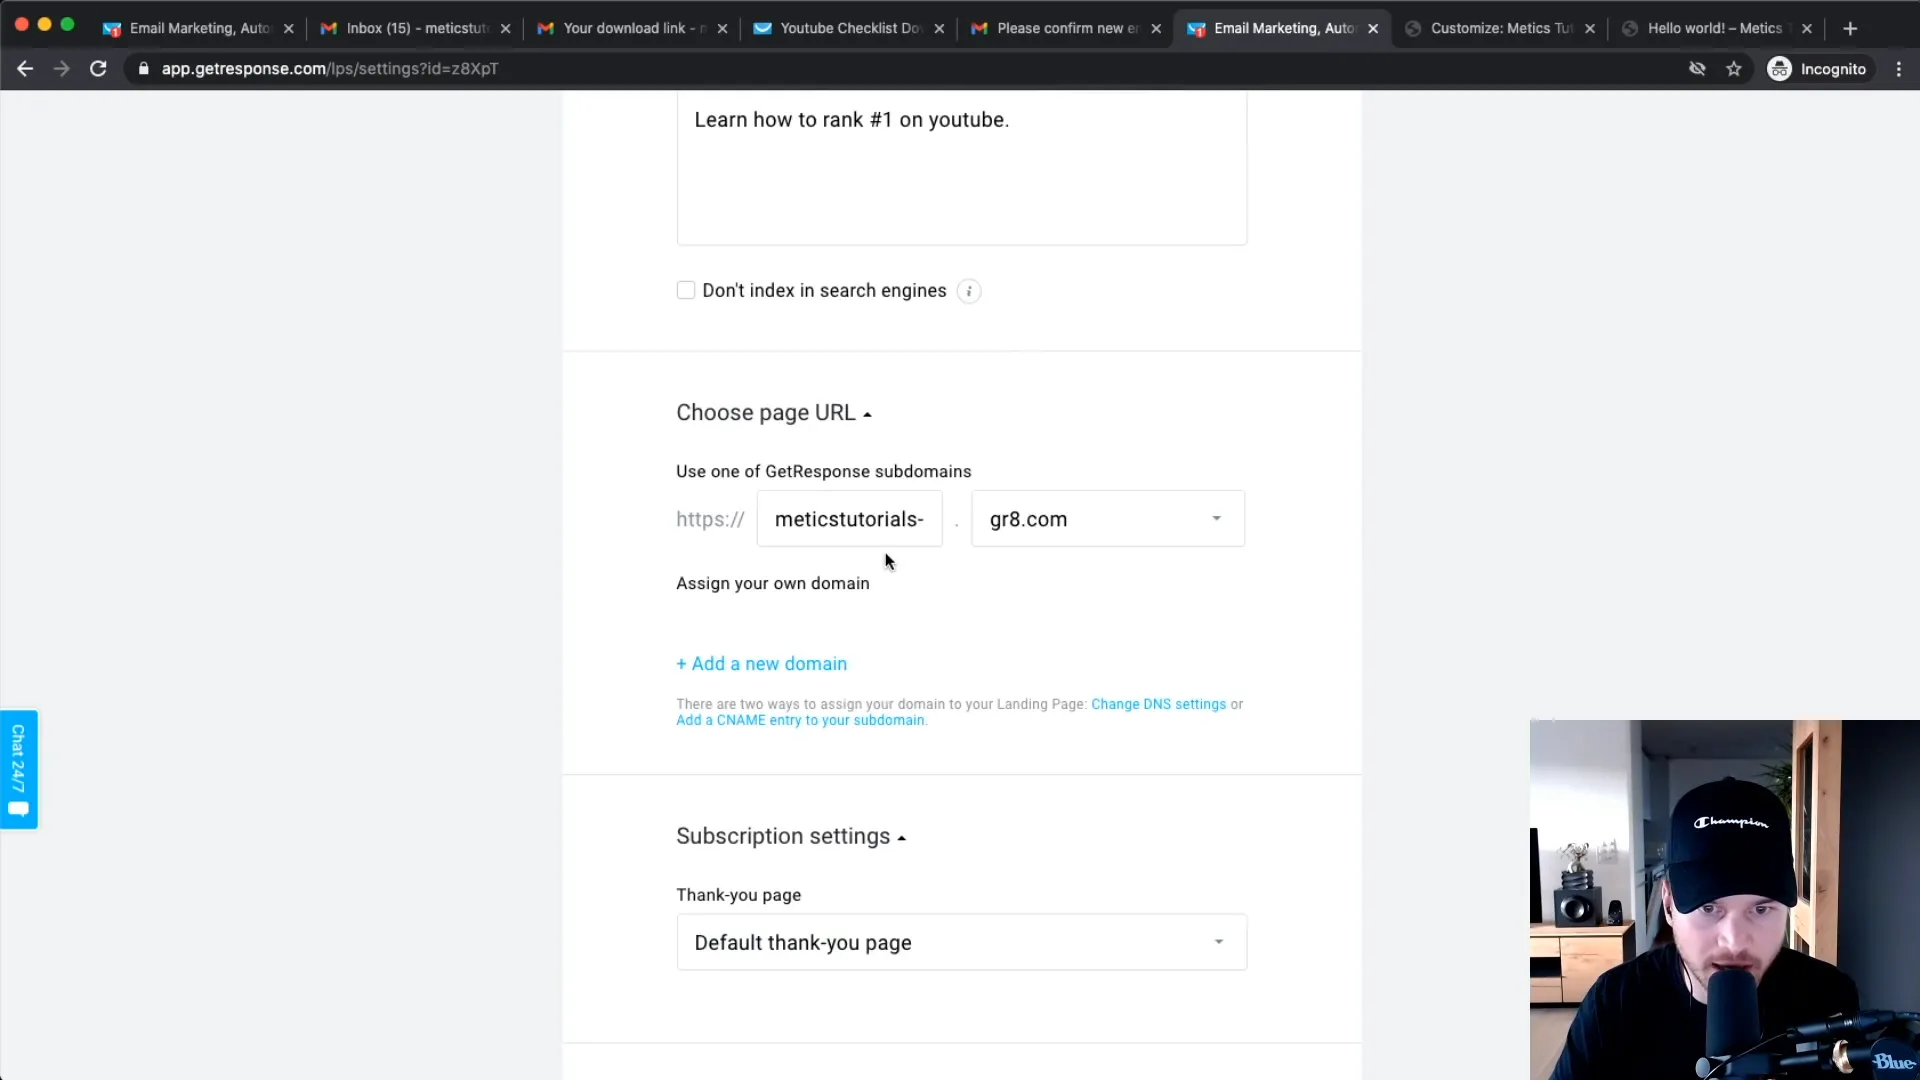
For branding purposes, it’s advisable to use a custom domain for your landing pages. You can add a custom domain in the settings under “Landing Pages.” Make sure to follow the instructions for adding a CNAME record to your domain registrar.
Step 9: Email Newsletters
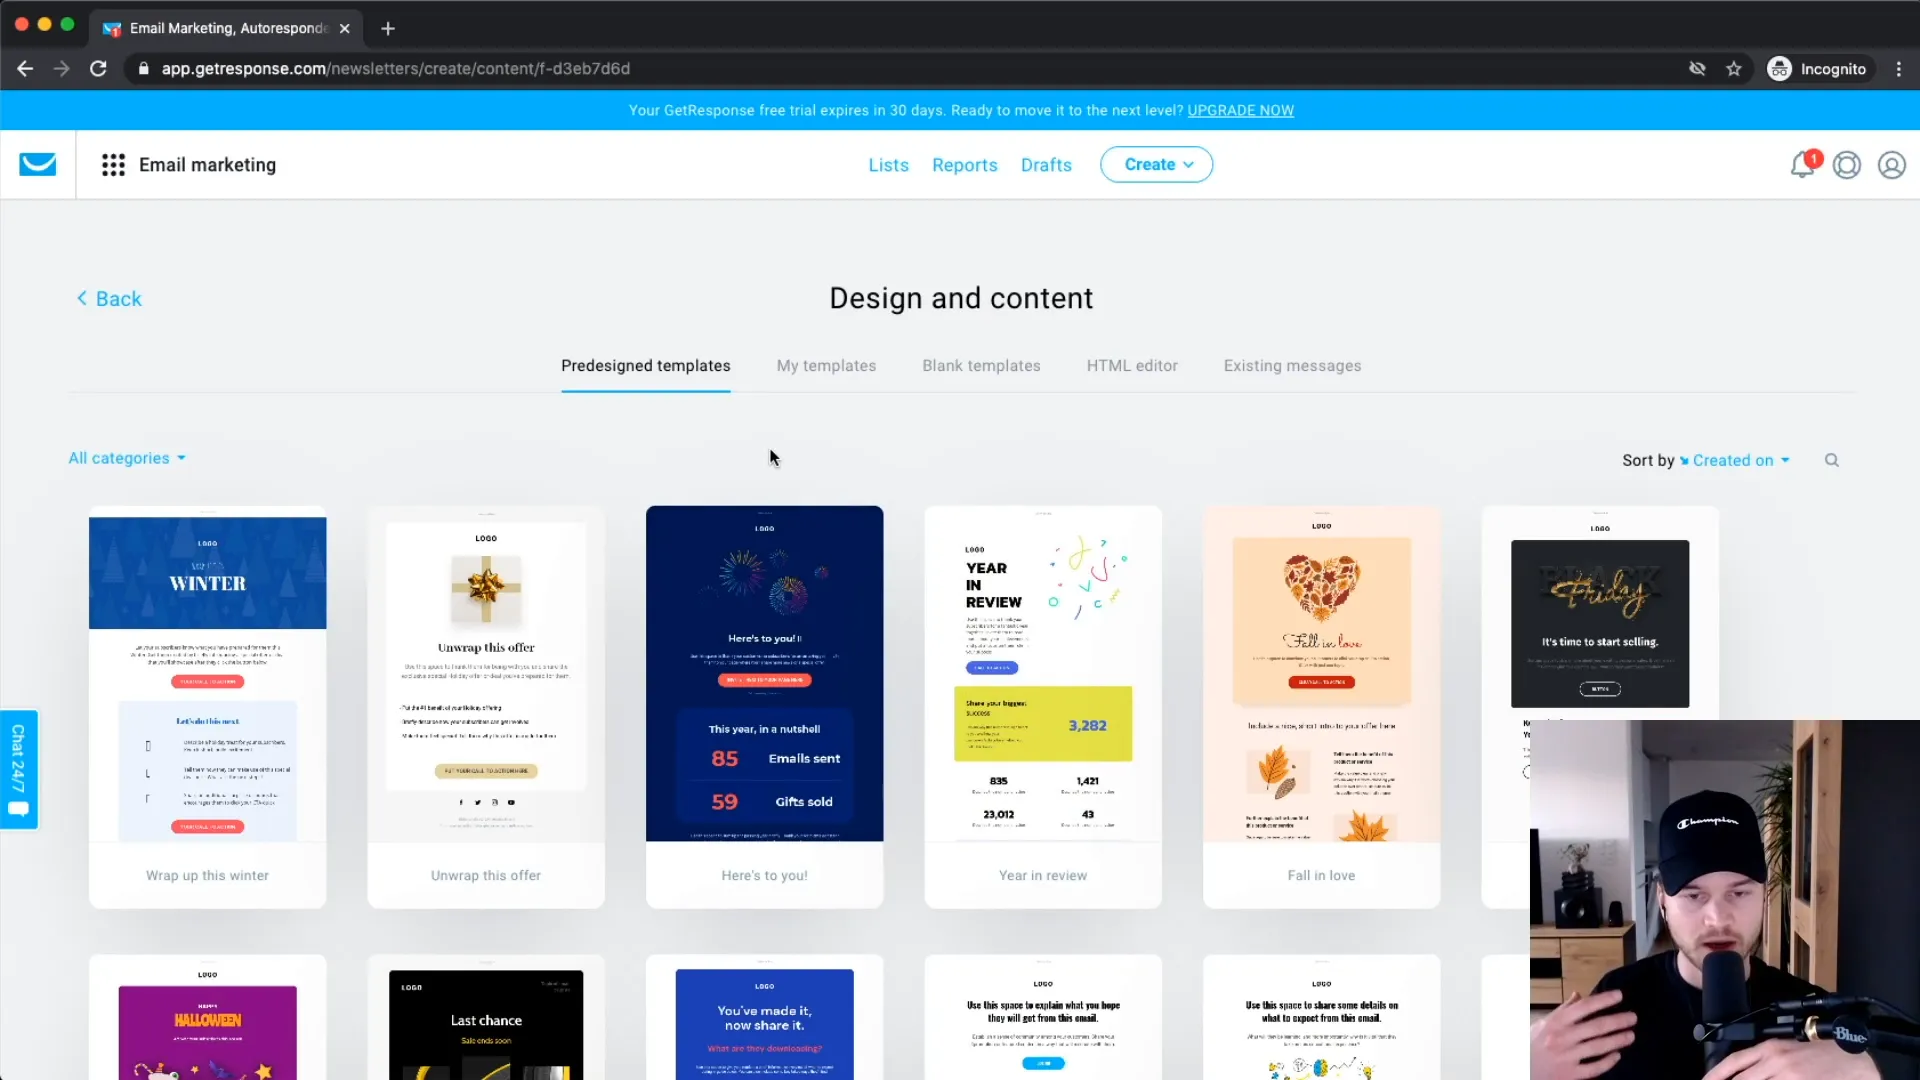
Sending out email newsletters is one of the primary functions of GetResponse. To create a newsletter, go to “Email Marketing” and select “Create Newsletter.” You can choose from various templates or start from scratch to design your email.
Personalize your emails by using dynamic fields such as the recipient’s name in the subject line. After designing your email, you can either send it immediately or schedule it for later.
Step 10: Email Autoresponders
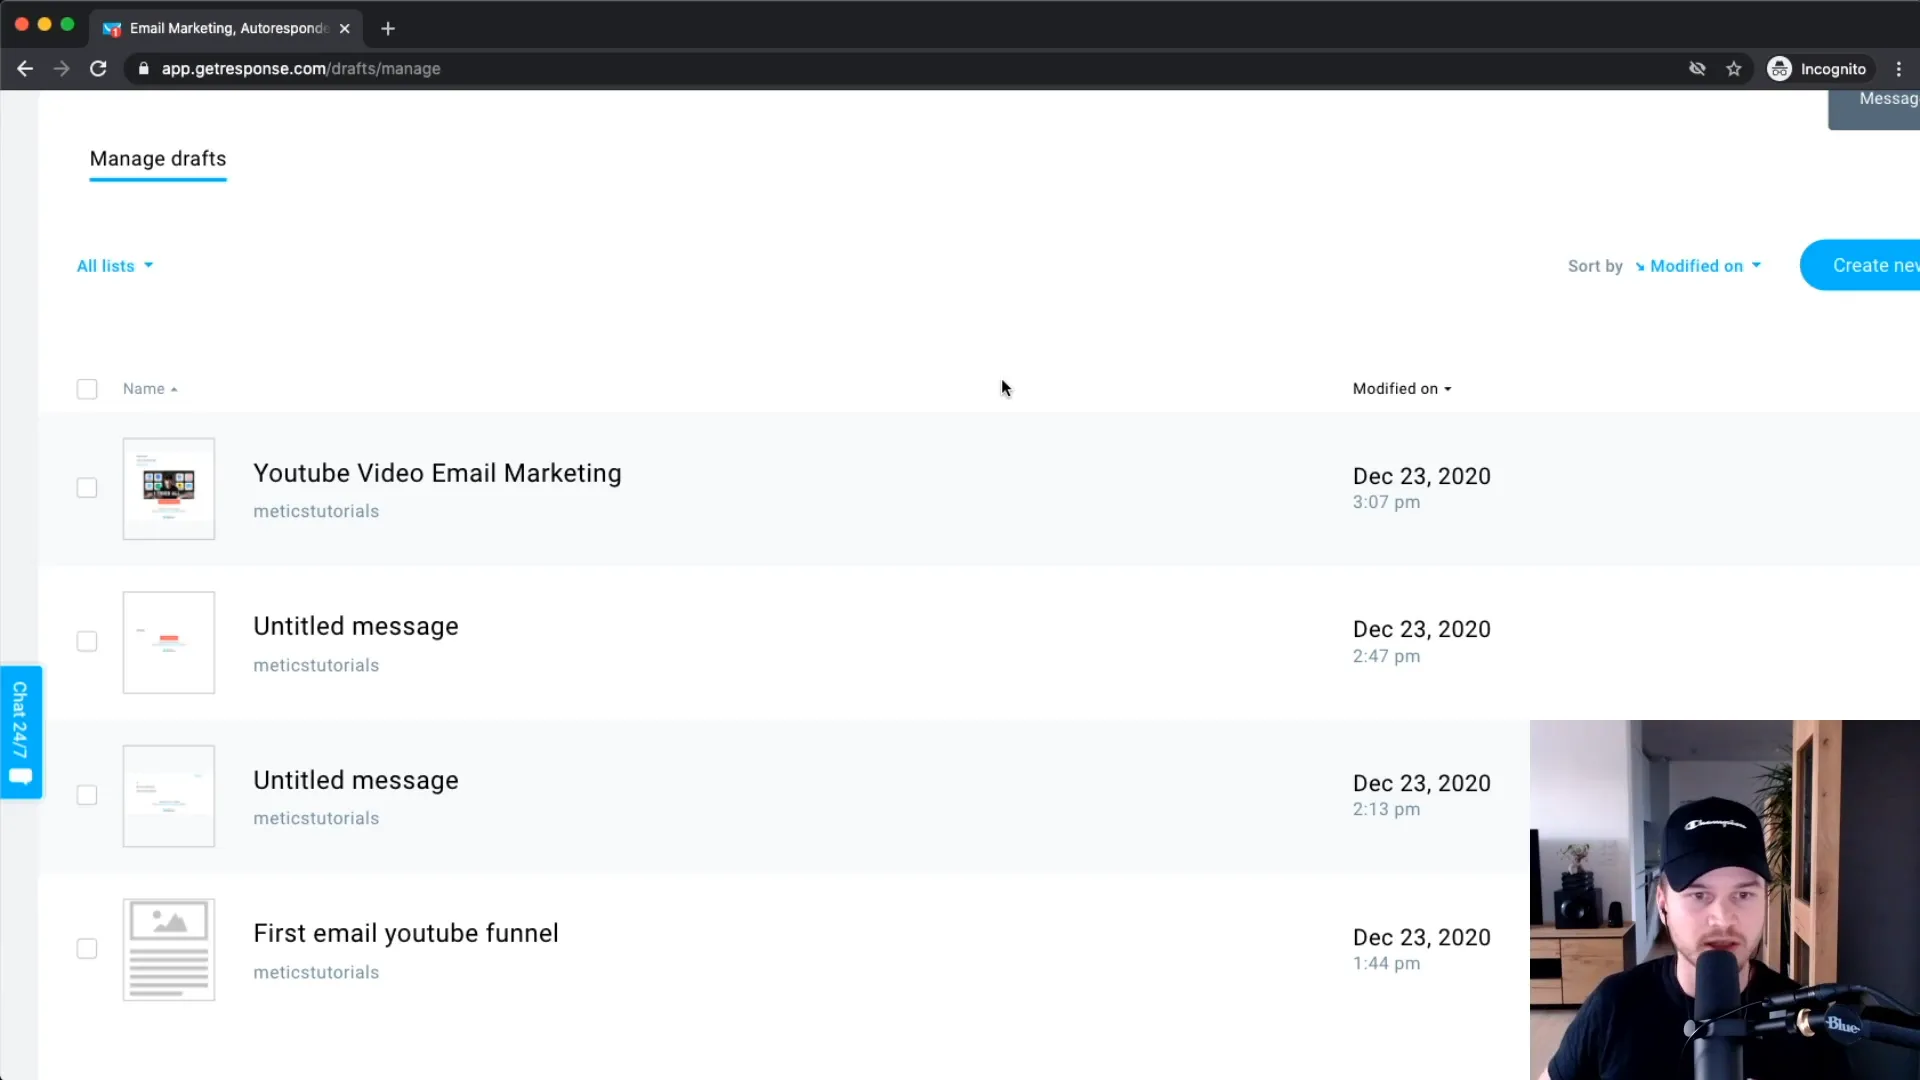
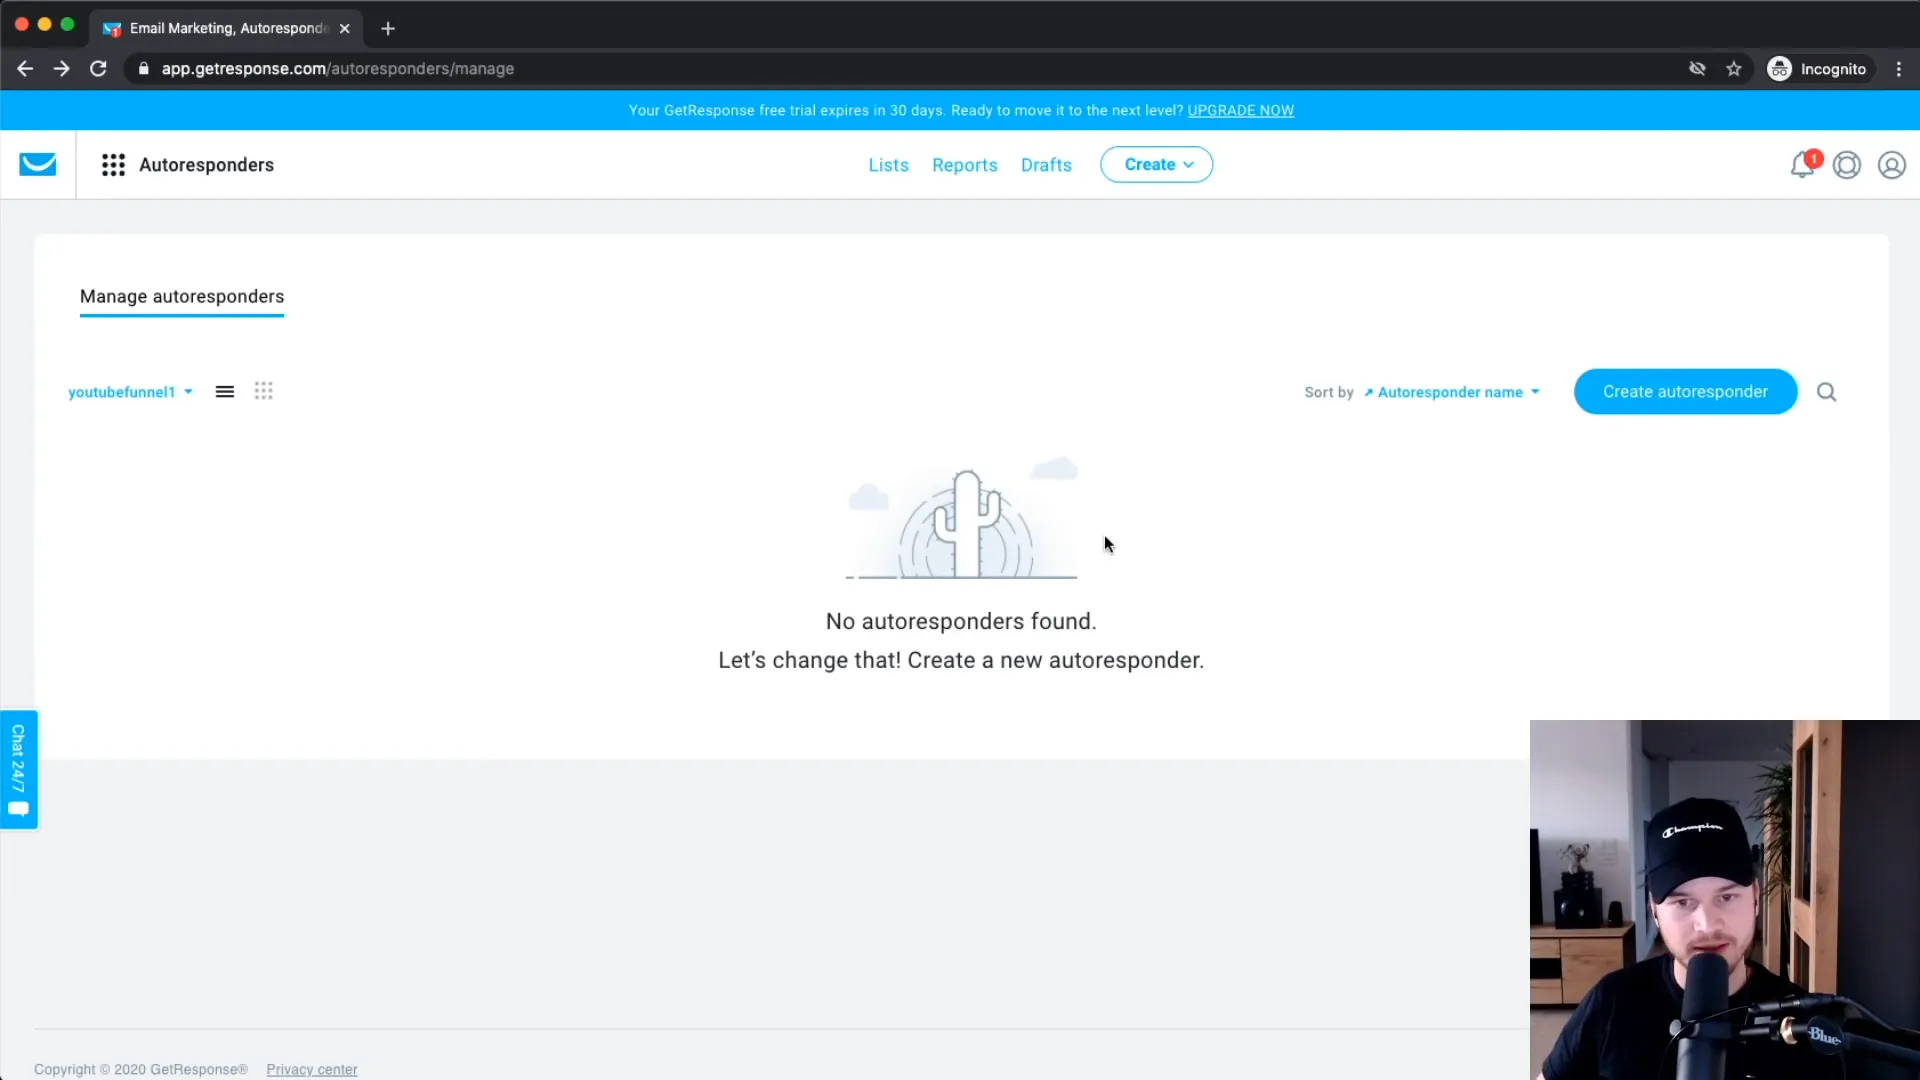
Autoresponders allow you to send a series of emails to your subscribers over time. To create an autoresponder, go to the “Autoresponders” section and click on “Create Autoresponder.” Set up the sequence of emails to be sent out based on the subscriber’s actions.
Step 11: Email Automations
Email automation provides advanced capabilities to segment your audience based on their interactions. You can create workflows that send specific emails based on subscriber behavior, such as opening an email or clicking a link.
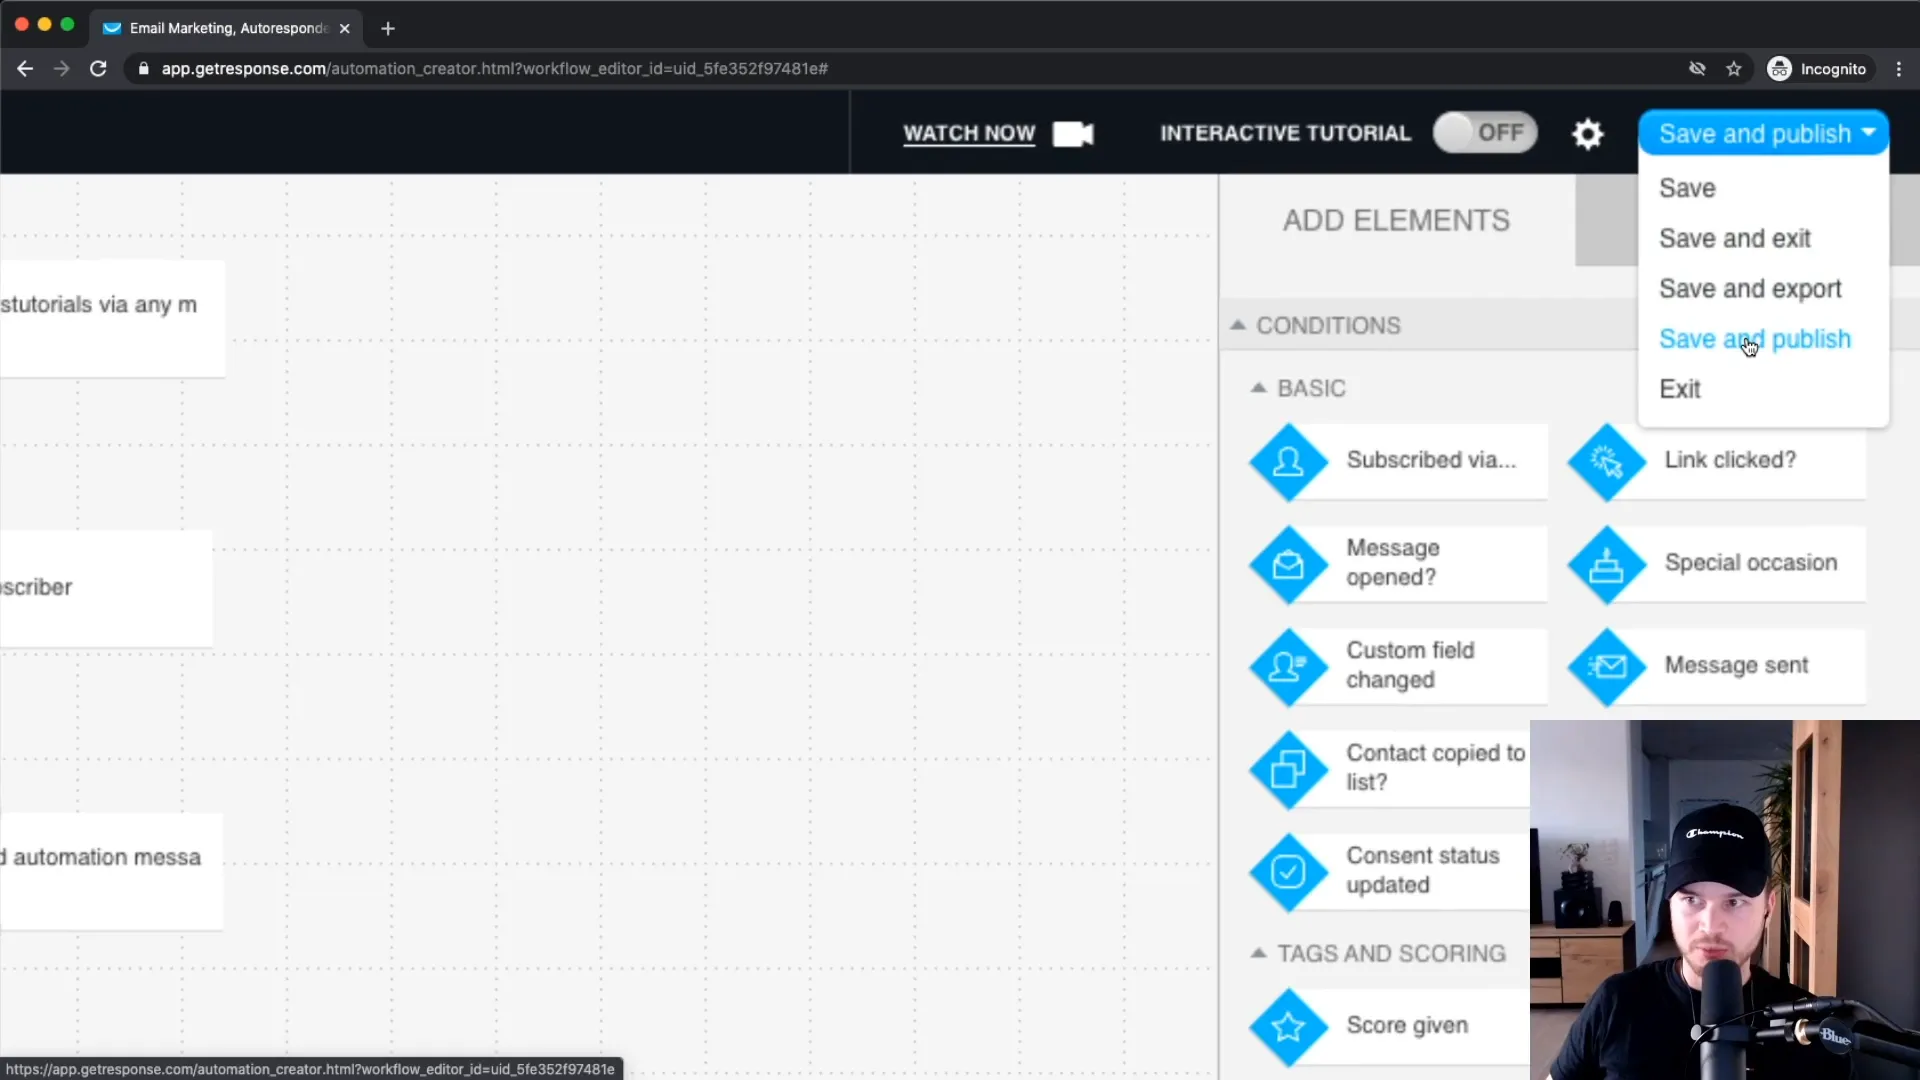
To create an automation, navigate to the “Automation” section and use the visual builder to set up your email sequences. Save and publish your automation workflow to activate it.
Final Thoughts
GetResponse is an excellent tool for anyone looking to harness the power of email marketing. By following the steps outlined in this guide, you’ll be well on your way to creating effective email campaigns that engage your audience and drive conversions. Don’t forget to explore additional resources and support offered by GetResponse as you continue to grow your email marketing efforts.
If you’re ready to start, unlock your revenue potential with GetResponse’s marketing software. Automate sales, track revenue, and convert leads into loyal customers with ease.


