

Creating a website can seem daunting, especially if you’re new to the world of web design. Fortunately, the Hostinger website builder offers an intuitive platform that simplifies the process. This tutorial will guide you step by step through setting up your website using Hostinger’s tools, including its AI features. Whether you’re looking to build a personal blog, a portfolio, or an online store, Hostinger has you covered.
Table of Contents
Step 1: Picking the Right Plan
Choosing the right plan is crucial for your website’s success. Hostinger offers various plans suitable for different needs. While the premium plan is quite sufficient, opting for the business website builder plan is recommended. This plan not only includes eCommerce features but also provides full support for AI tools.
- Consider your budget and the features you need.
- For the best long-term savings, select the longest billing period available.
- Hostinger accepts various payment methods, including cryptocurrency.
Step 2: Setting Up the Website with AI Help
Once you’ve selected a plan, you’ll land on the setup page. Here, you need to choose the type of website you want to build and describe it in detail. This description is crucial as it helps Hostinger’s AI craft your website’s design and content. The more detailed your description, the better the AI can serve you.

After your website is generated, you will be taken to the editing interface. Here, you can further customize your site to better fit your vision.
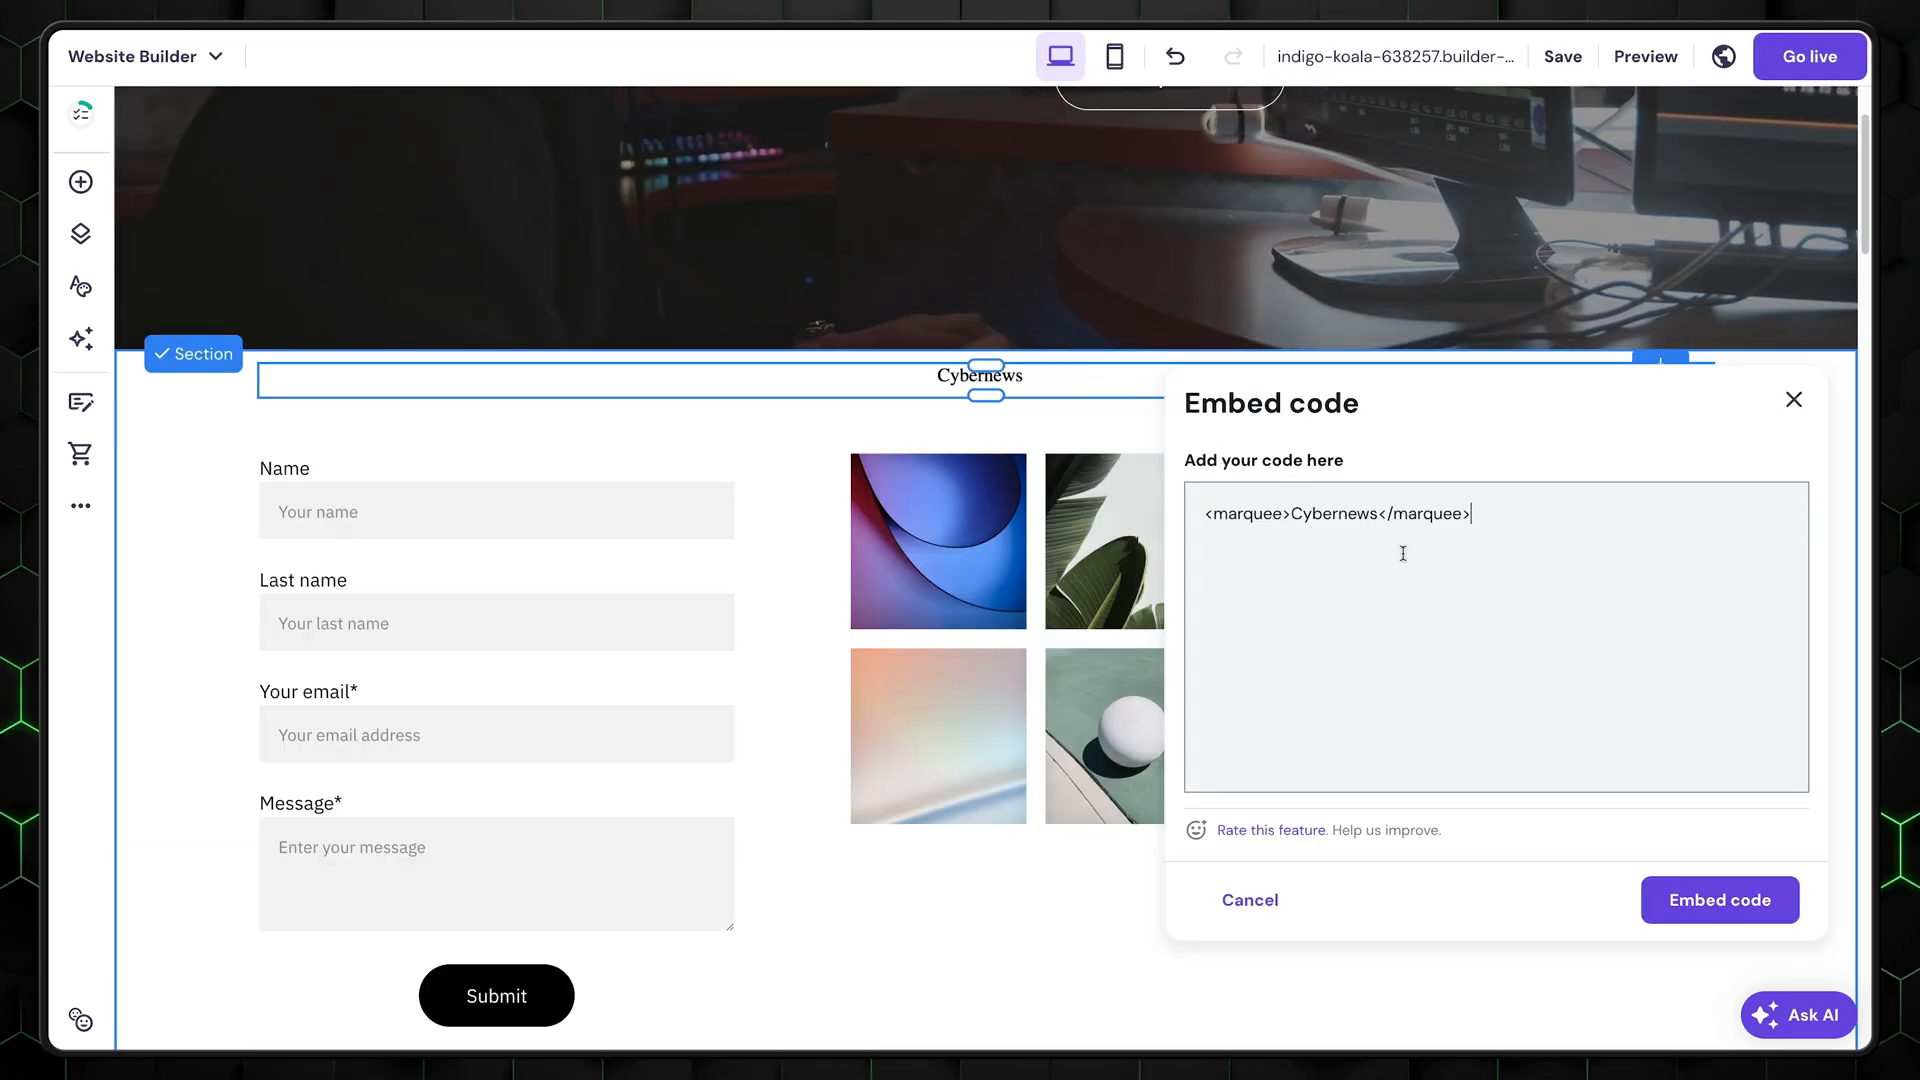
Step 3: Creating the Website – Adding Elements
The Hostinger website builder allows for easy drag-and-drop functionality, making it beginner-friendly. There are essential elements you can add, such as:
- Social icons
- Contact forms
- Galleries
- Embedded code blocks
For example, to add a gallery, simply drag the gallery element into place. You can populate it with demo images or upload your own from your computer. The integrated stock image selection is also a helpful feature, allowing you to find images without leaving the editor.
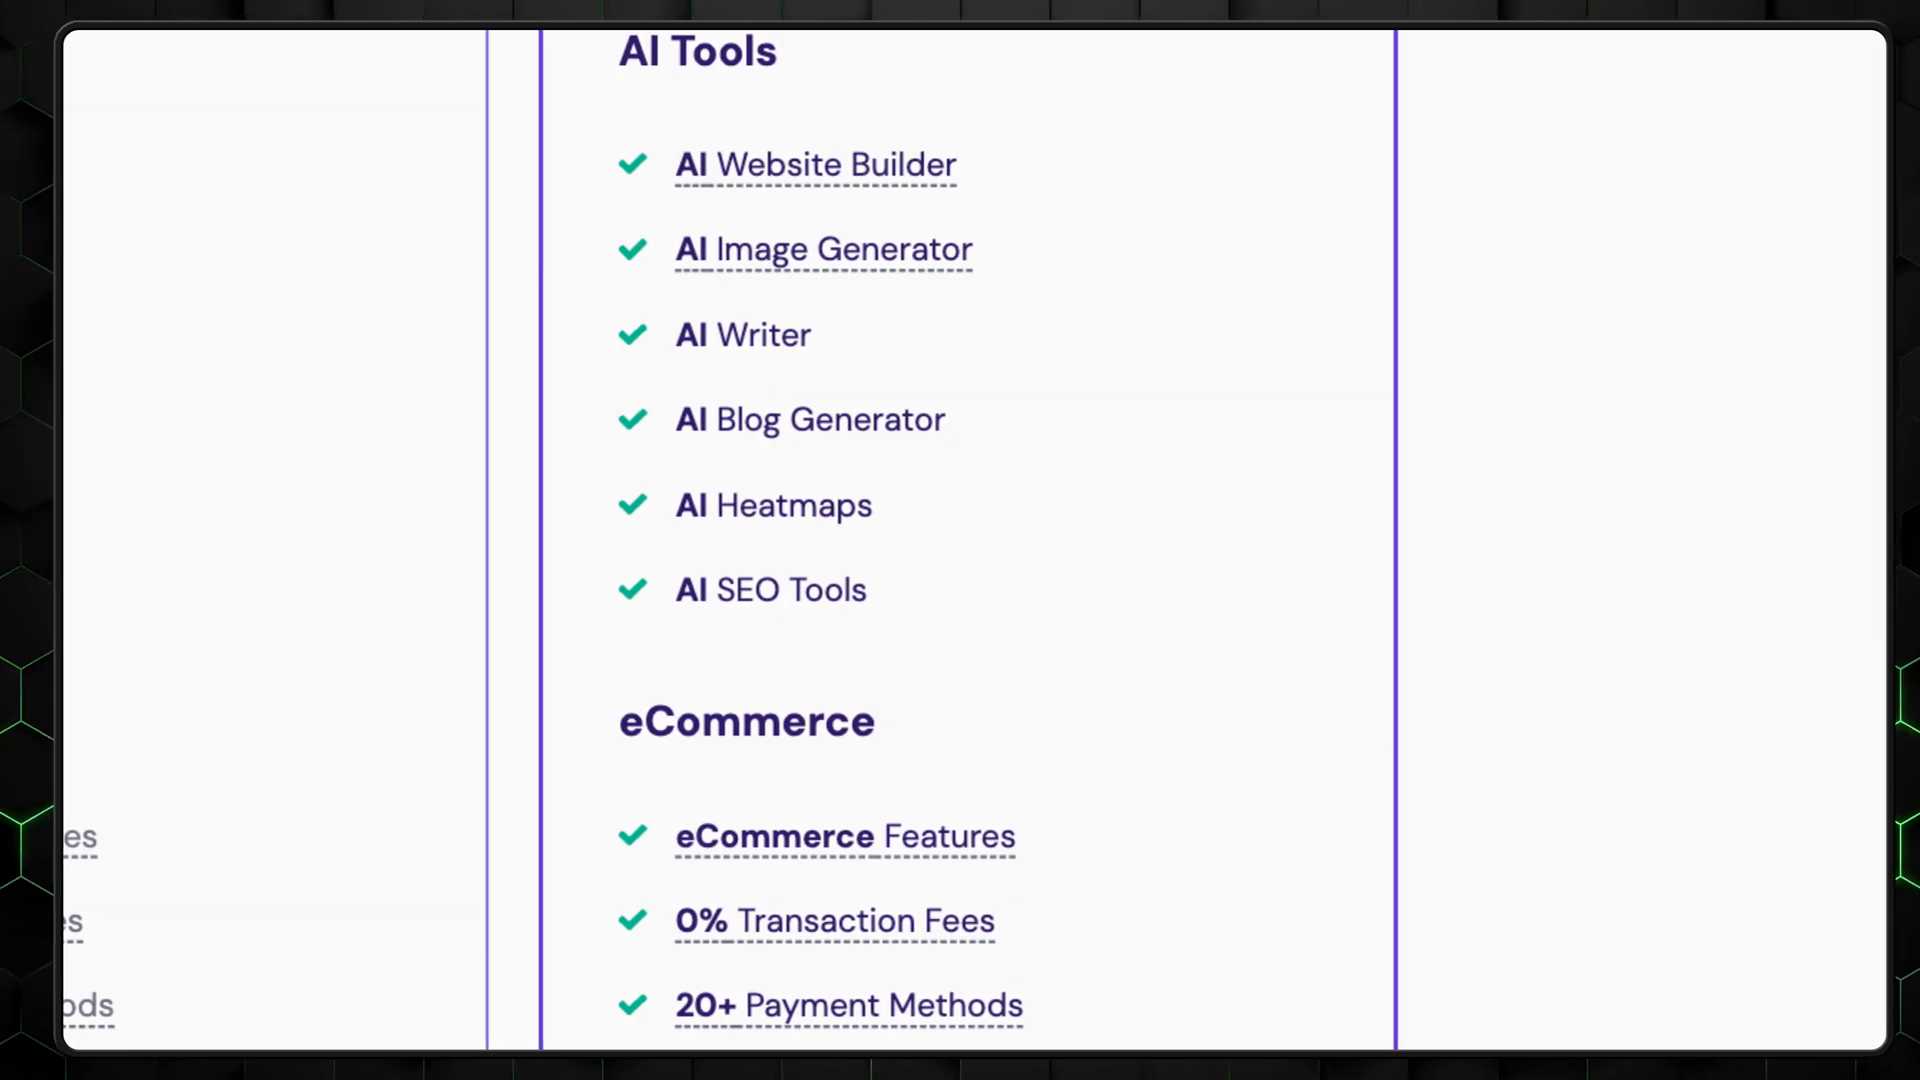
Step 4: Using AI Tools
Hostinger’s AI tools enhance your website-building experience. On the left side of the editor, you’ll find a menu dedicated to AI features, including:
- Logo generator
- AI blog generator
- AI writer
- AI image generator
The AI image generator is particularly useful. You can be descriptive in your requests, but remember that you have a limited number of credits. The logo maker can quickly provide non-copyrighted designs, saving you money on graphic design services.

Step 5: Website Styles
Customizing your website’s style is essential for branding. Hostinger provides a straightforward interface for managing colors and fonts:
- View all colors used in your design
- Edit font styles, sizes, and line heights
- Choose button styles and animations
Minimalistic designs often work best, so avoid overloading your site with too many animations or styles.

Step 6: Adding an Online Shop to Your Website
If you’re interested in eCommerce, Hostinger allows you to set up an online store without additional costs, even with their cheapest plan. You can create a demo storefront with pre-made items. Simply manage products to update details to match your own offerings.
- Fill in necessary product information.
- Set up shipping options and manage your store effectively.

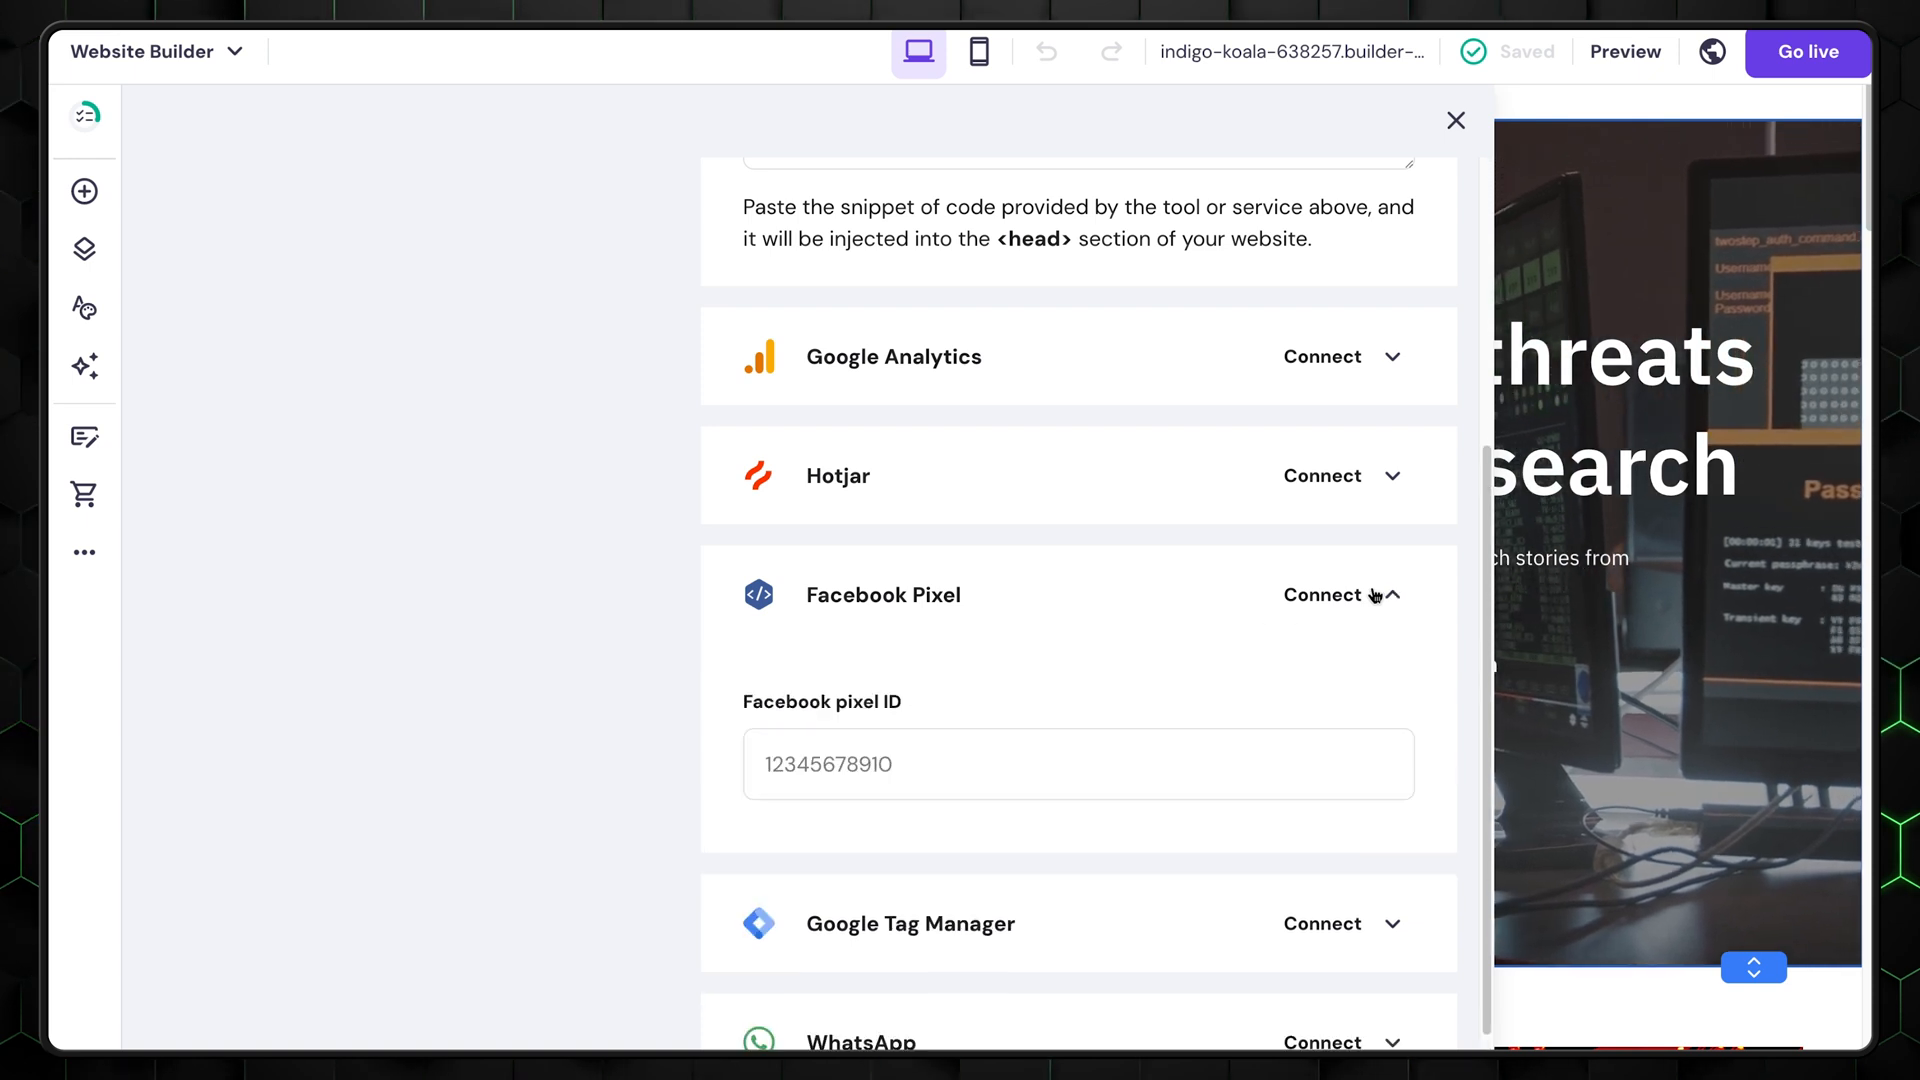
Step 7: General Settings
Once your website is set up, it’s time to explore the general settings:
- Upload a favicon for your website.
- Add a preview image.
- Enable the cookie banner for compliance.
- Integrate tools like Google Analytics for enhanced tracking.
Hostinger also offers its own analytics tool, which, while limited, provides essential metrics like order numbers and customer origins.

Step 8: Analytics and SEO
Search Engine Optimization (SEO) is vital for making your website discoverable. Hostinger provides an SEO setup tool that helps you optimize your site:
- View how your website will appear in search results.
- Add titles, descriptions, and keywords for each page.
- Utilize suggested keywords for better visibility.
After completing your SEO setup, you’re ready to publish your site!
Step 9: Conclusion – Why Hostinger is Great for Beginners?
Hostinger’s website builder is a fantastic tool for beginners. It offers user-friendly features, AI assistance, and eCommerce capabilities without requiring prior web design experience. You can create a professional-looking website in just a few hours.
If you have any questions or need further assistance, don’t hesitate to leave a comment. The community is here to help!
Ready to start? Head over to Hostinger and choose the perfect plan for your needs.
Remember to check out the Website Builder | Create Your Website in Minutes with Ease for more insights and tips.