![You are currently viewing [Hostinger] Step-by-Step Guide to Buying VPS Hosting from Hostinger and Installing WordPress](https://store.woowhouse.com/wp-content/uploads/2024/09/image-1-2.jpg)
In today’s digital world, having a fast and reliable website is crucial for success. Many users start with shared hosting due to its affordability but later realize the need for a more powerful solution as their traffic grows. This guide will walk you through the process of purchasing VPS hosting from Hostinger and installing WordPress on it, ensuring your website runs smoothly and efficiently.
Step 1: Understanding VPS Hosting
Virtual Private Server (VPS) hosting provides you with dedicated resources, improving speed and performance compared to shared hosting. It is ideal for websites that are growing or require more control over their server environment. When selecting a VPS plan, consider your website’s traffic and resource needs.
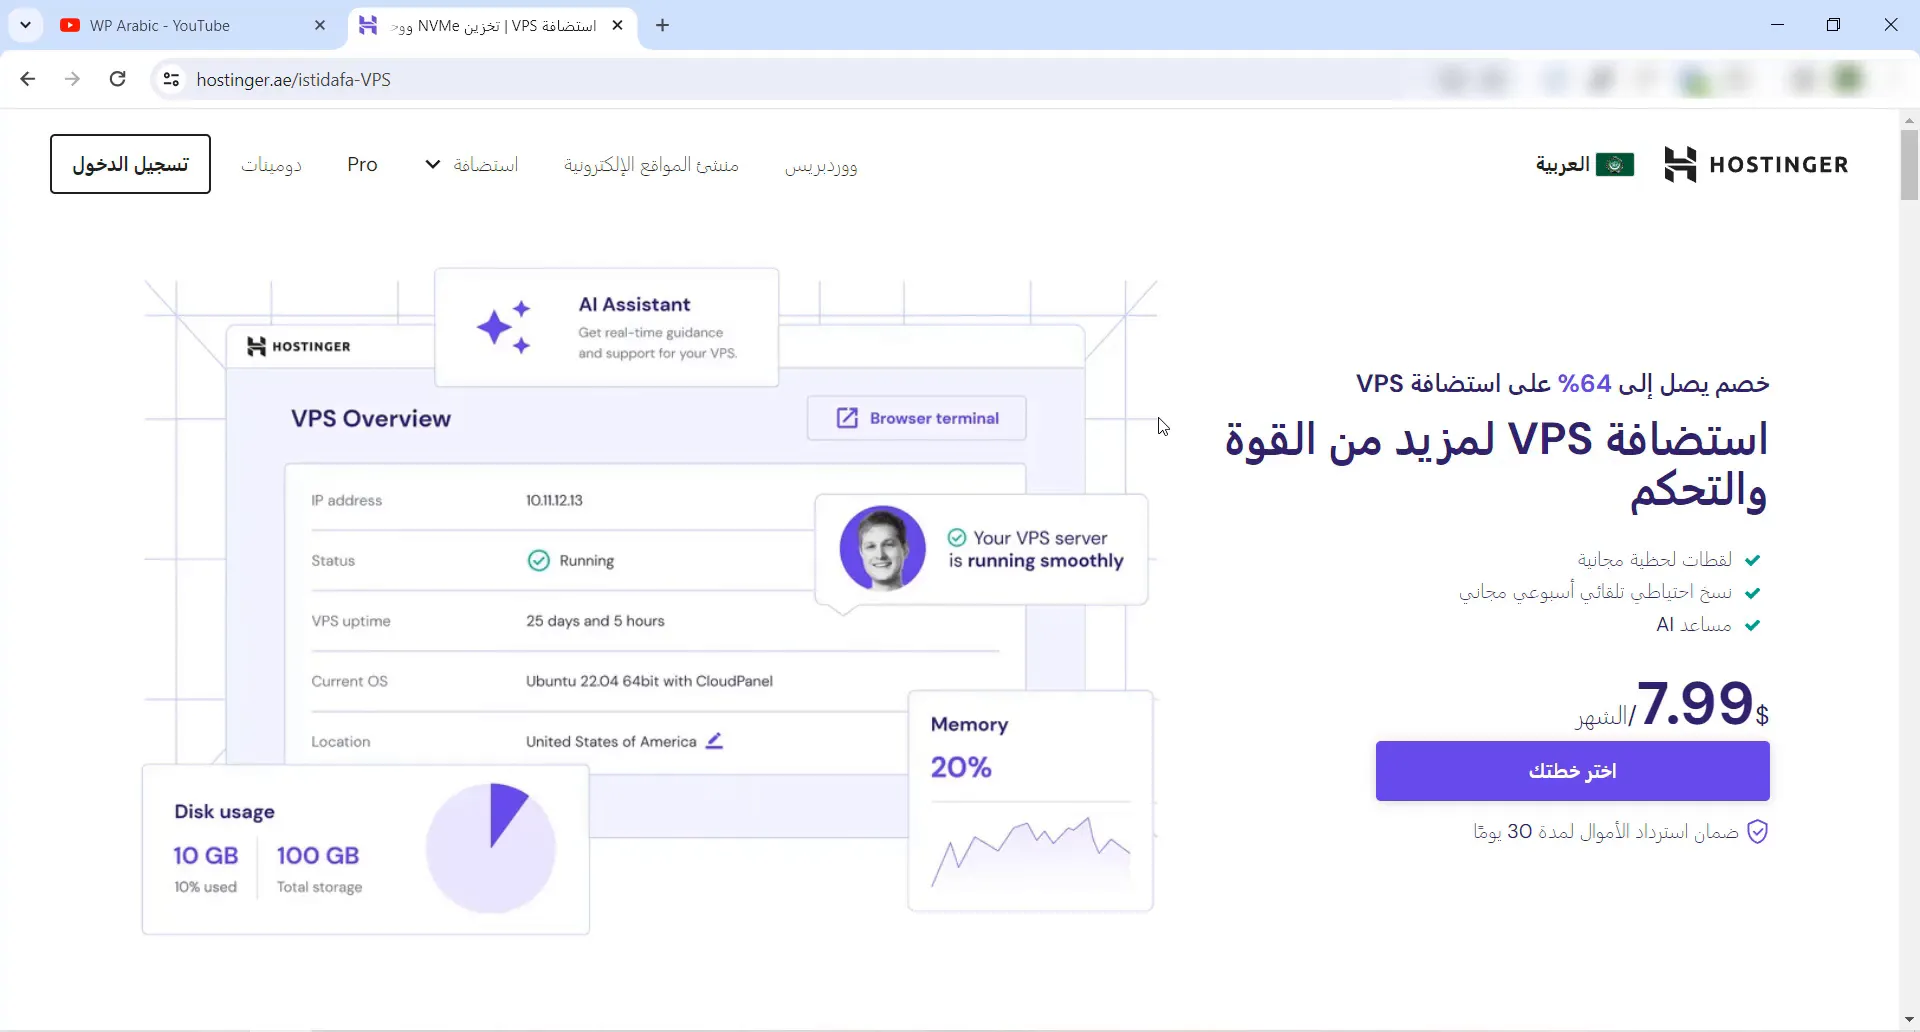
Step 2: Accessing Hostinger’s VPS Plans
To begin, navigate to Hostinger’s website. You’ll find various VPS plans tailored to different needs. Scroll down to view the available options and their specifications.

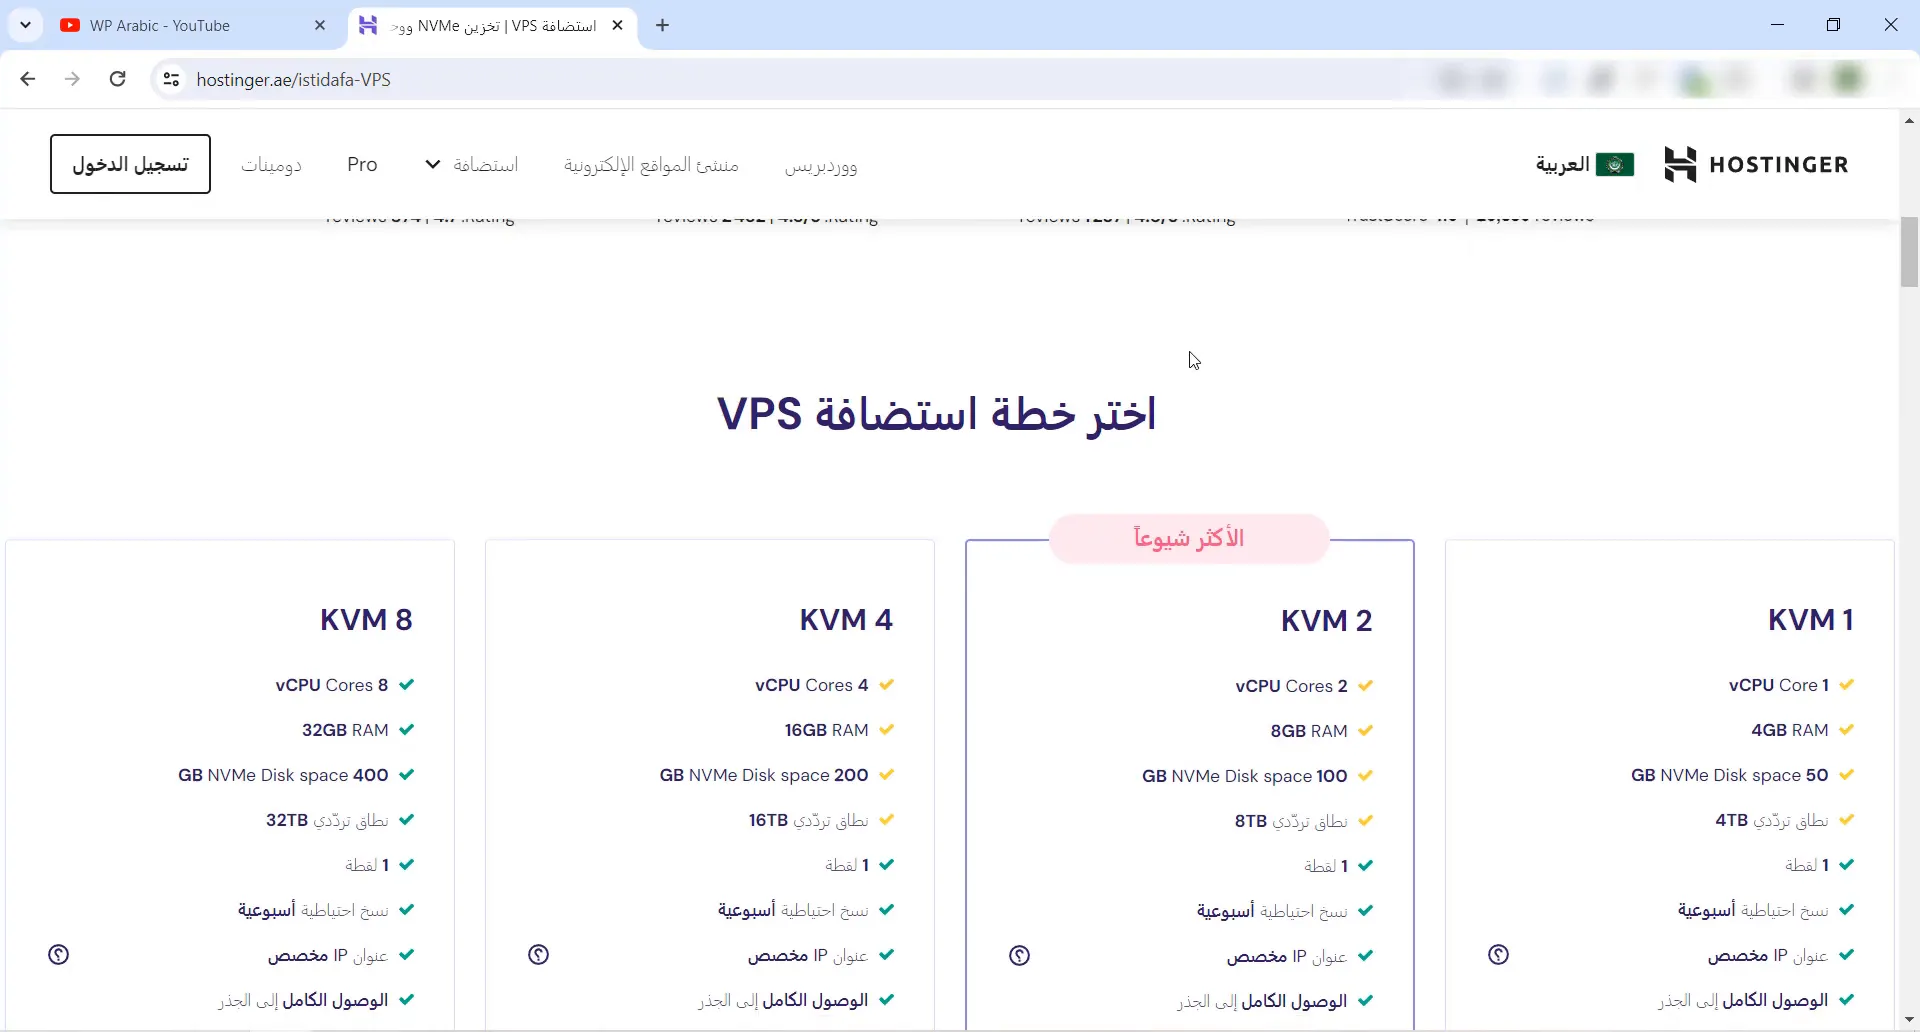
Step 3: Selecting the Right VPS Plan
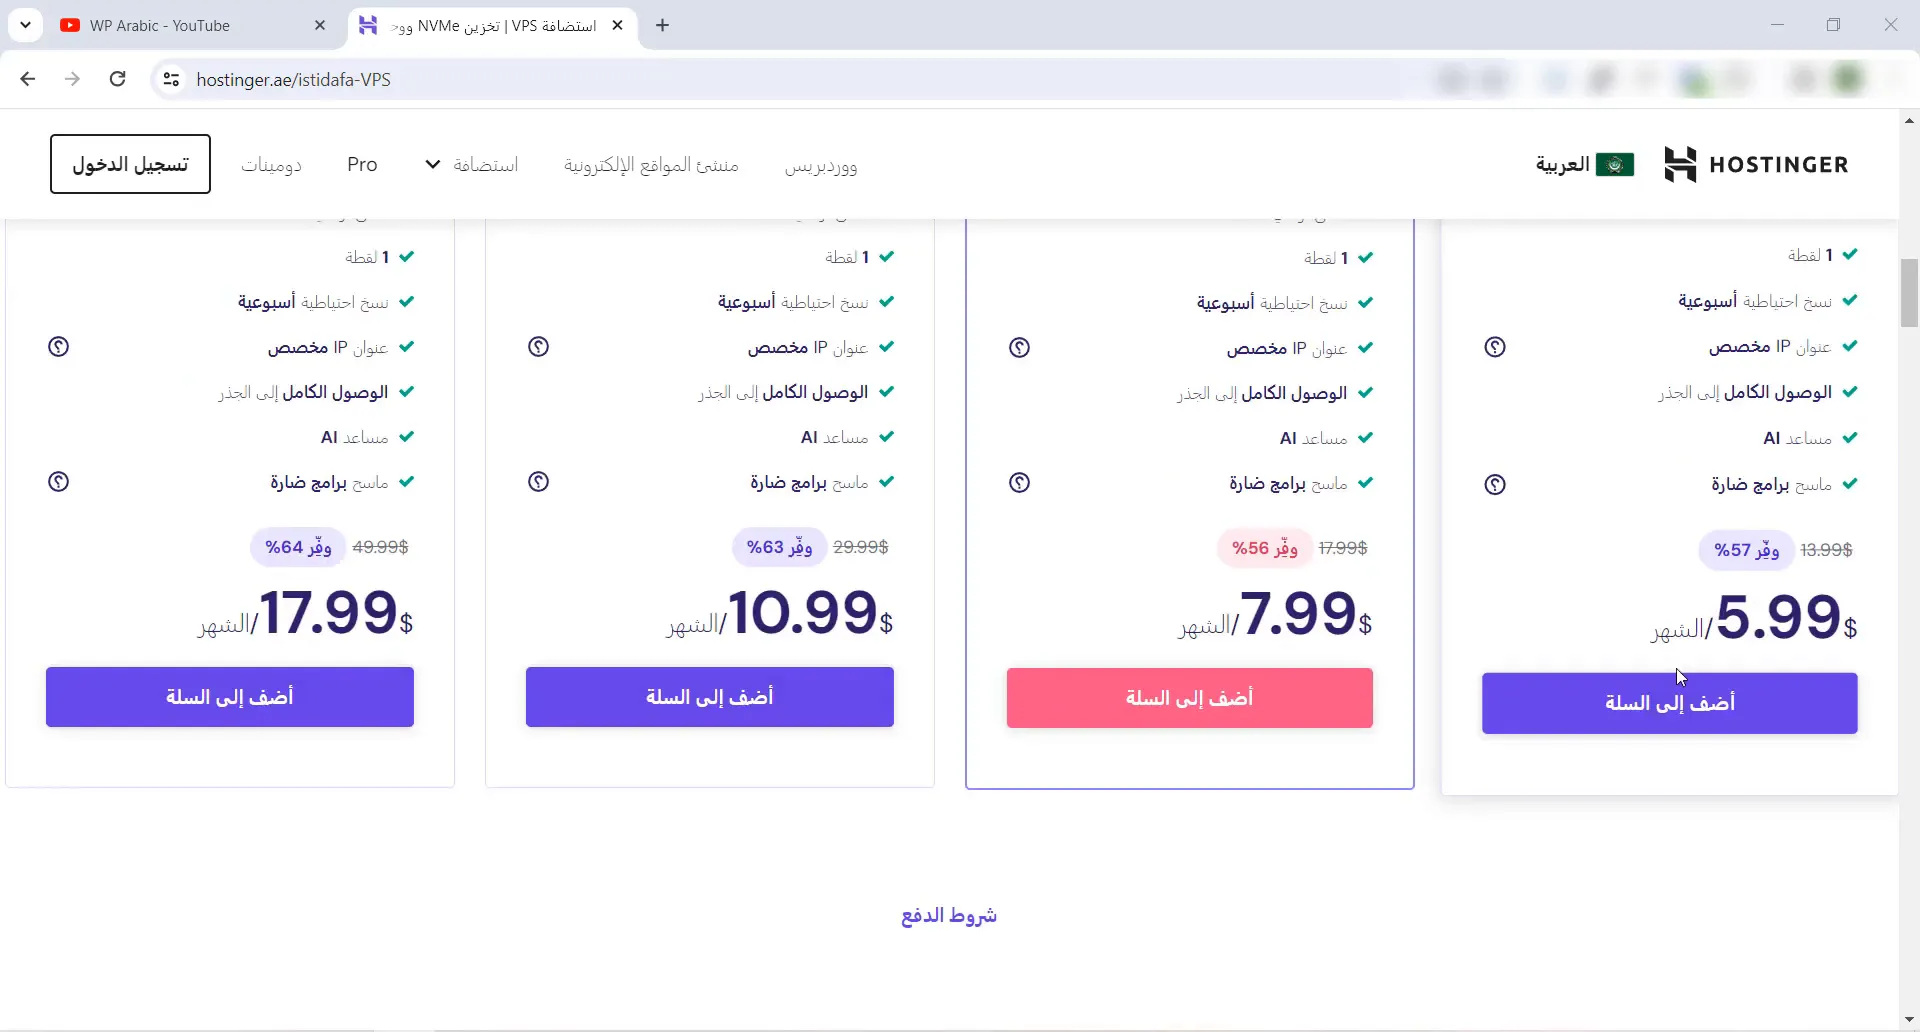
Hostinger offers multiple VPS plans, each varying in CPU, RAM, and storage capacity. Choose a plan based on your estimated traffic. For instance, if you expect high traffic, opt for a plan with more resources. For demonstration purposes, we will select the first plan.
Step 4: Adding the VPS Plan to Your Cart
Once you’ve chosen your plan, click on “Add to Cart.” You will then proceed to the payment page where you can select your payment frequency. The monthly rate varies depending on whether you pay for one month, 12 months, or 24 months.
Step 5: Entering Your Information
On the payment page, fill in your email address, create a password, and provide your personal details. You can also enter optional information like your phone number and address. Once completed, proceed to the payment method.
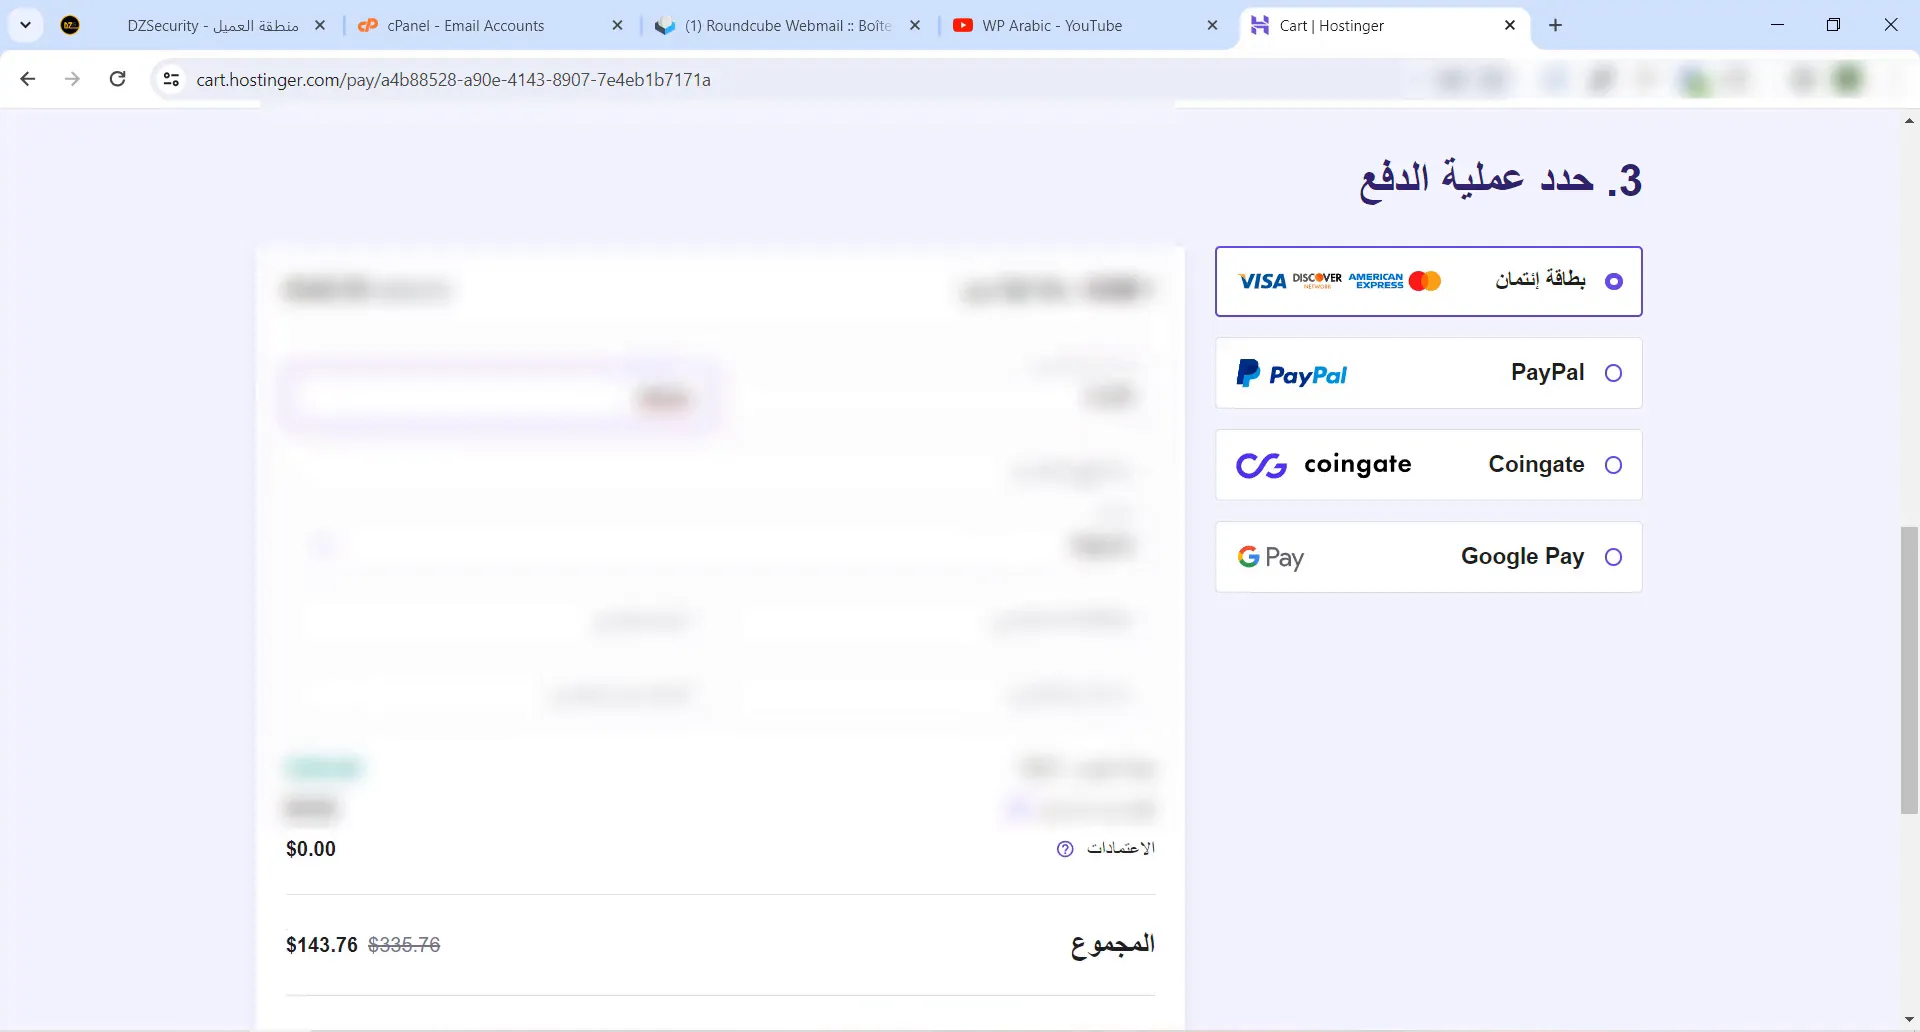
Step 6: Completing Your Payment
Choose your preferred payment method, such as credit card or PayPal. After entering your payment details, confirm the transaction. Once payment is successful, you will be directed to a page to start setting up your VPS.
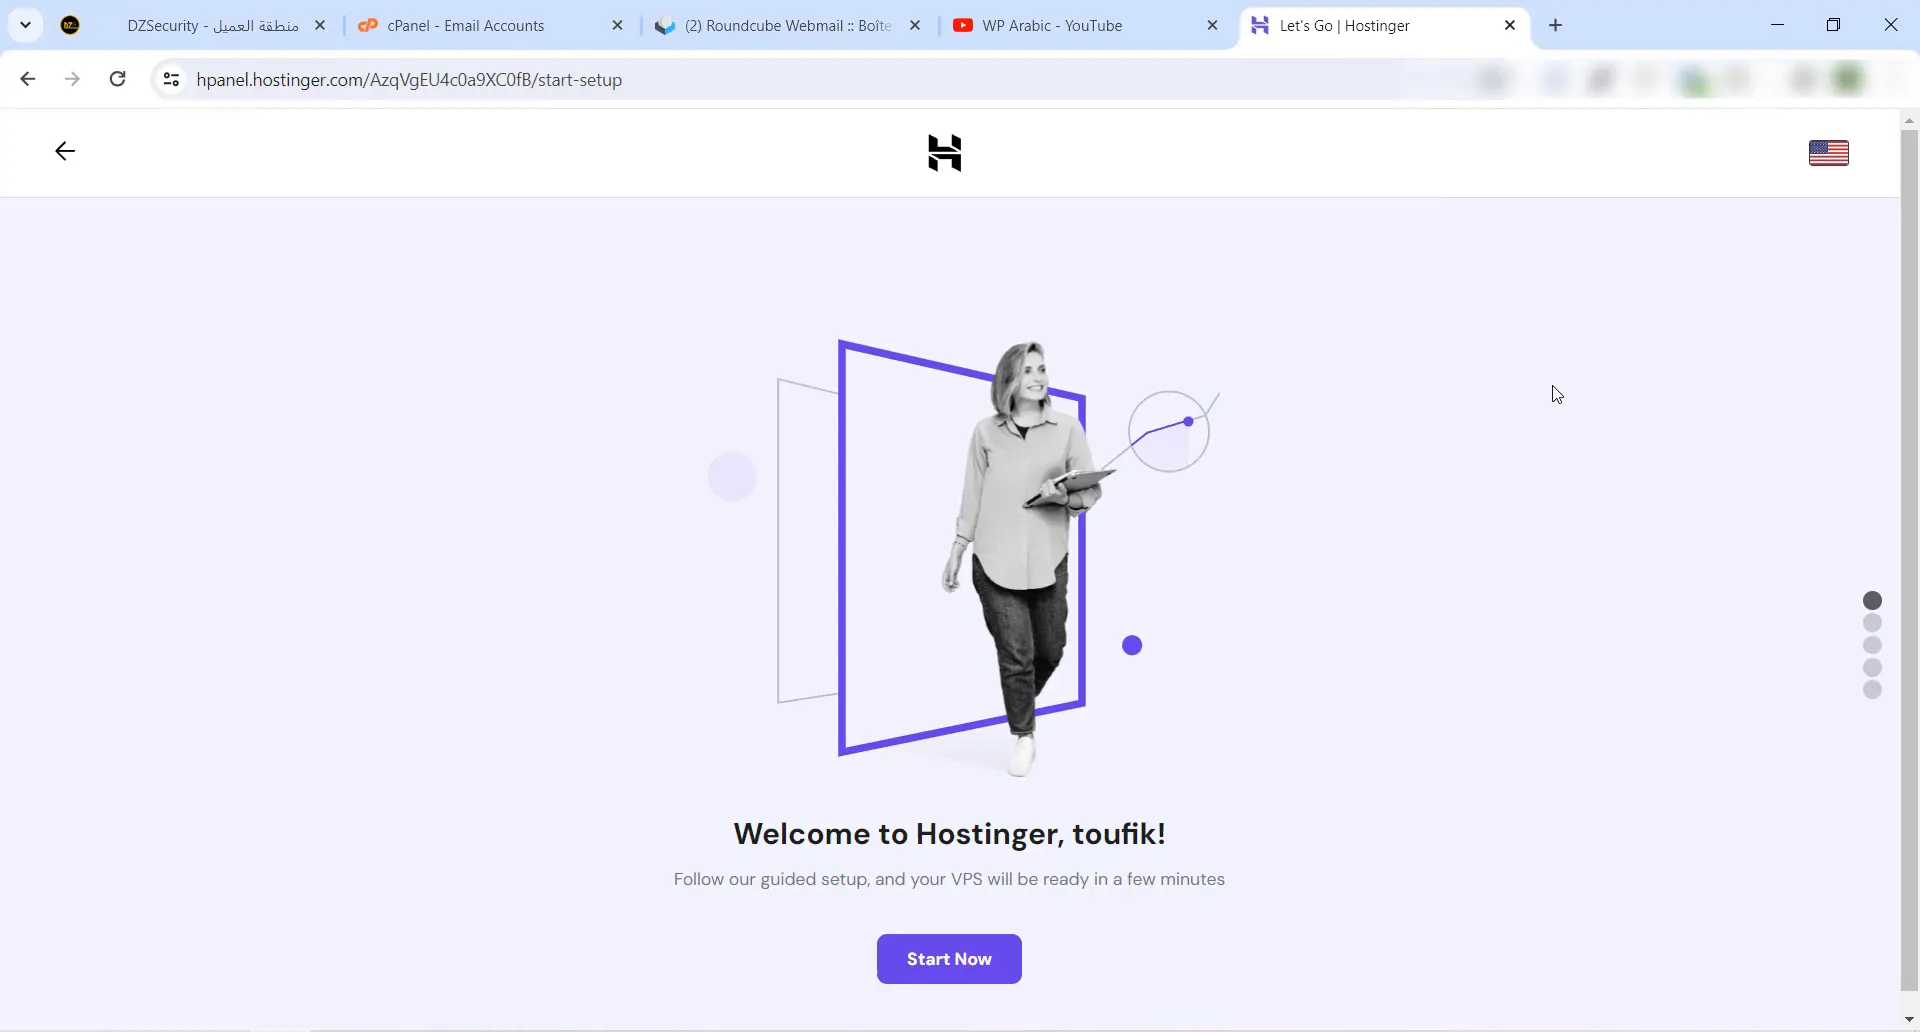
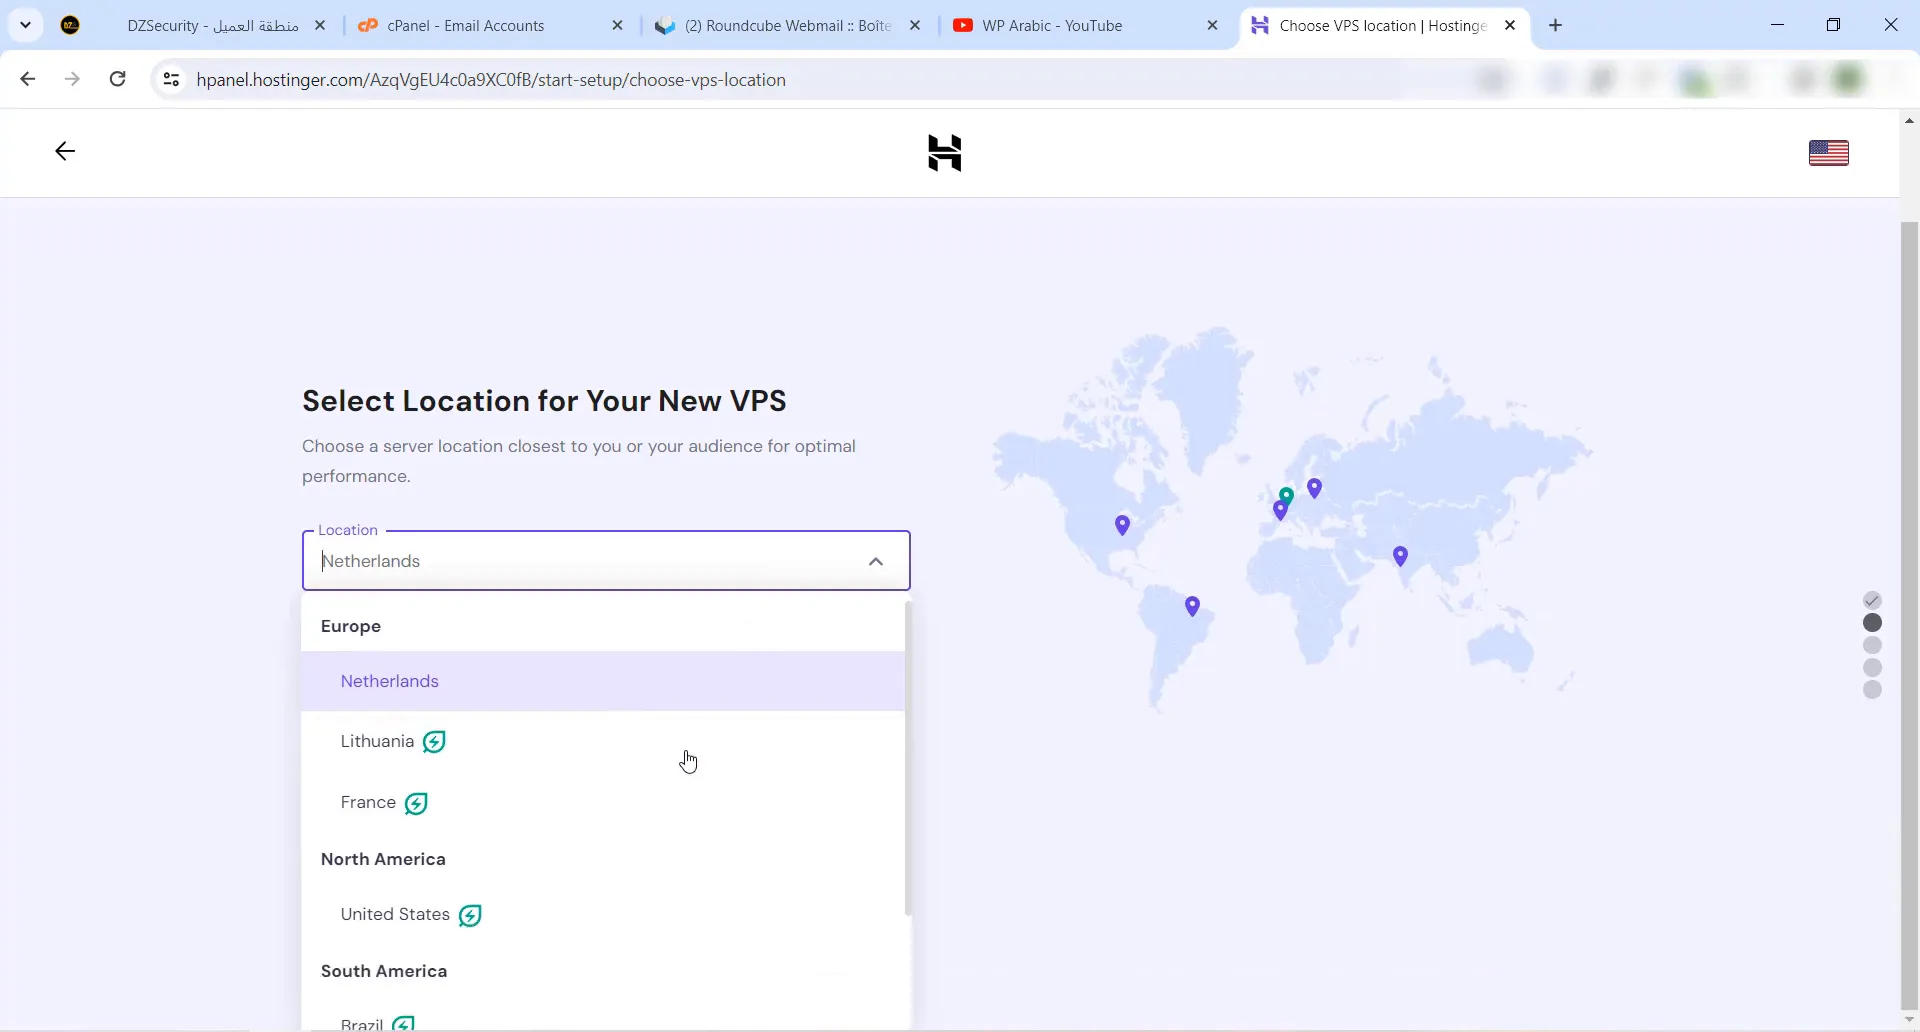
Step 7: Configuring Your VPS Location
Select a server location closest to your target audience for optimal performance. For example, if you are based in Algeria, you might choose a server in France. Click “Continue” to move to the next setup stage.
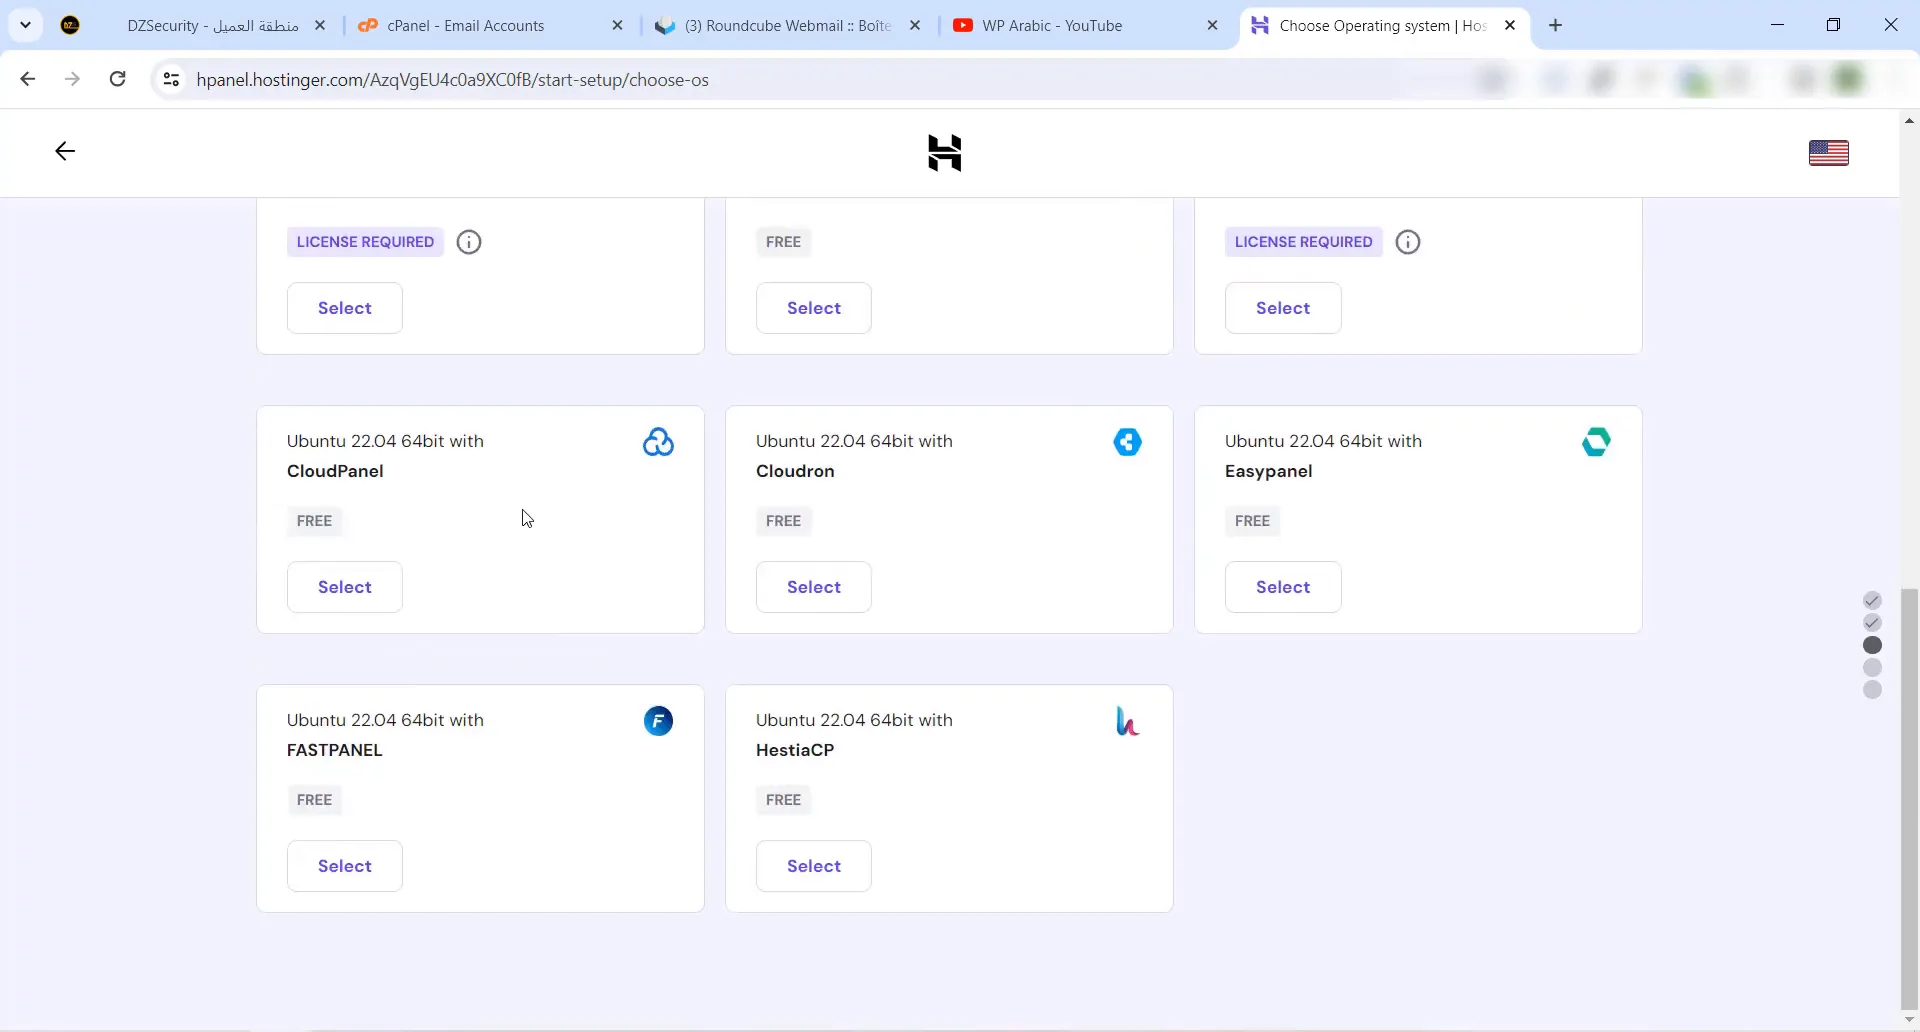
Step 8: Choosing Your Control Panel
Next, you will select a control panel for managing your VPS. The “Cloud Panel” is user-friendly and recommended for beginners. After selecting it, you can also add security features to protect your server.
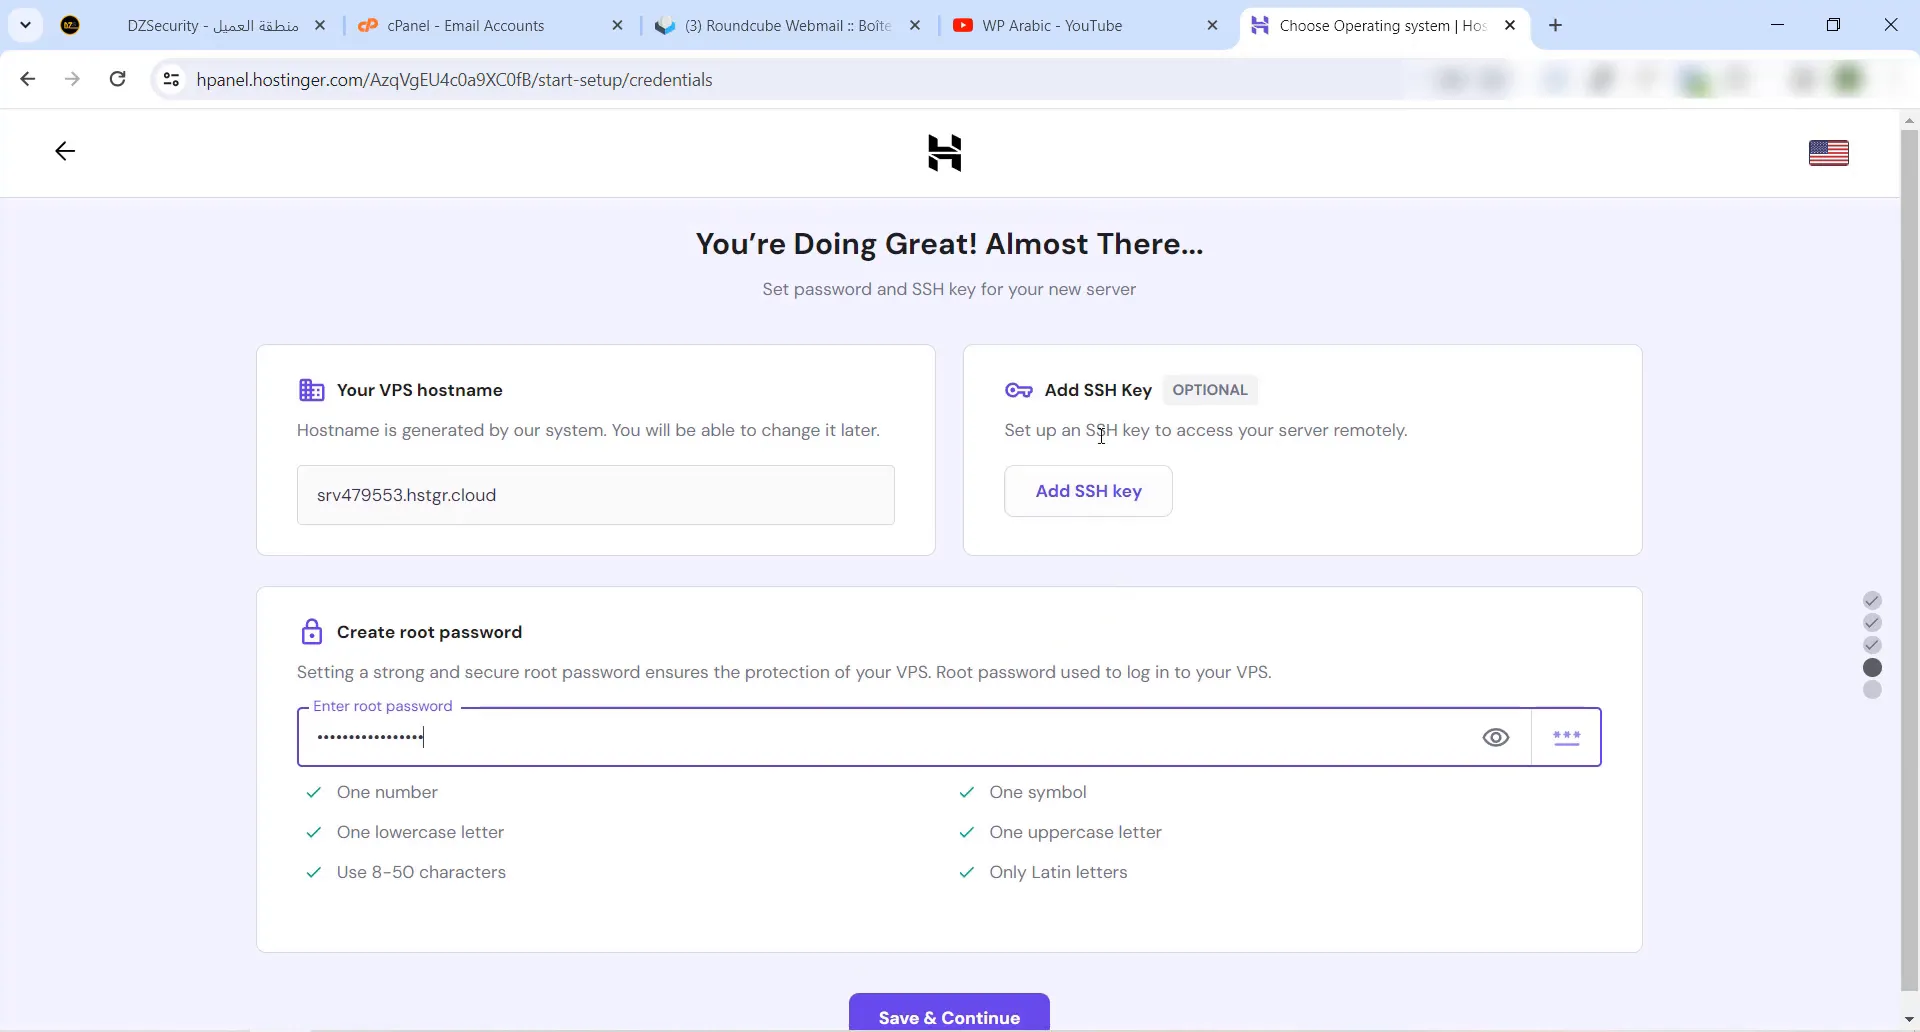
Step 9: Setting Your Passwords
Choose strong passwords for both your admin and root access. It’s crucial to keep these passwords secure. You may also opt to set up SSL later for added security.
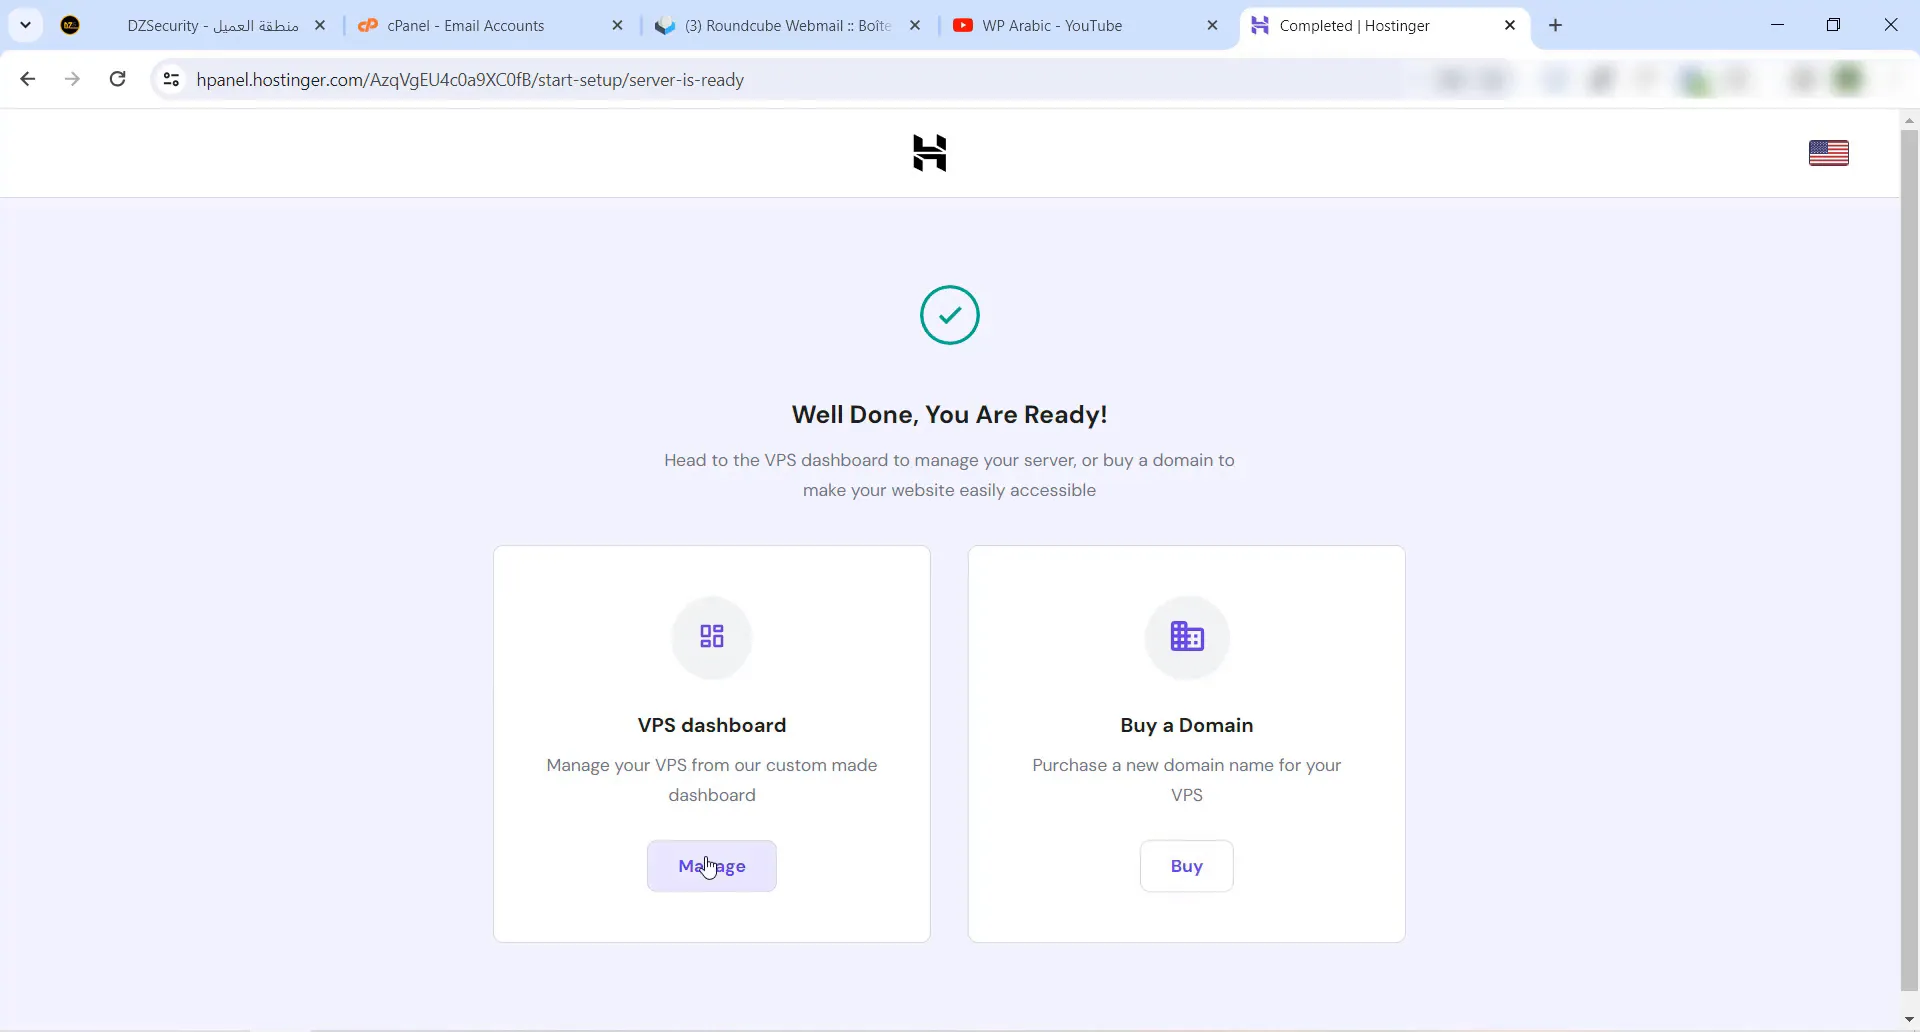
Step 10: Installing Your VPS
Once all configurations are complete, the installation process will begin. This might take some time, so be patient. Once finished, you will have access to your new VPS dashboard.
Step 11: Verifying Your Email
After setting up, check your email for a verification link. This step is essential to ensure your account is active. Click the link to verify your email address.
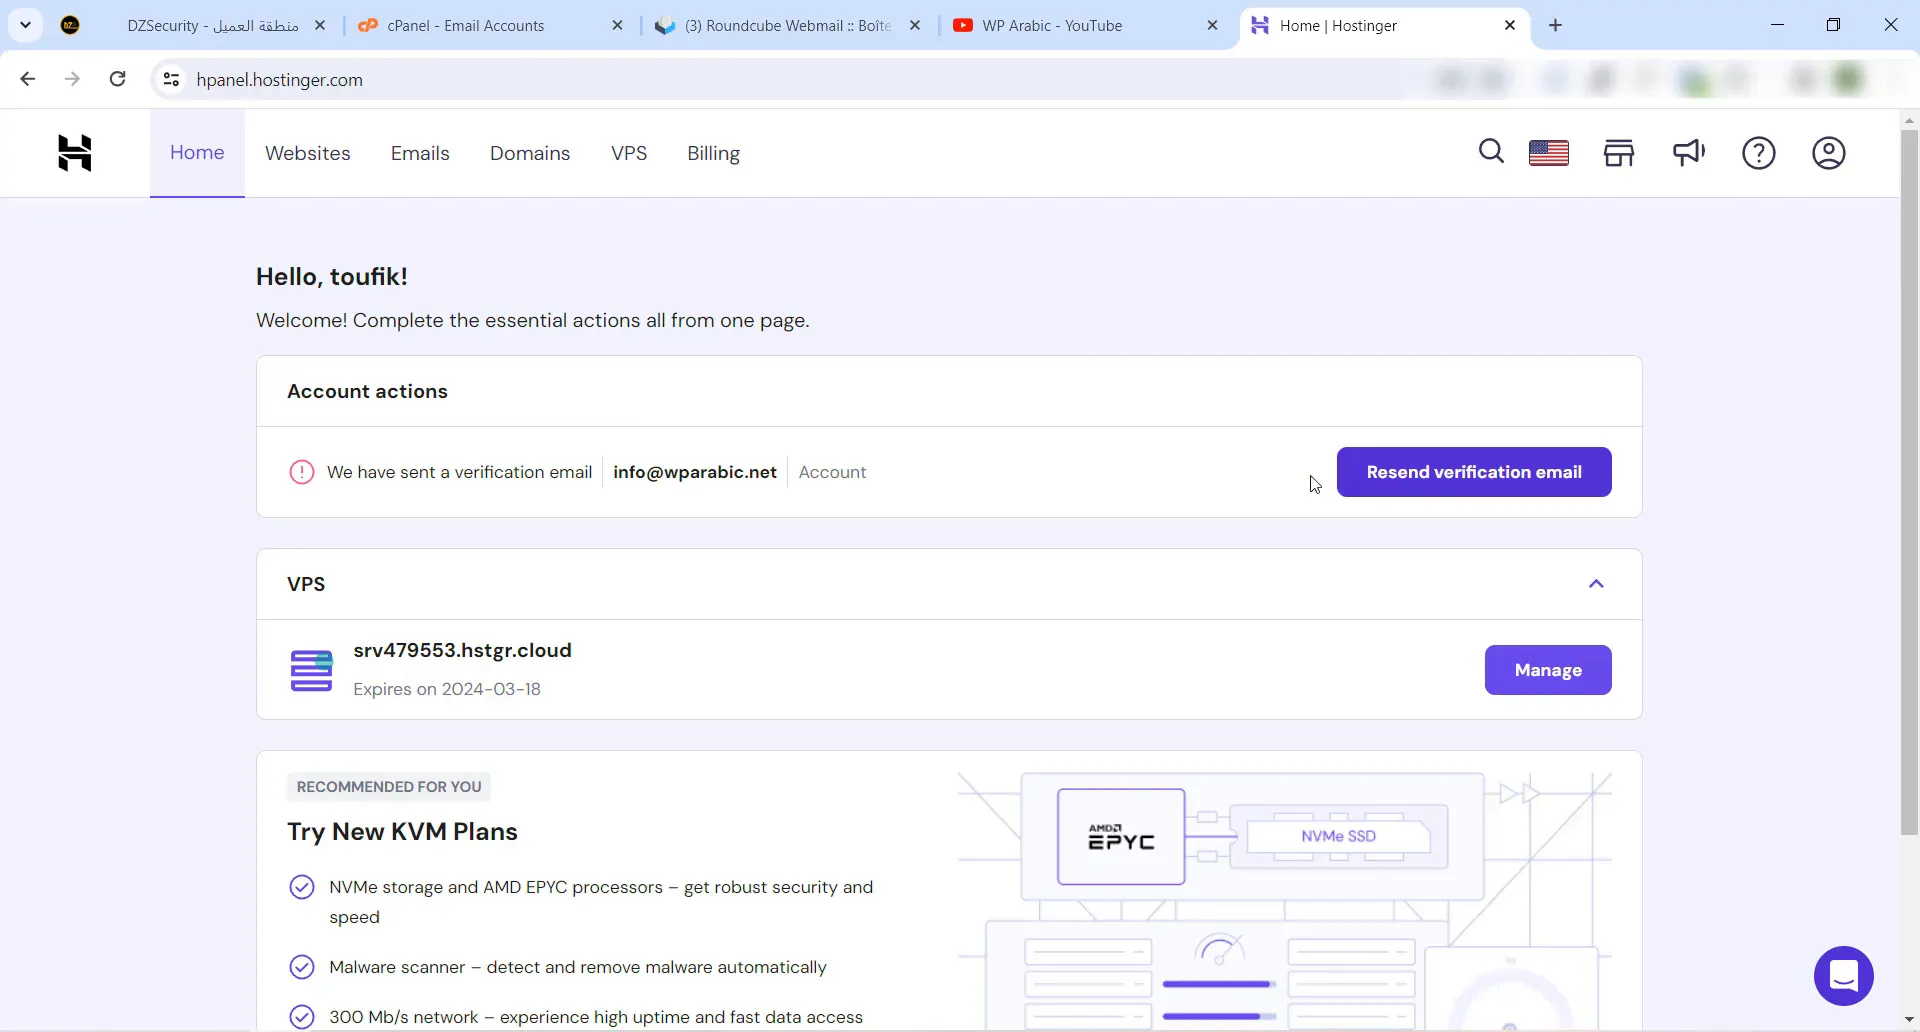
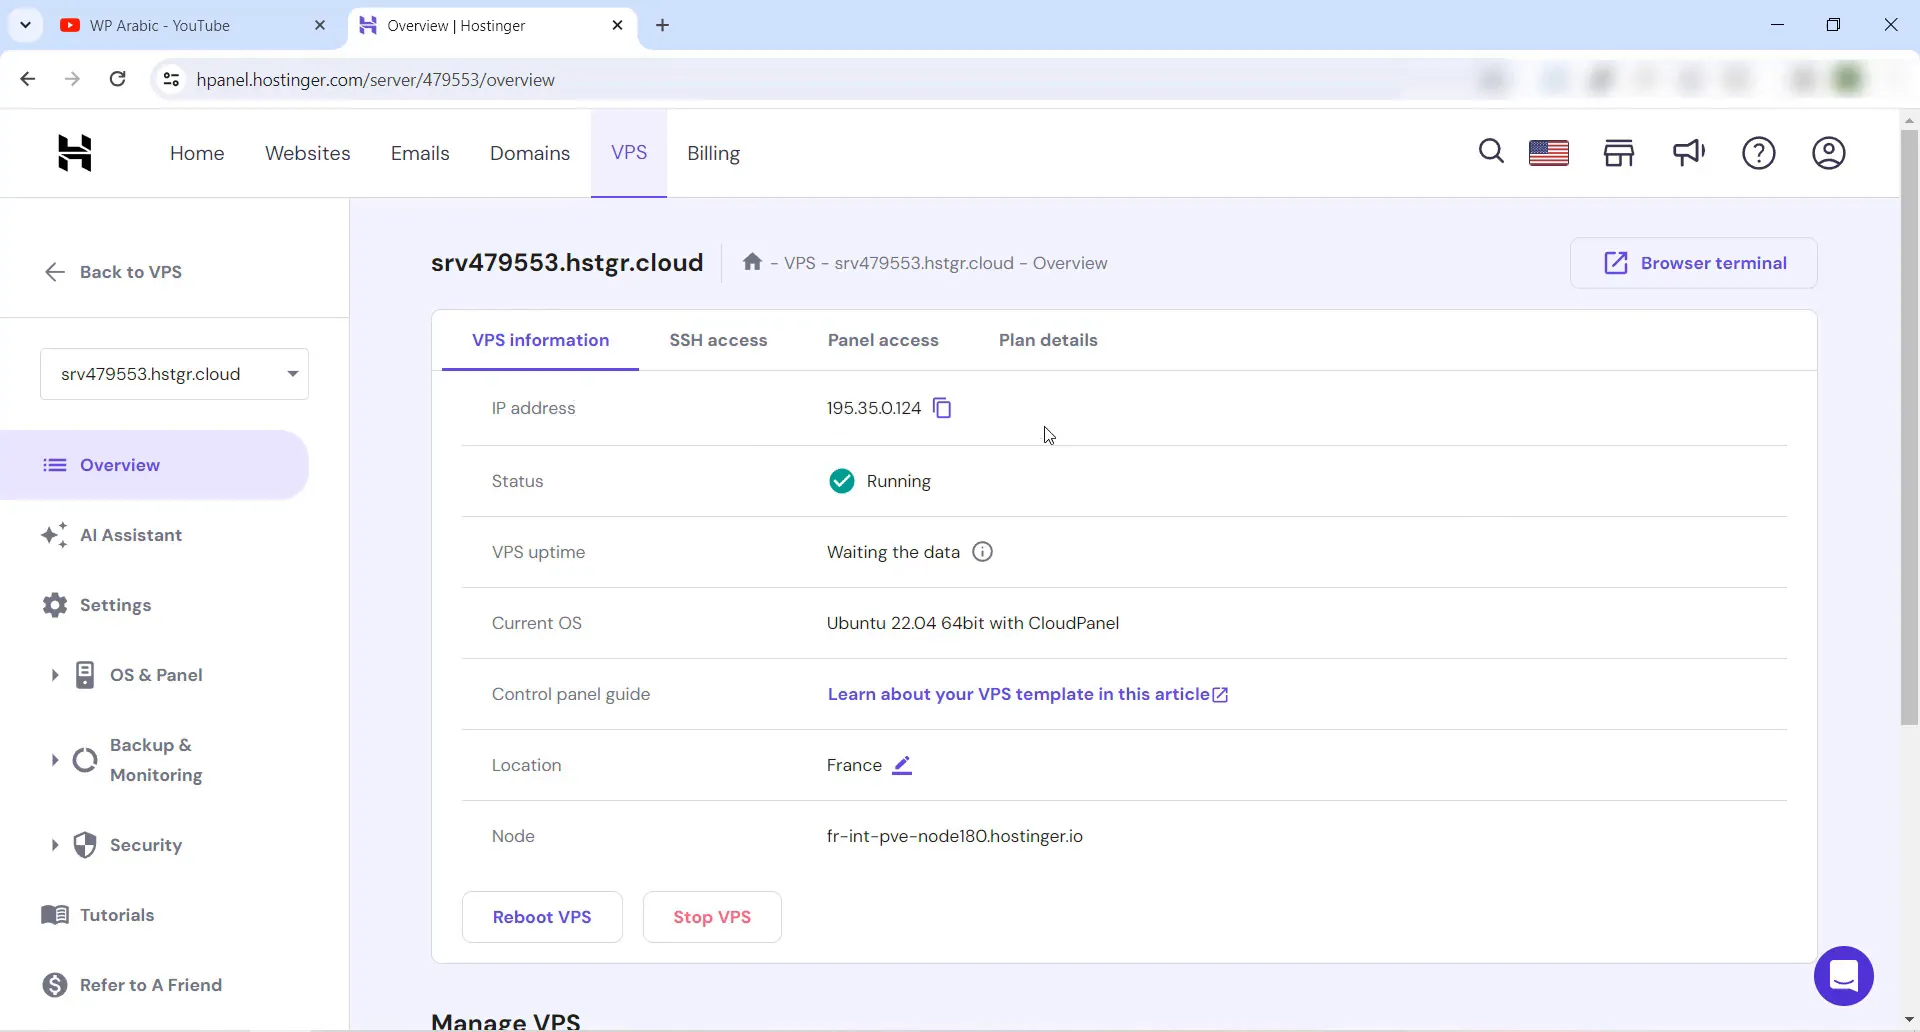
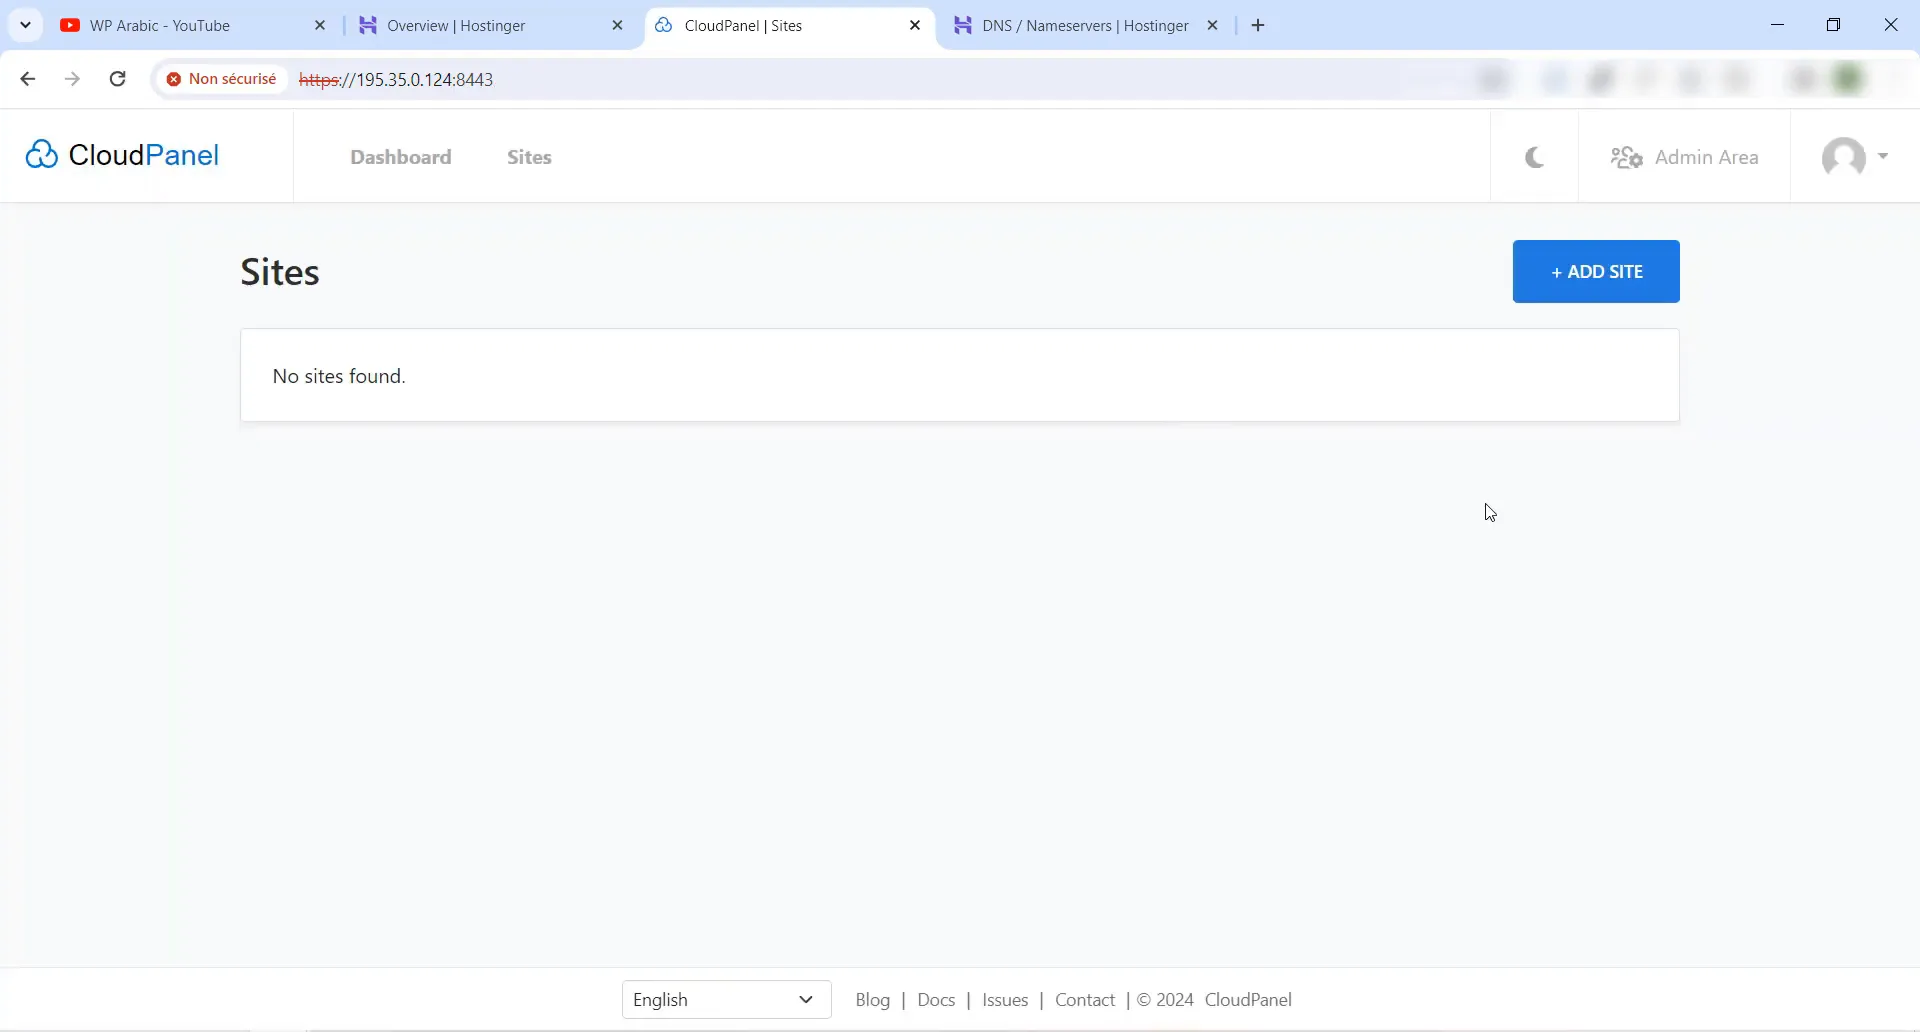
Step 12: Accessing Your VPS Dashboard
To log into your VPS, use the IP address provided and the admin credentials you set during installation. This will take you to your Cloud Panel, where you can manage your server.
Step 13: Installing WordPress
Now it’s time to install WordPress on your VPS. In the Cloud Panel, navigate to “Add Site” and select “Create WordPress Site.” Enter your domain name and site details. This includes the site title, admin username, and password.
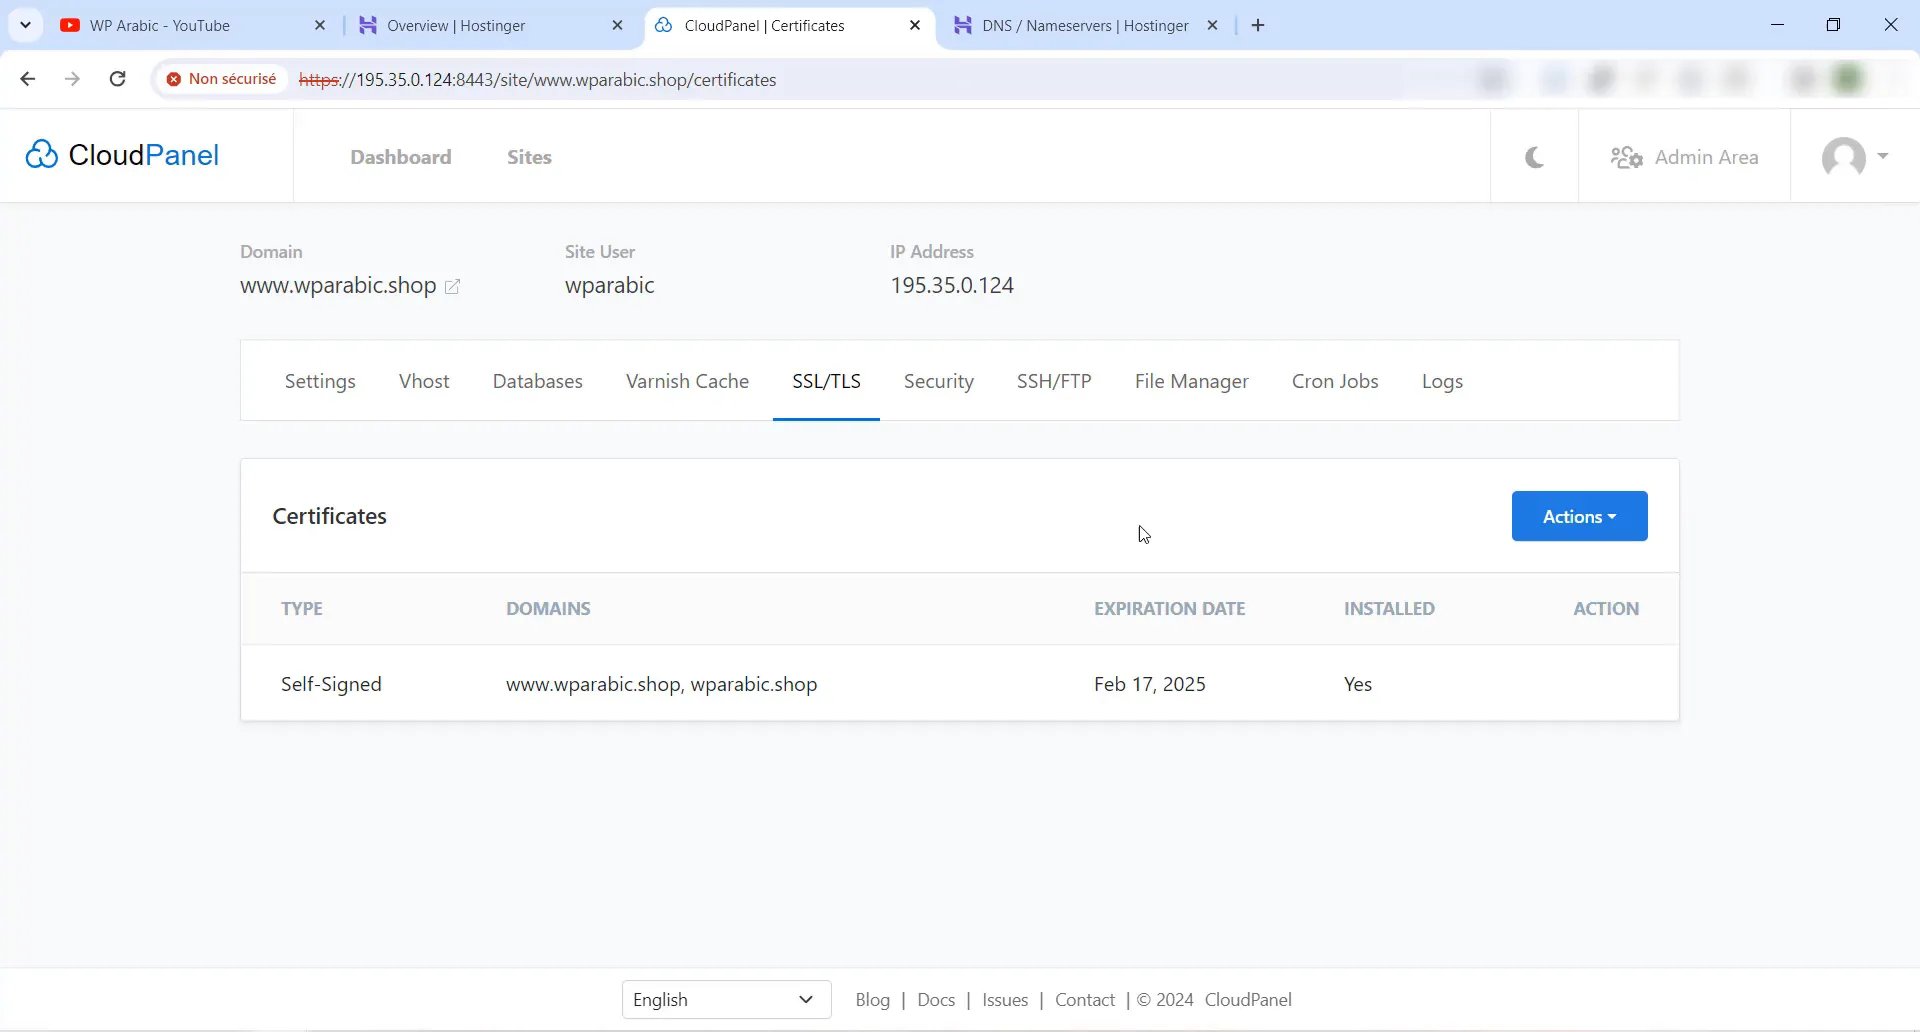
Step 14: Activating SSL Certificate
After WordPress installation, you should activate an SSL certificate for your site. This can be done in the Cloud Panel under the SSL section. Follow the prompts to create and install the certificate.
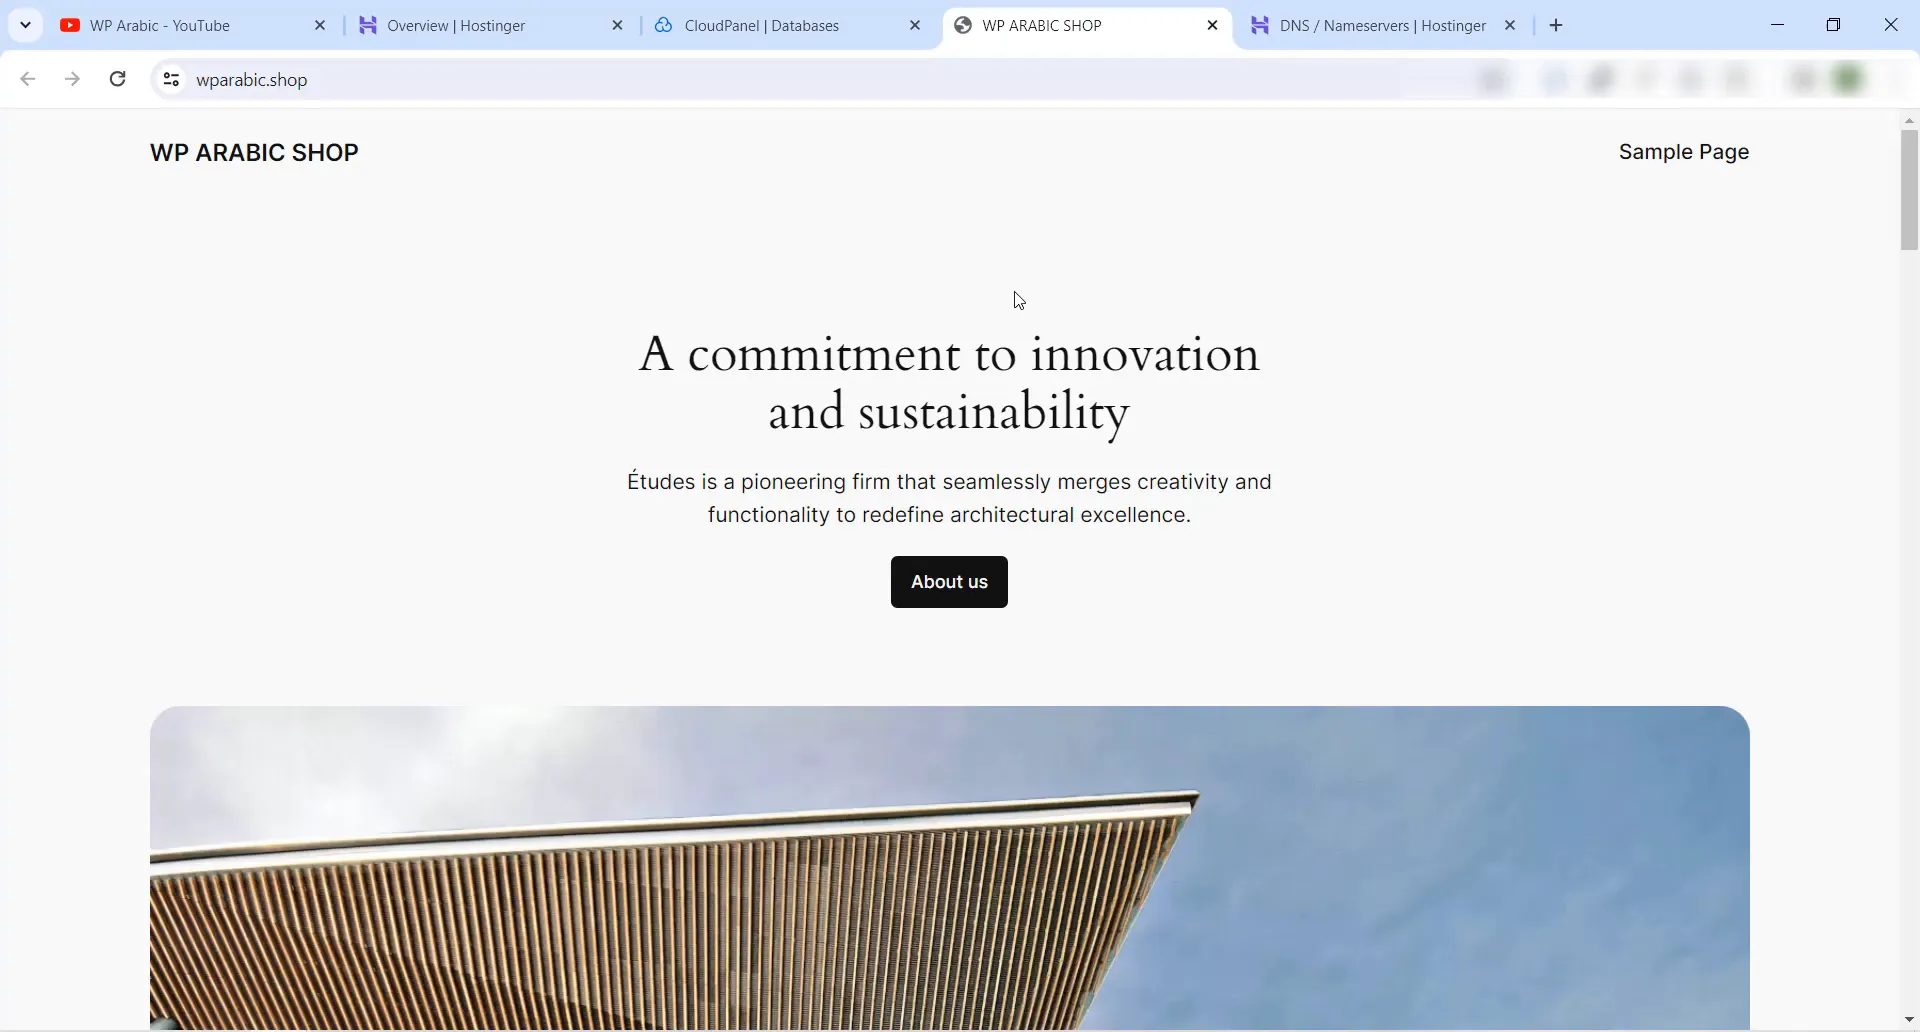
Step 15: Visiting Your New Website
With WordPress and SSL installed, you can now visit your website. Log in using the admin credentials you created earlier. You should see your site up and running smoothly.
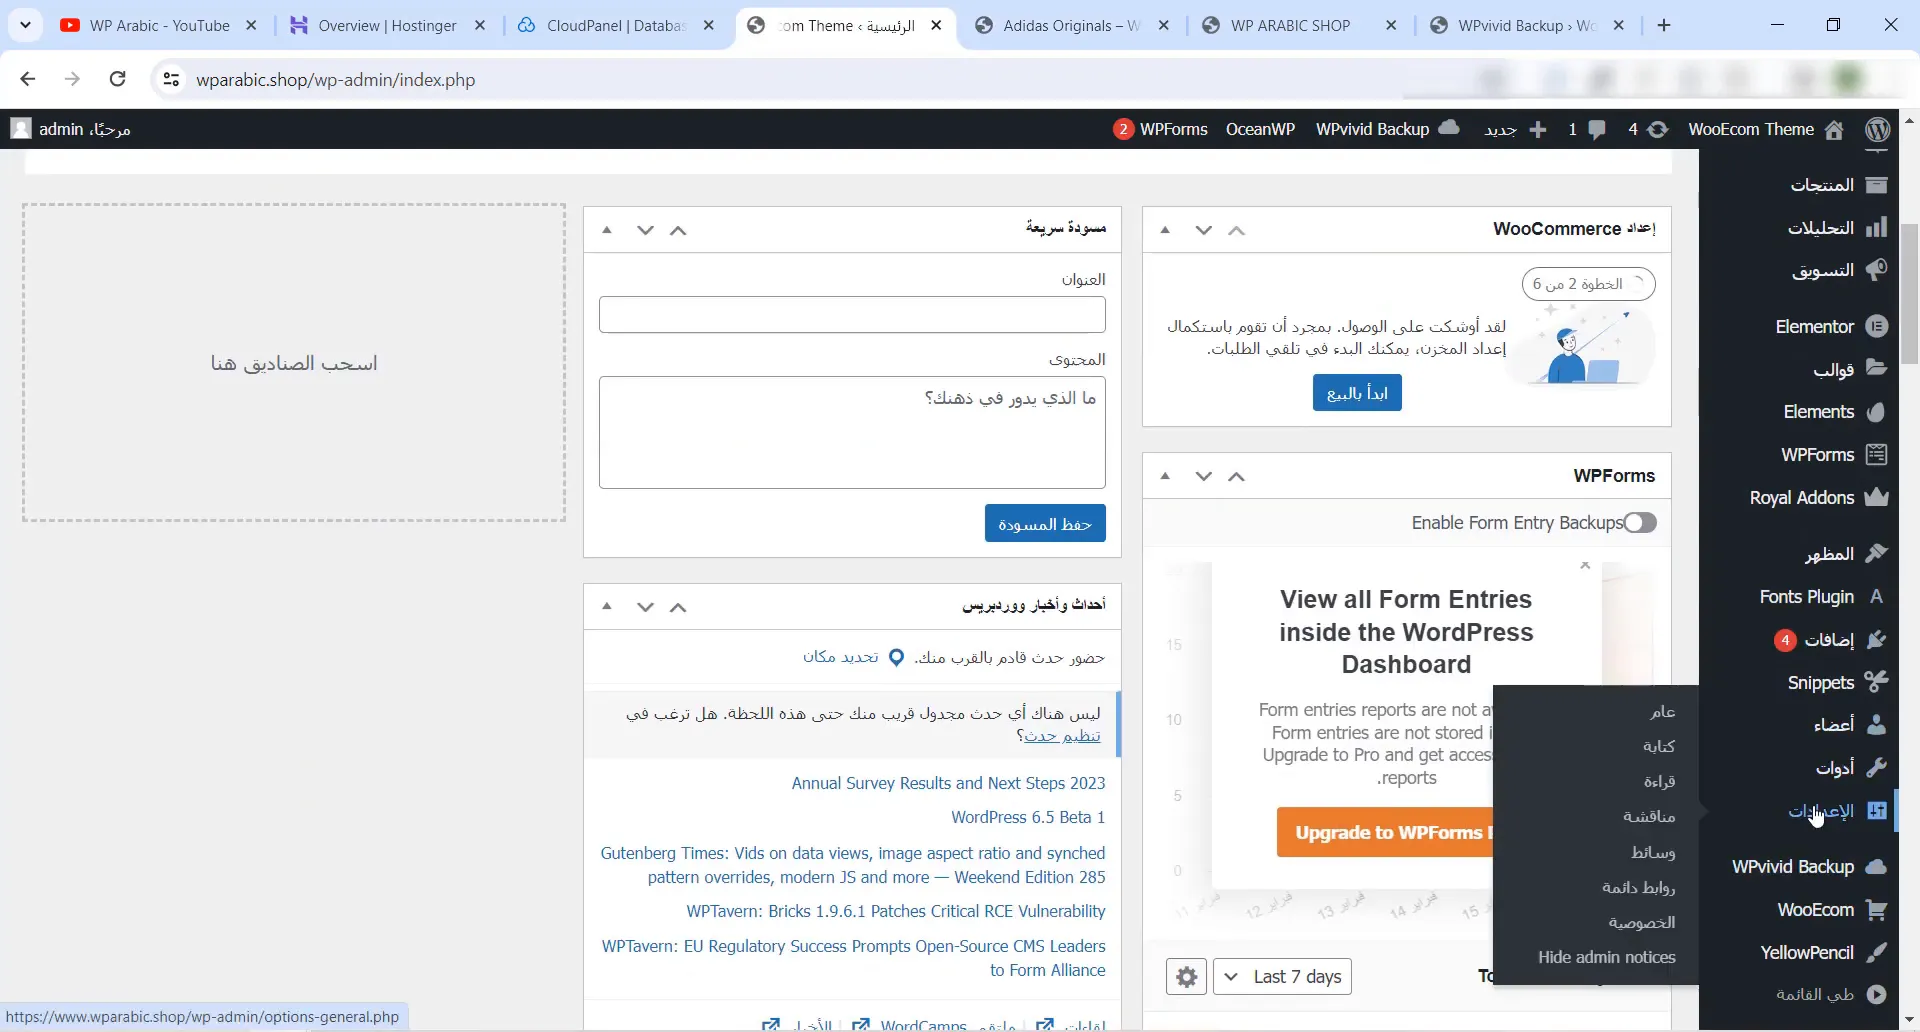
Step 16: Migrating Your Existing Website
If you have an existing WordPress site on shared hosting, you can migrate it to your new VPS using the WP Vivid plugin. Install the plugin on both your old and new sites, generate a migration key, and follow the prompts to complete the transfer.

Step 17: Final Adjustments
After migration, check your permalink settings in WordPress to ensure all links function correctly. If you encounter errors, simply save the permalink settings again to refresh them.
Conclusion
Congratulations! You have successfully purchased VPS hosting from Hostinger, installed WordPress, and migrated your existing site. This powerful setup will ensure your website runs efficiently, handling more traffic with ease. Don’t forget to verify your domain and keep your software updated for optimal performance.
If you found this guide helpful, please consider supporting us by visiting this link for VPS hosting and check out WP Arabic for more WordPress tutorials.