In the world of web hosting, having a reliable and powerful server can make all the difference for your website’s performance and functionality. Hostinger offers a Virtual Private Server (VPS) solution that provides dedicated resources, root access, and the flexibility you need to manage your online presence effectively. In this blog, we’ll explore the features, advantages, and installation process of Hostinger VPS, along with a demo of using Server Avatar for website management.
Table of Contents
Overview of Hostinger VPS
Hostinger VPS is designed for those who require more control and performance than traditional shared hosting can offer. Unlike shared hosting, where resources are shared among multiple users, VPS gives you dedicated resources, including your own IP address and root access. This level of control allows for better performance, security, and customization options.
With Hostinger’s VPS, you can choose from various plans that cater to different needs. Whether you are running a simple website or a complex application, Hostinger has a solution that fits your requirements.
Specifications and Features
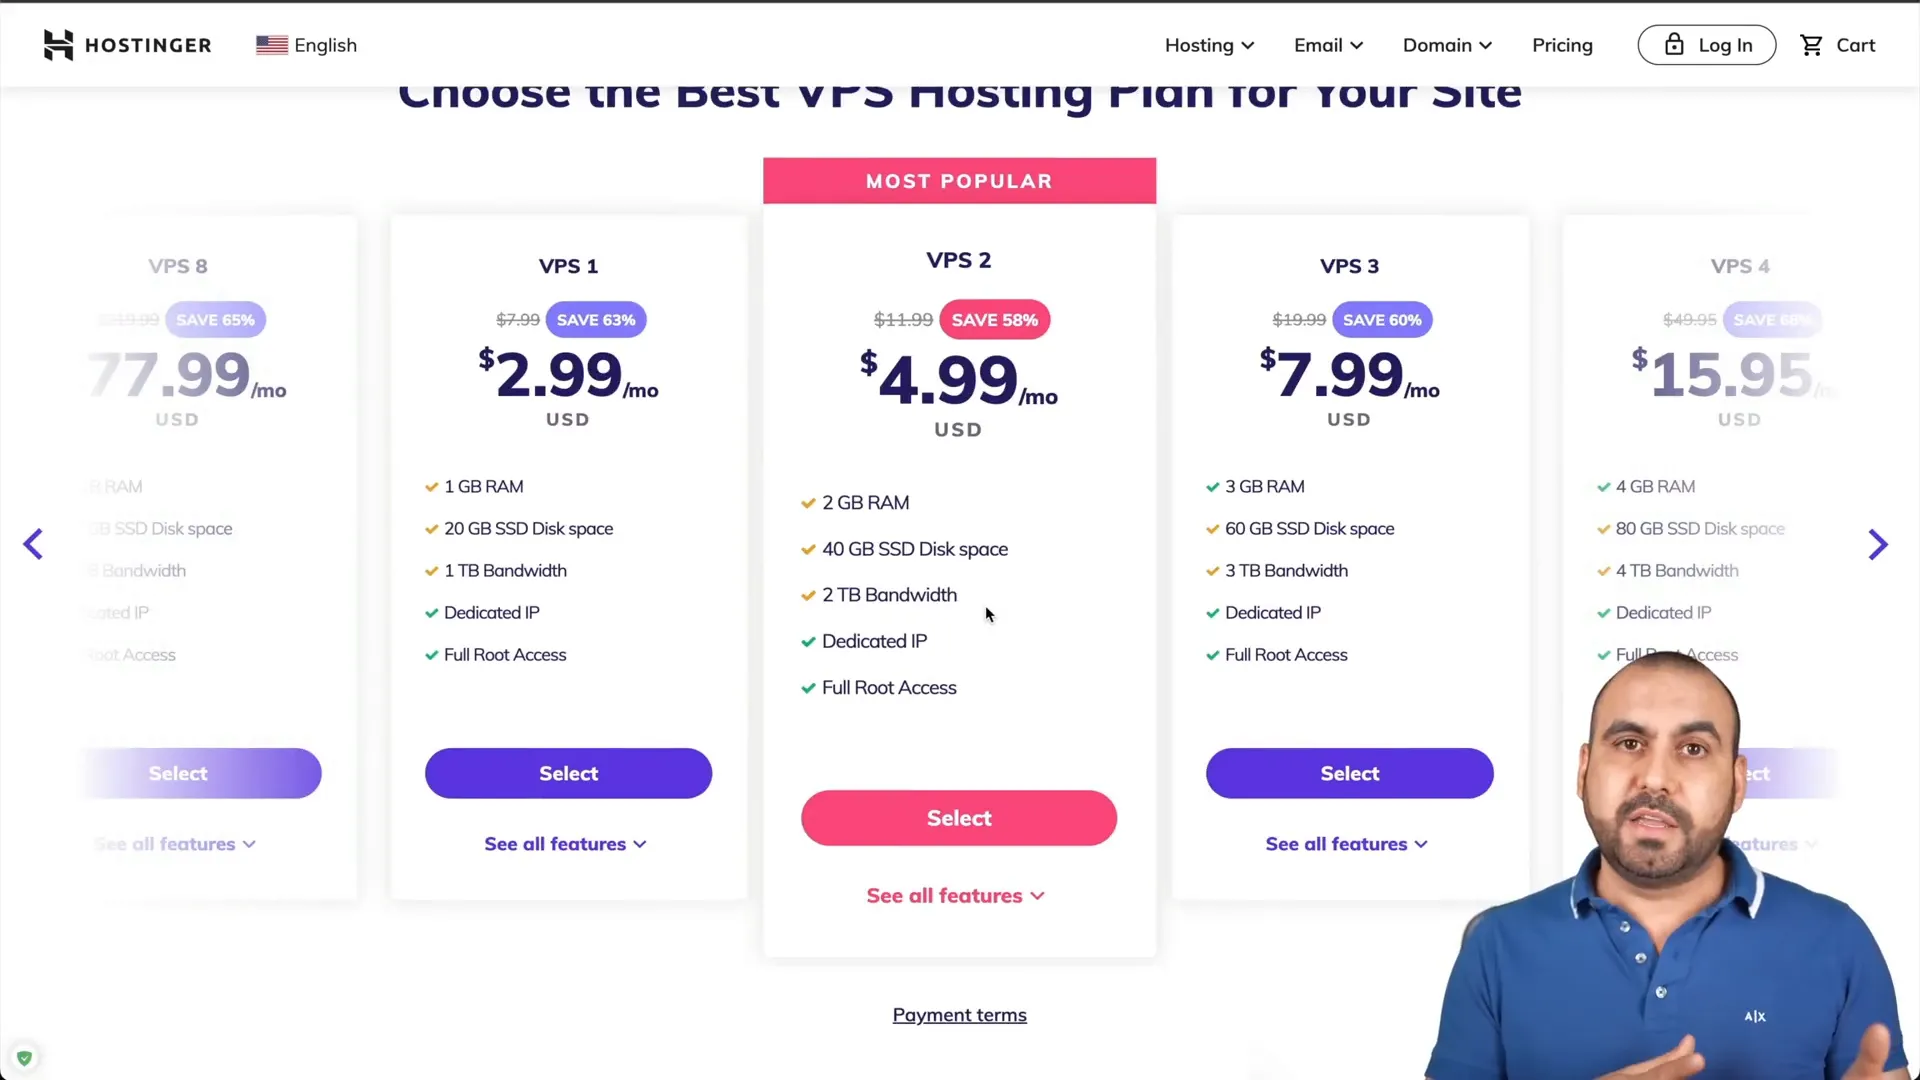
Hostinger offers several VPS plans with varying specifications. Here’s a breakdown of some key features:
- Dedicated Resources: Each VPS plan comes with guaranteed CPU, RAM, and storage, meaning you won’t experience fluctuations in performance.
- Root Access: Full root access allows you to install any software and customize your server to your liking.
- Multiple OS Options: Choose from various operating systems such as Ubuntu, CentOS, and Debian.
- IPv4 and IPv6 Support: Enjoy dedicated IP addresses for better security and performance.
- 24/7 Support: Hostinger provides round-the-clock customer support to assist you with any issues you may encounter.
Advantages of Using Hostinger VPS
Choosing Hostinger VPS comes with several benefits:
- Performance: With dedicated resources, your website can handle more traffic and run more efficiently.
- Flexibility: You can easily scale your resources as your website grows.
- Security: VPS provides better security compared to shared hosting due to isolation from other users.
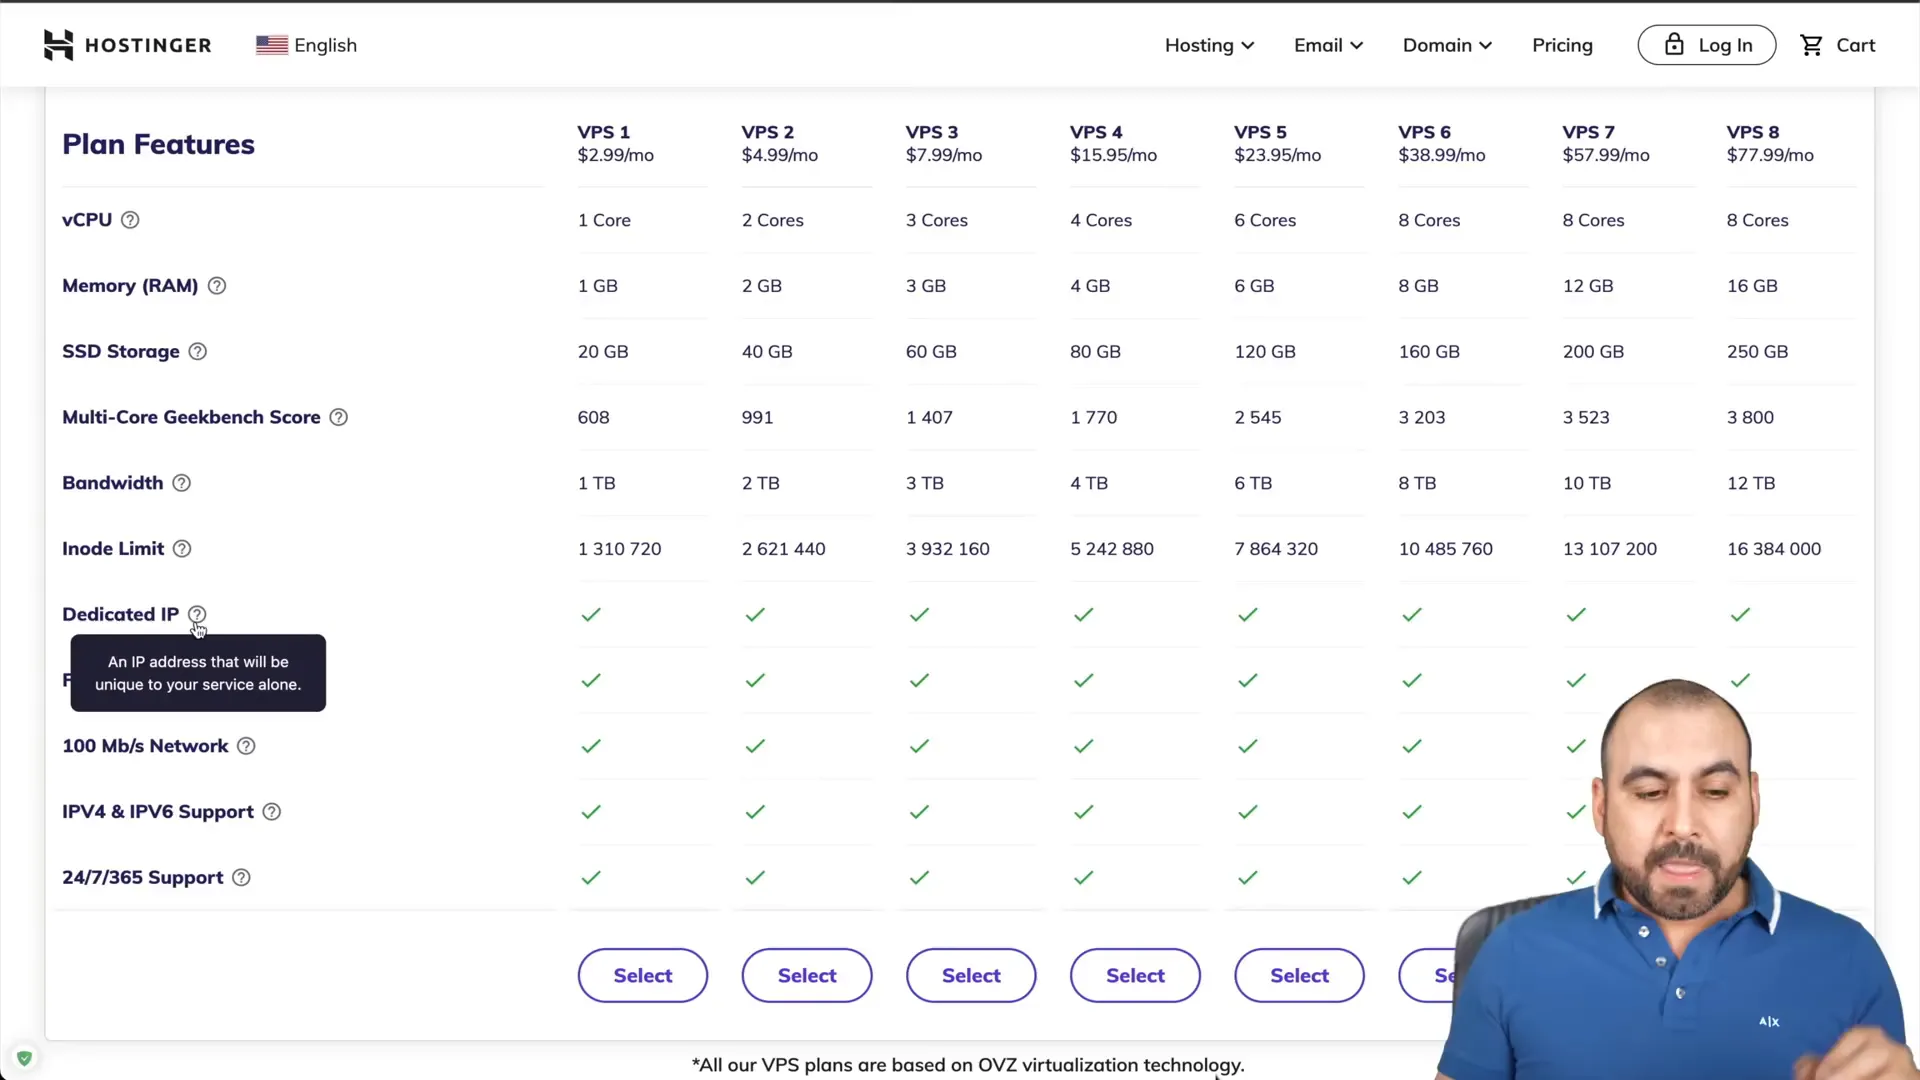
- Cost-Effective: Hostinger offers competitive pricing with frequent discounts, making it an affordable choice for many users.
How to Get Started with Hostinger VPS
Getting started with Hostinger VPS is a straightforward process. Follow these steps to set up your VPS:
- Choose Your Plan: Visit the Hostinger website and navigate to the VPS section. Select a plan that meets your needs.
- Apply Discounts: Use available coupon codes to get discounts on your purchase. For example, using the coupon code SaaS Master can provide additional savings.
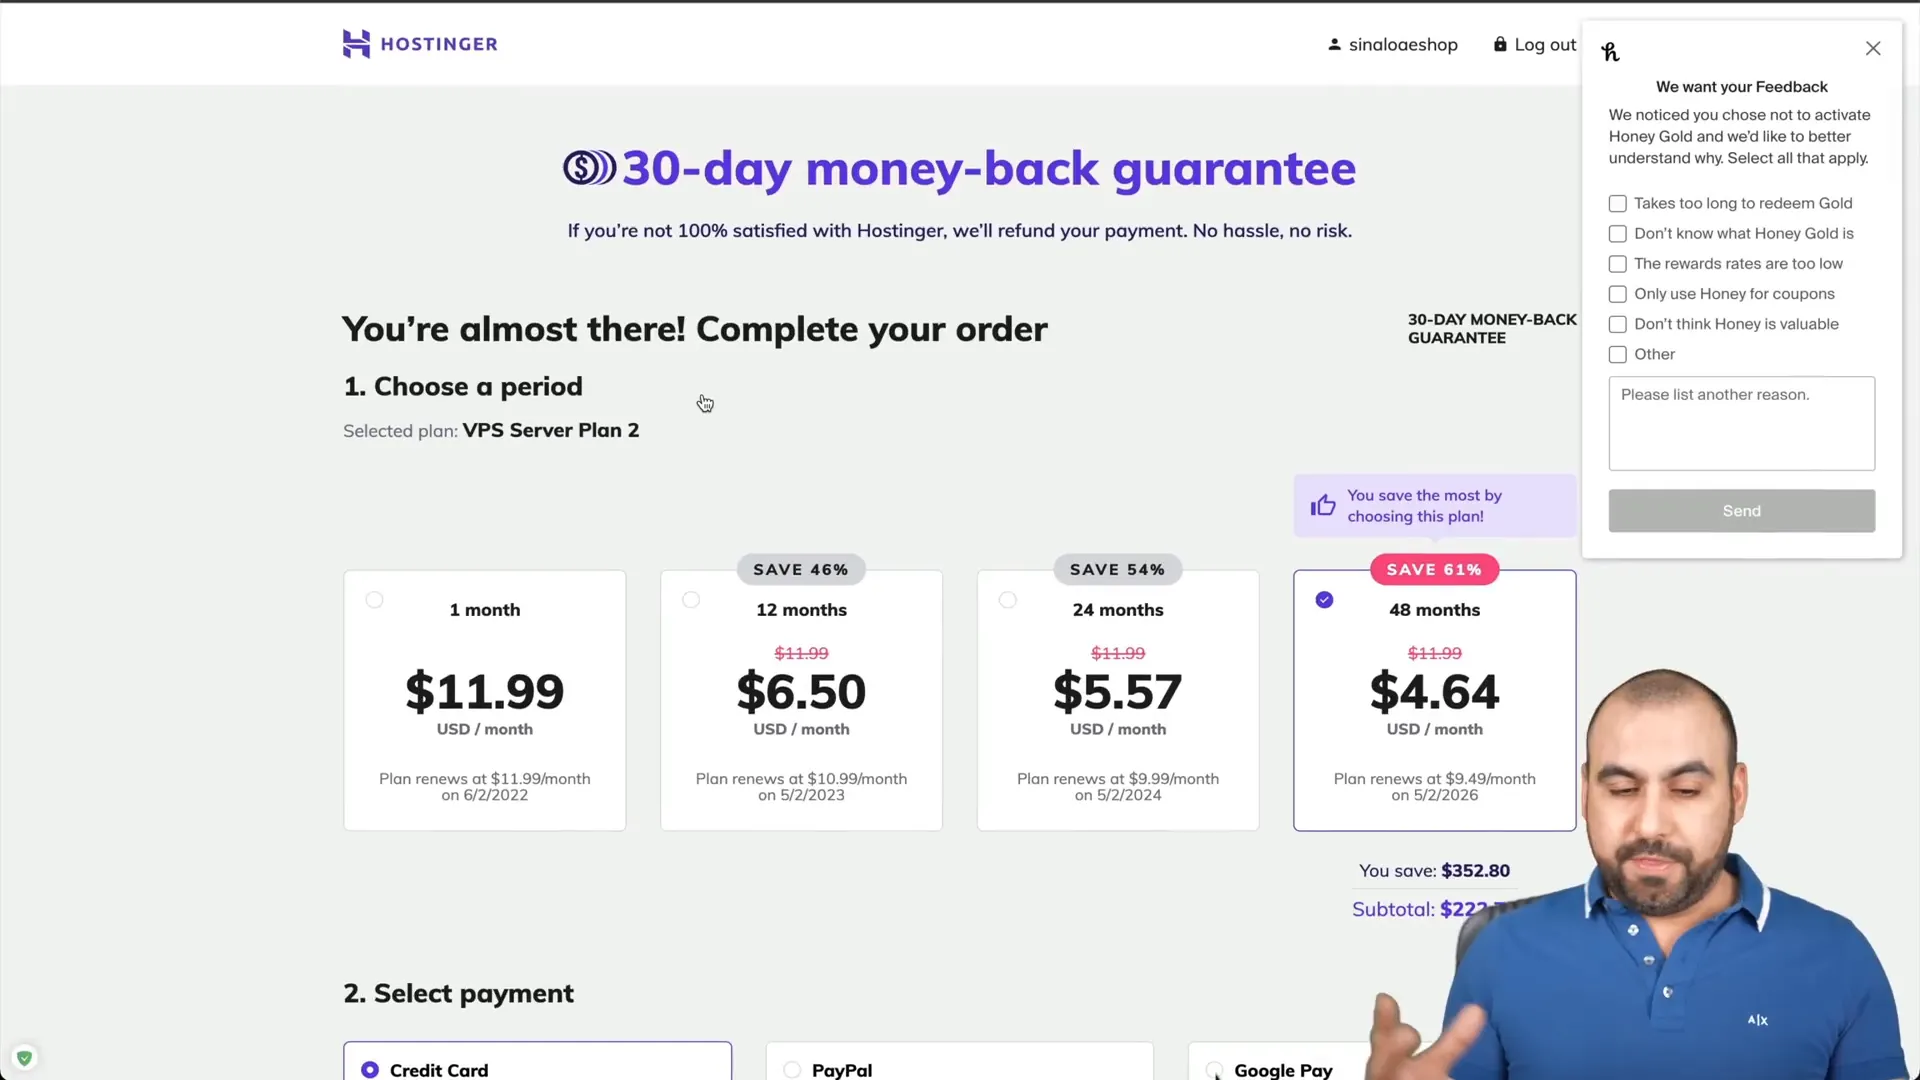
- Configure Your Server: During the setup, choose the server location and operating system that best suits your audience and requirements.
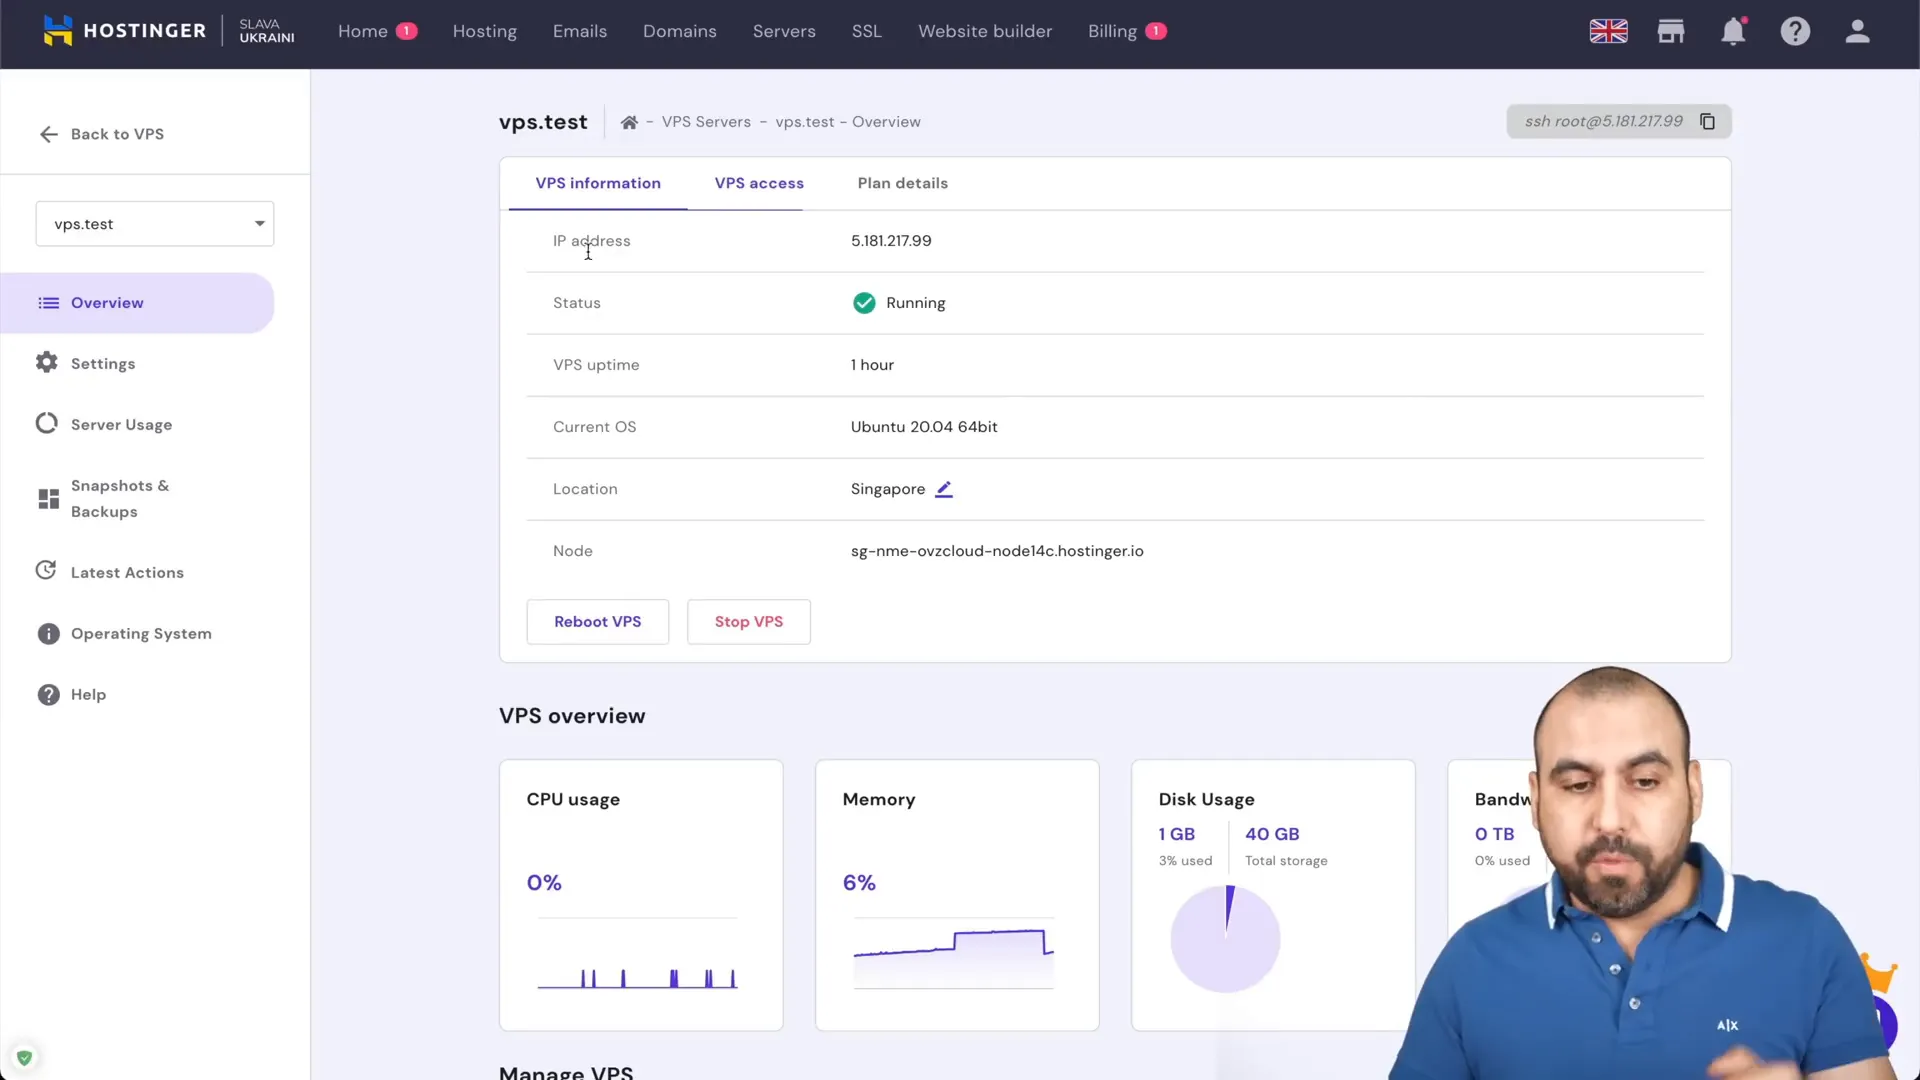
- Access Your VPS: Once your server is set up, you’ll receive an IP address and root access to manage your server.
Installing and Managing Your VPS with Server Avatar
Server Avatar is a powerful VPS management tool that simplifies the process of managing your server and applications. Here’s how to install and use it with Hostinger VPS:
- Install Server Avatar: After setting up your VPS, log in to your server and install Server Avatar. This tool will allow you to easily manage your websites.
- Connect Your Server: Use your VPS IP address and root password to connect Server Avatar to your Hostinger VPS.
- Select Your Technology: Choose the technology stack you want to use for your applications, such as Apache, Nginx, or OpenLiteSpeed.
- Create Your Applications: Use Server Avatar to create and manage your websites effortlessly.
Adding WordPress to Your Hostinger VPS
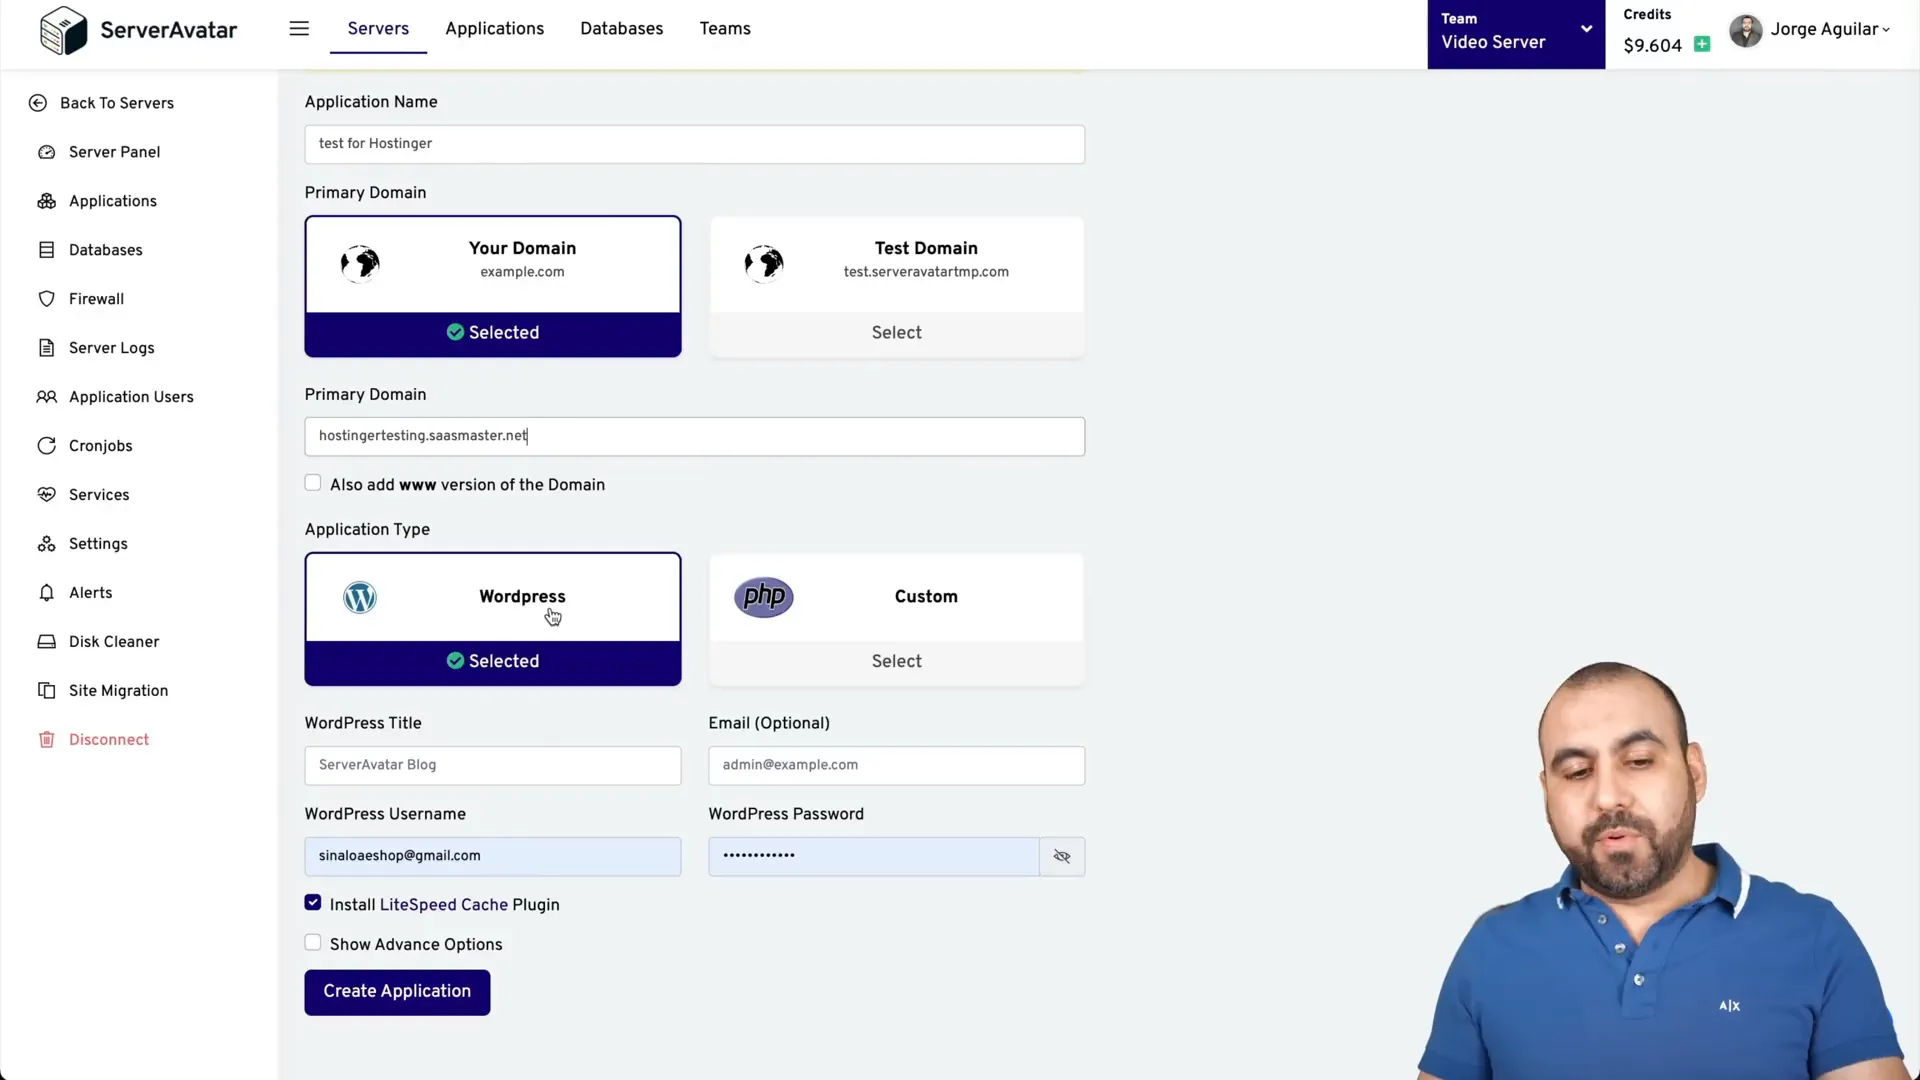
One of the most common uses for a VPS is hosting WordPress sites. Here’s a quick guide on how to add a WordPress site using Server Avatar:
- Create a Site: In Server Avatar, navigate to the applications section and create a new site.
- Point Your Domain: Update your domain’s DNS to point to your VPS IP address.
- Install WordPress: Select WordPress as the application to install. Fill in the necessary details such as site title, admin username, and password.
- Configure SSL: Ensure SSL certificates are installed for security. Server Avatar offers free SSL options.
Conclusion: Why Choose Hostinger VPS
Hostinger VPS stands out as a reliable option for those looking to elevate their web hosting experience. With dedicated resources, root access, and powerful management tools like Server Avatar, you can enjoy better performance and flexibility. Whether you’re running a personal blog or a business site, Hostinger VPS provides the tools and support you need to succeed online.
Don’t forget to take advantage of the ongoing discounts and coupon codes to maximize your investment. For more information on Hostinger hosting solutions, check out Hostinger’s website.


