Choosing the right hosting provider is crucial for your website’s success. In this guide, we will walk you through the process of purchasing hosting from Hostinger, a renowned provider known for its speed and affordability. Follow these steps to get your website up and running quickly.
Table of Contents
Step 1: Visit Hostinger’s Website
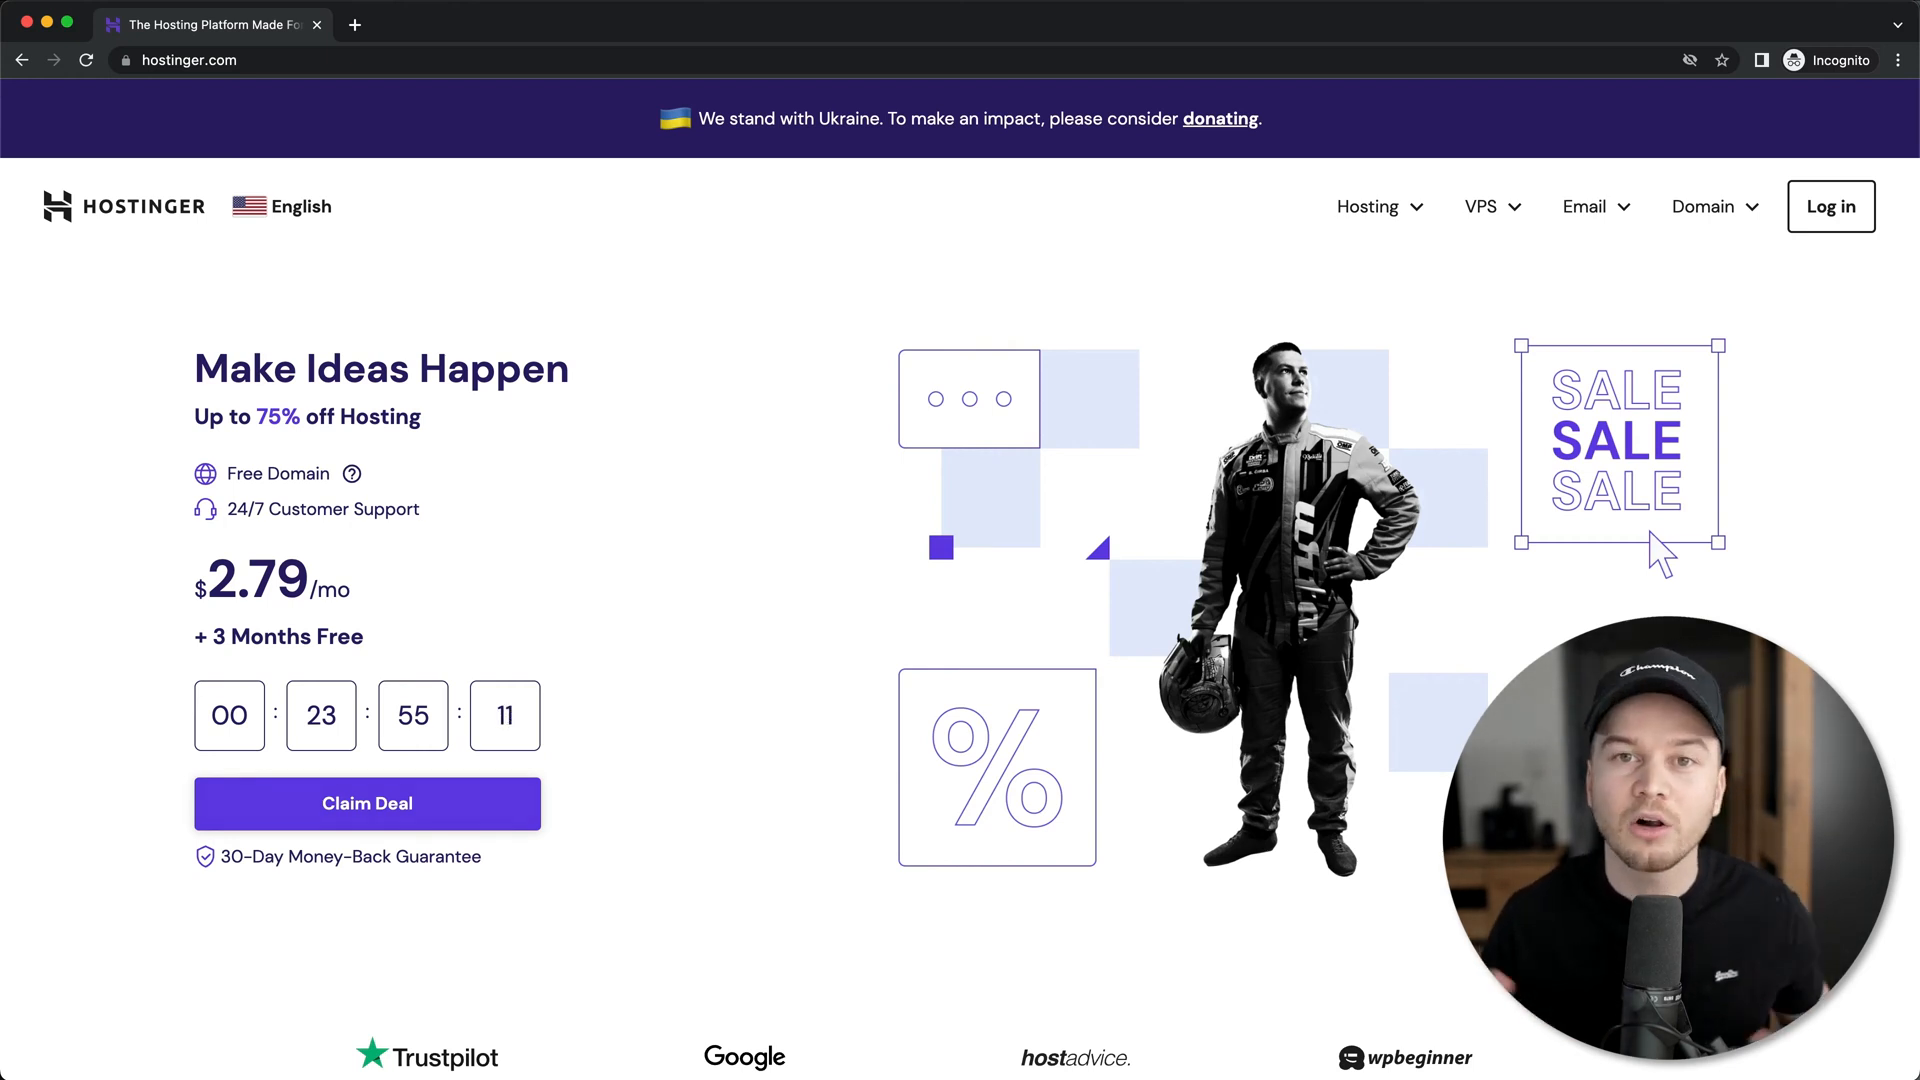
The first step is to access Hostinger’s official website. Click on the link provided to get started on your hosting journey. Once you’re on the homepage, look for the hosting options available.
Step 2: Select Website Hosting
After reaching Hostinger’s homepage, navigate to the top menu and click on the ‘Hosting’ tab. From there, select ‘Website Hosting’ to explore the different hosting plans offered.
Step 3: Choose the Right Hosting Plan
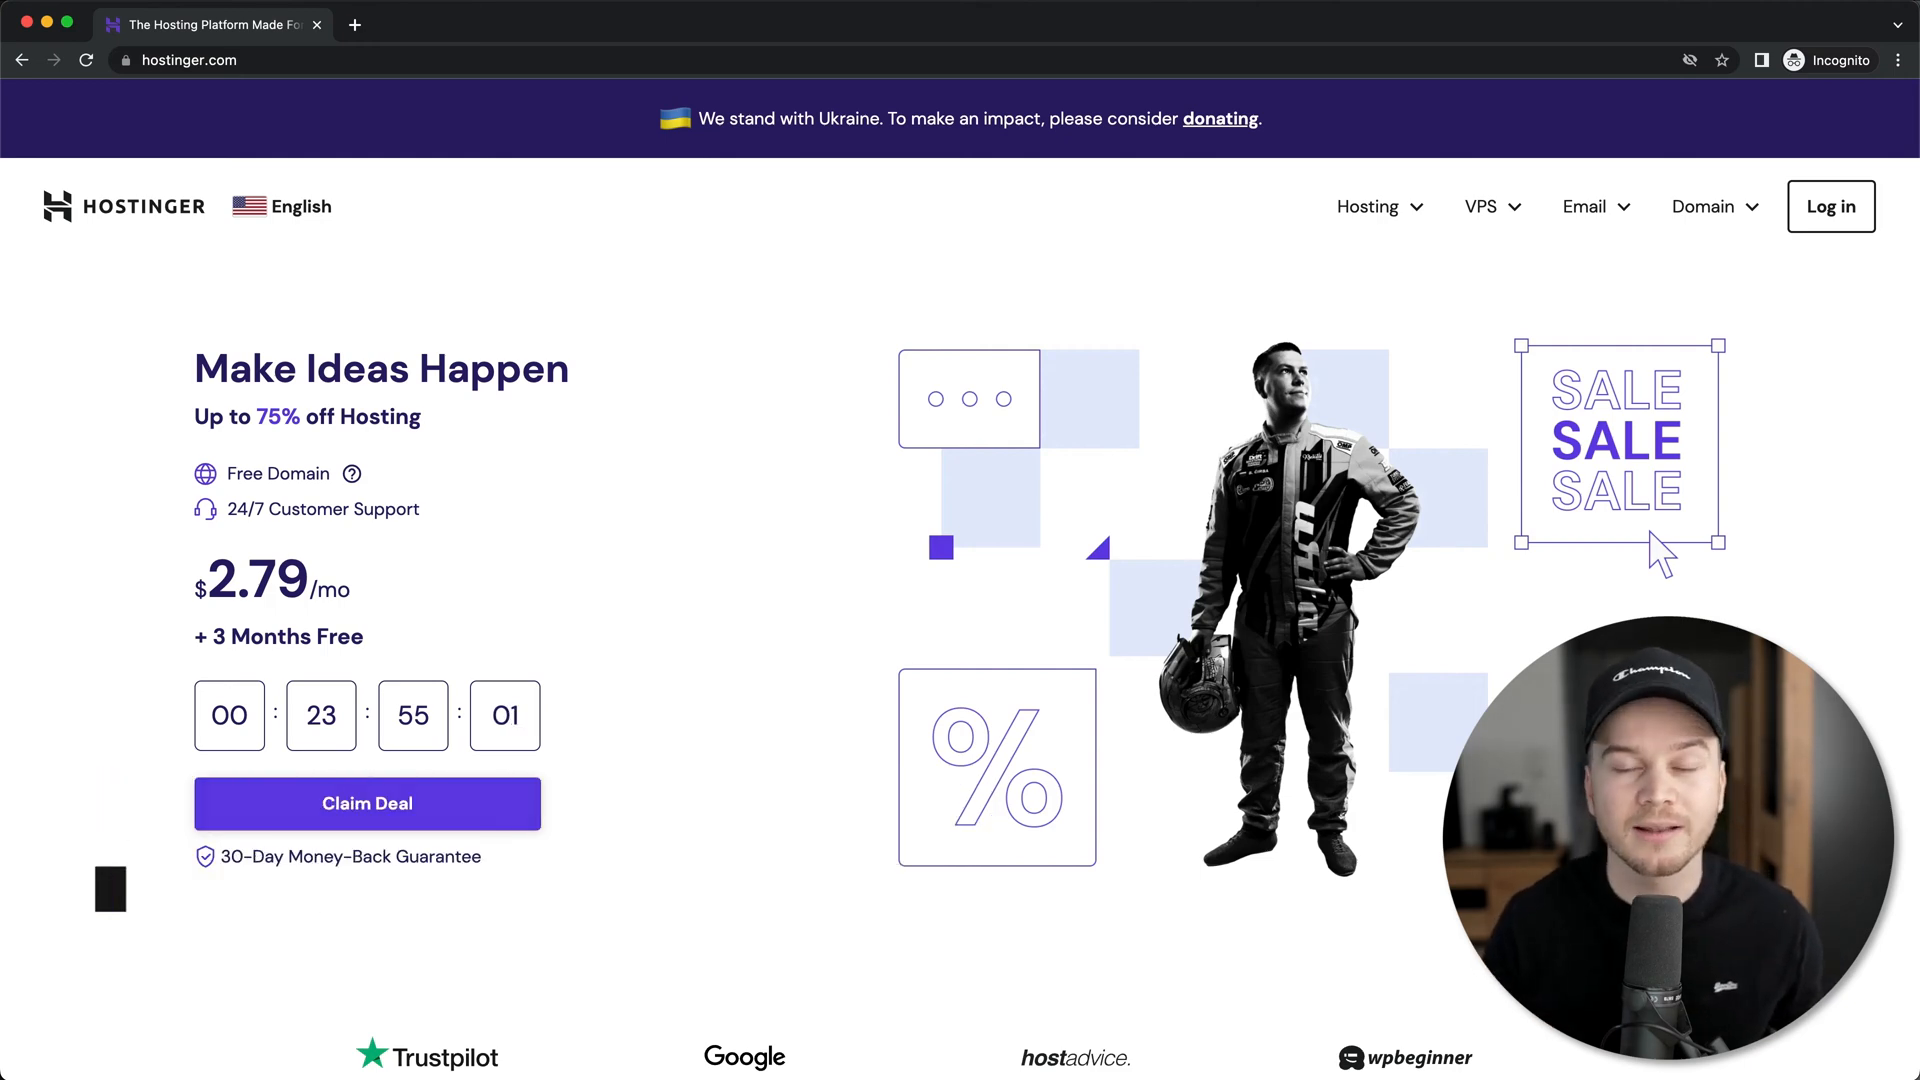
Hostinger offers various hosting plans tailored to different needs. For most users, the Premium Web Hosting plan is ideal as it includes a free domain and sufficient resources for a growing website. Click on ‘Add to Cart’ for the plan that suits you best.
Step 4: Decide on a Billing Cycle
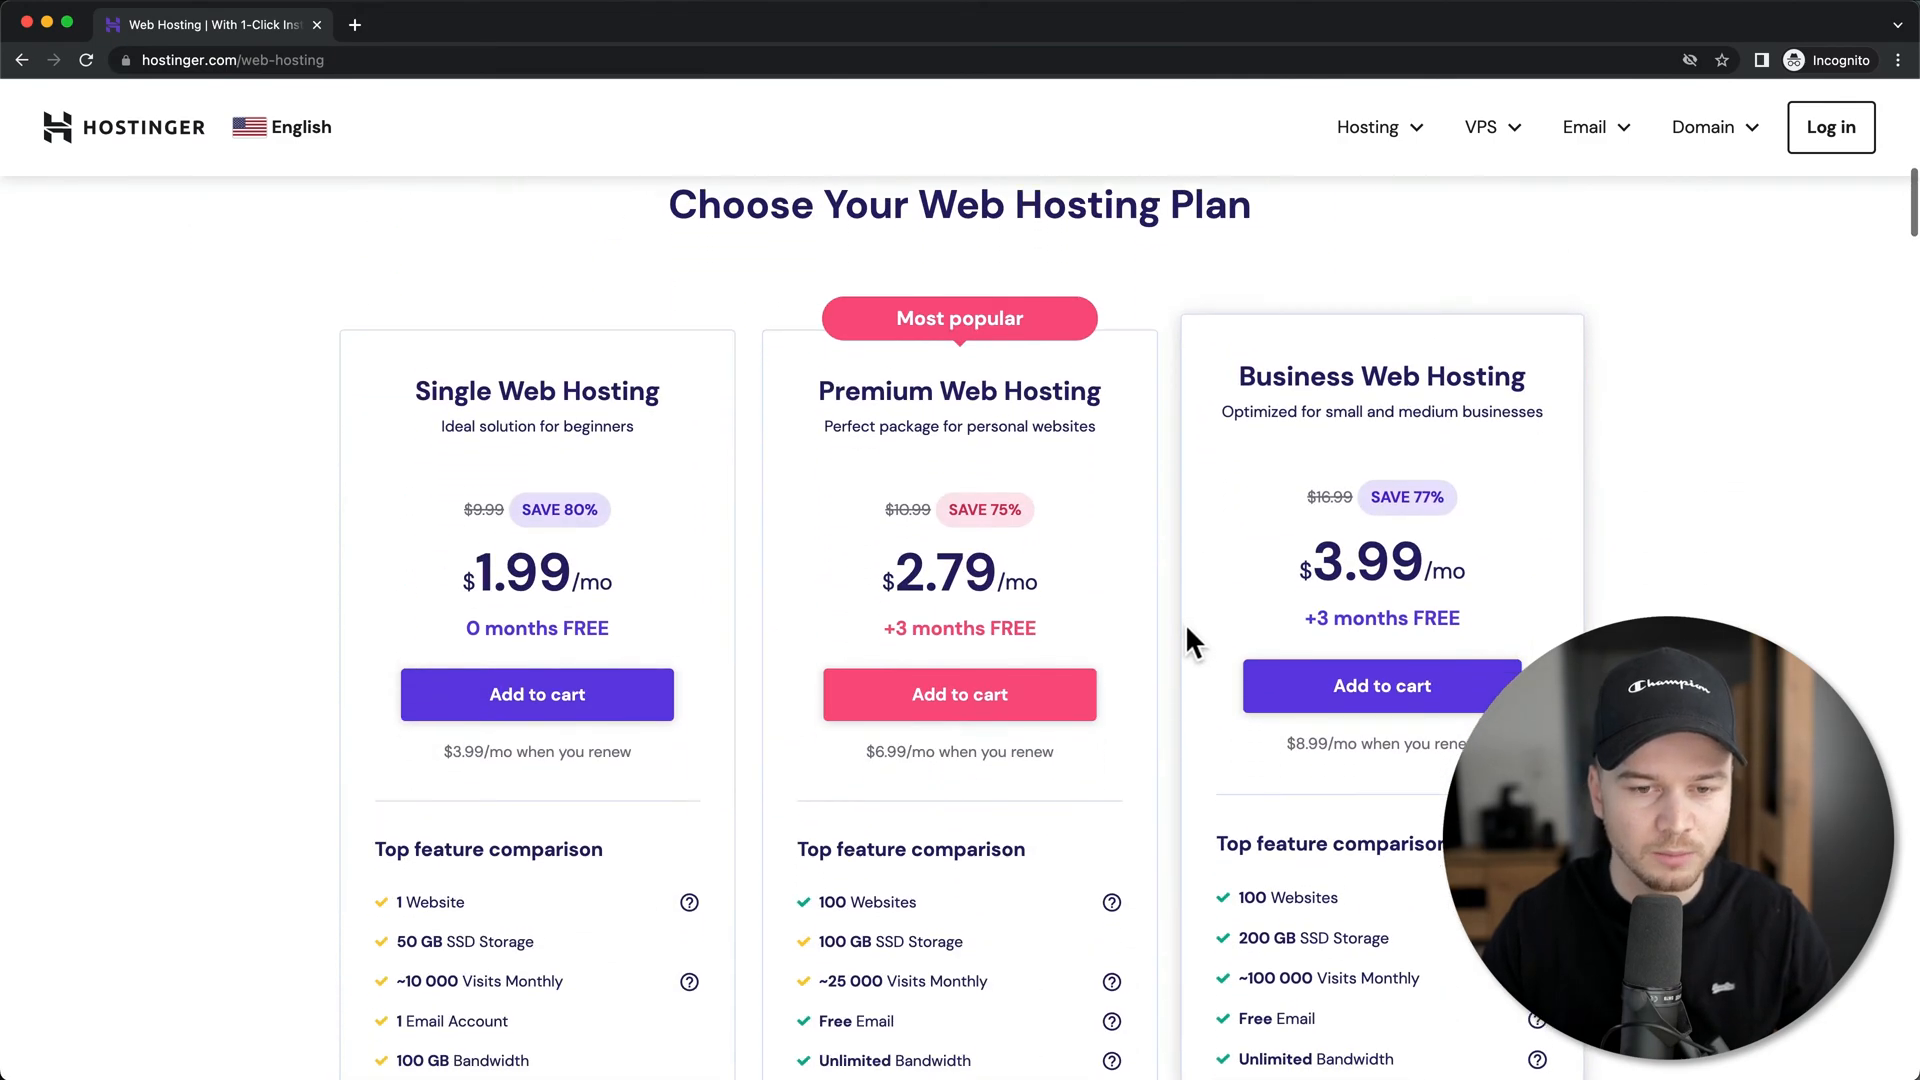
Next, you will need to select a billing cycle. Hostinger provides options ranging from 12 months to 48 months. If you’re confident in your long-term commitment, the 48-month option is the most cost-effective. However, if you’re uncertain, you can choose a shorter duration.

Step 5: Enter Your Email Address
Once you’ve selected your plan and billing cycle, scroll down to enter your email address. This will be important for account creation and communication regarding your hosting services.

Step 6: Complete Your Payment
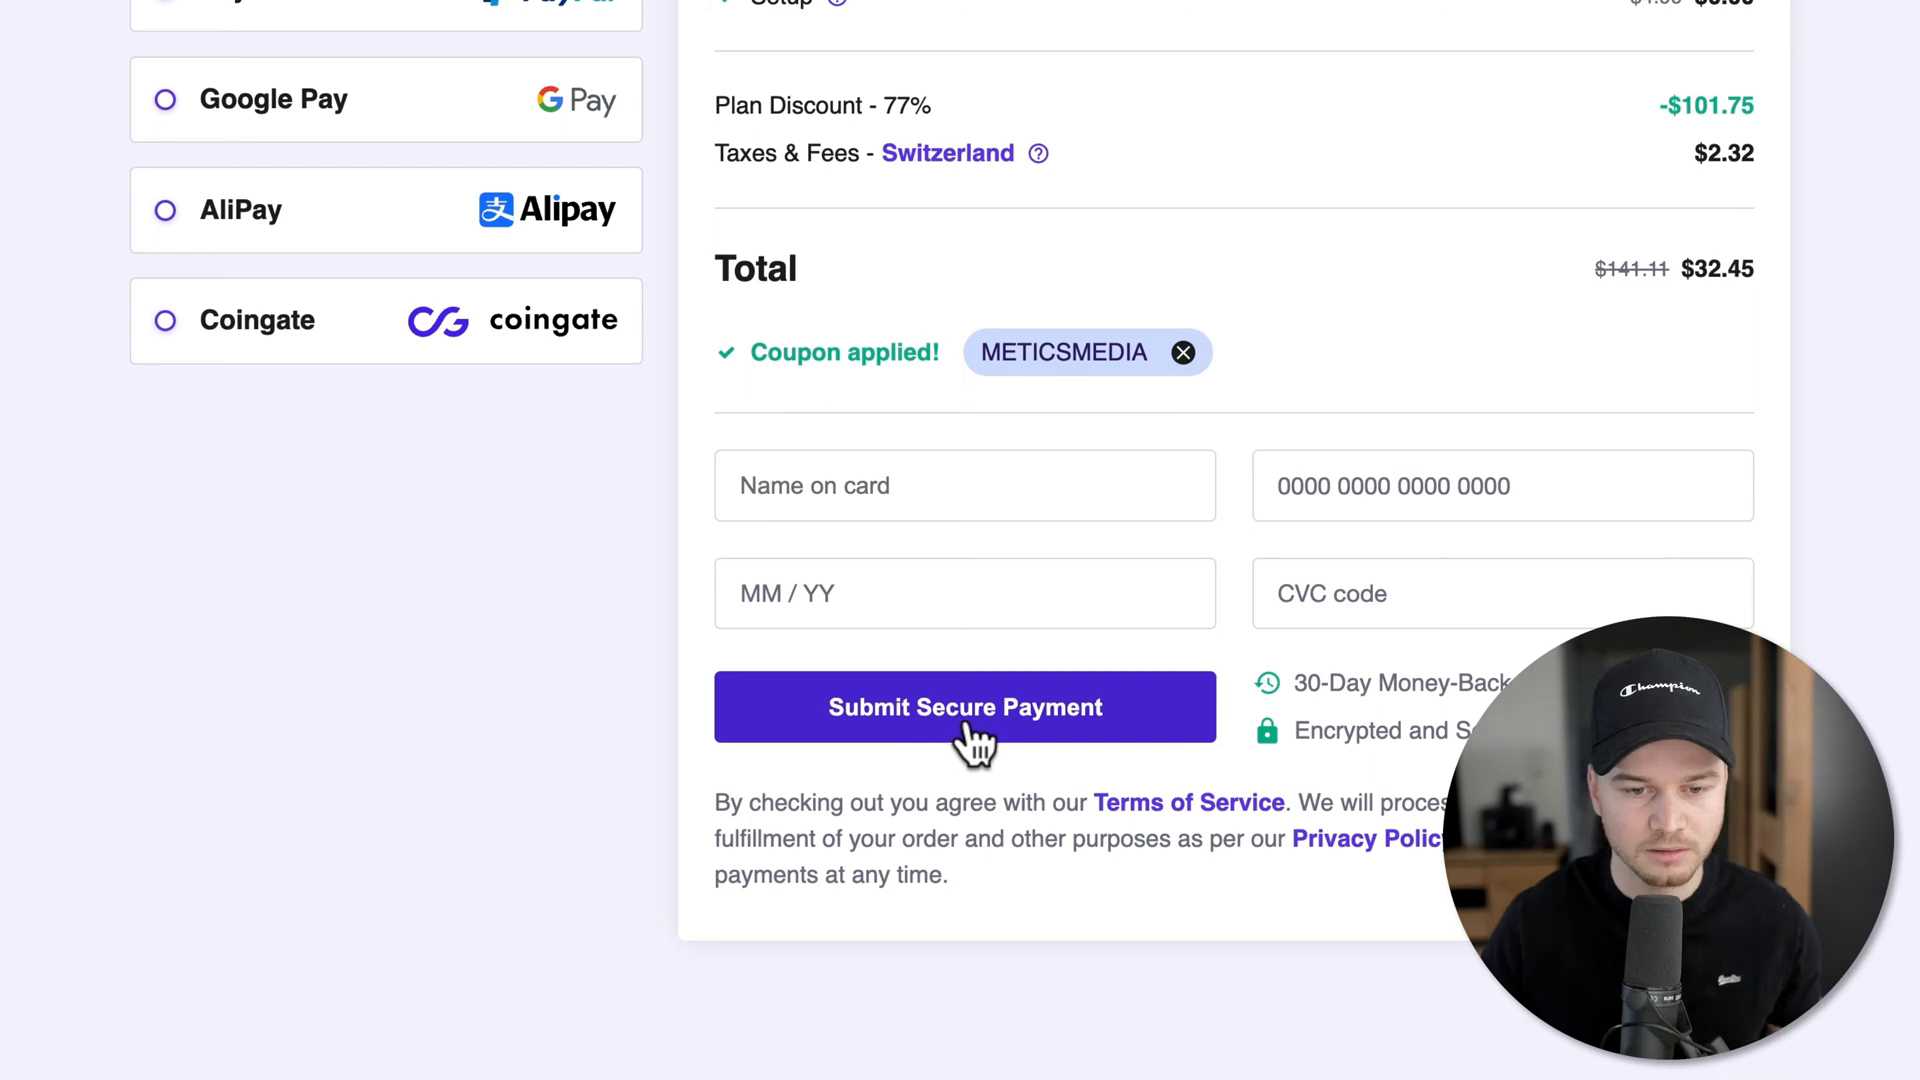
After entering your payment information, click on ‘Submit Secure Payment’ to finalize your purchase. Following this, you will be prompted to create a password for your Hostinger account.
Step 7: Access Your Hostinger Dashboard
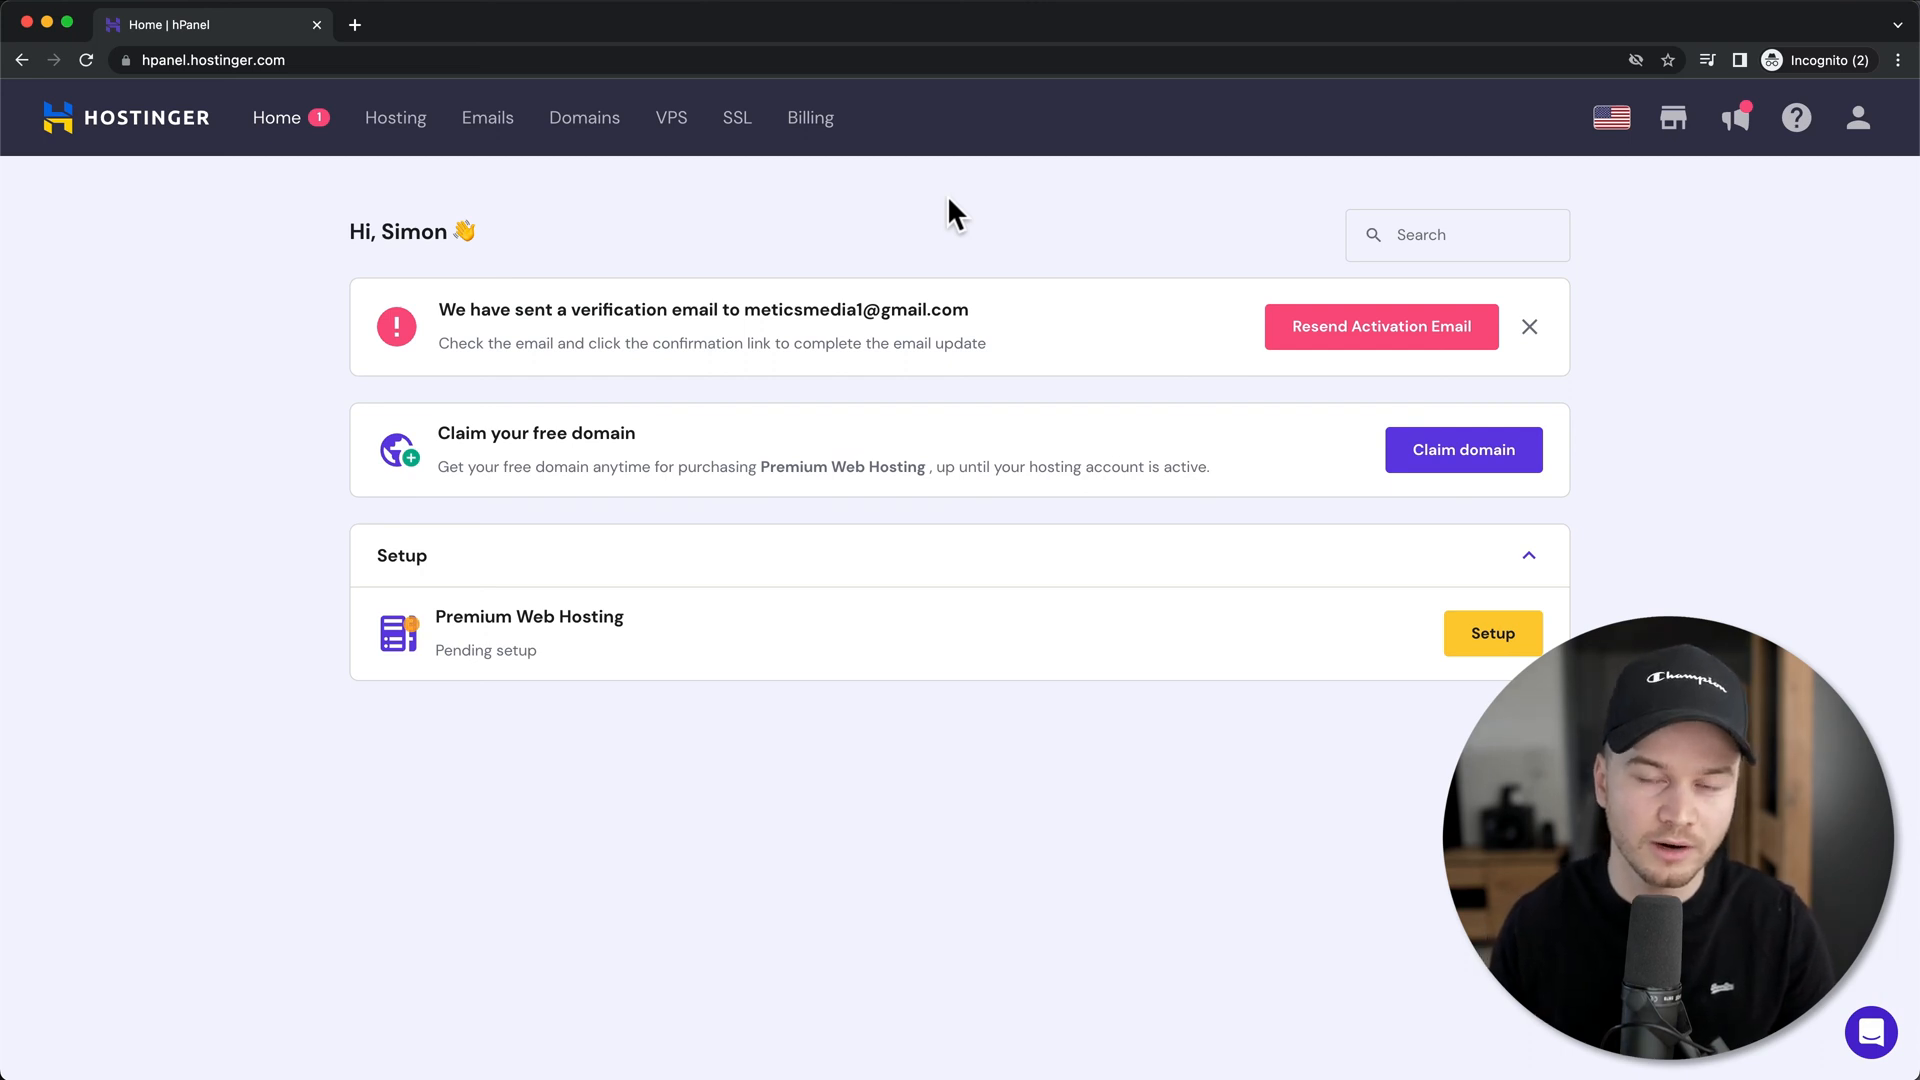
Once your payment is processed, you’ll be directed to your Hostinger dashboard. Here, you can manage your hosting services and claim your free domain. Click on the Hostinger logo to navigate to your account.

Step 8: Claim Your Free Domain
Your next step is to claim your free domain. Click on ‘Claim Domain‘ and choose a domain extension, preferably a .com if it’s available. This will be your website’s identity online.
Step 9: Choose Your Domain Name
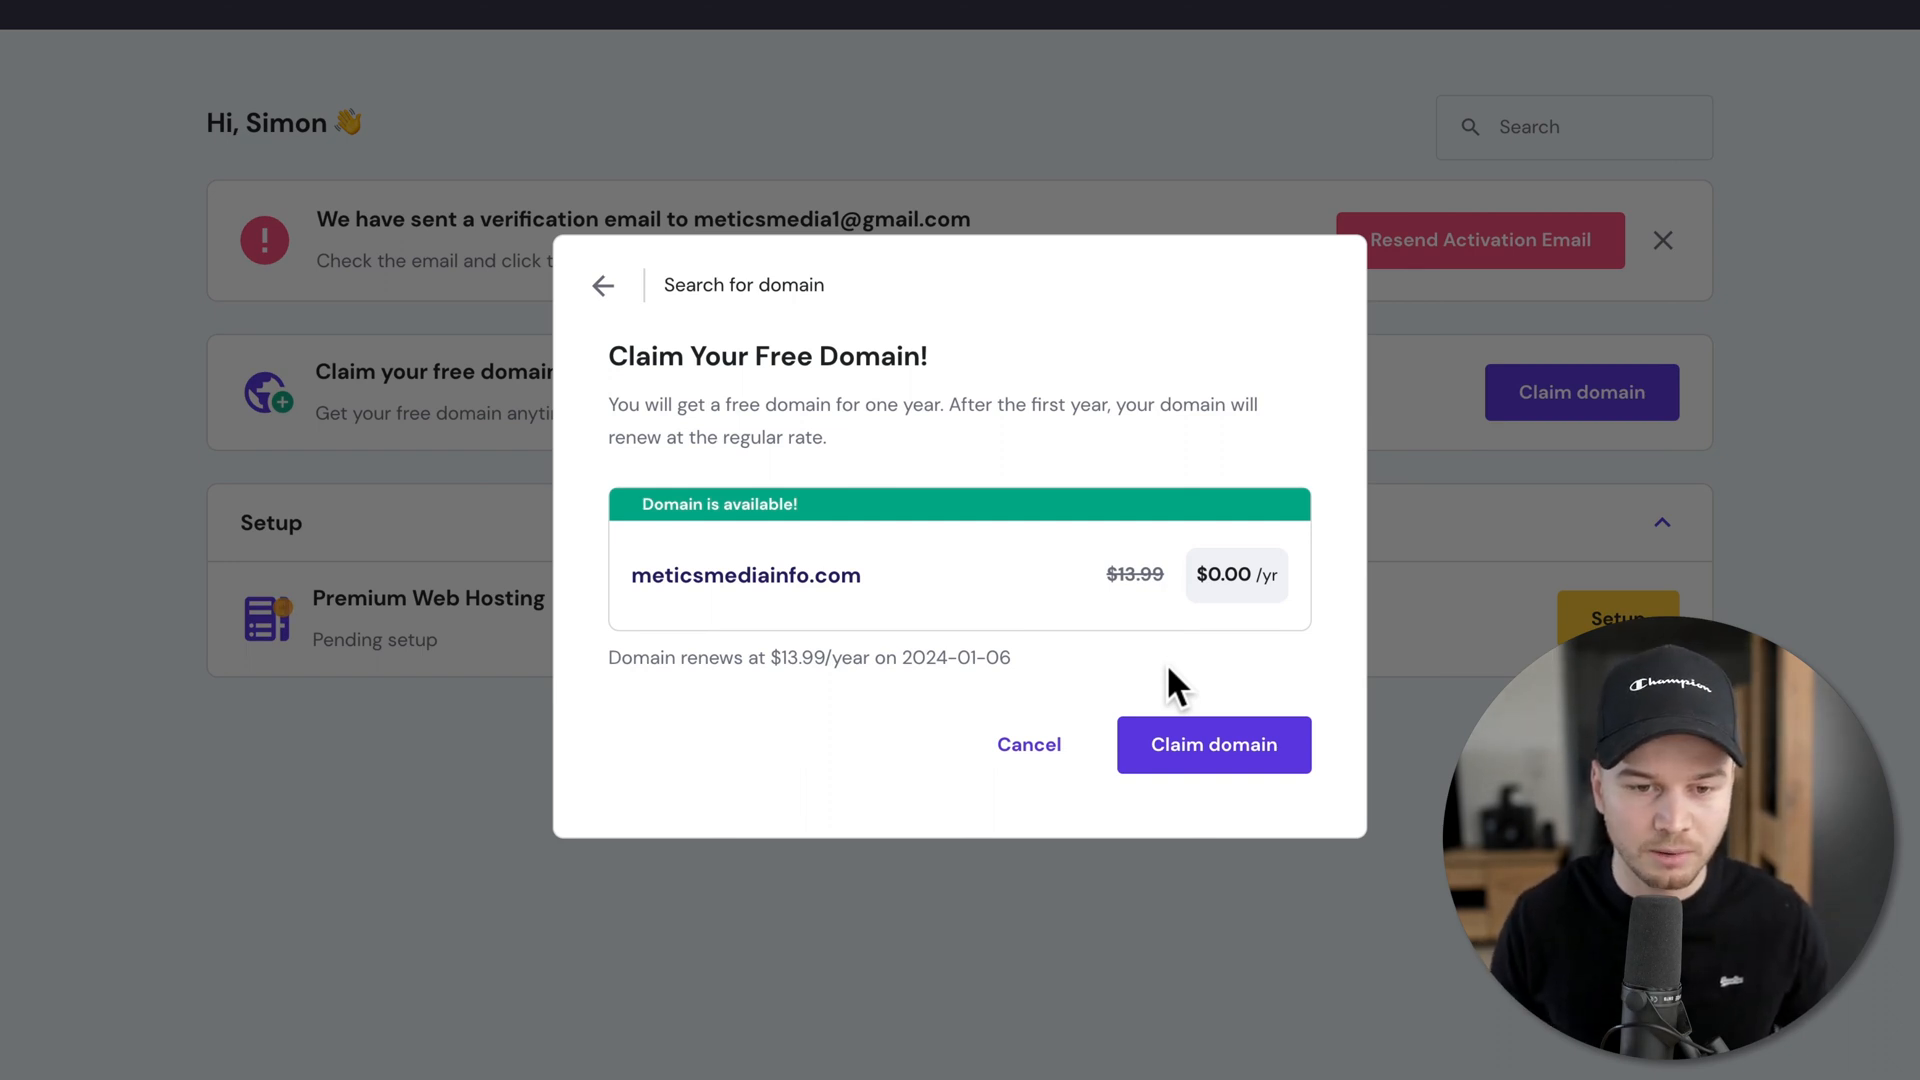
Enter your desired domain name in the provided field. It’s best to choose a name that is easy to remember and free of complex characters. Click ‘Check Availability’ to ensure your chosen name is available.

Step 10: Complete Domain Registration
If your domain is available, click on ‘Claim Domain‘ to proceed. You will also need to provide some contact information to complete your registration.
Step 11: Verify Your Domain
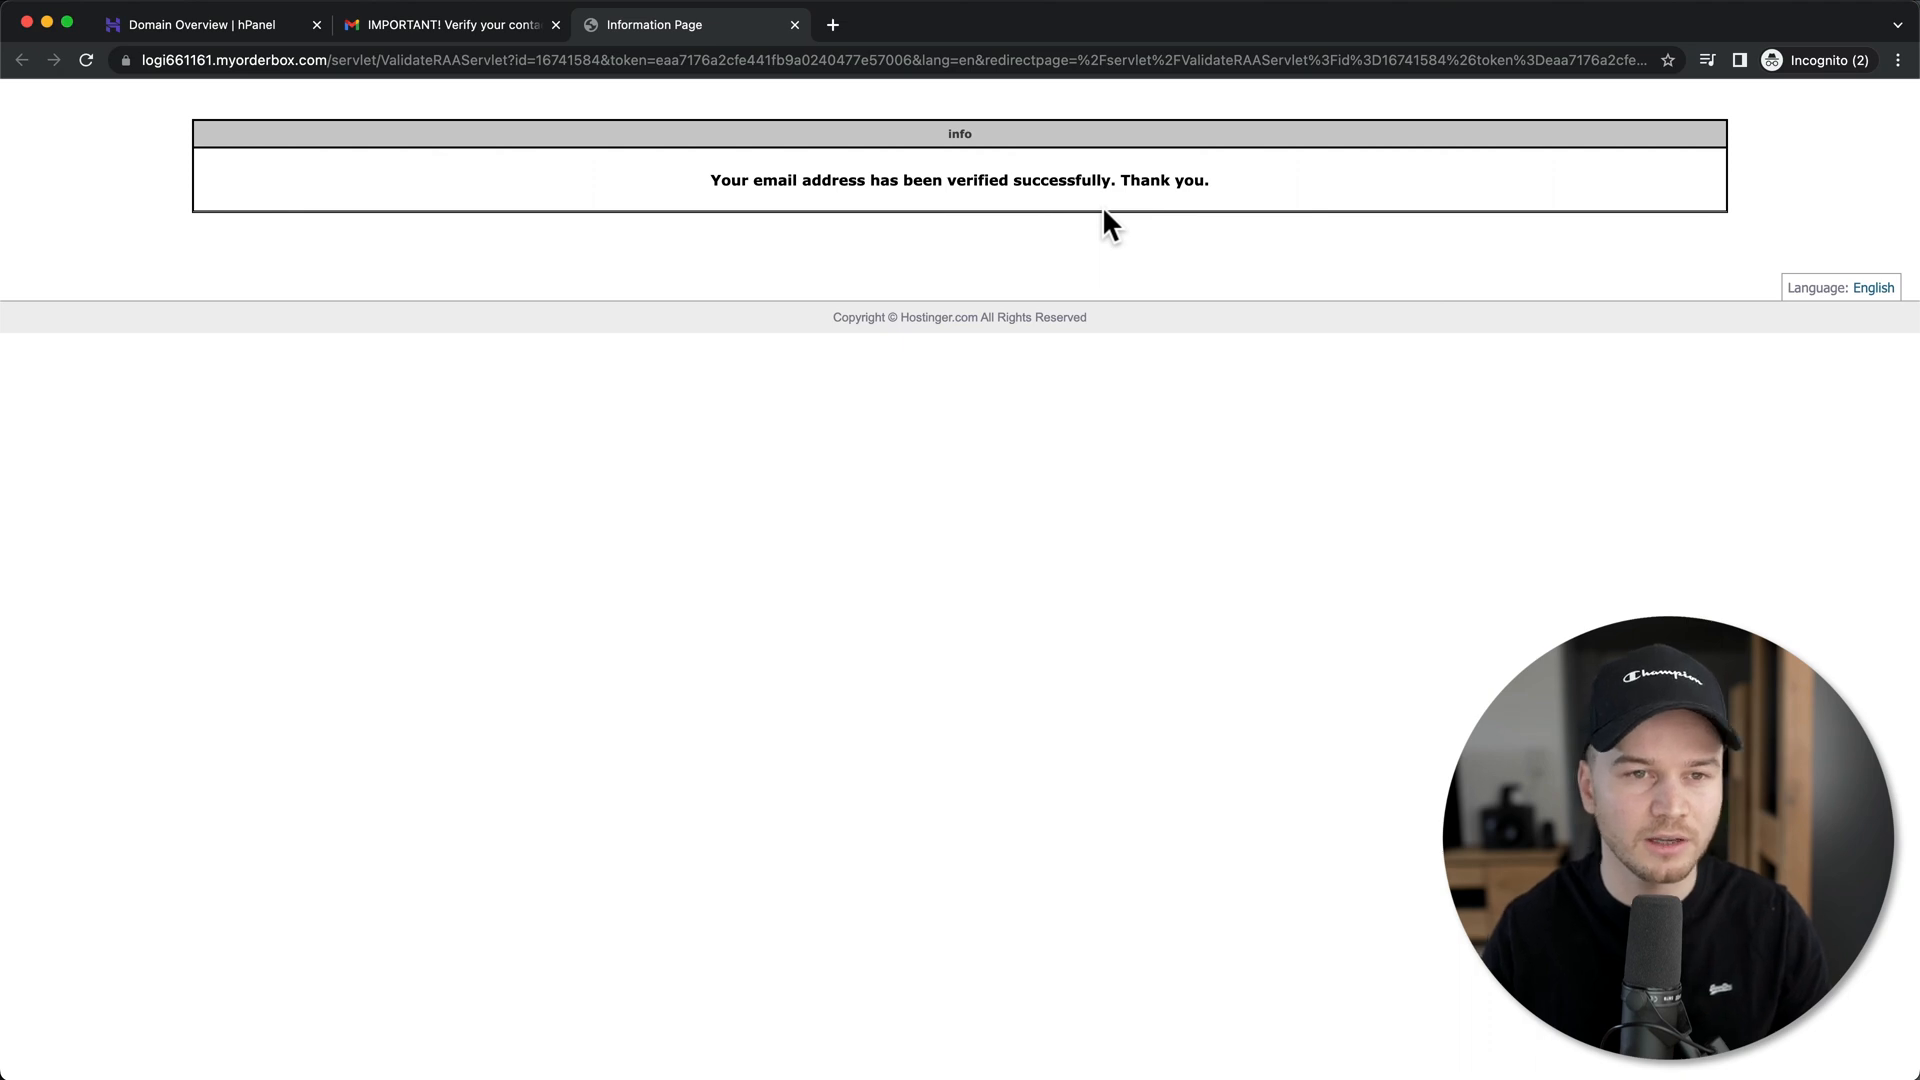
To finalize your domain registration, check your email for a verification message from Hostinger. Click the link in the email to verify your domain ownership.

Step 12: Confirm Your Domain Activation
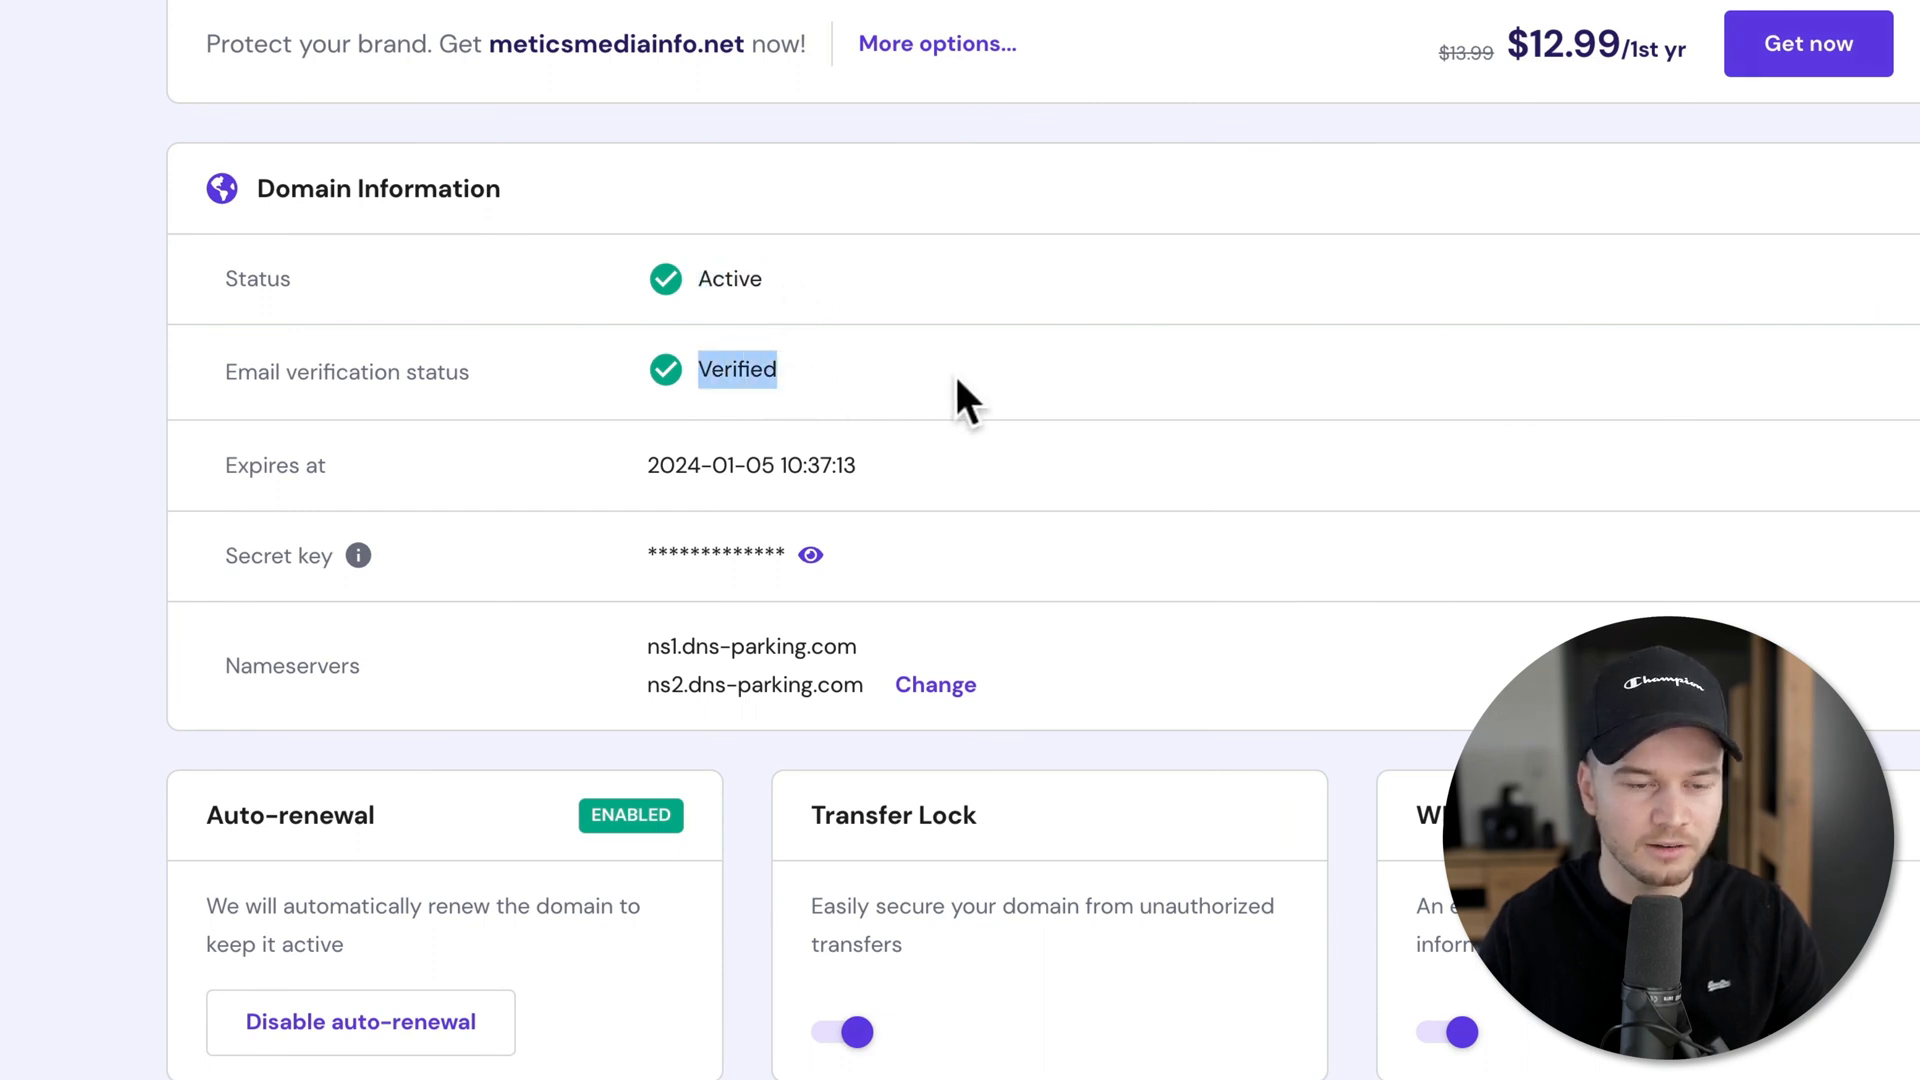
Once verified, return to your Hostinger dashboard. You should see that your domain is now active and your email verification is complete.
Step 13: Start Building Your Website
Congratulations! You have successfully purchased hosting from Hostinger and secured your domain. Now, you can start building your website using the tools and resources available in your Hostinger account. If you need additional tools for online marketing, check out Top Recommended Tools.
Final Thoughts
Buying hosting from Hostinger is a straightforward process that can set the foundation for your online presence. With affordable plans, a free domain, and user-friendly tools, Hostinger is a great choice for beginners and experienced users alike. If you’re ready to take the plunge, start your journey with Hostinger today!


