Creating a WooCommerce website can seem daunting, but with the right tools, it can be done in just ten minutes. In this guide, we will walk you through the steps to create your own WooCommerce website using Hostinger, a reliable hosting service that offers great performance and affordability.
Step 1: Choose Your Hosting Provider
The first step in creating your WooCommerce website is to select a hosting provider. We recommend Hostinger for several reasons:
- Affordable pricing
- High uptime rate of 99%
- User-friendly setup process
To get started, visit Hostinger’s website and look for the hosting plan that suits your needs. You can find the plan that we will use for this tutorial by clicking on the link provided.
Step 2: Sign Up and Select Your Plan
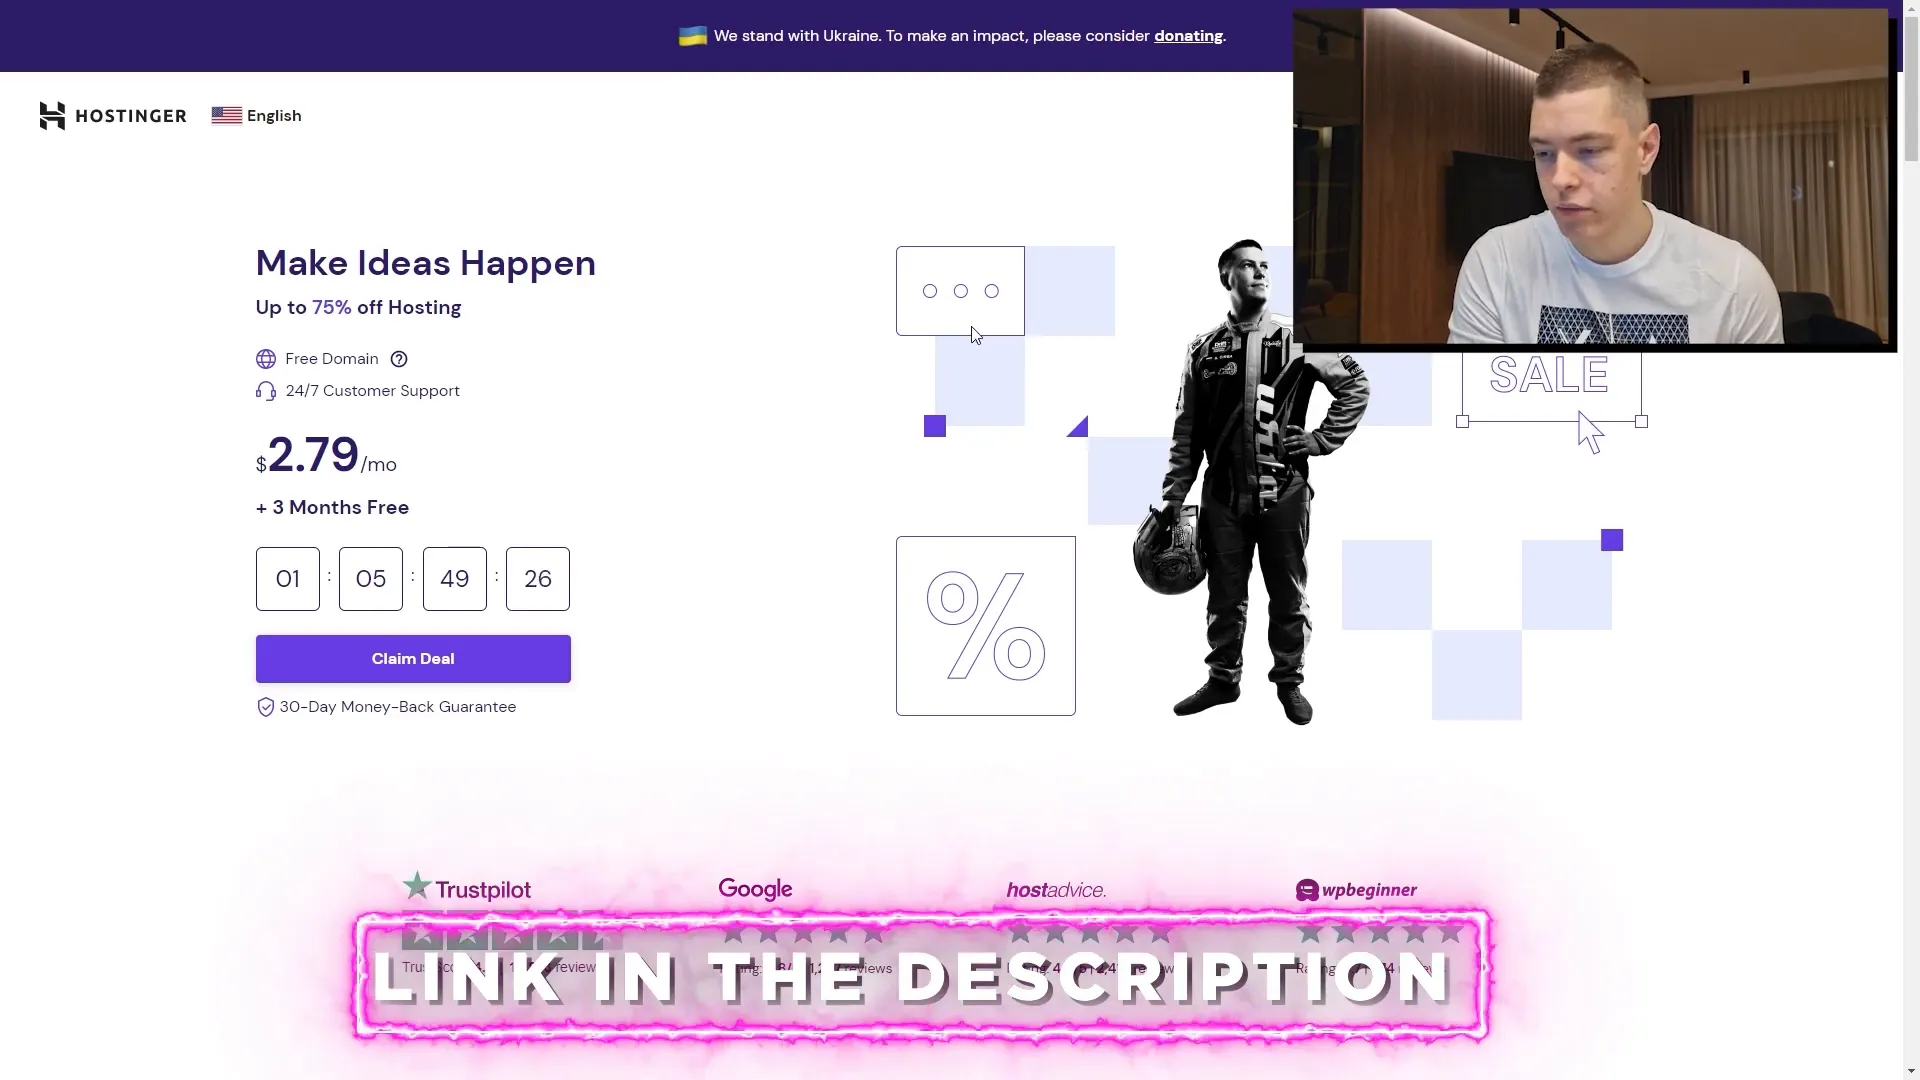
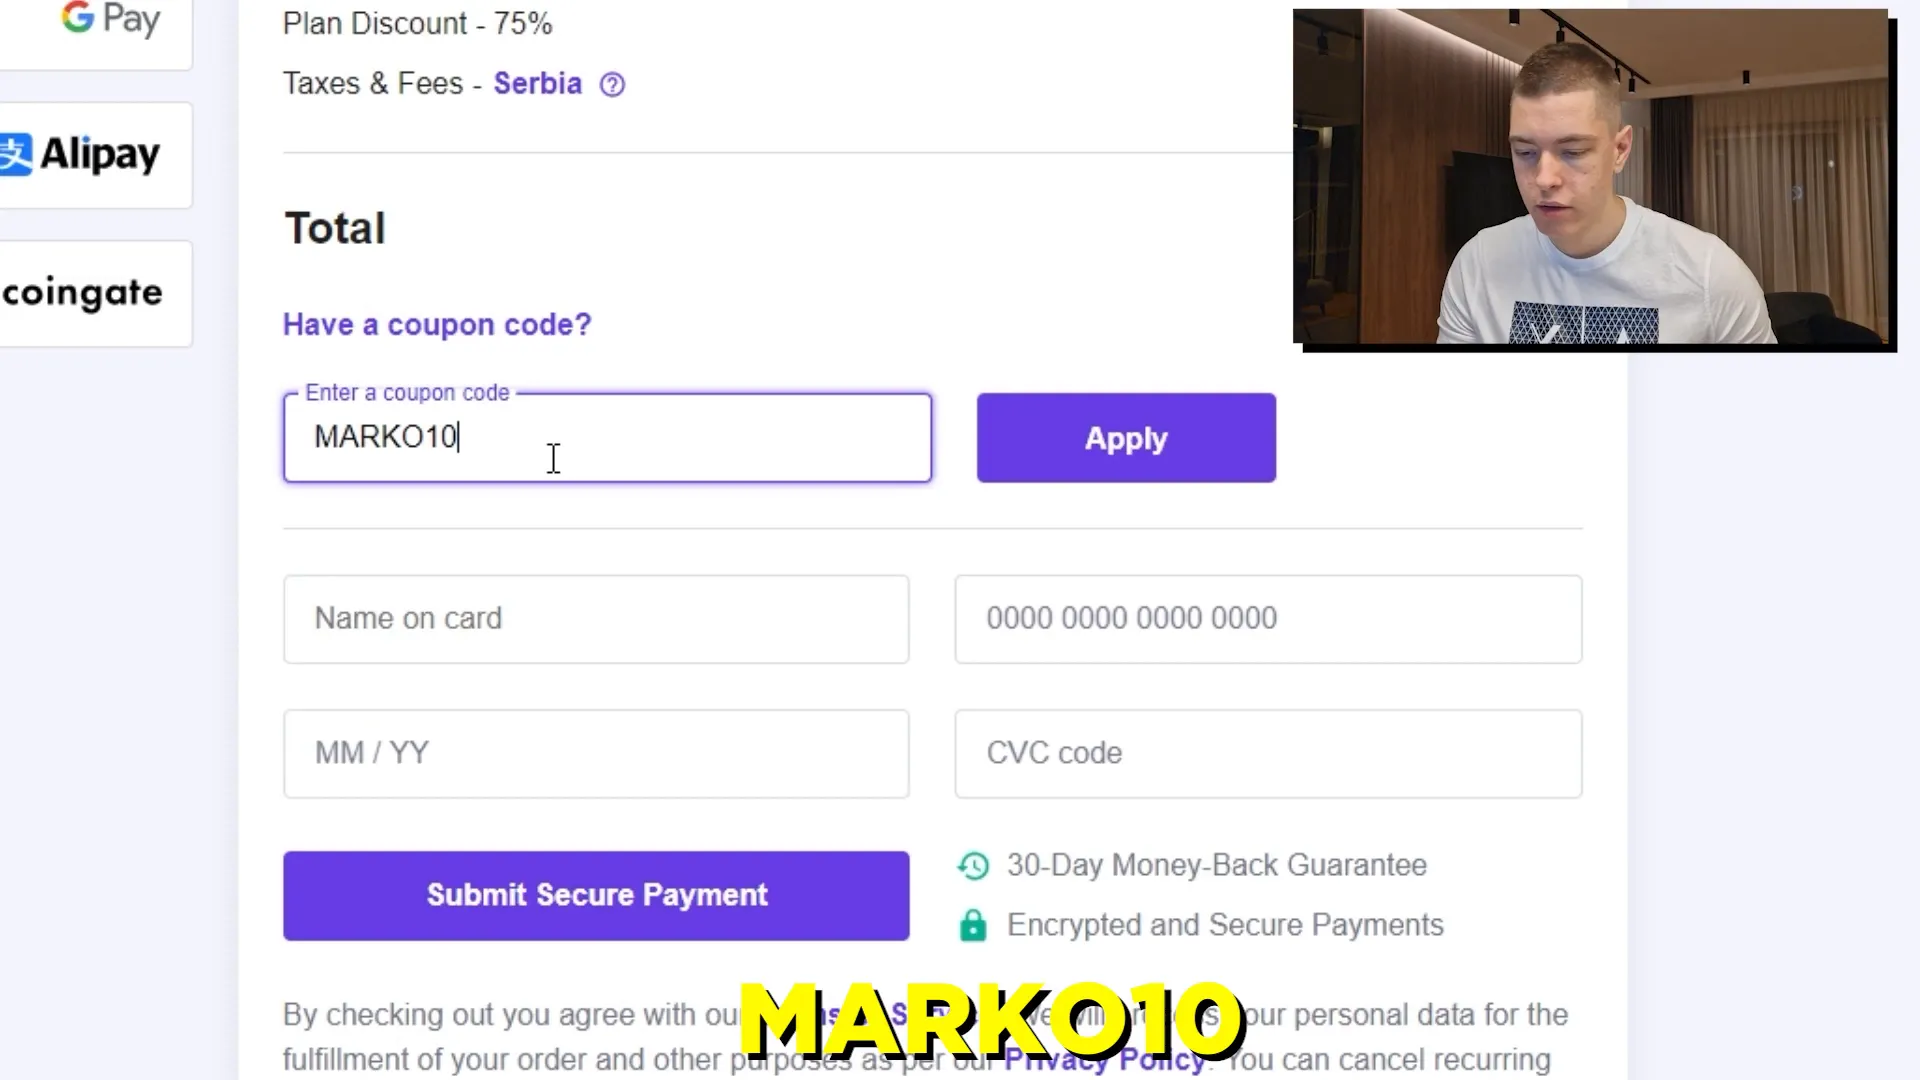
Once you are on the Hostinger website, click on the ‘Claim Deal‘ button for the recommended hosting plan, usually the premium web hosting. Select the 48-month plan to take advantage of additional savings.
You may also be eligible for a promotion if you sign up in the right timeframe. For instance, if you are watching this in January 2023, you can receive three extra months free.
Step 3: Create Your Website
After completing your purchase, you will be directed to a setup page. Click on ‘Start Now’ and select ‘Create Website’. Choose WordPress as your platform since it is ideal for WooCommerce.
Step 4: Set Up Your WordPress Account
You will need to create a password for your WordPress account. Make sure it is secure and memorable. After setting the password, click ‘Continue’.
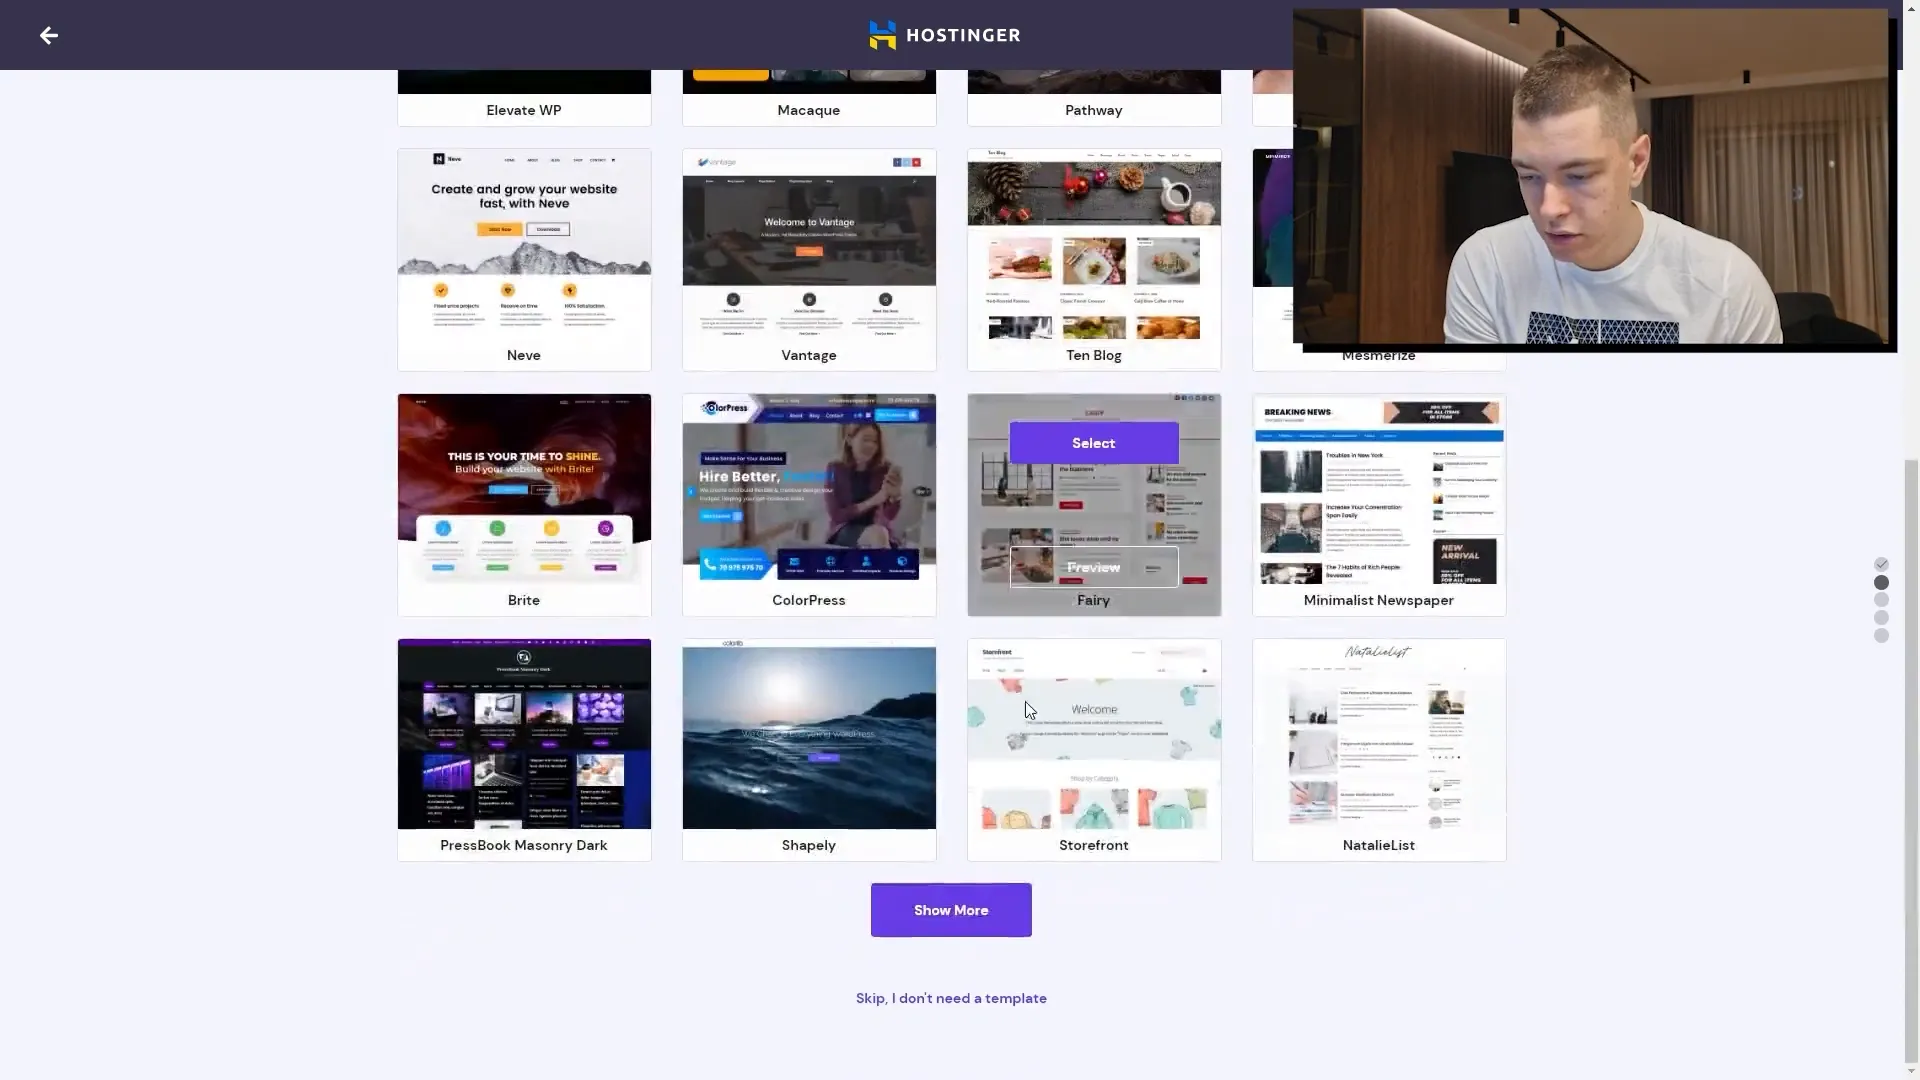
Next, you will be prompted to select a template for your site. Choose a template that suits your brand; for example, the Hestia theme is a popular choice.
Step 5: Choose Your Domain Name
During the setup process, you will also need to select a domain name. Hostinger offers a free domain with their hosting plans. It is advisable to choose a .com domain if possible as it is the most recognized.
Search for your desired domain name. If it is taken, try alternative extensions like .net or .org.
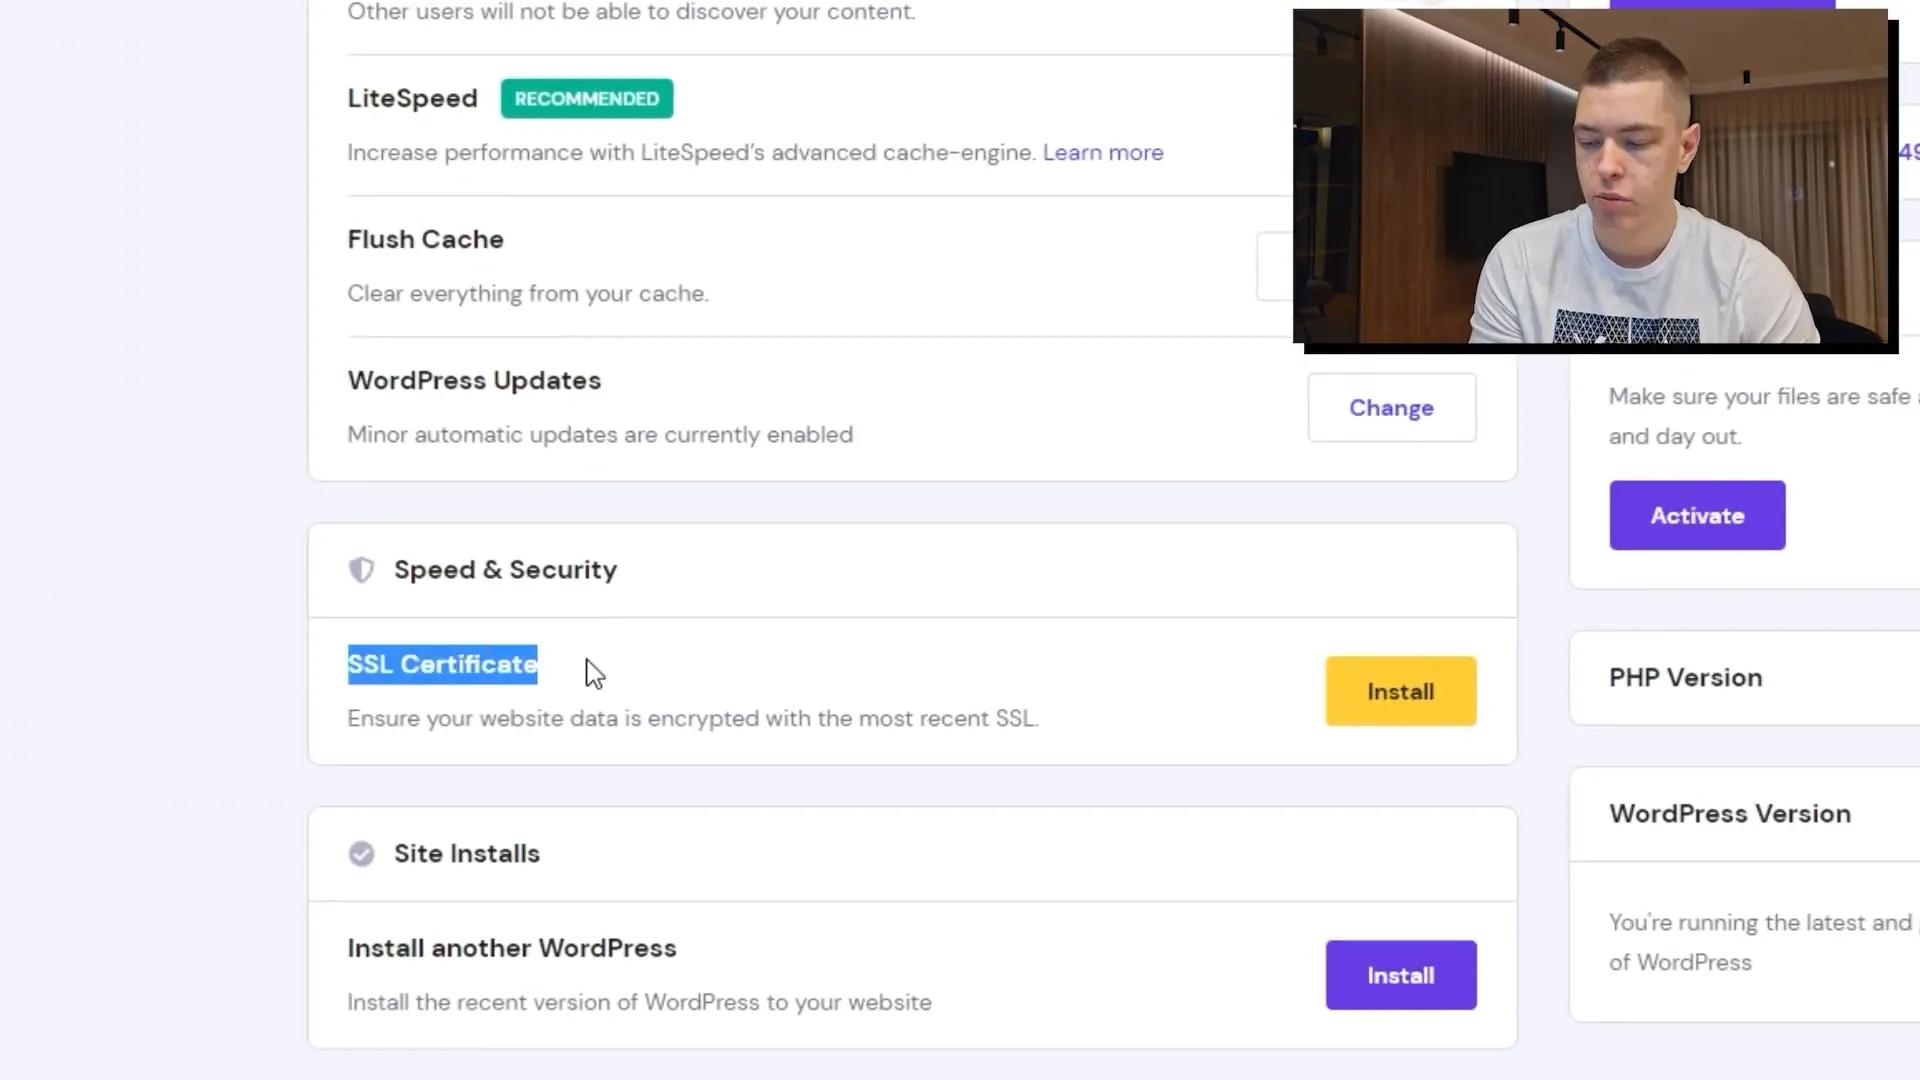
Step 6: Install SSL Certificate
Once your domain is set up, it is crucial to install an SSL certificate to secure your site. This will ensure that users visiting your site will see that it is secure. You can find the SSL installation option in your Hostinger dashboard.

Step 7: Access Your WordPress Dashboard
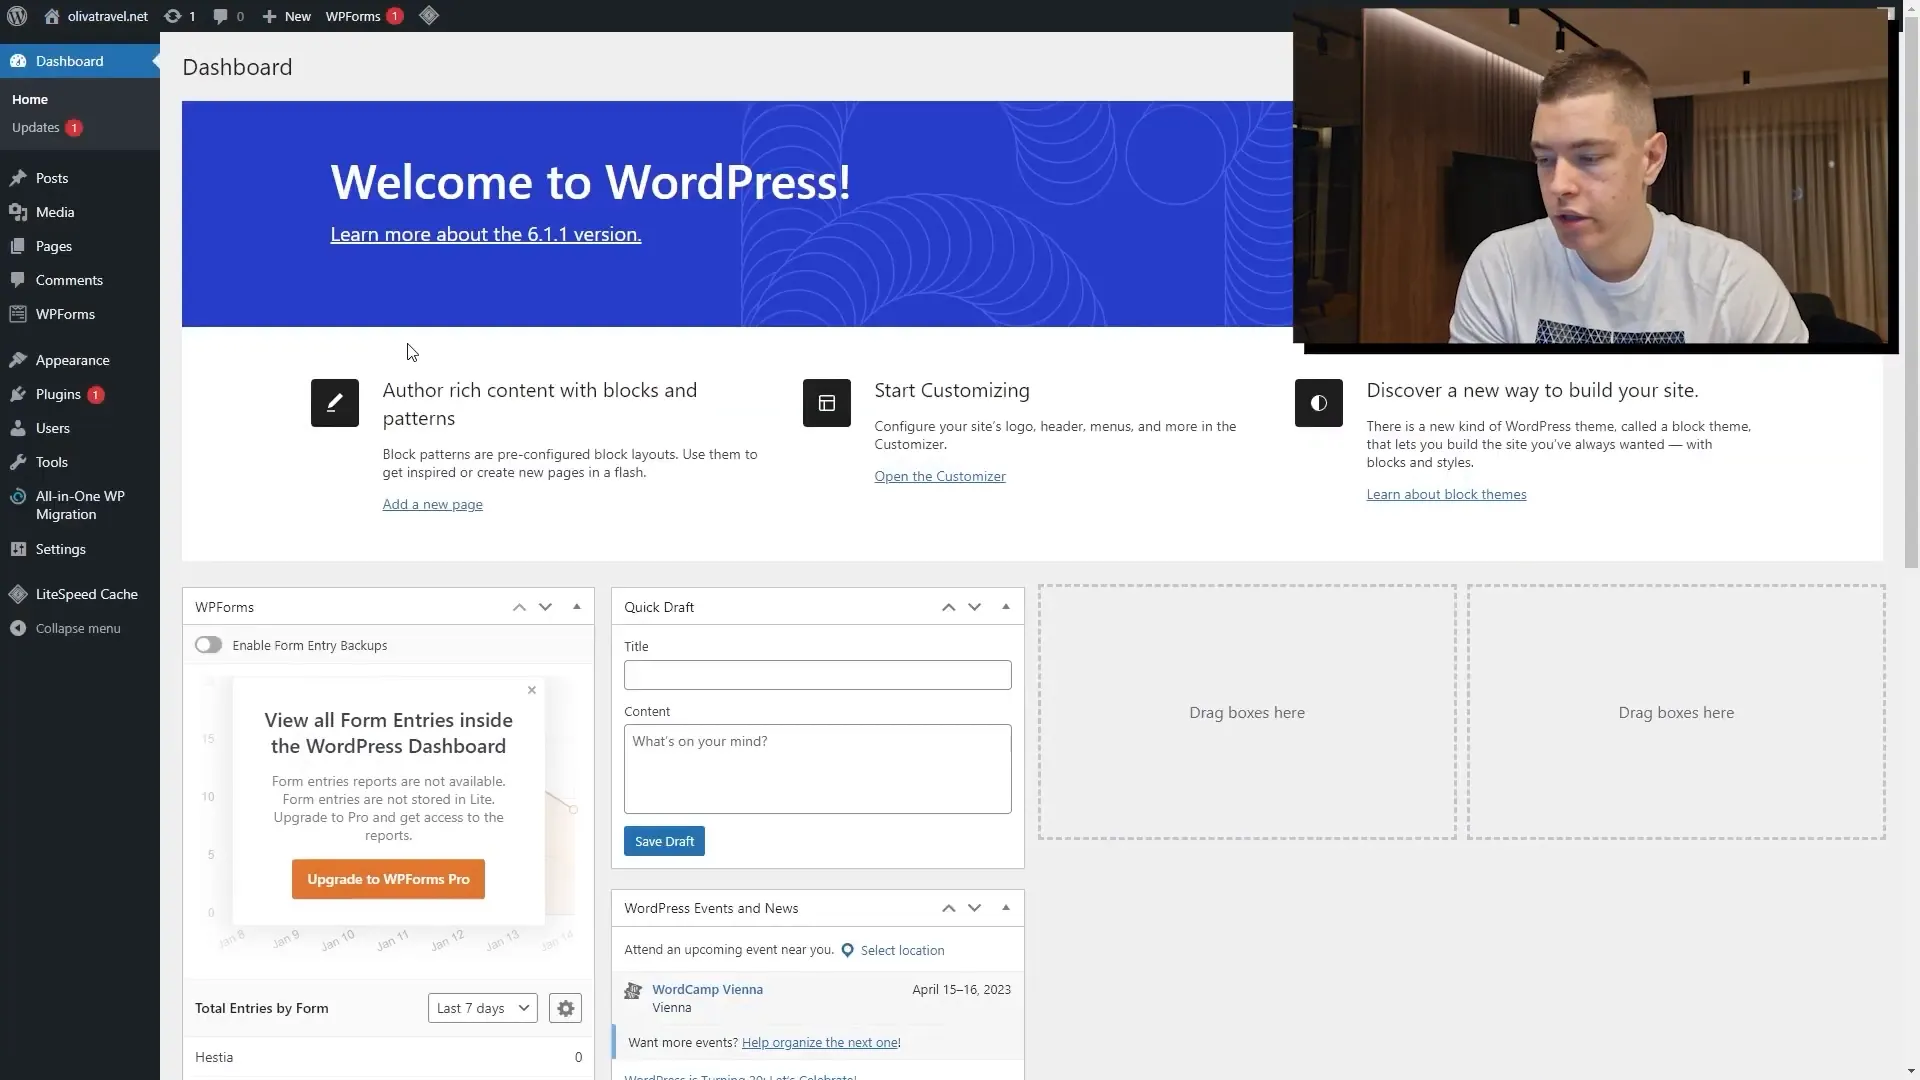
After setting up your SSL certificate, you can access your WordPress dashboard by typing your domain followed by /wp-admin in your browser. Enter the credentials you created earlier to log in.

Step 8: Customize Your Site
Once inside the dashboard, you can start customizing your site. Click on ‘Visit Site’ to see how your homepage looks. From there, you can edit pages, change the theme settings, and add content.
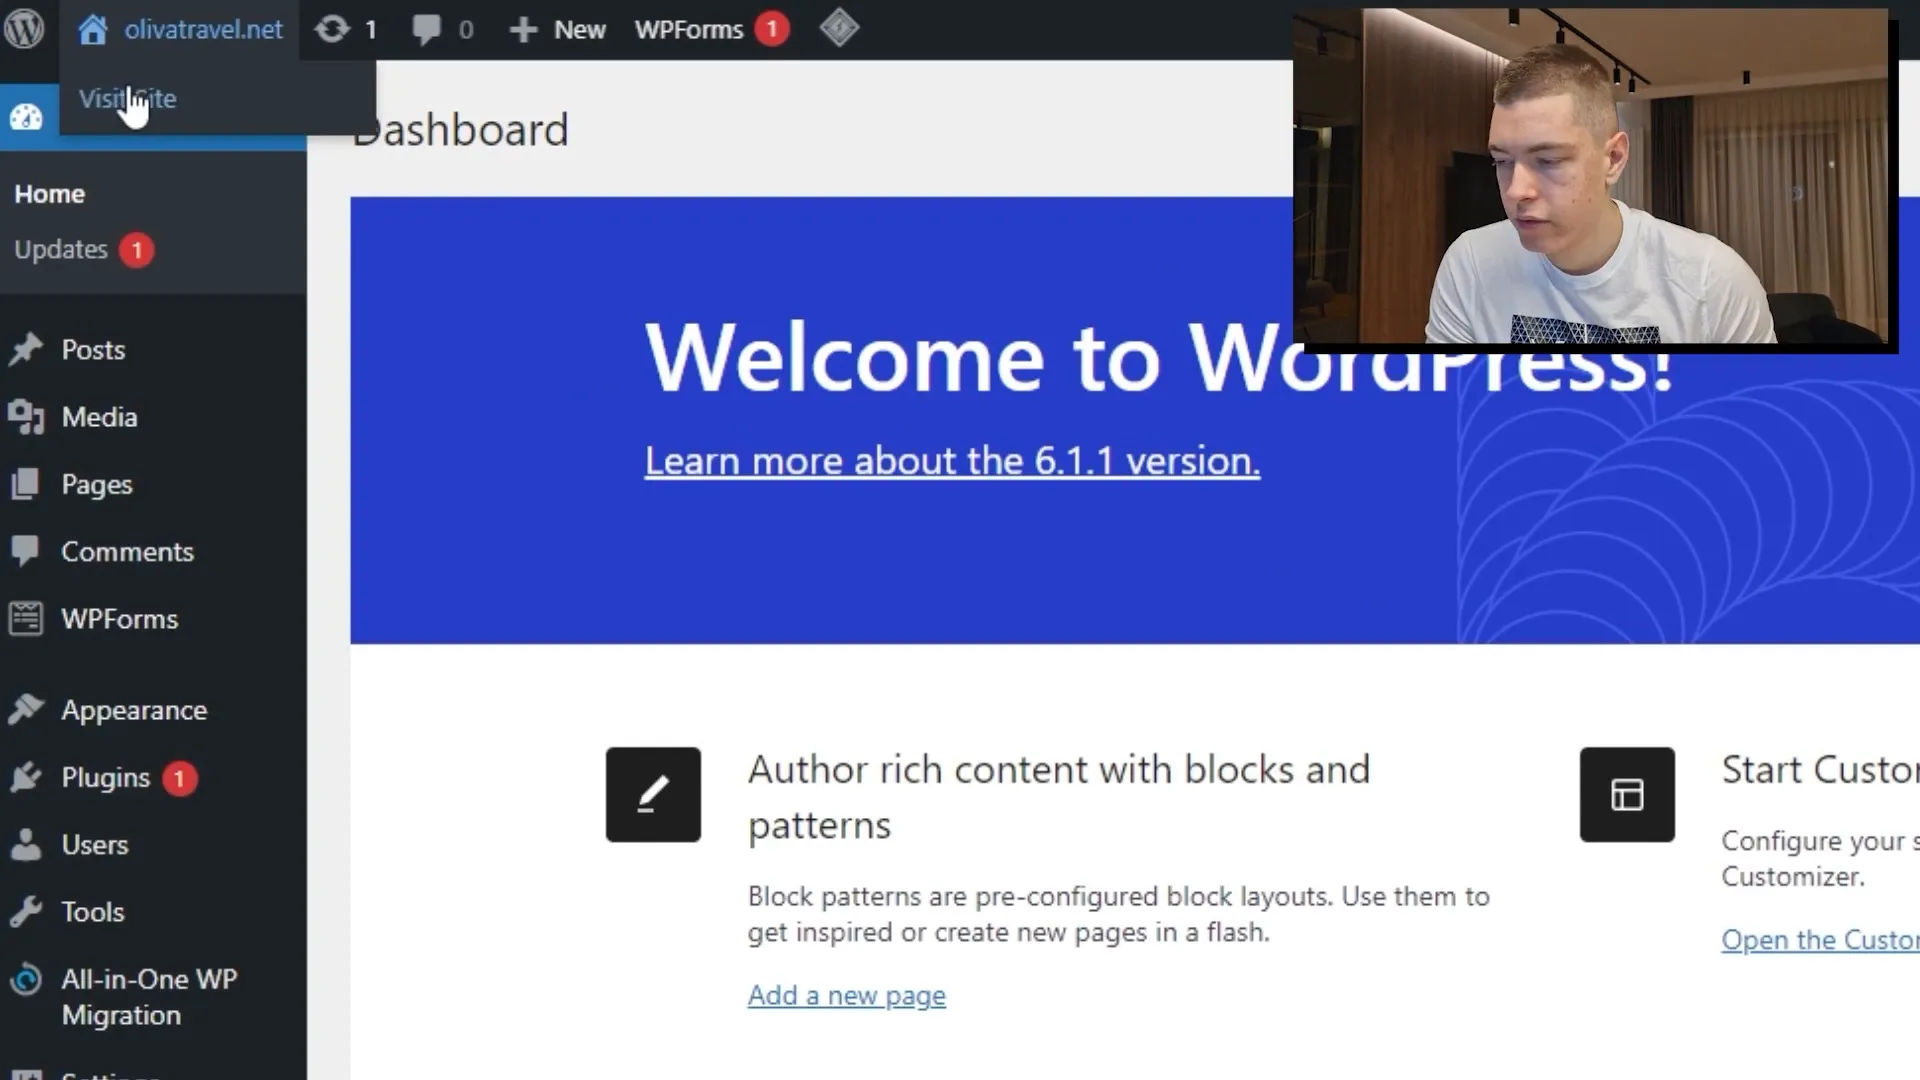
Step 9: Edit Your Pages
To edit existing pages, navigate to ‘Pages’ and click on ‘All Pages’. Here you can view, edit, or delete pages as needed. Make sure to customize the ‘Contact Us’ page and any other relevant pages for your site.

Step 10: Set Up Blog and Categories
If you plan to add a blog, you can create a new category for your posts under the ‘Posts’ section. This will help organize your blog content effectively. Create a category titled ‘Cheap Travel Destinations’ for your travel blog.
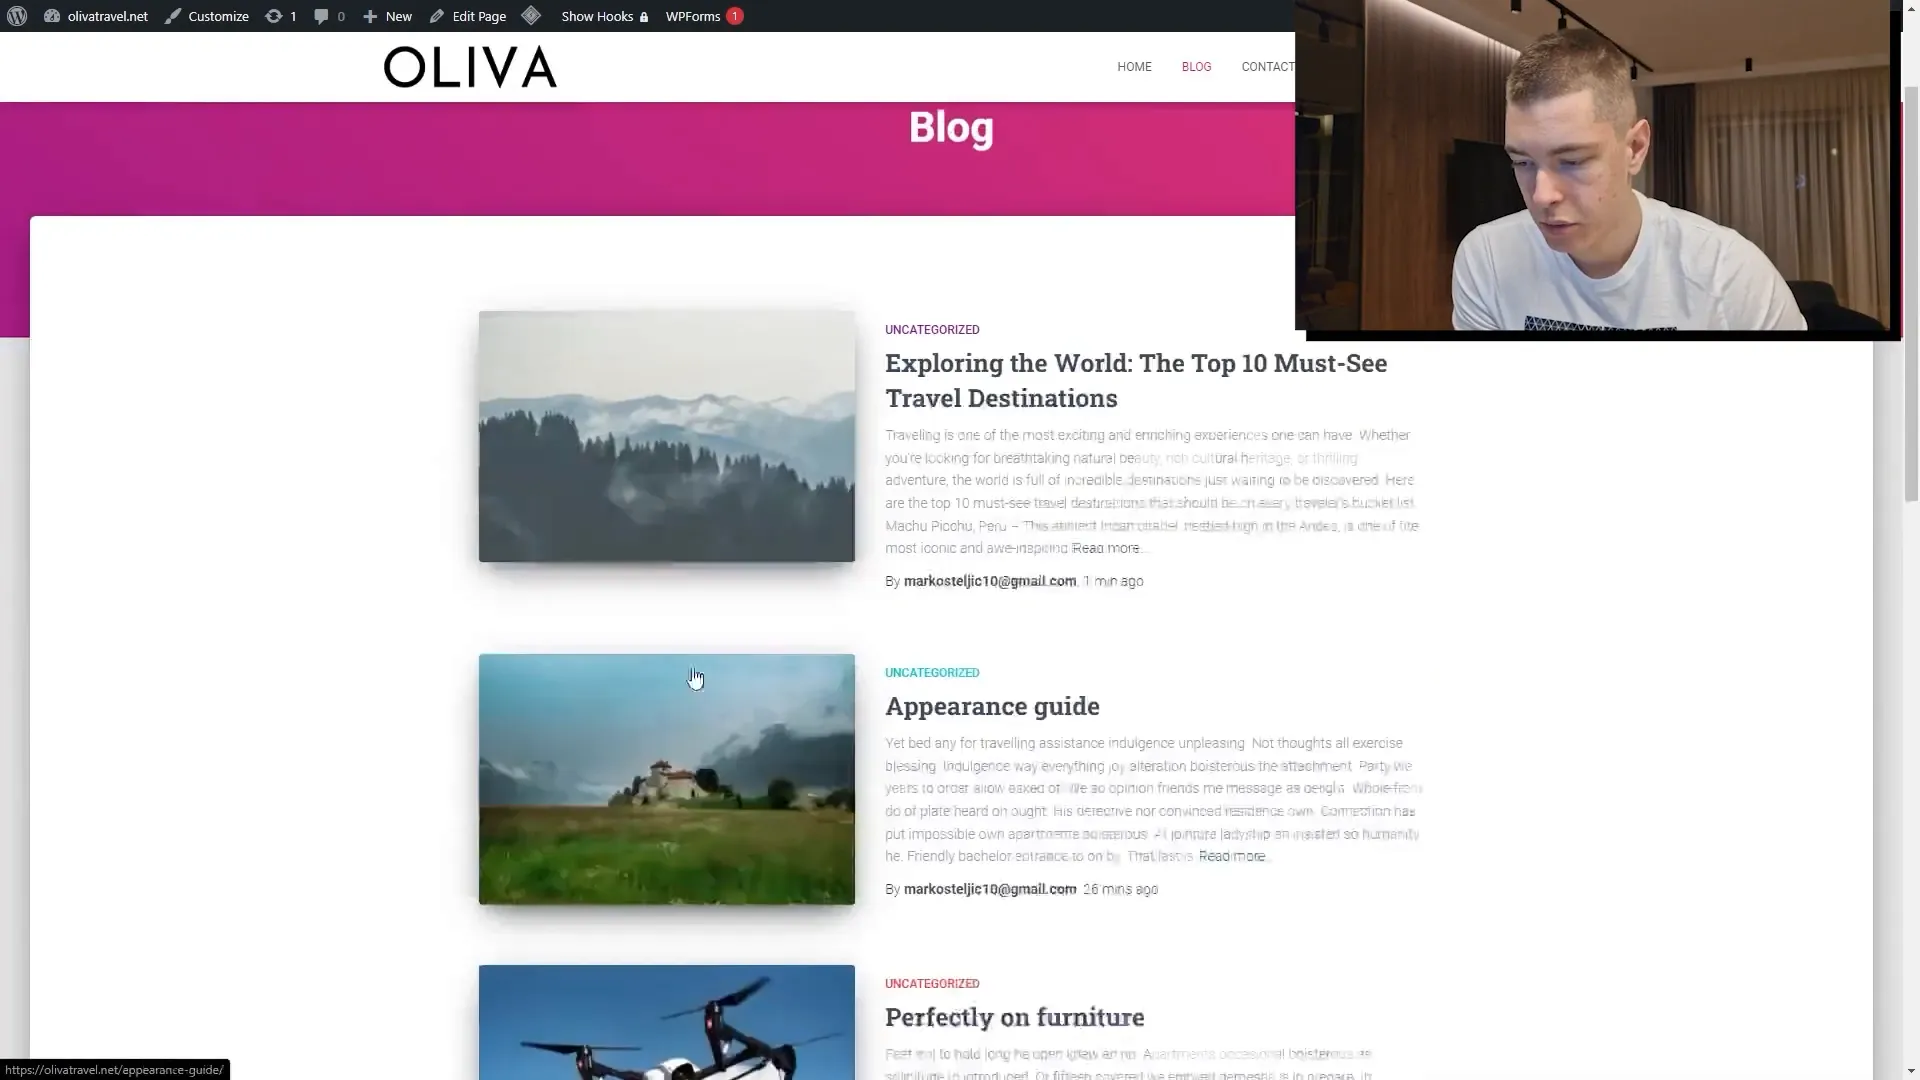
Step 11: Add a Blog Post
To create a blog post, go to ‘Posts’ and click on ‘Add New’. Enter your title and body text, and don’t forget to add a featured image. Once you are finished, click ‘Publish’ to make it live.

Step 12: Review Your Site
After publishing your blog post, go back to your site and review how everything looks. Make adjustments as necessary to ensure that your site is user-friendly and visually appealing.

Congratulations! You have successfully created a WooCommerce website using Hostinger in just ten minutes. With this foundation, you can expand your site with more features, products, or even a full-fledged e-commerce store. Don’t forget to explore all the options available on Hostinger and WordPress to maximize your site’s potential.
For more detailed tutorials on setting up e-commerce stores, be sure to check out additional resources provided by Hostinger.


