

Creating a WordPress website can seem overwhelming, but with the right guidance, it can be a straightforward process. This tutorial will walk you through setting up a WordPress website using Hostinger, covering everything from account creation to customizing your site. By following these steps, you’ll gain the skills needed to build a professional-looking website without prior experience.
Step 1: Hostinger Setup
The first step in creating your WordPress website is to set up your Hostinger account. To ensure you get the best deal, use the link provided, which offers a discount on your hosting plan. Once on the Hostinger site, click on “Claim Deal” to view the available hosting plans.
Hostinger offers several plans, but the Premium and Business plans are highly recommended. The Business plan includes a CDN feature, which enhances website performance by storing data across multiple servers globally. If you’re looking for the best performance, opt for the Business plan. Otherwise, the Premium plan is a great choice.
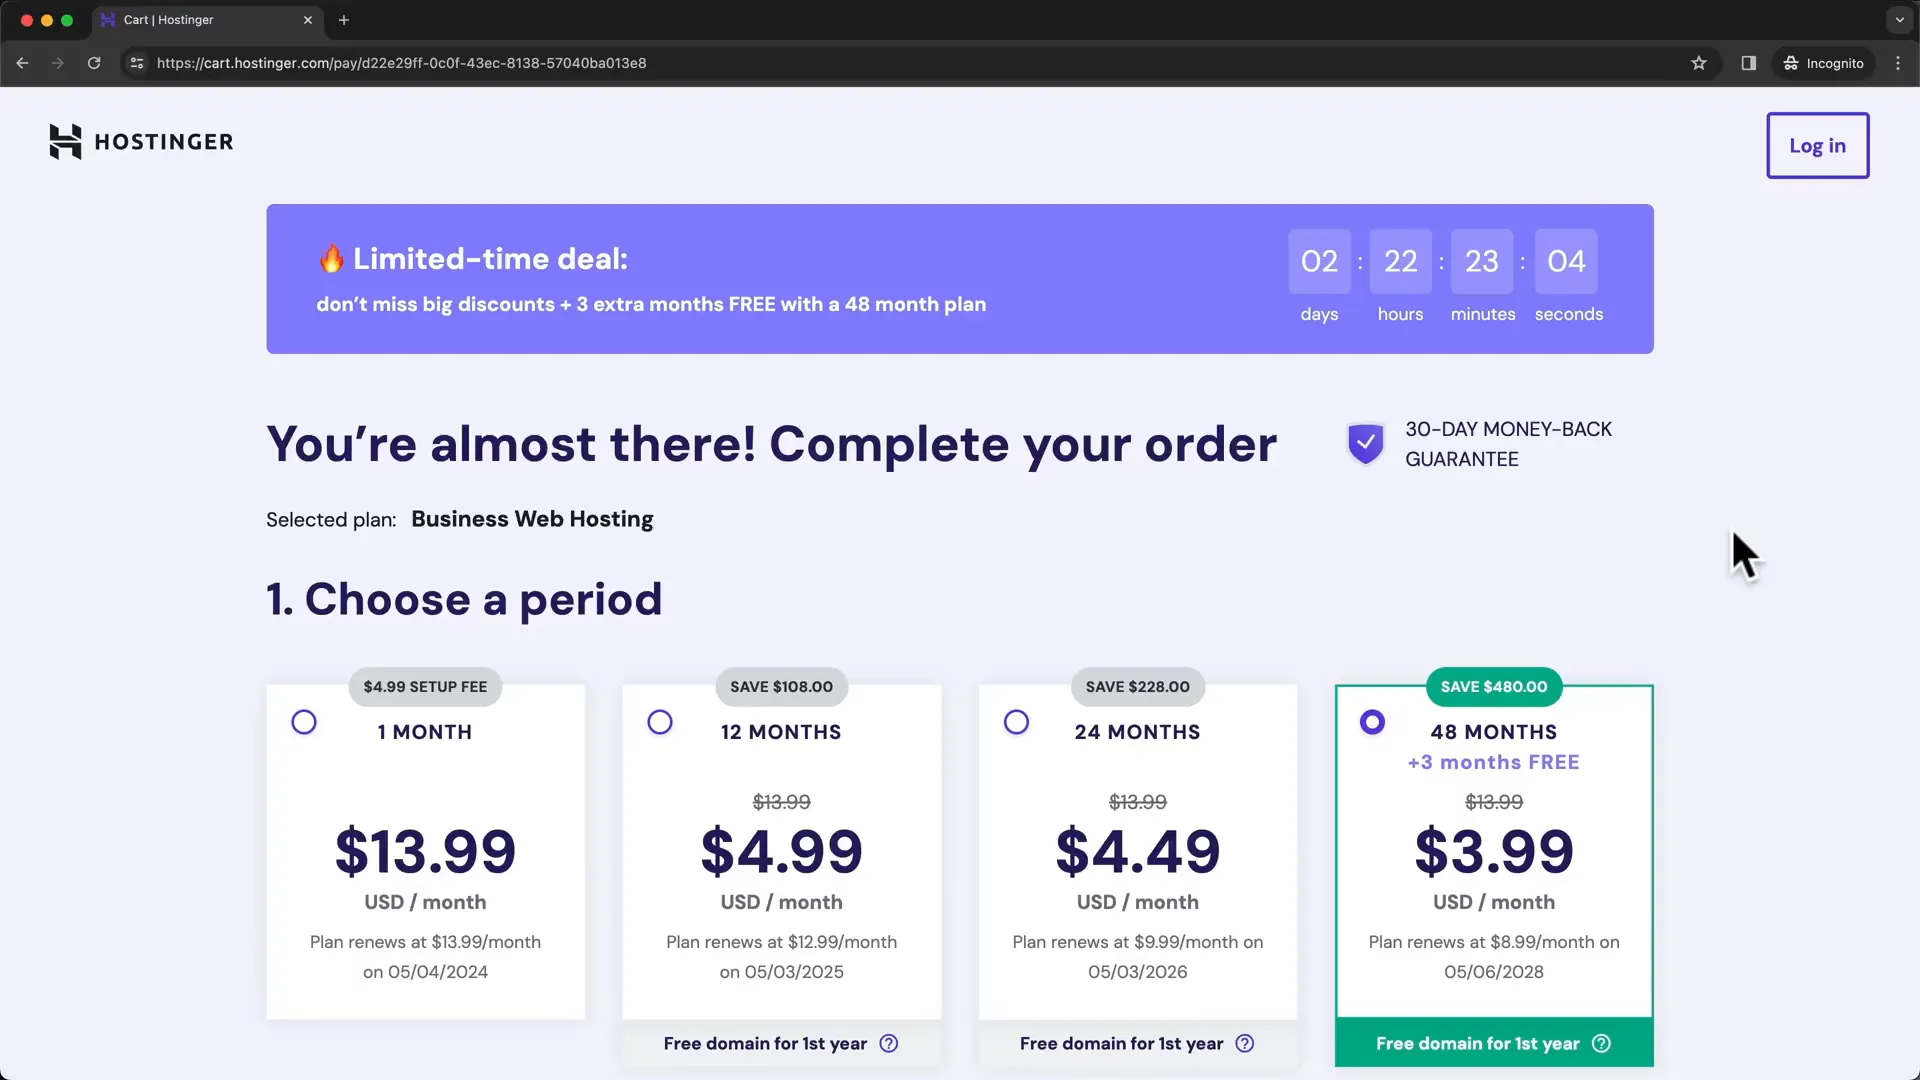
Next, choose your payment period. The longer you commit, the cheaper the monthly rate will be. The 48-month plan offers the best savings, but if you’re unsure, the 12-month option is a good alternative.
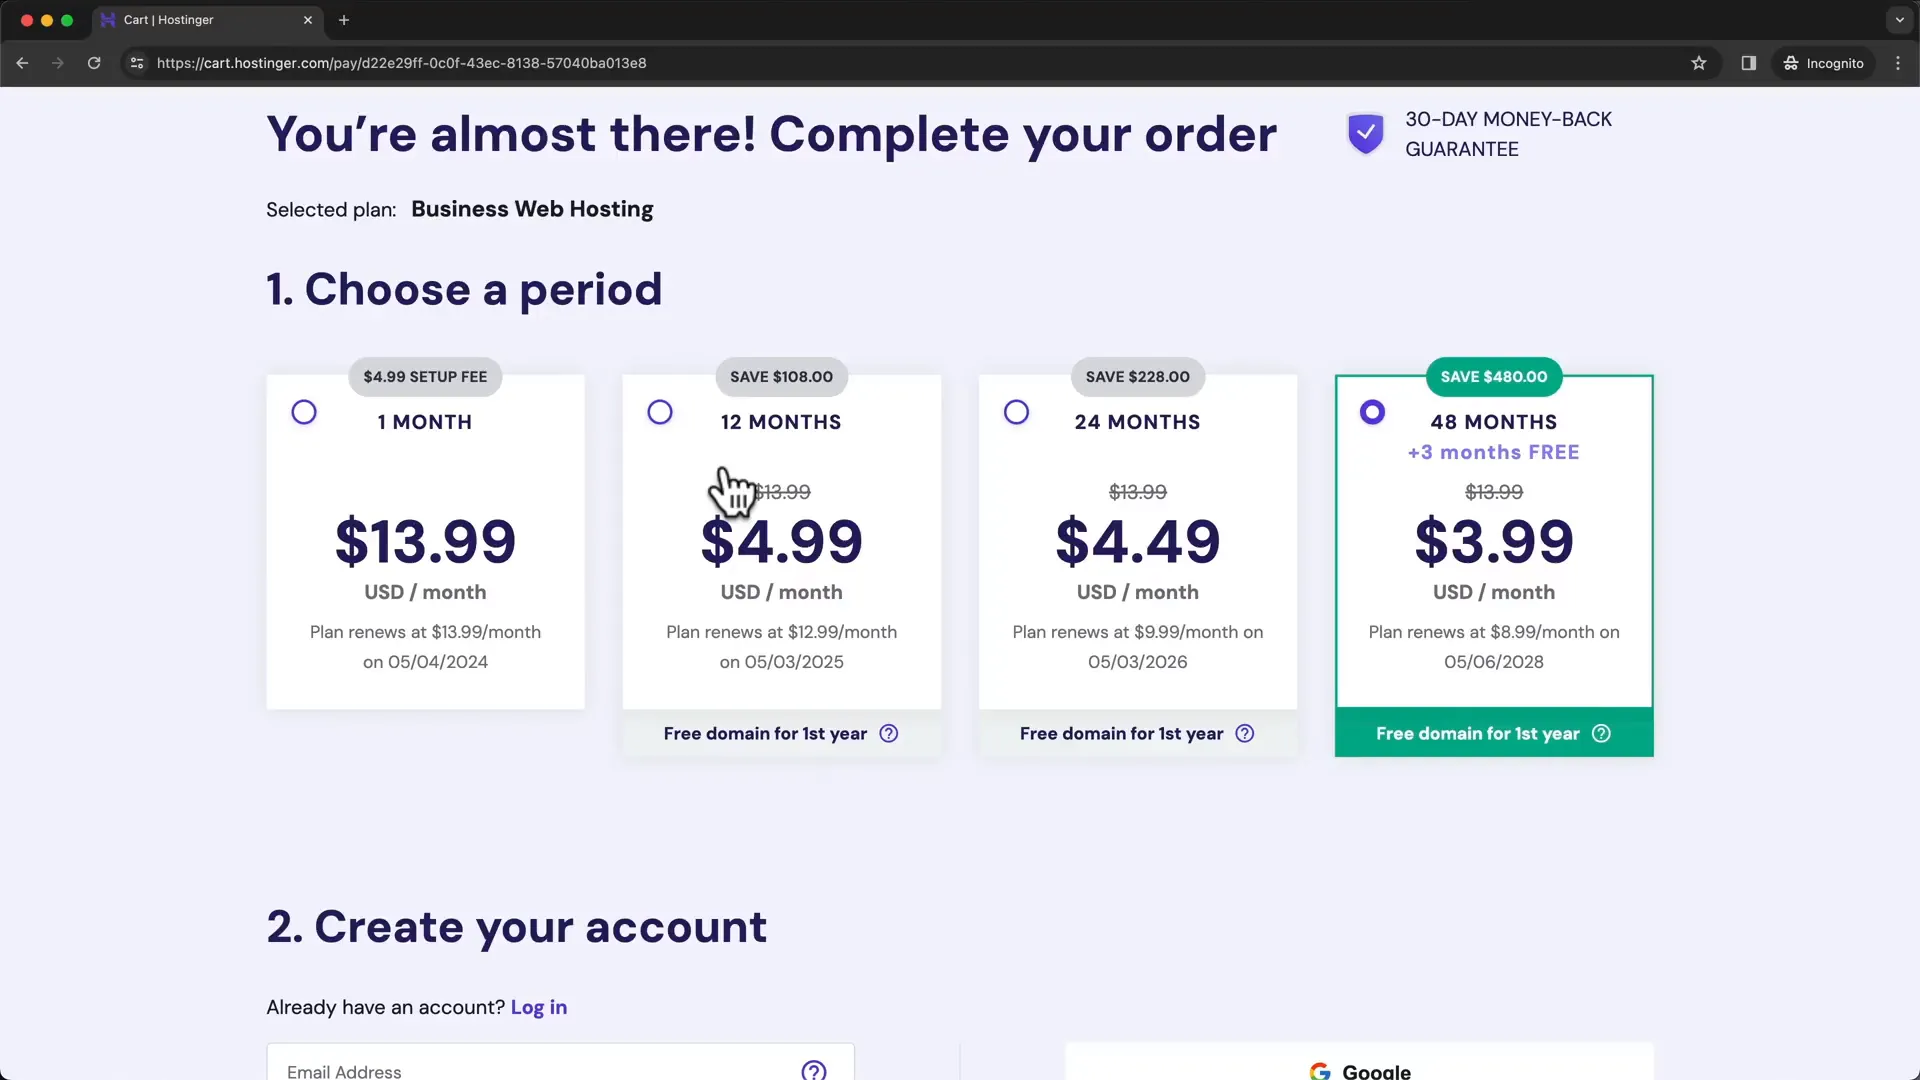
After selecting your plan, create your account by entering your email address and choosing a password. Don’t forget to apply the coupon code “1LAMINE44” for an additional %75 discount!

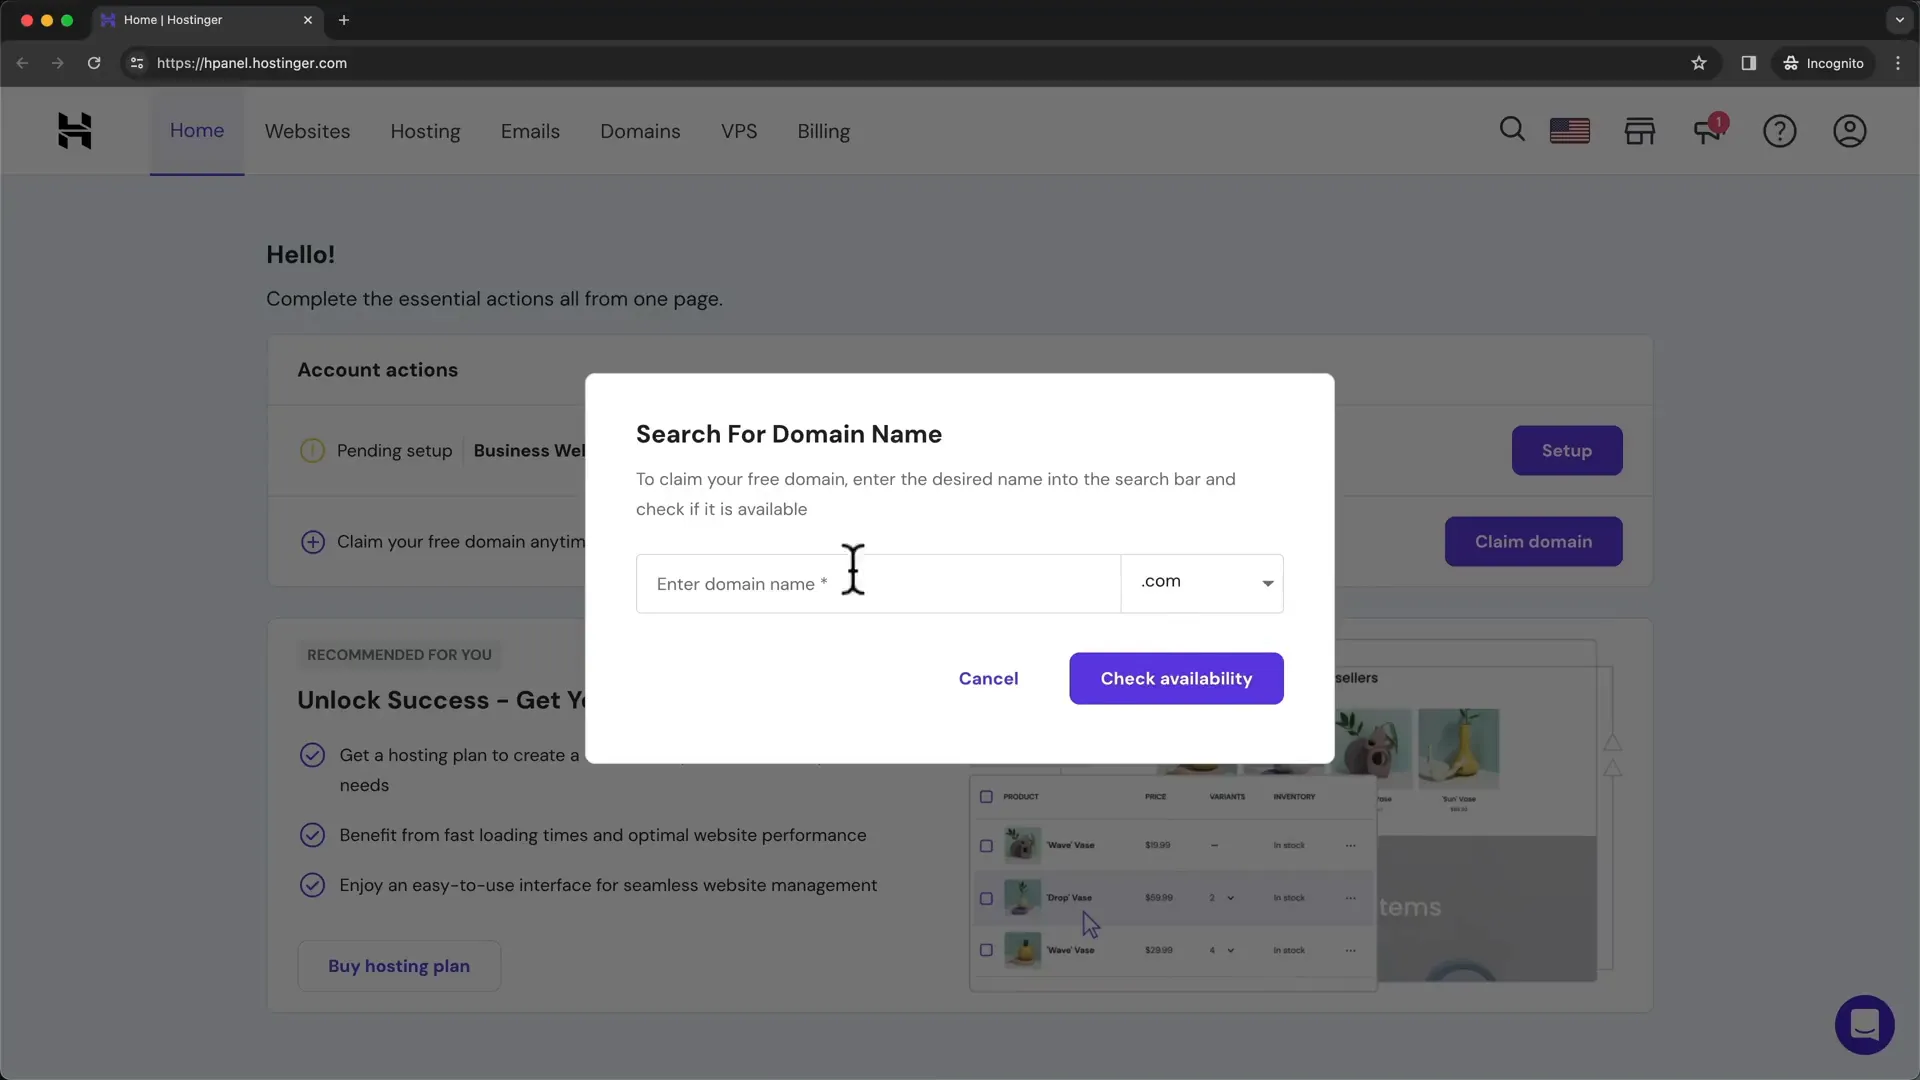
Step 2: Choose Domain
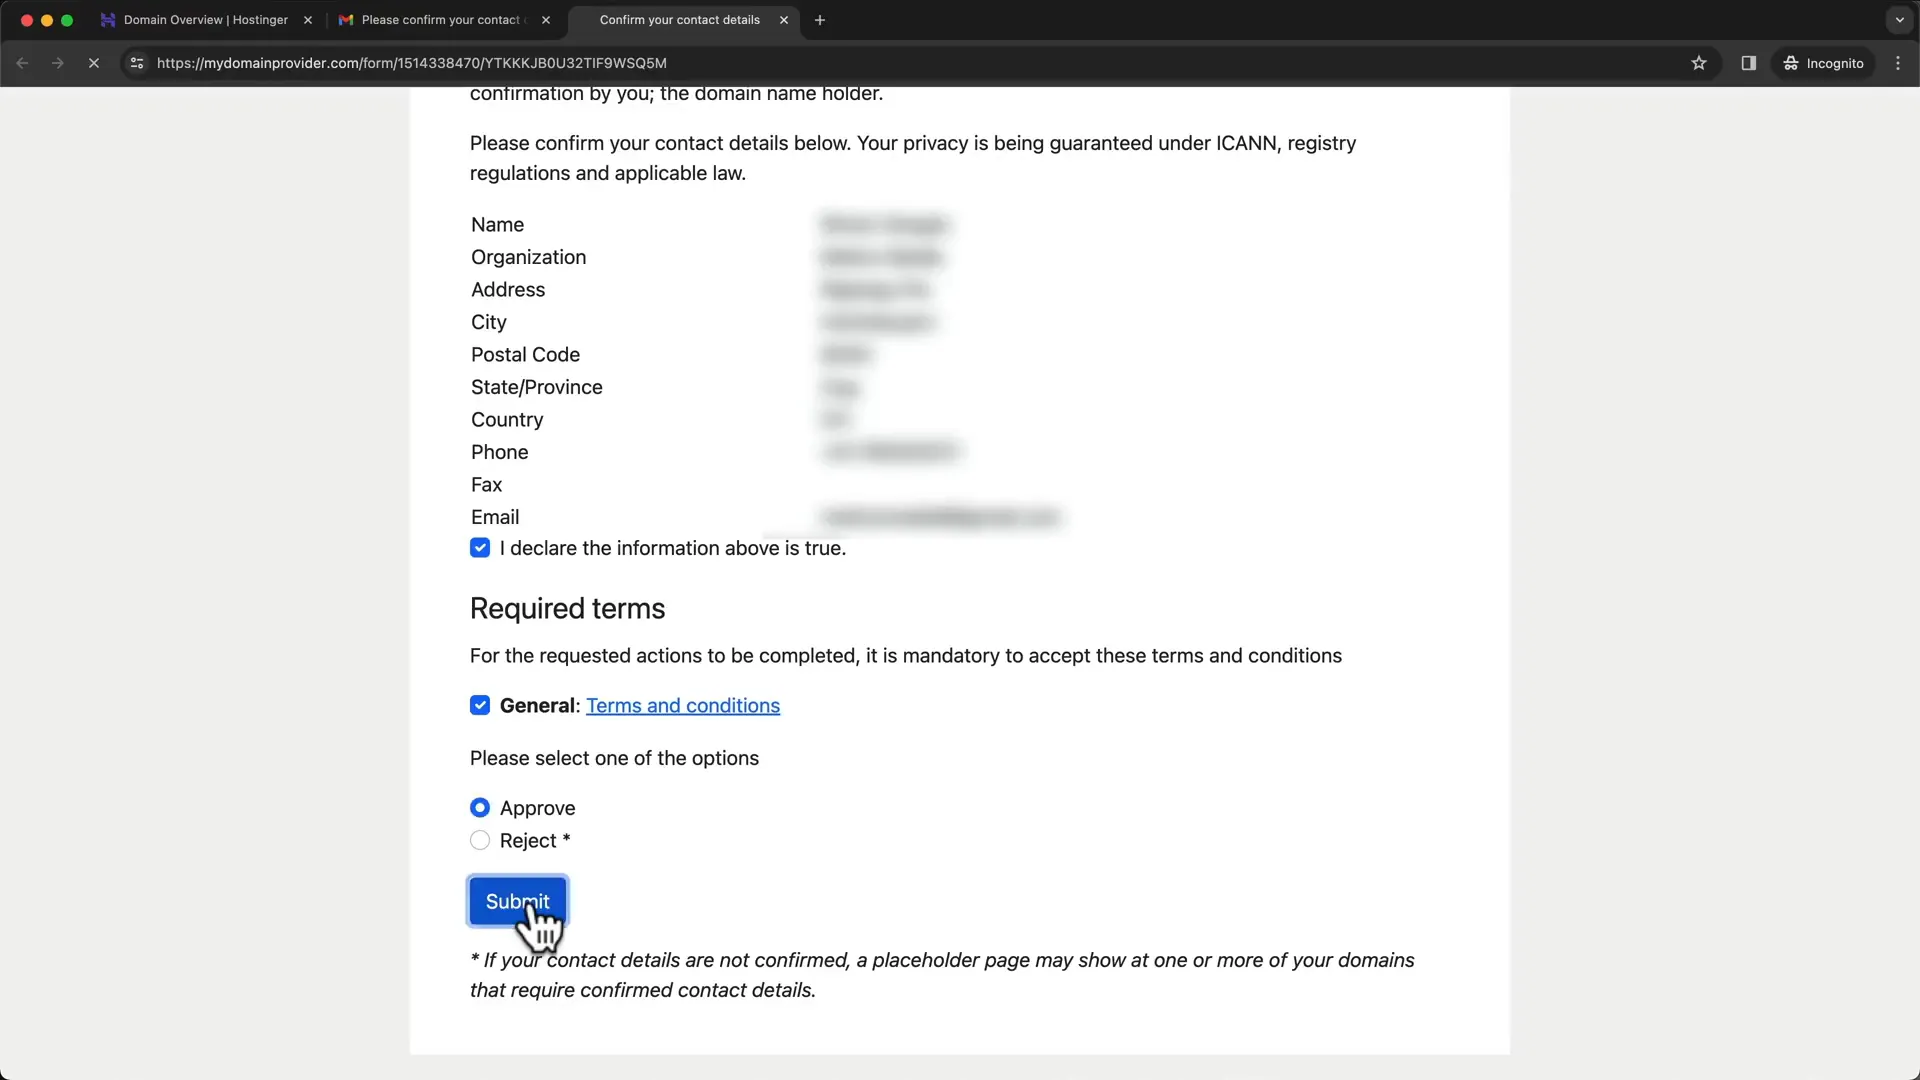
Once your account is set up, the next step is to choose a domain name for your website. This could be your name or your business name. If you’ve chosen a hosting plan for 12 months or more, you can claim a free domain for the first year.
When selecting your domain, keep it short and memorable. Avoid using numbers unless part of your brand. If your desired domain is taken, consider different extensions like .net.
After entering your contact details, your domain registration will be complete. Ensure you verify your email address to finalize the registration.
Step 3: Install WordPress
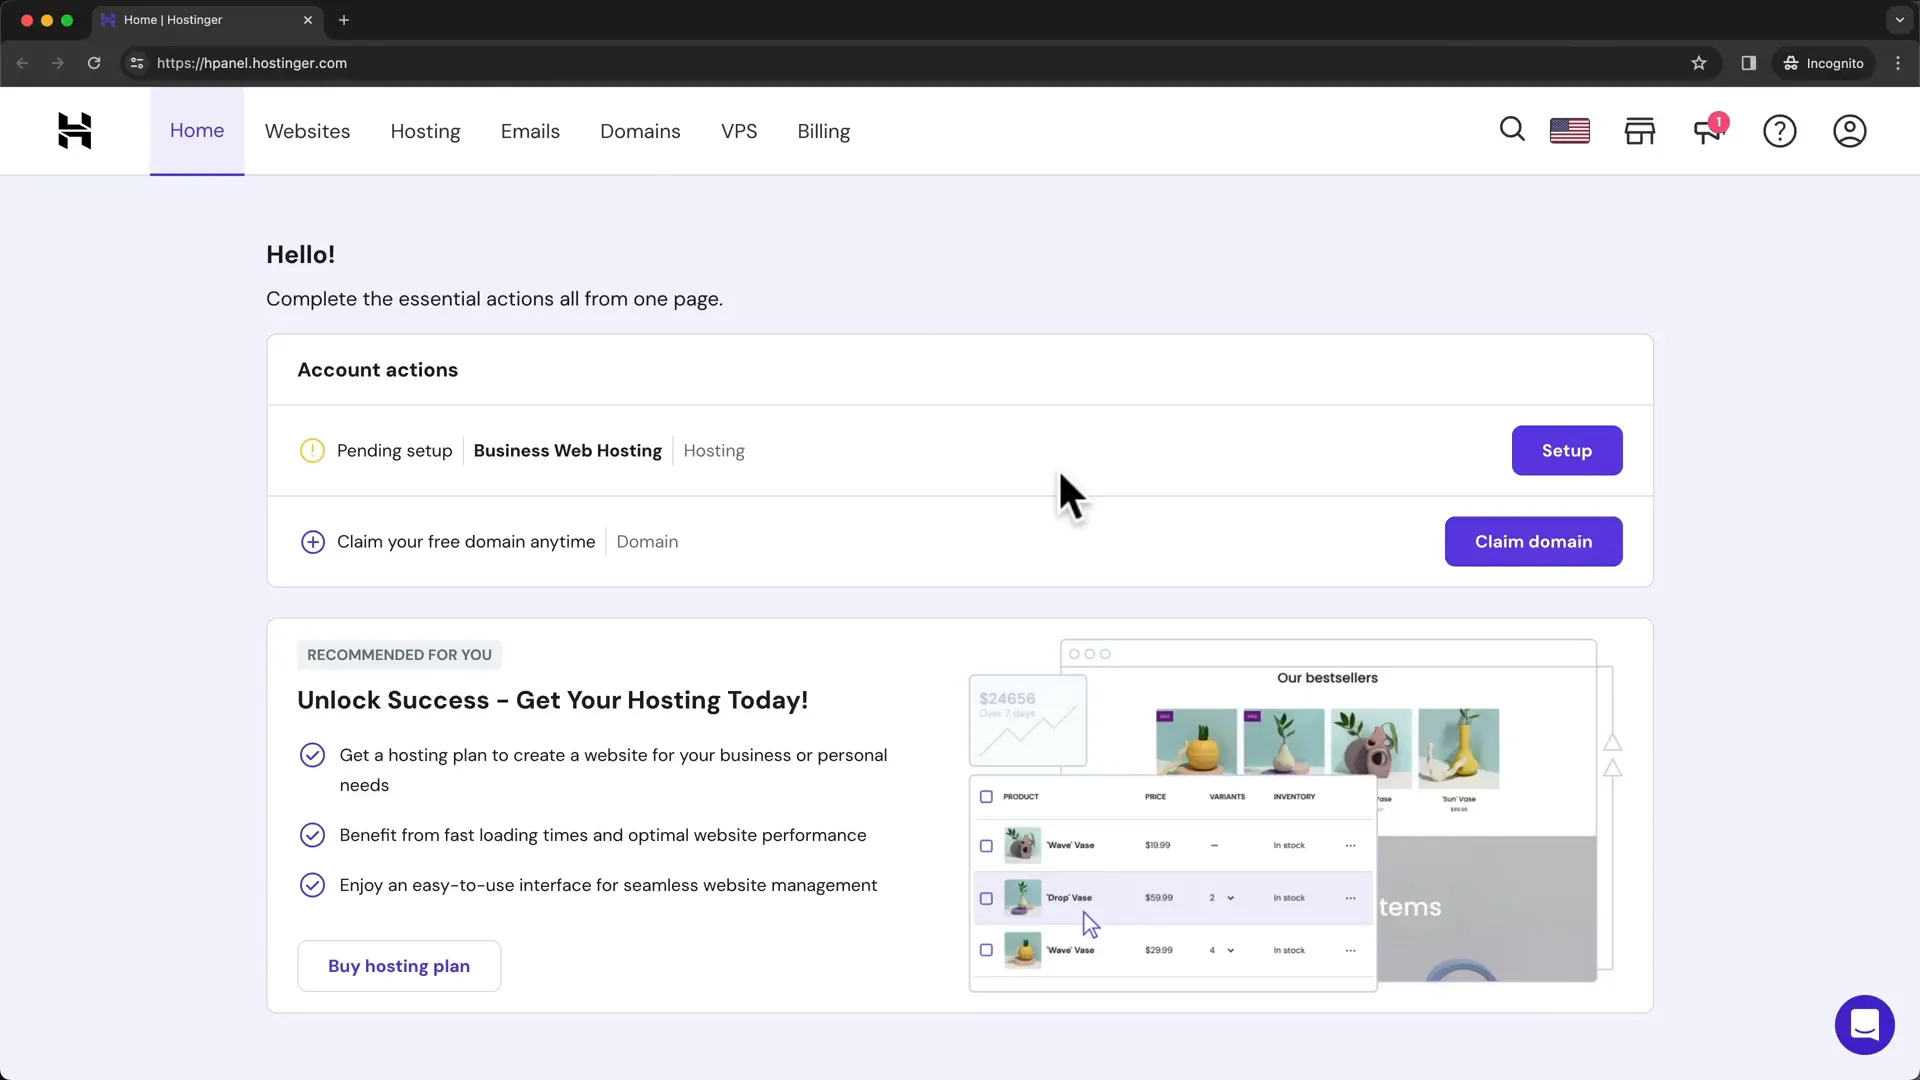
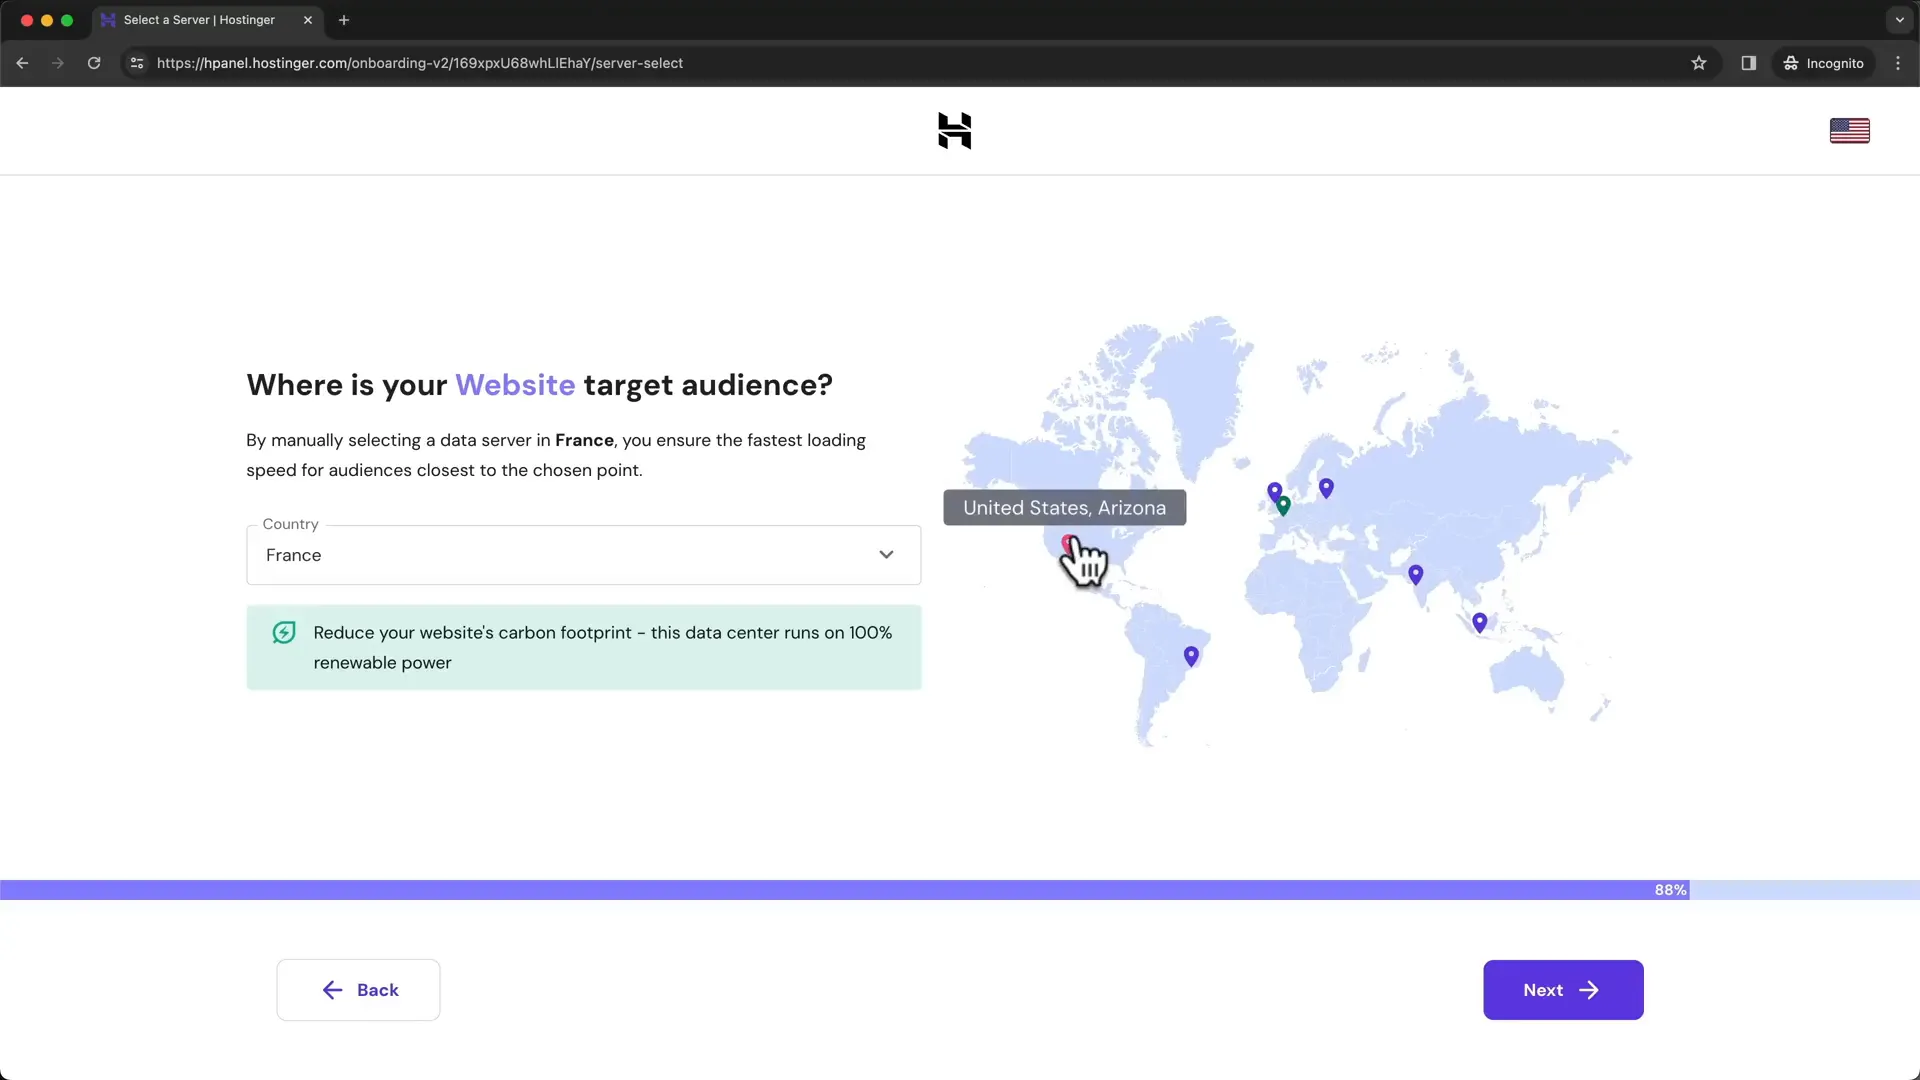
Now that you have your domain, it’s time to install WordPress. In the Hostinger dashboard, navigate to the hosting section and click on “Setup.” You can skip the initial setup questions to save time.
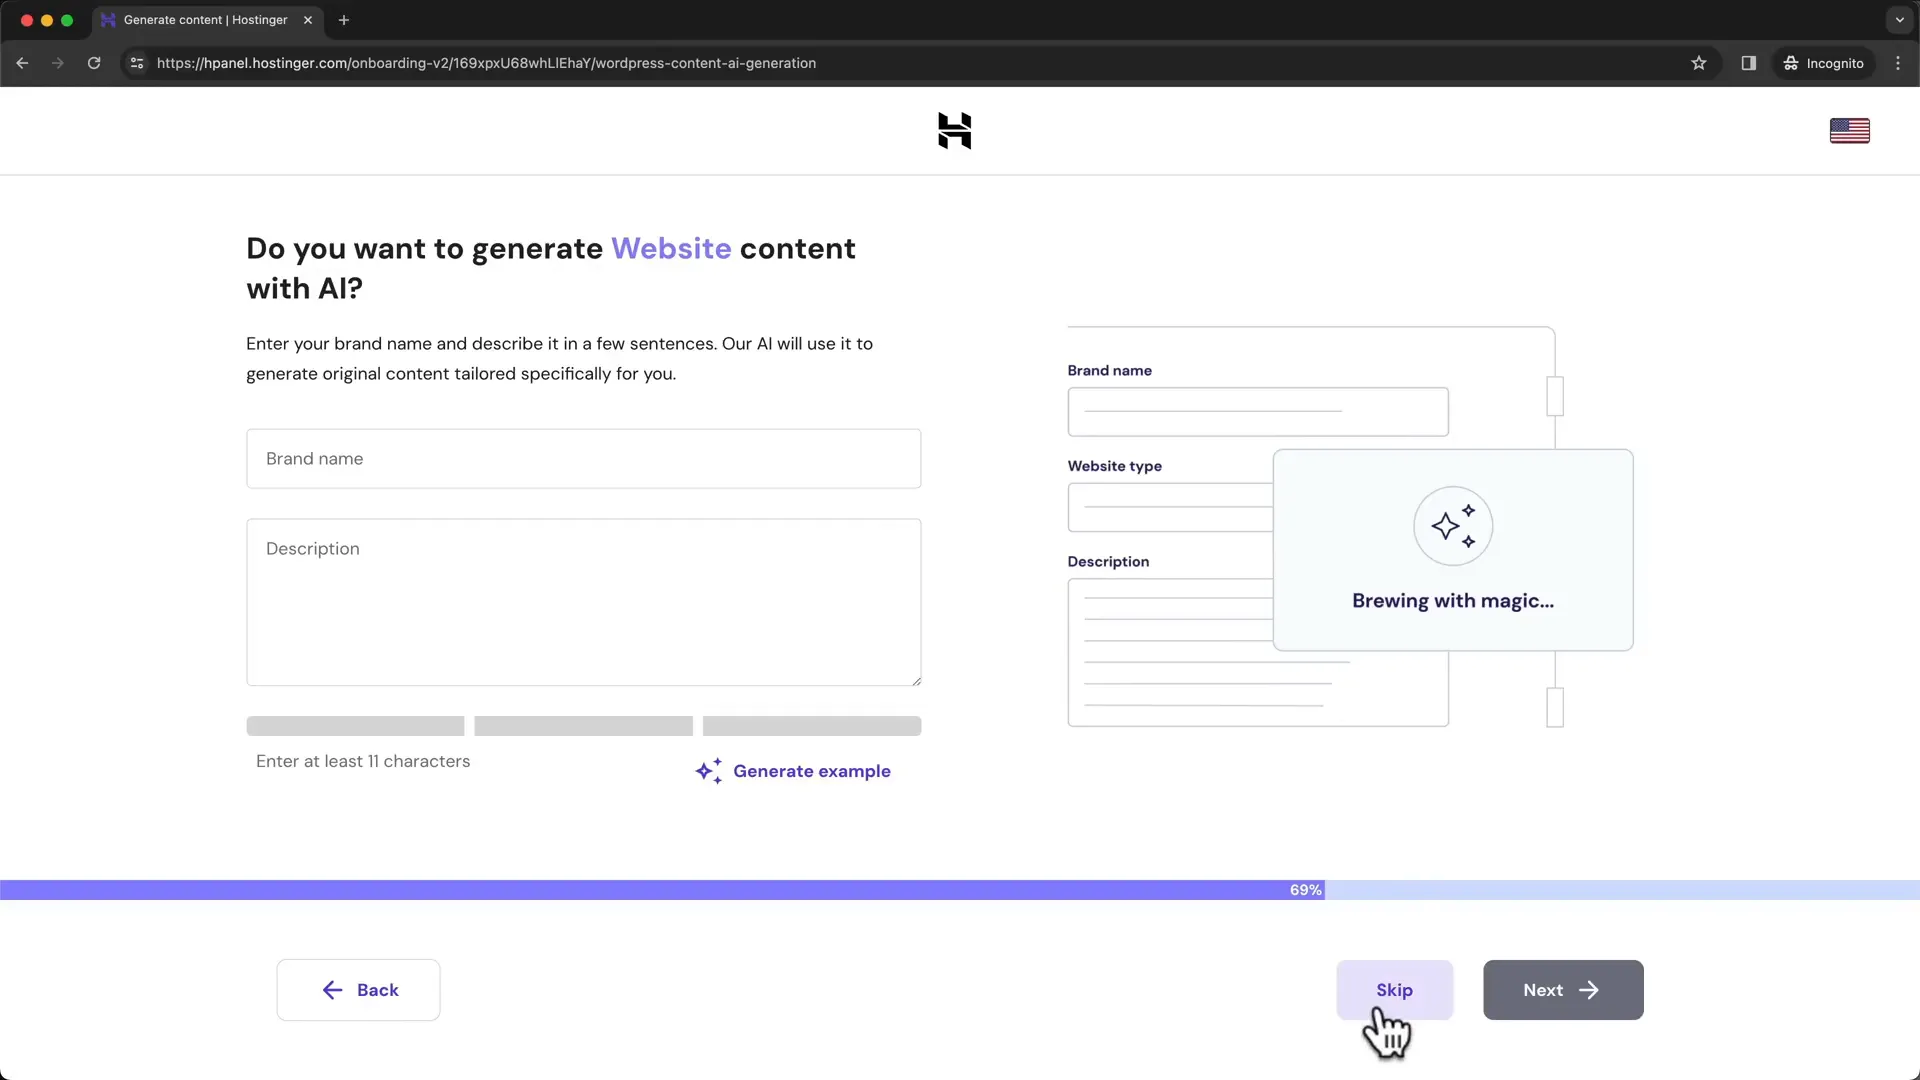
Select “WordPress with AI” as your website building option. Create your WordPress account using the same email as your Hostinger account and choose a password.
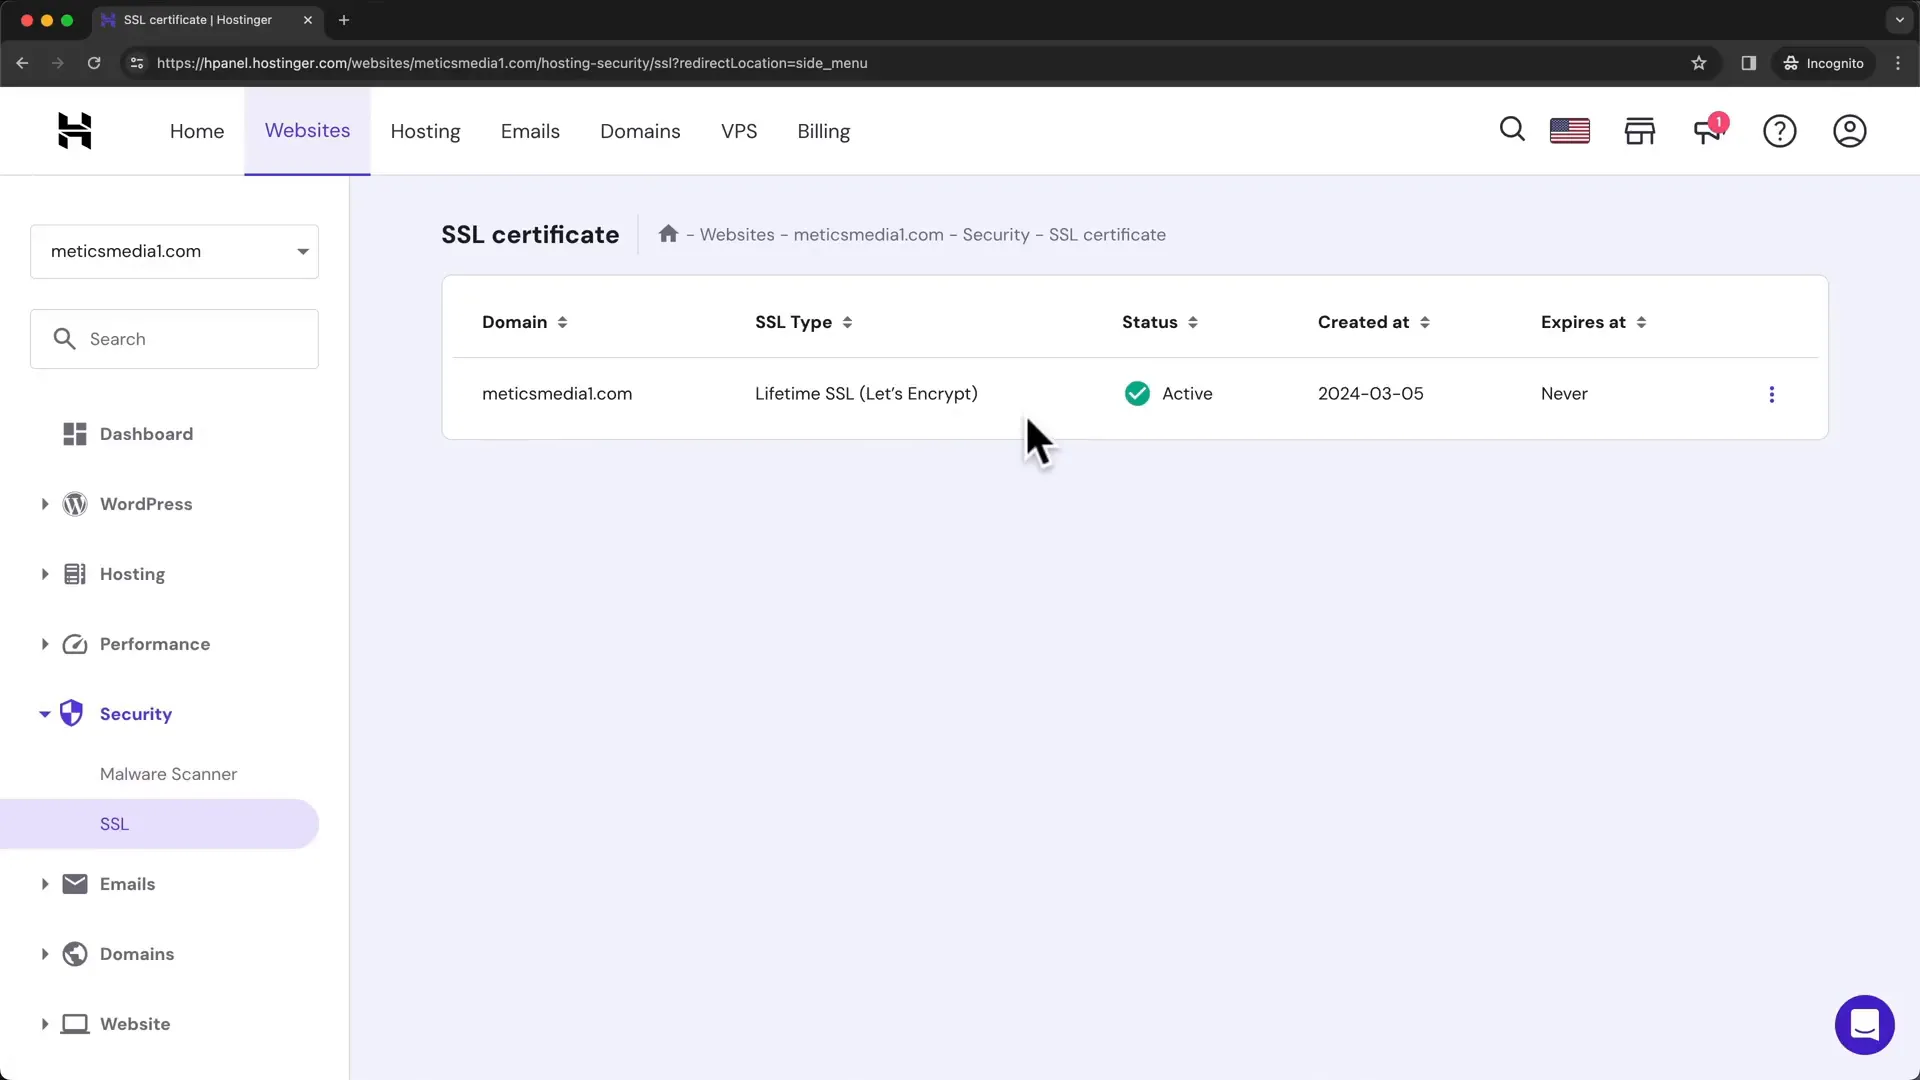
Skip the theme and plugin installation for now; you can handle those later. Once the installation is complete, check that your SSL certificate is installed, which secures your website.
Step 4: WordPress Basic Setup
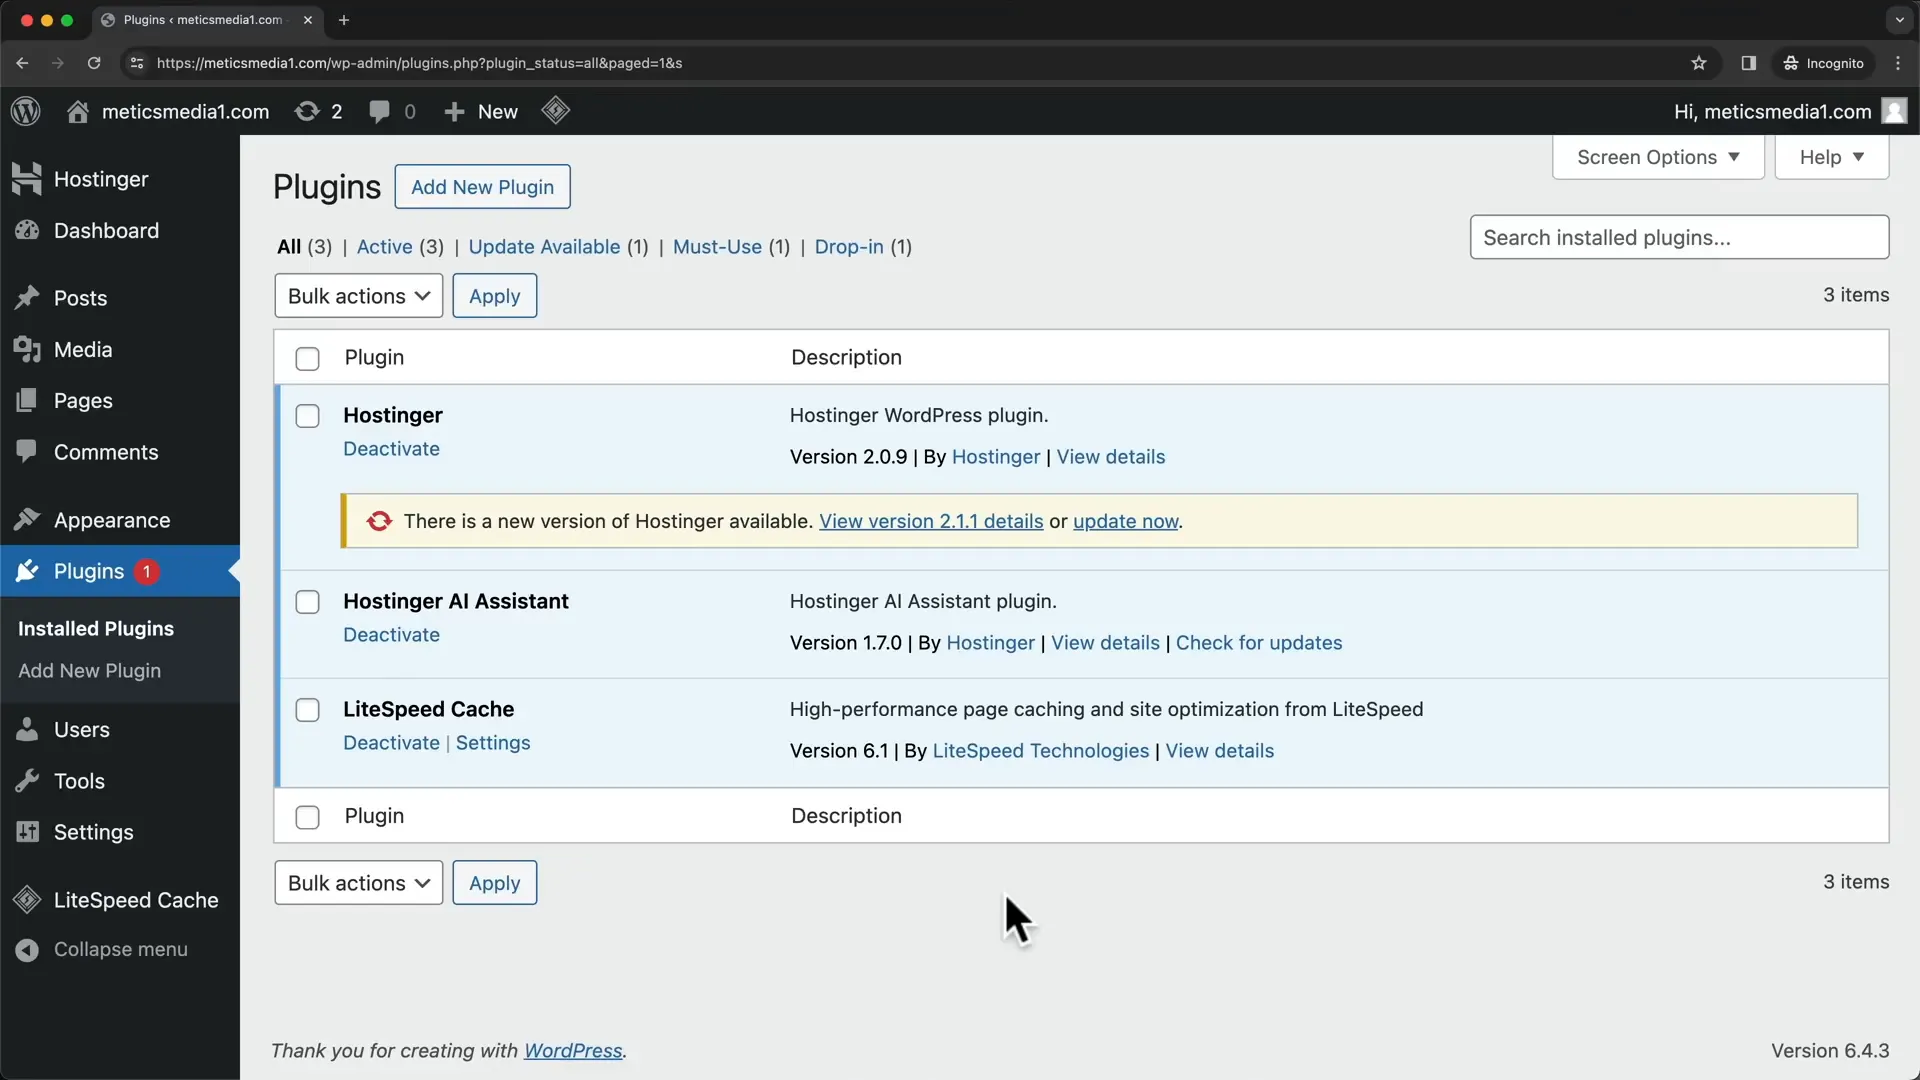
After logging into your WordPress dashboard, take a moment to familiarize yourself with the interface. Before starting to build your site, clear out any unnecessary default content, including posts and plugins.

Start by disabling and deleting any pre-installed plugins. Keep only essential plugins like Lightspeed Cache, which enhances your website’s speed.
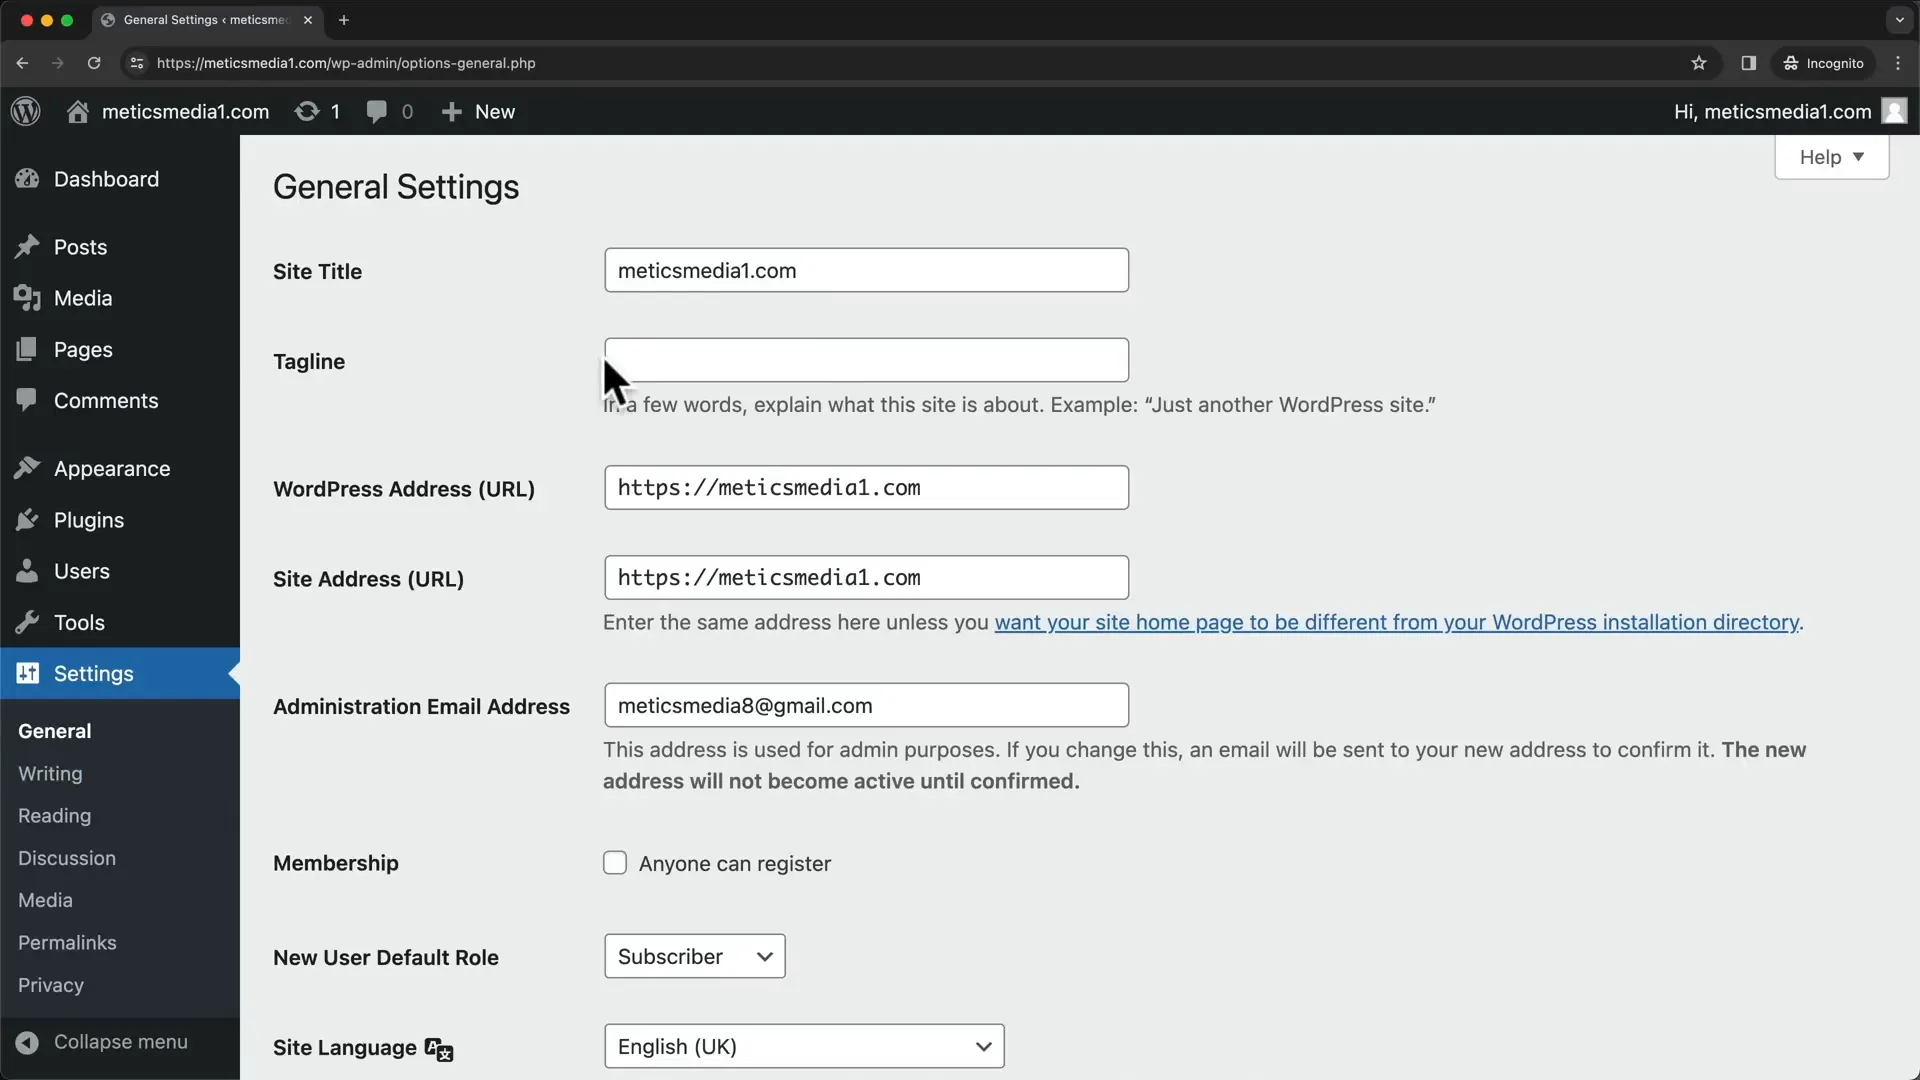
Next, adjust your site settings. Change the site title and tagline in the settings menu. This information will appear at the top of your website.
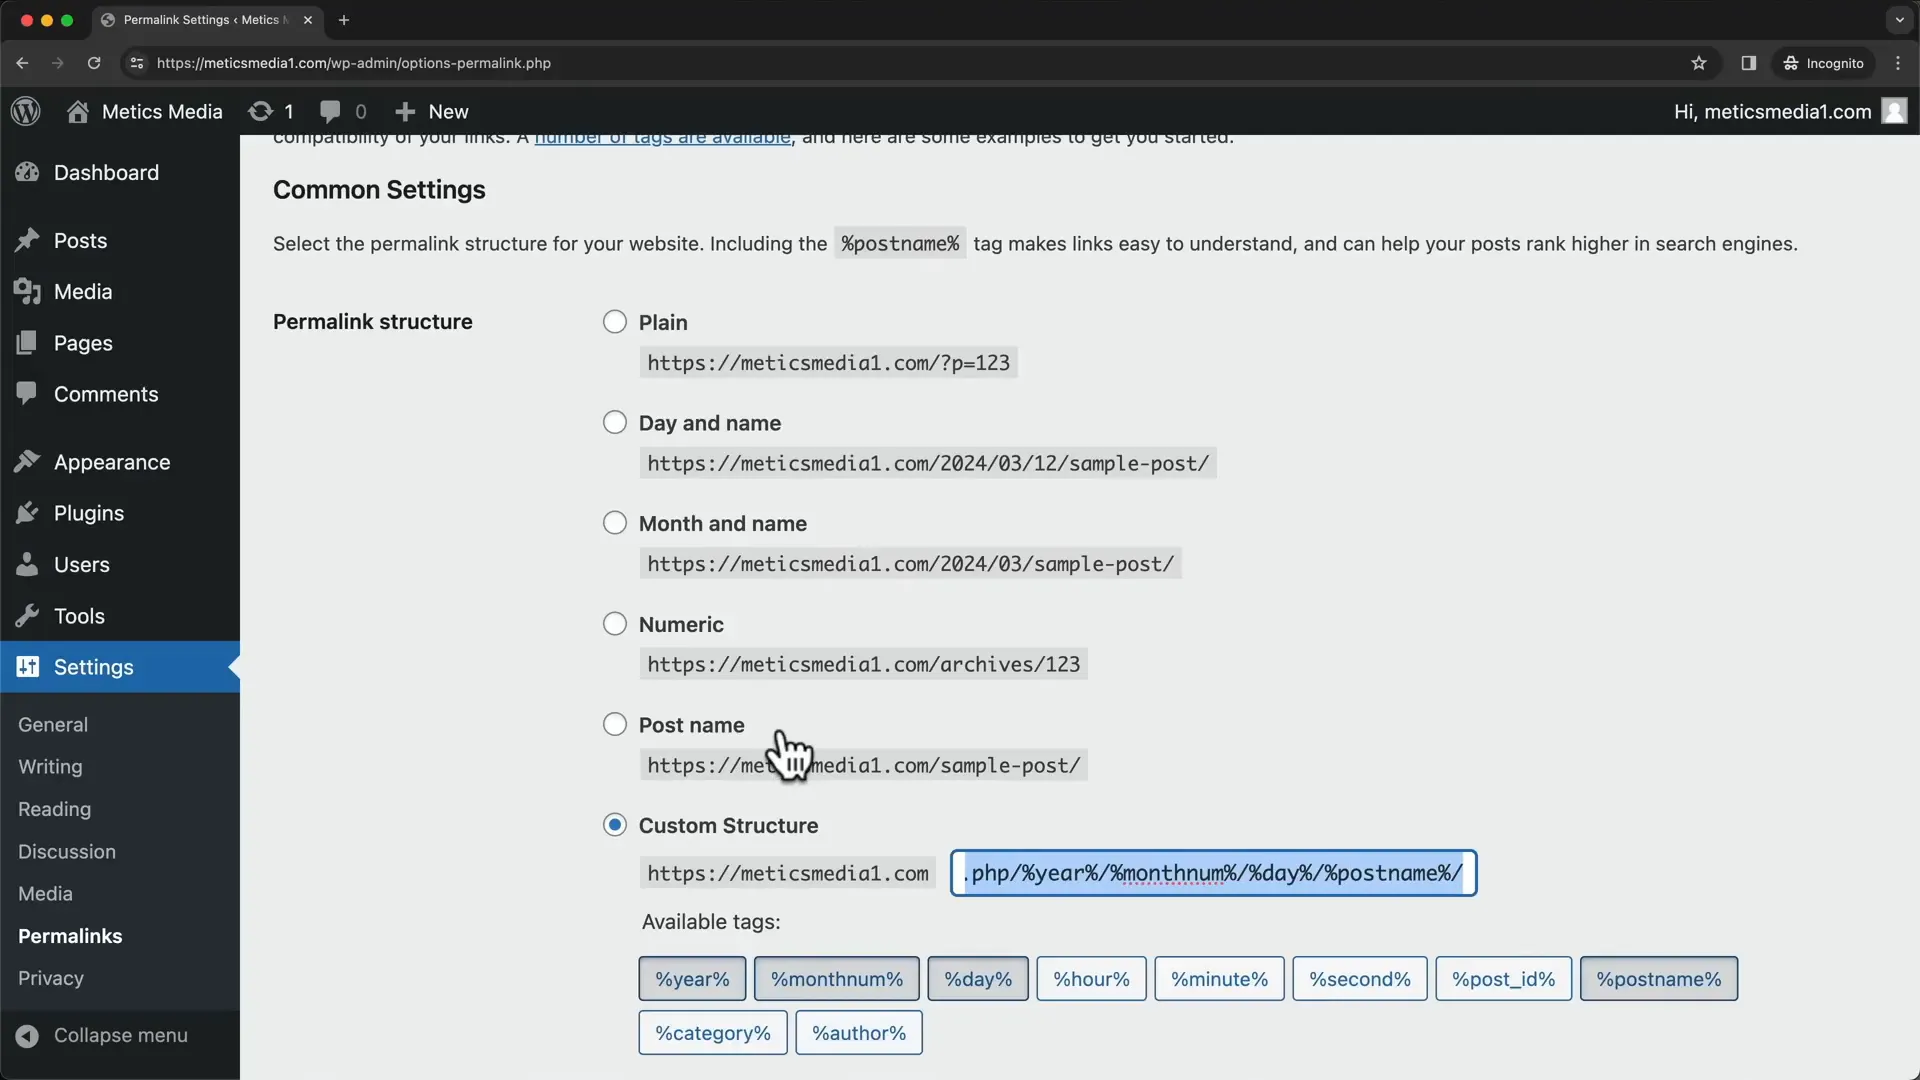
Additionally, disable comments to prevent spam, and modify your permalink structure for better SEO. Choose the “Post name” option for a cleaner URL format.
Step 5: Install Theme
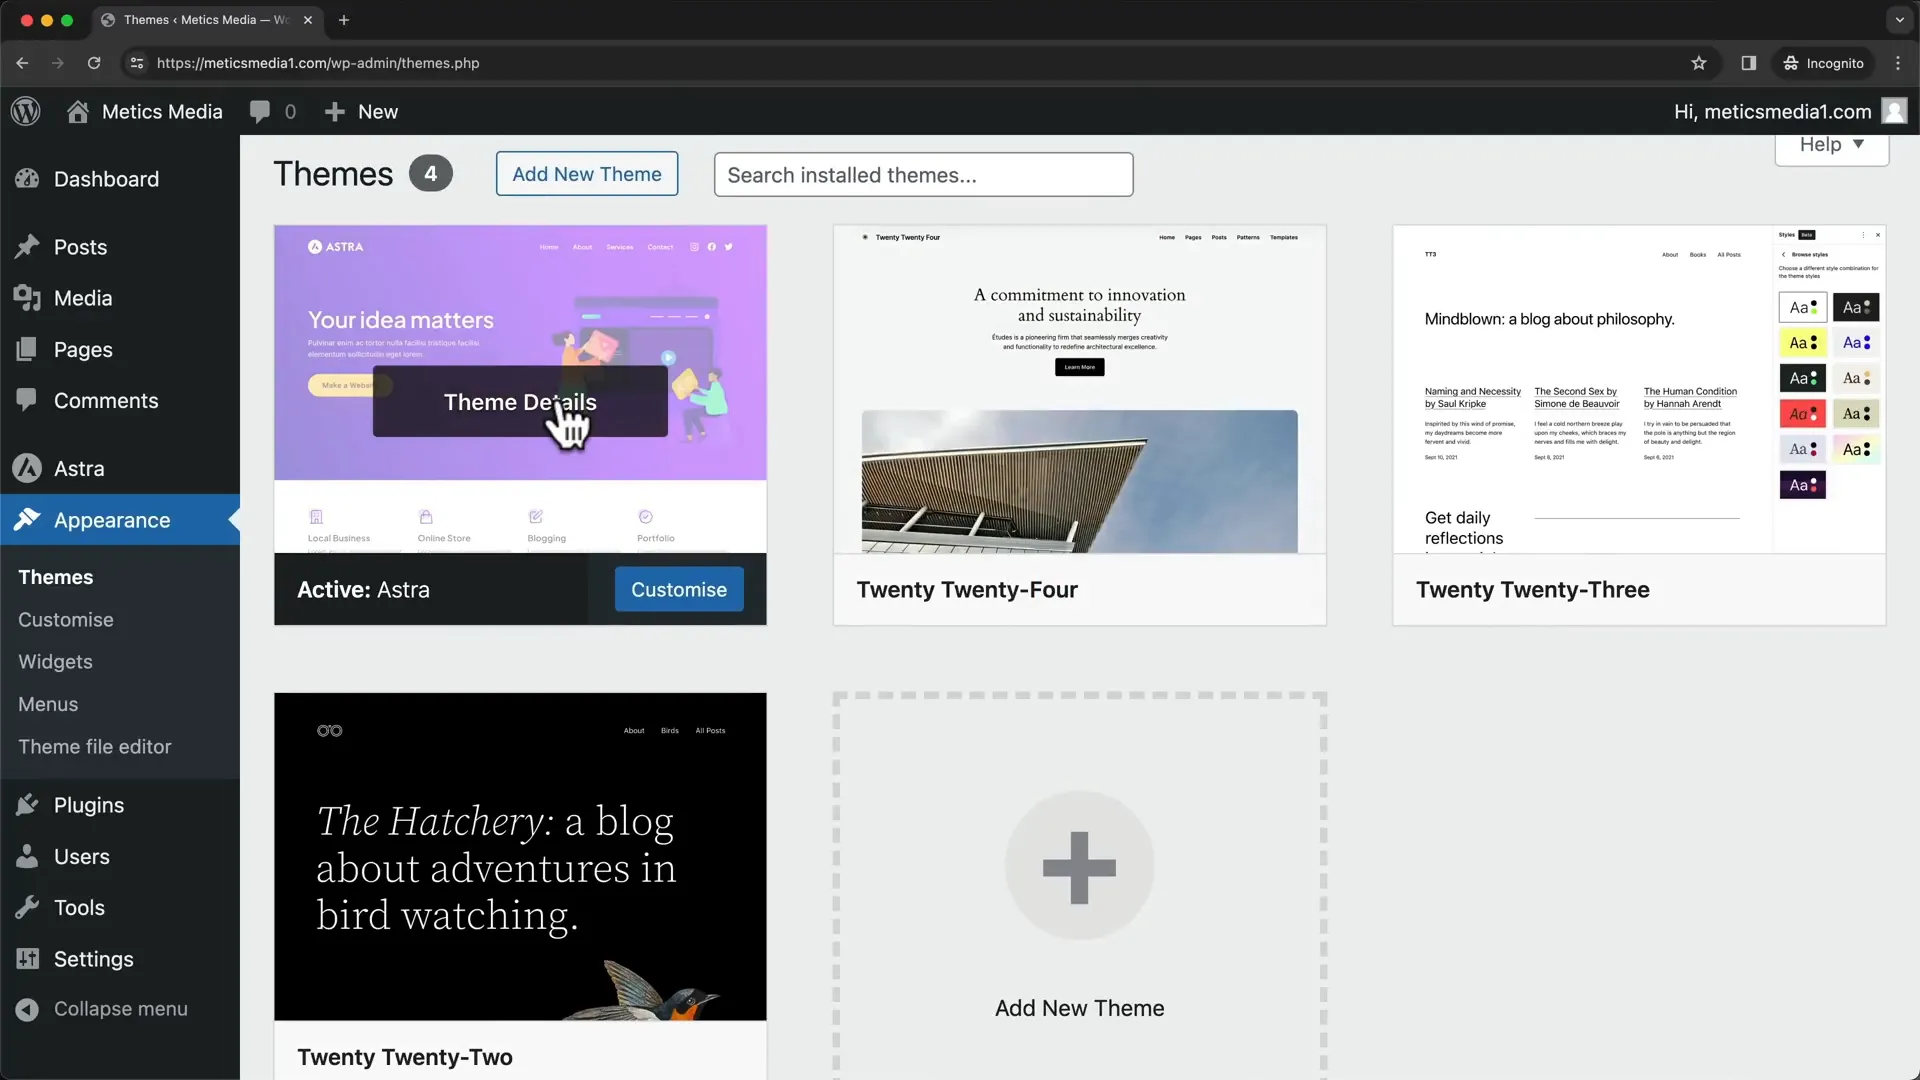
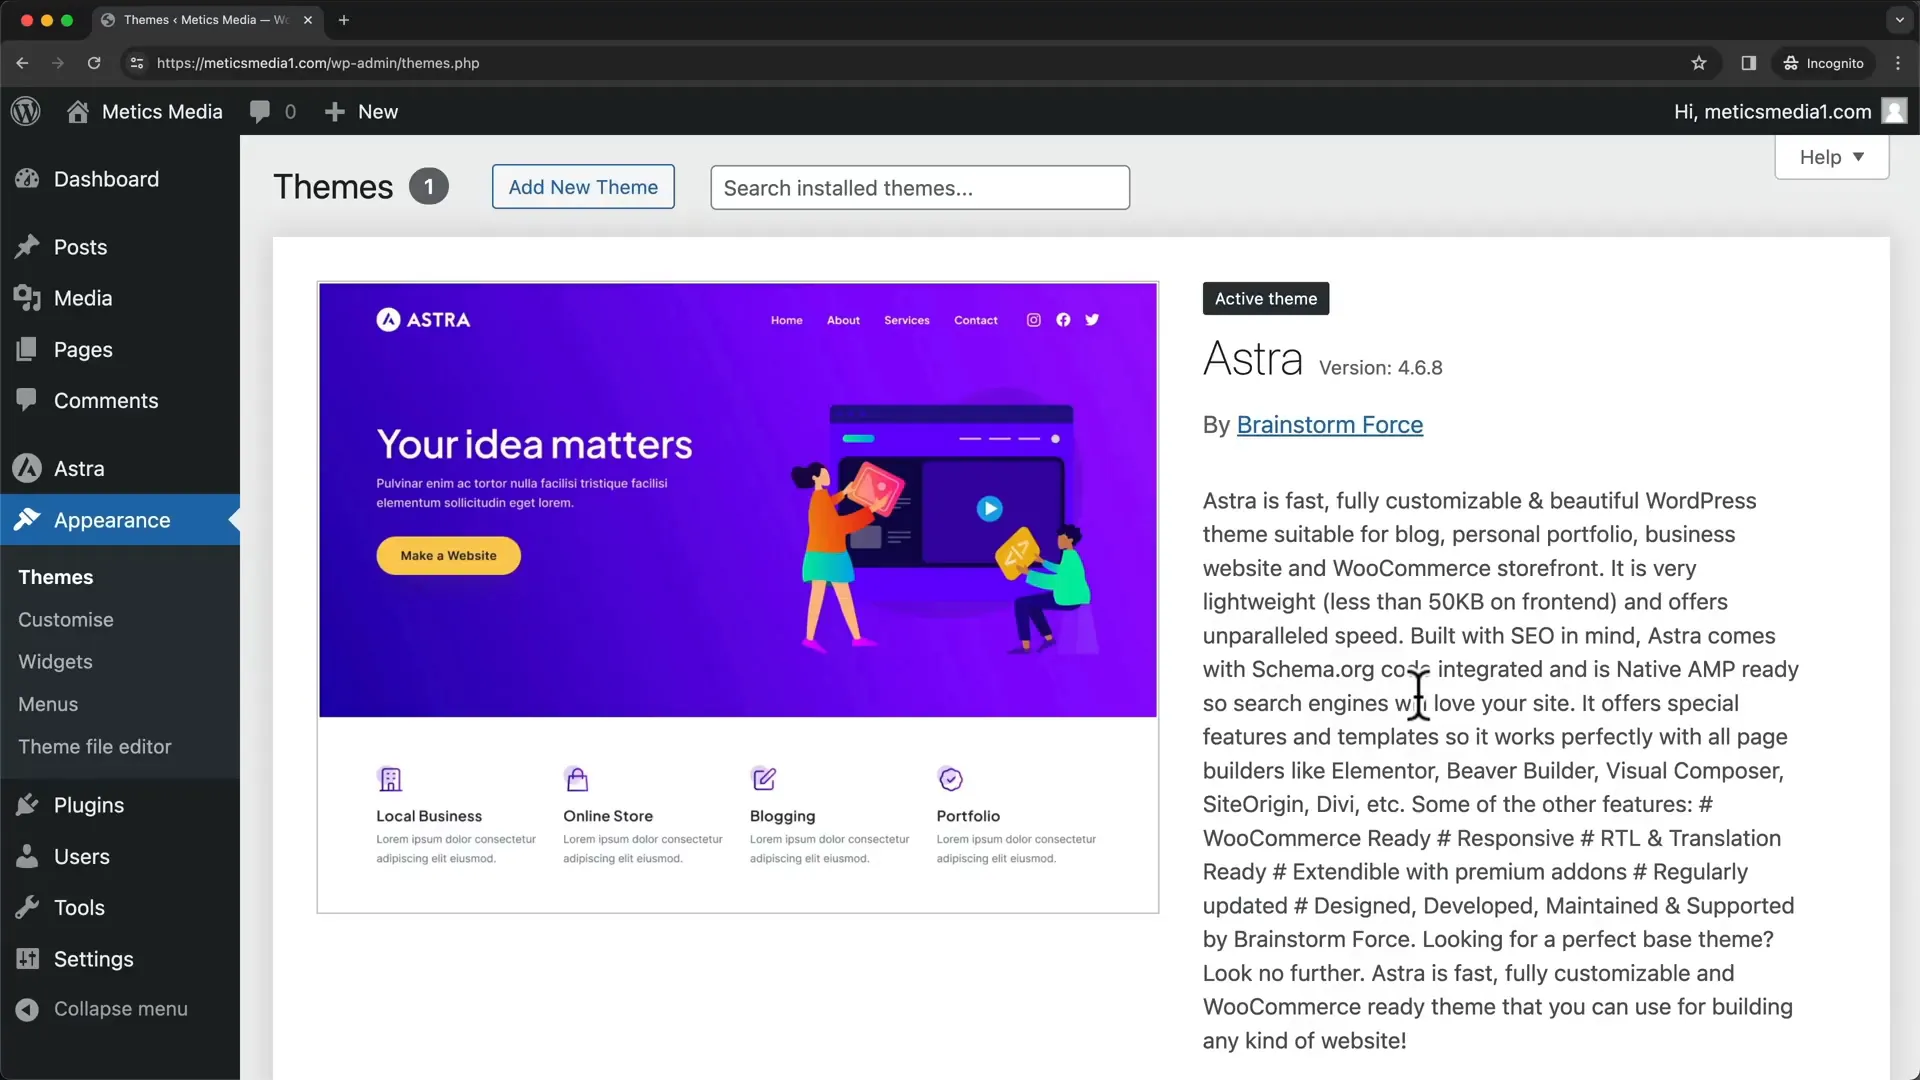
With your basic settings in place, it’s time to install a WordPress theme. Navigate to the Appearance section and search for the Astra theme, one of the most popular options available.
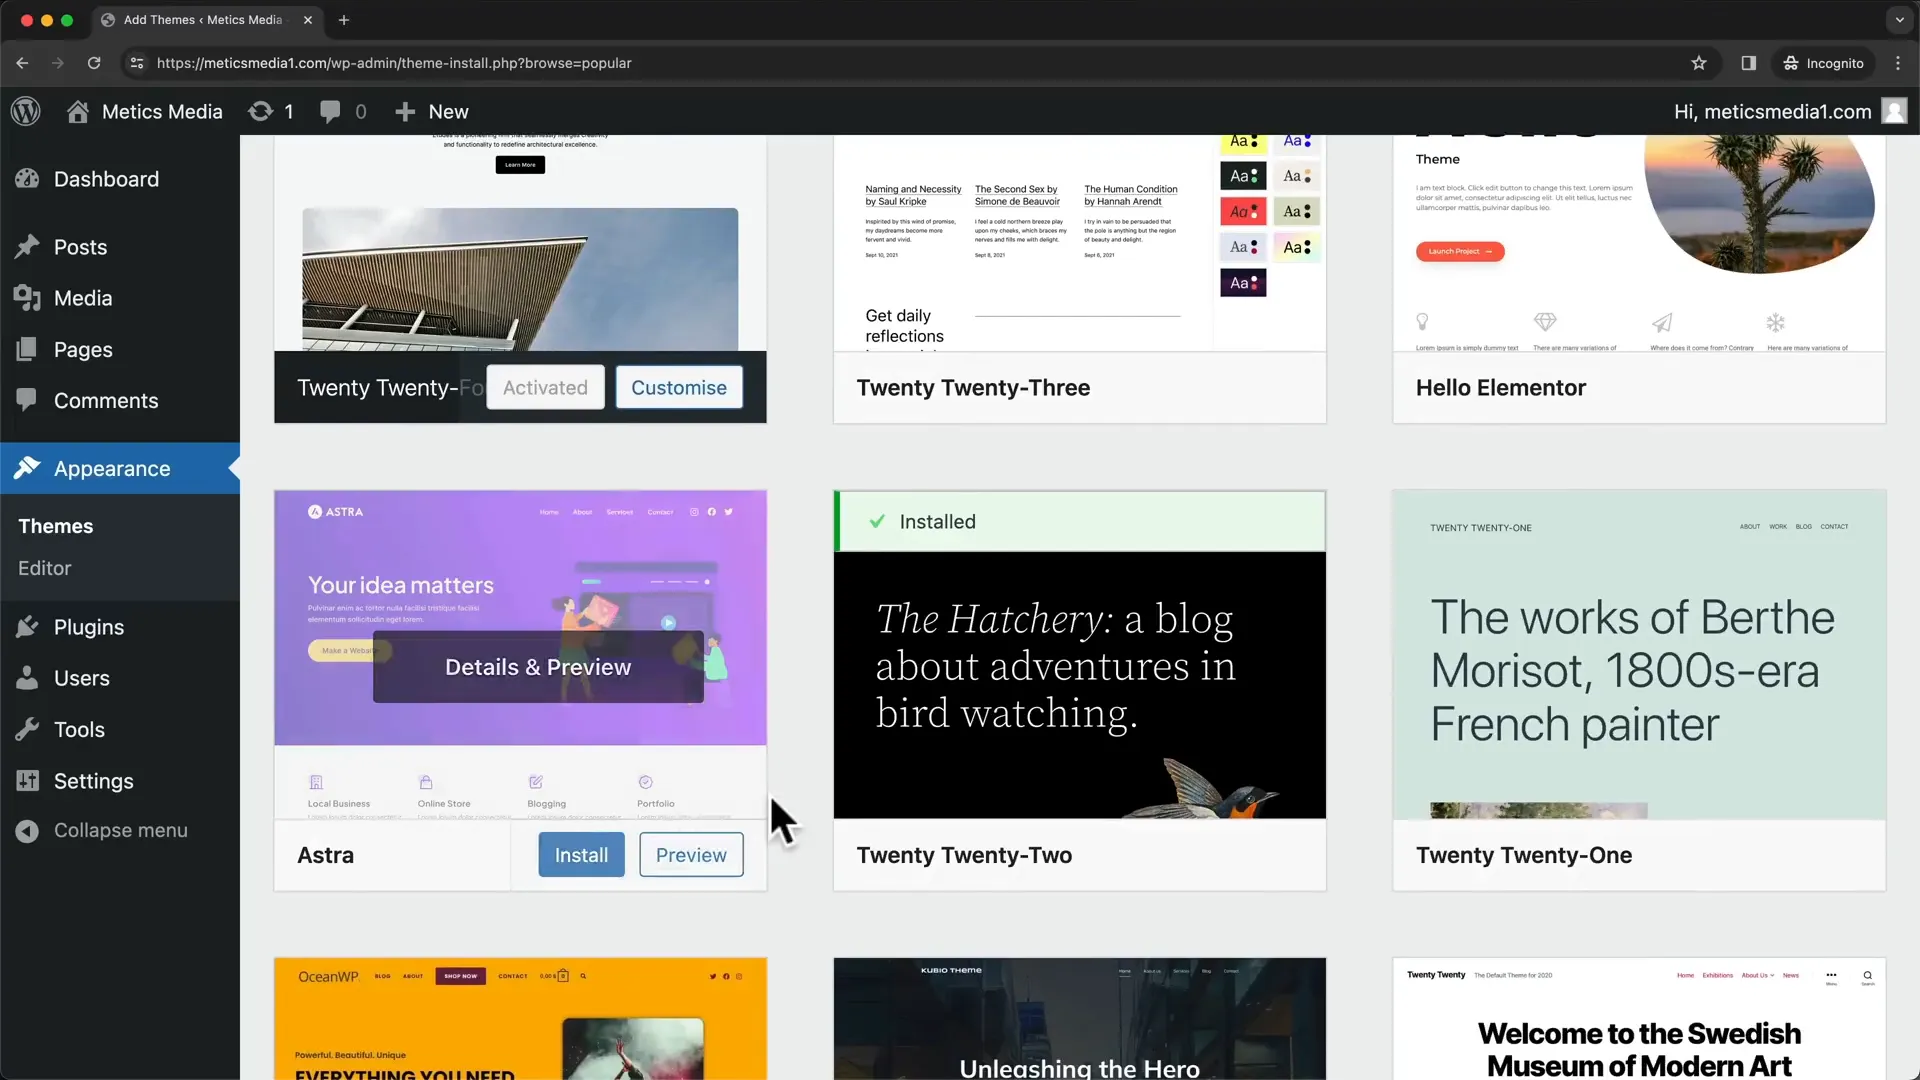
Once installed, activate the theme and delete any unnecessary default themes to keep your dashboard tidy.
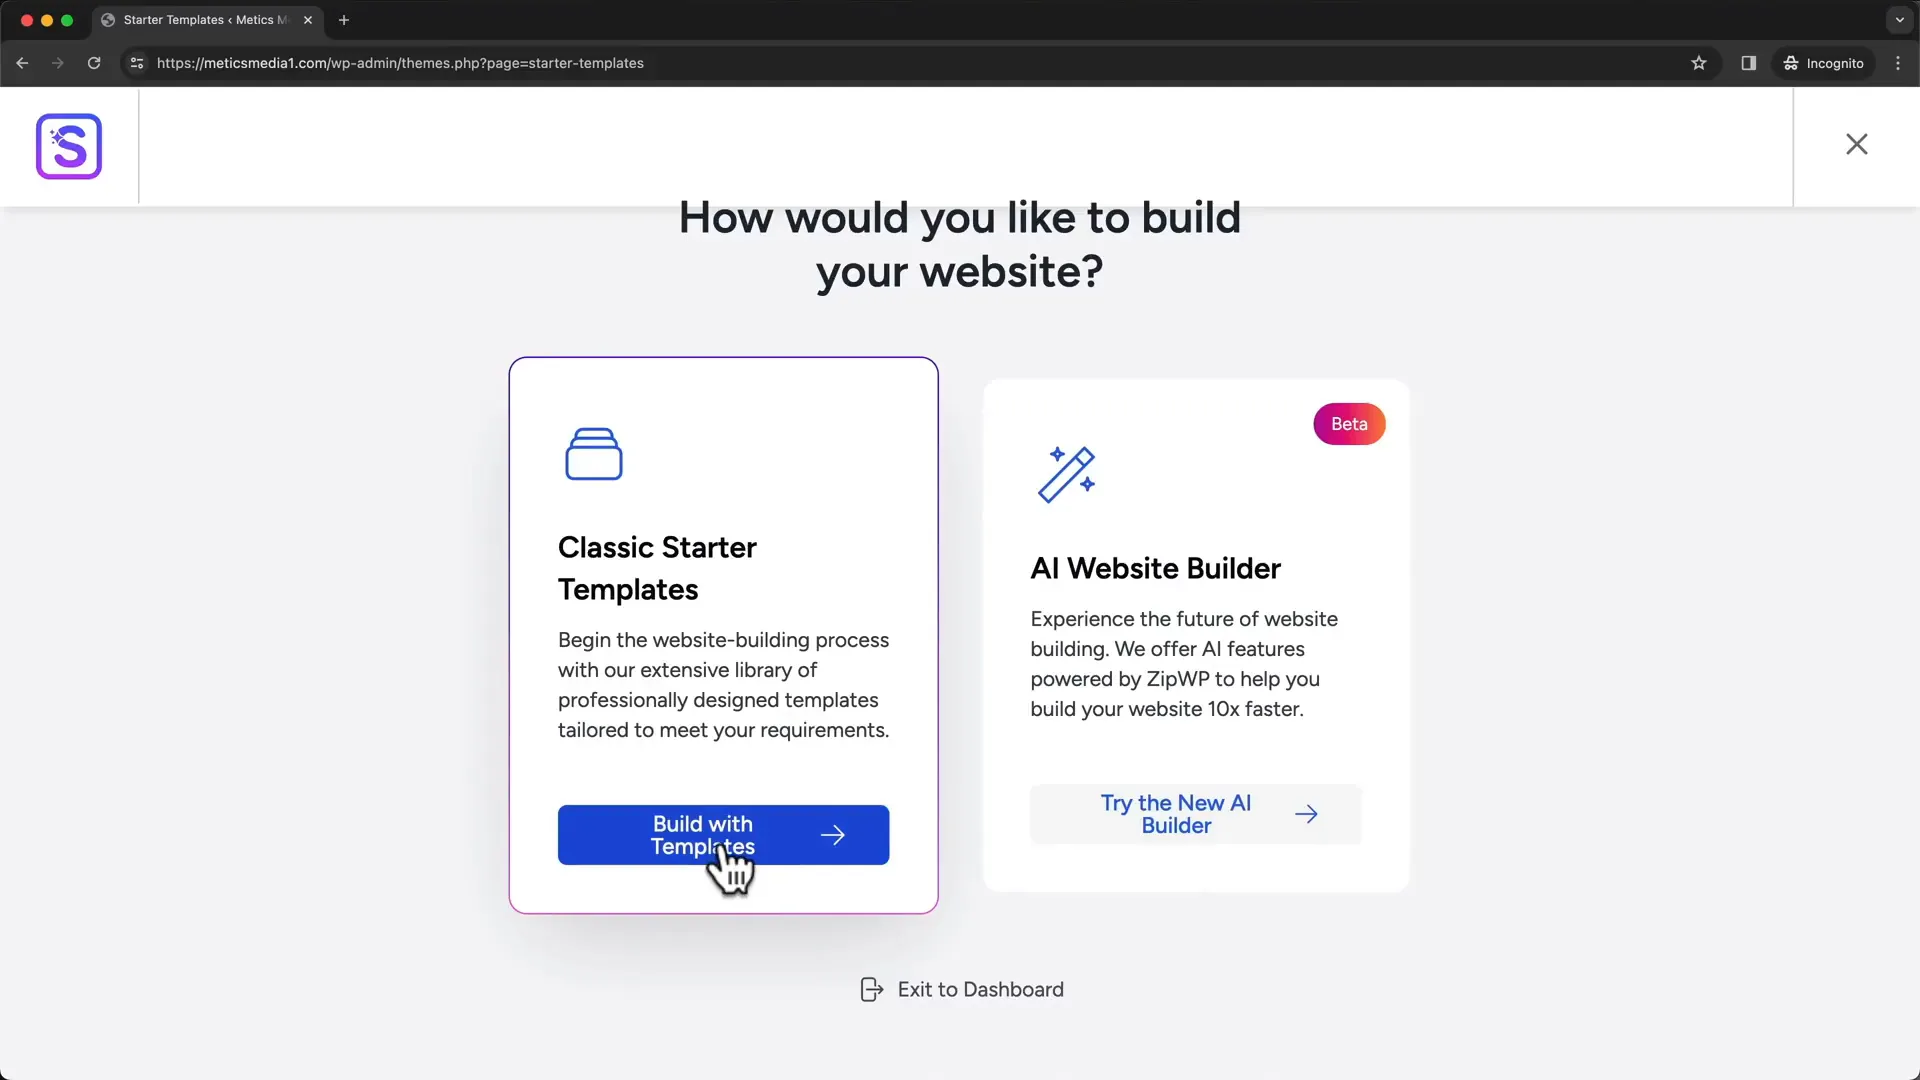
Step 6: Install Starter Templates & Elementor
To enhance your website design process, install the Starter Templates plugin, which includes pre-designed templates and the Elementor page builder. This tool allows for drag-and-drop customization.
After activation, choose Elementor as your page builder and browse the available templates. Select one that fits your vision for your website.
Step 7: Choose Template
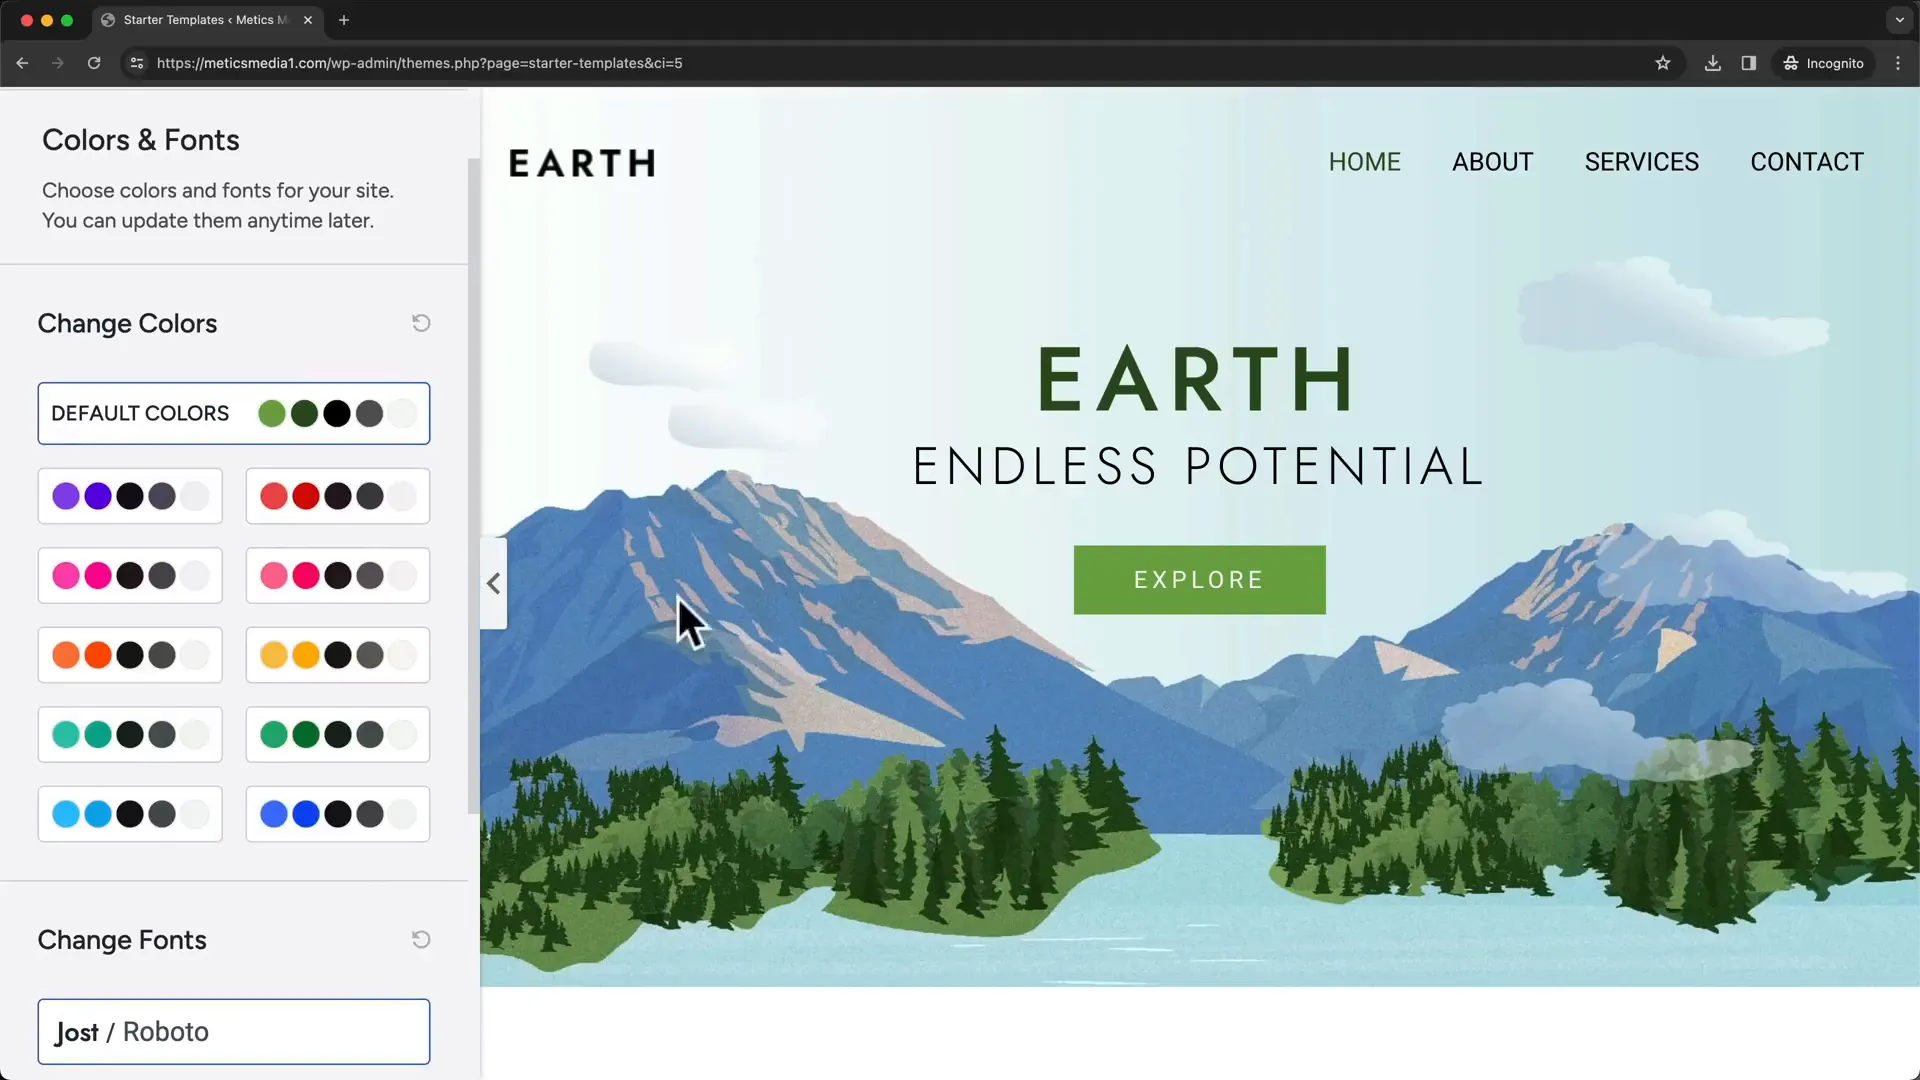
After selecting a template, you can customize the colors and fonts to match your brand. This step helps create a cohesive look across your website.
Step 8: Page Builder (Elementor)
With your template in place, you can start using Elementor to customize your pages. Click on “Edit with Elementor” to begin making changes to your homepage.
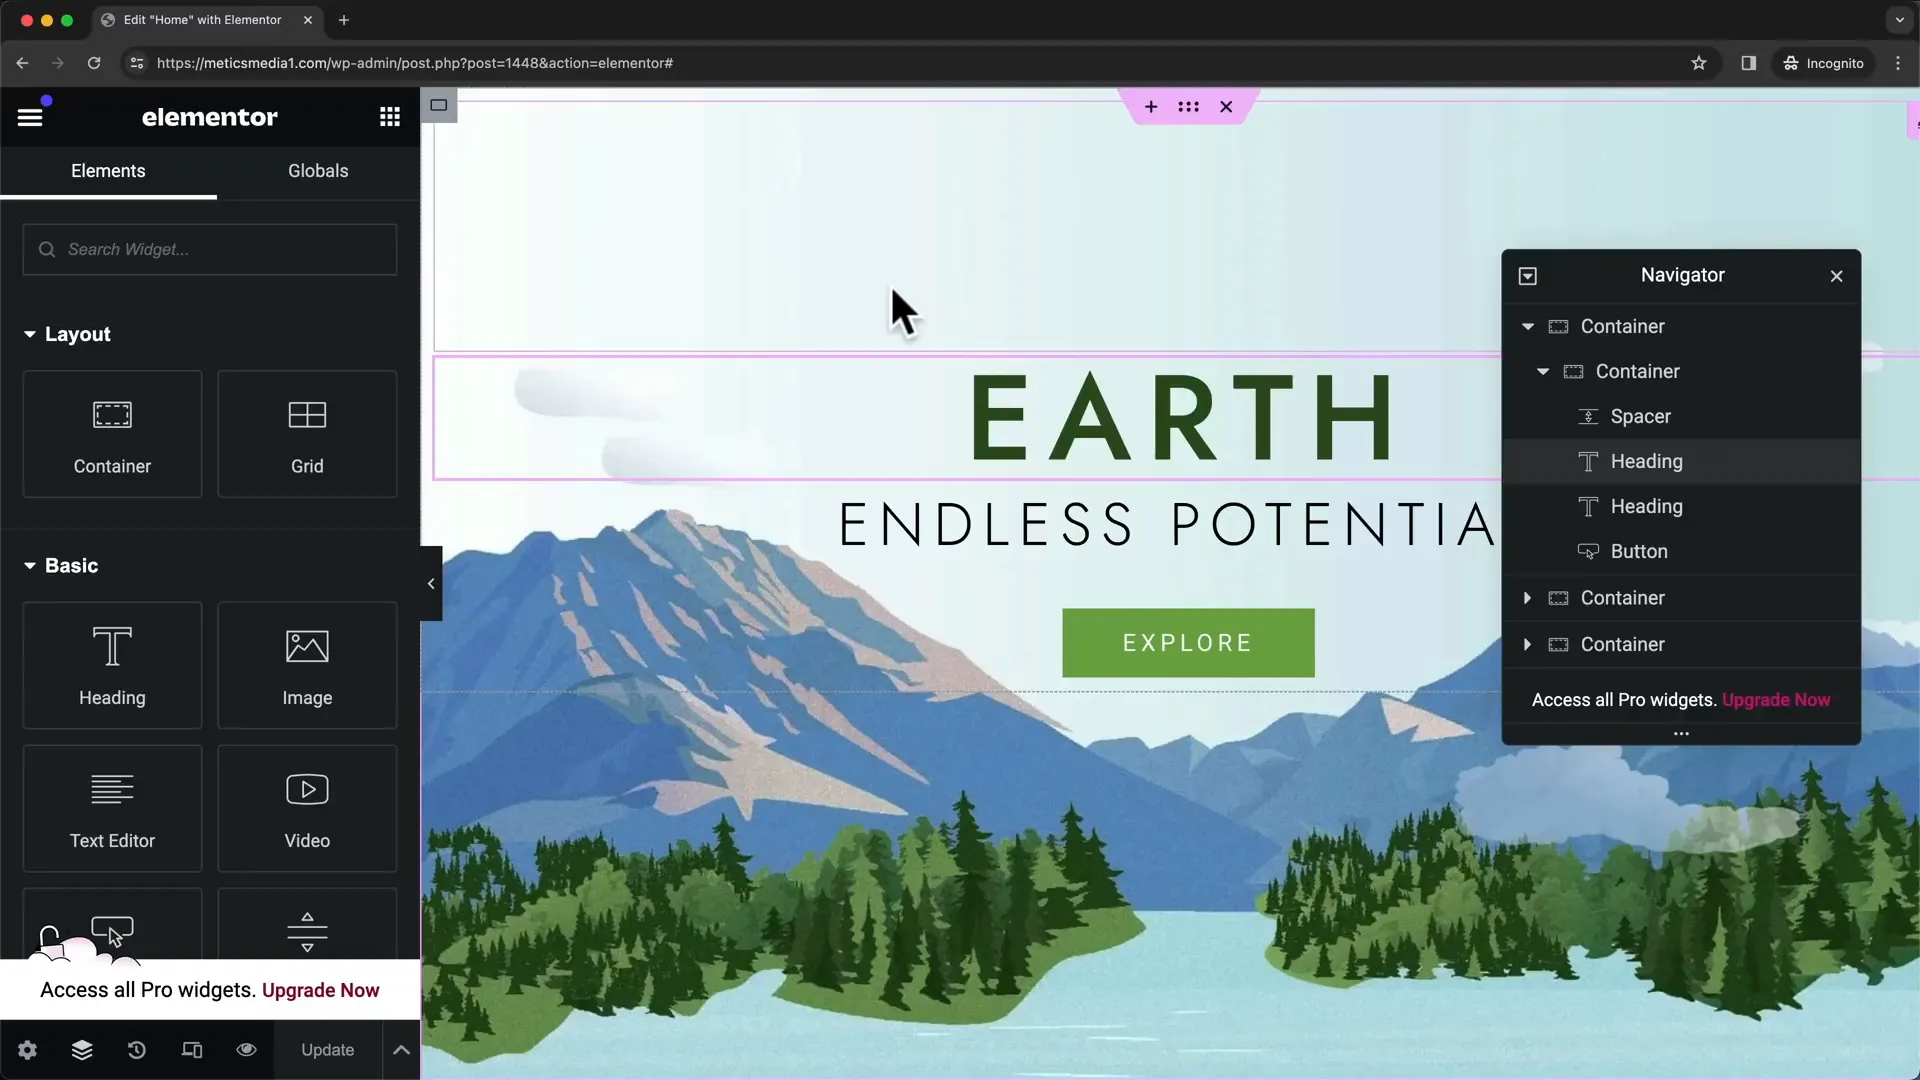
Step 9: Containers & Elements
Understand the structure of your pages in Elementor. Each page is built using containers, which hold elements like text, images, and buttons. Utilize the navigator tool to manage these components effectively.
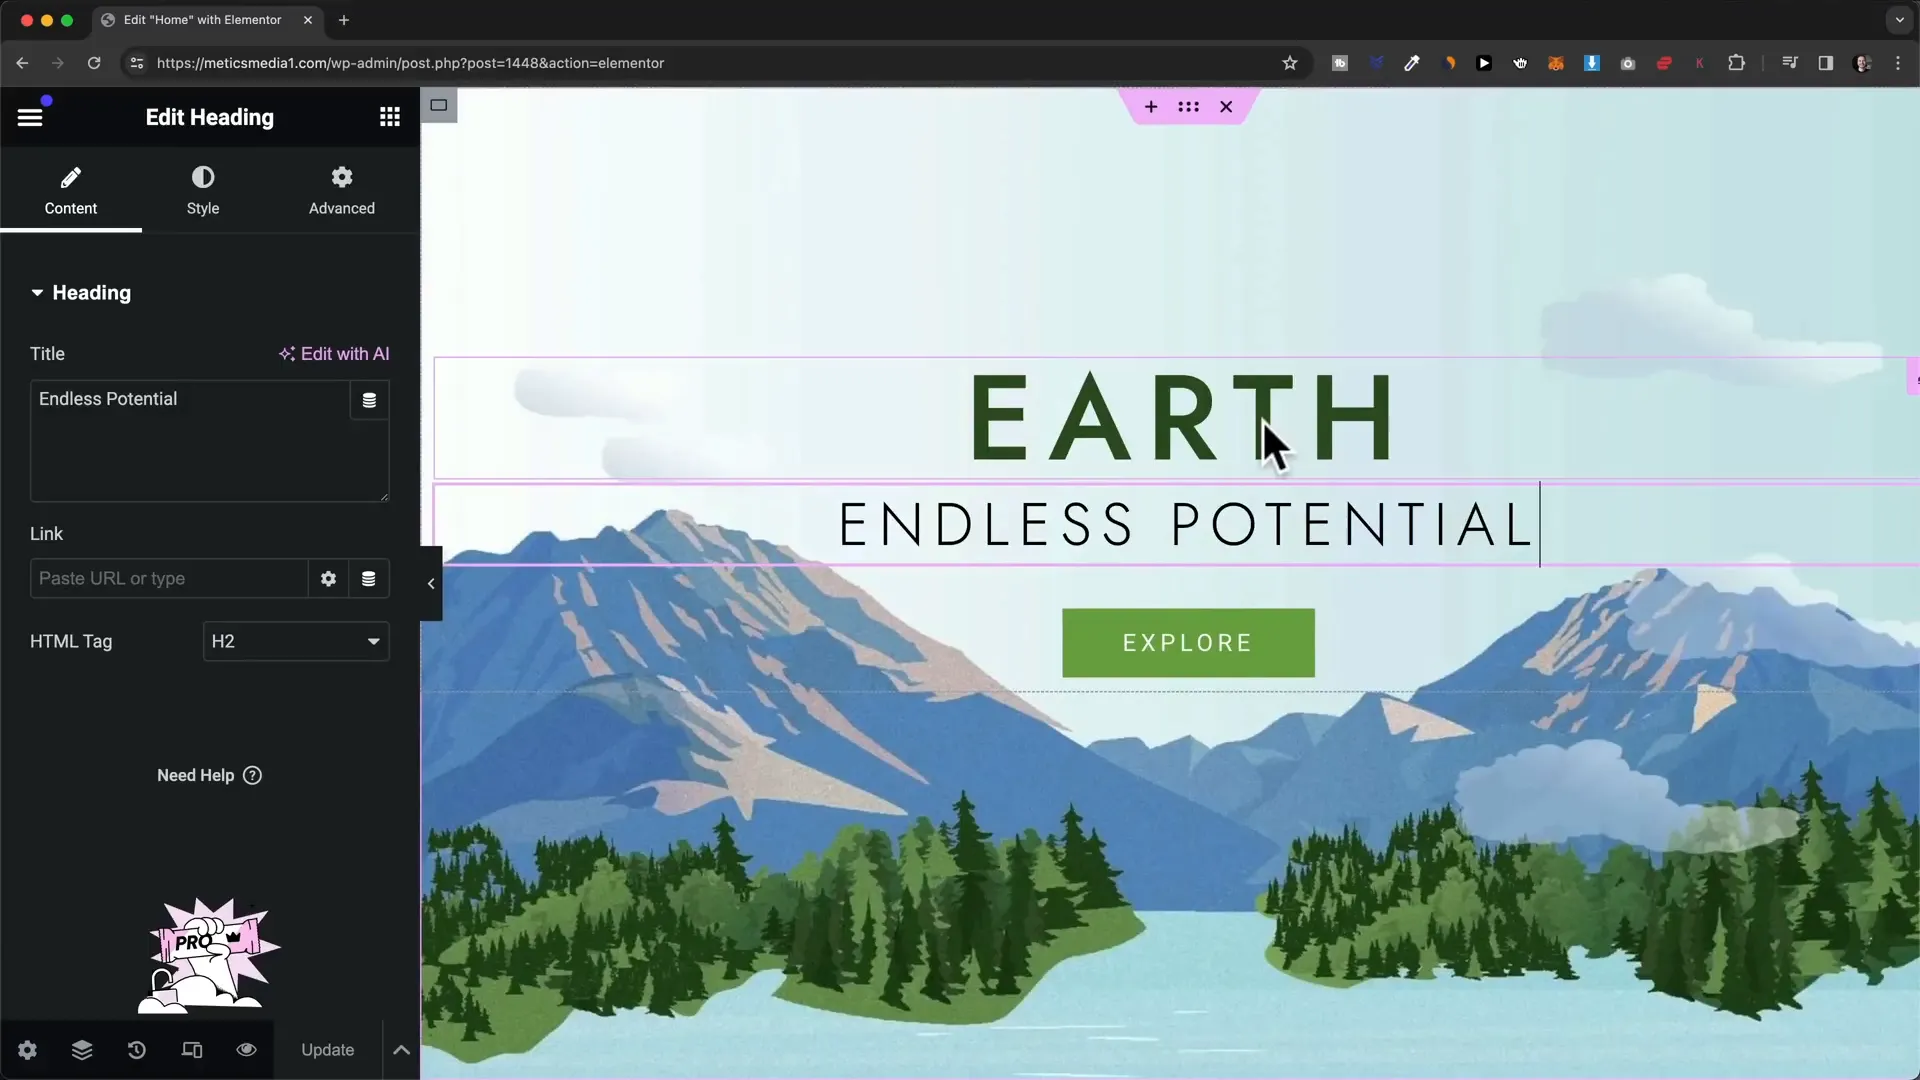
Step 10: Text
To edit text elements, click on them and use the left panel to adjust content, style, and advanced settings. This allows you to change typography, alignment, and color.
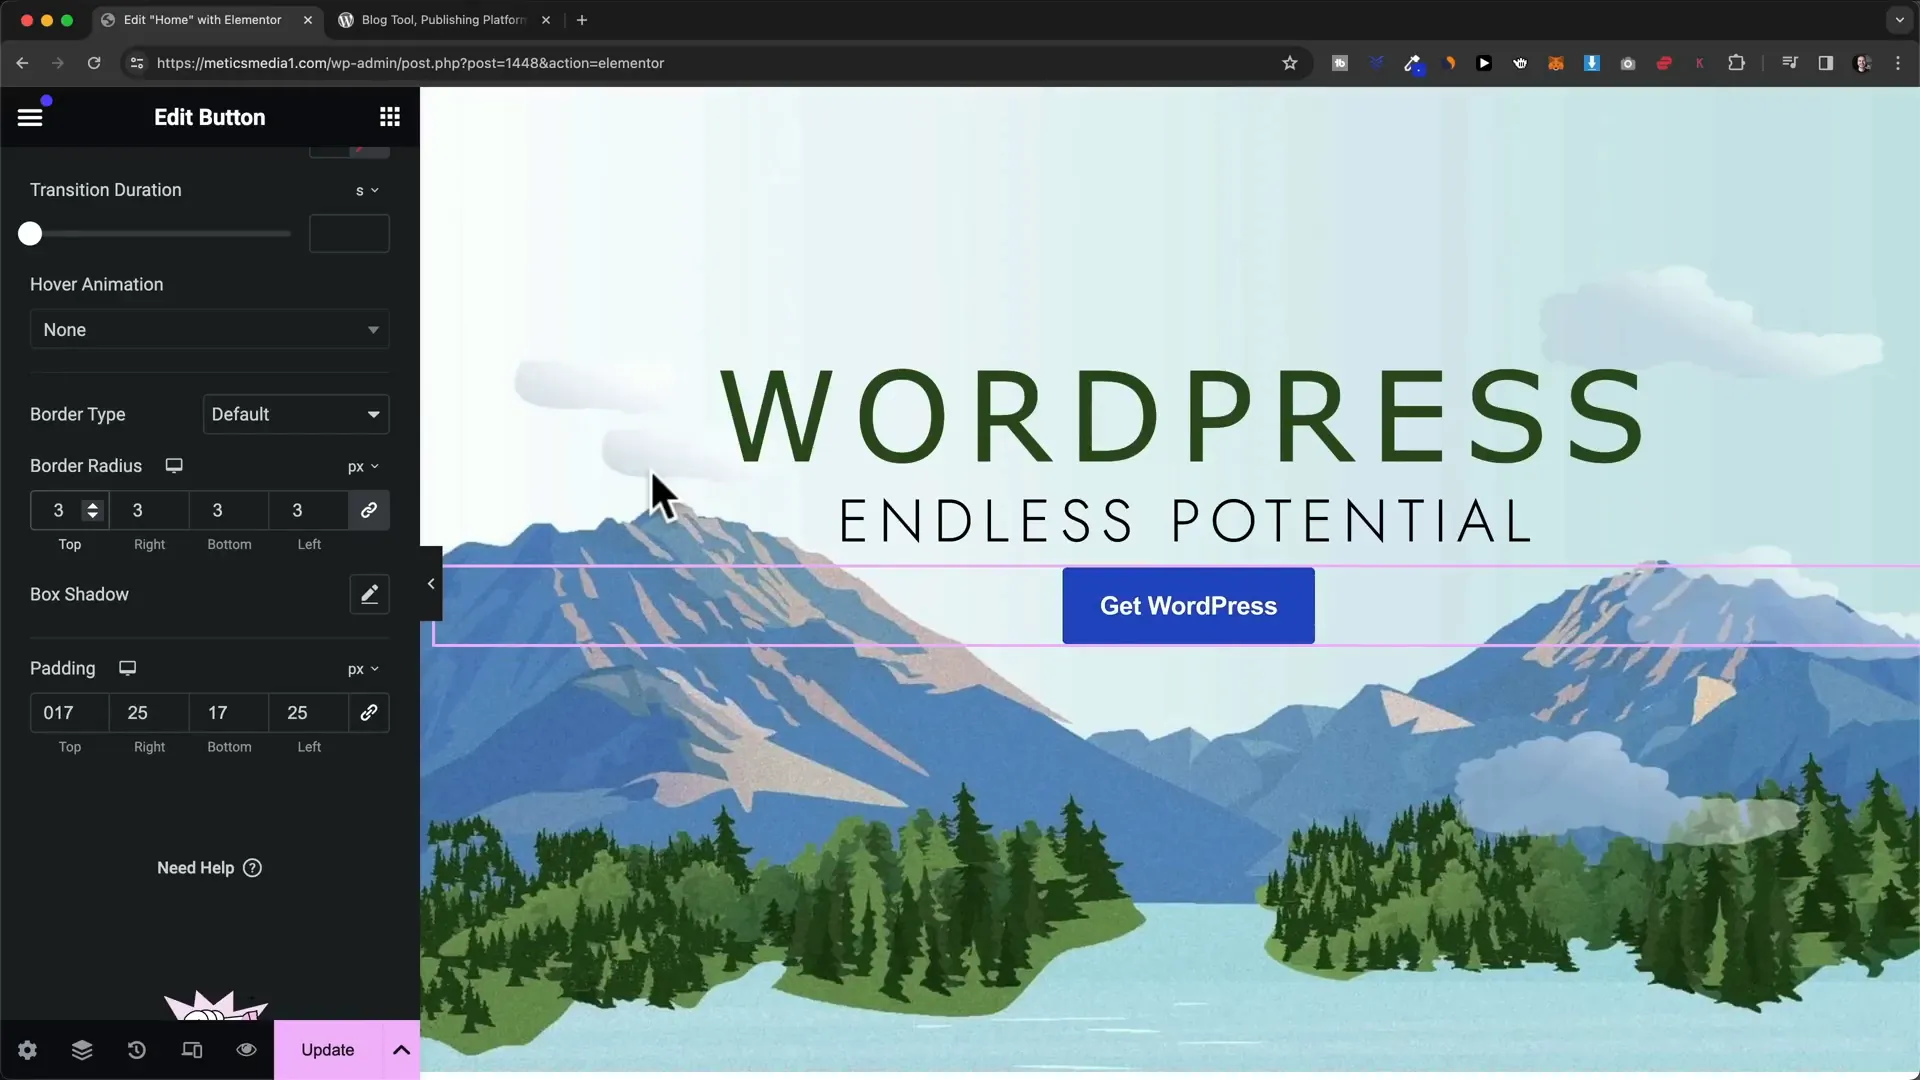
Step 11: Buttons
Add buttons to your website by dragging the button element into your layout. Style it to match your site’s aesthetics and ensure it links to the appropriate pages.
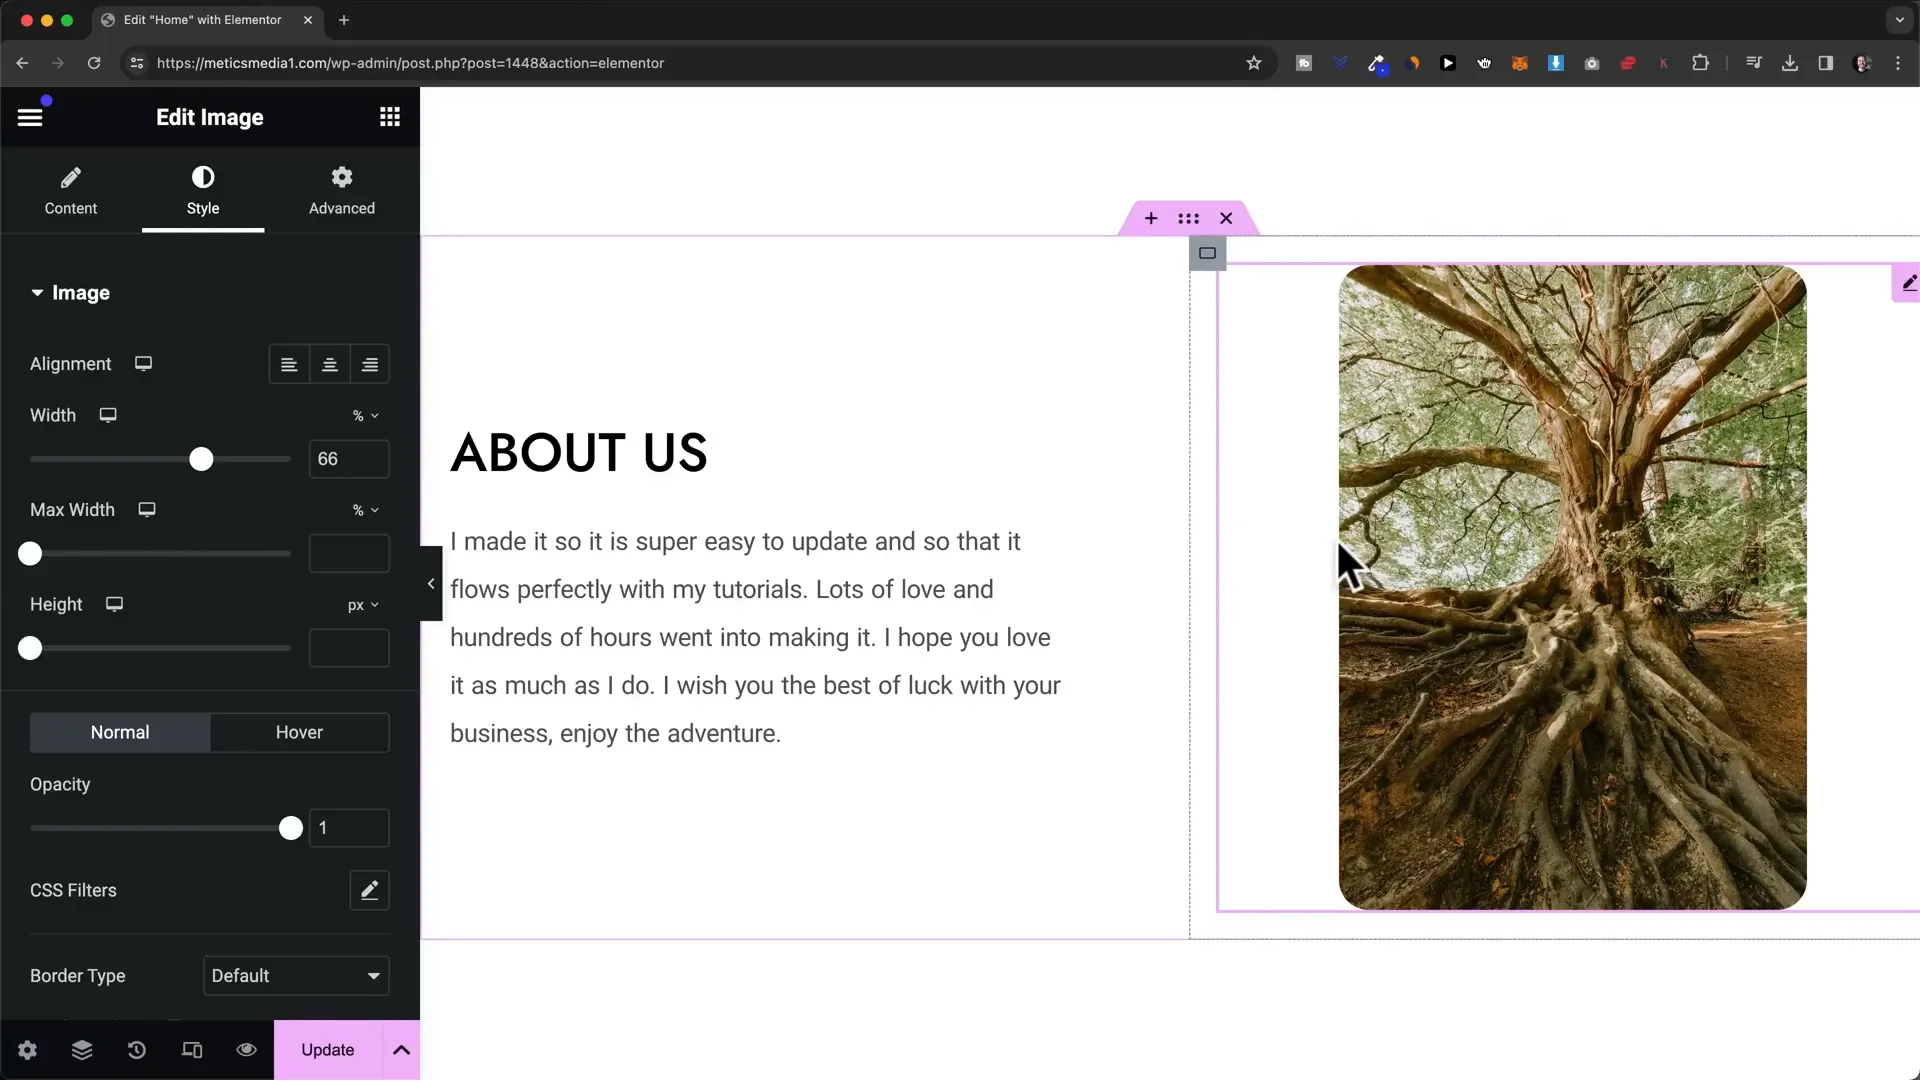
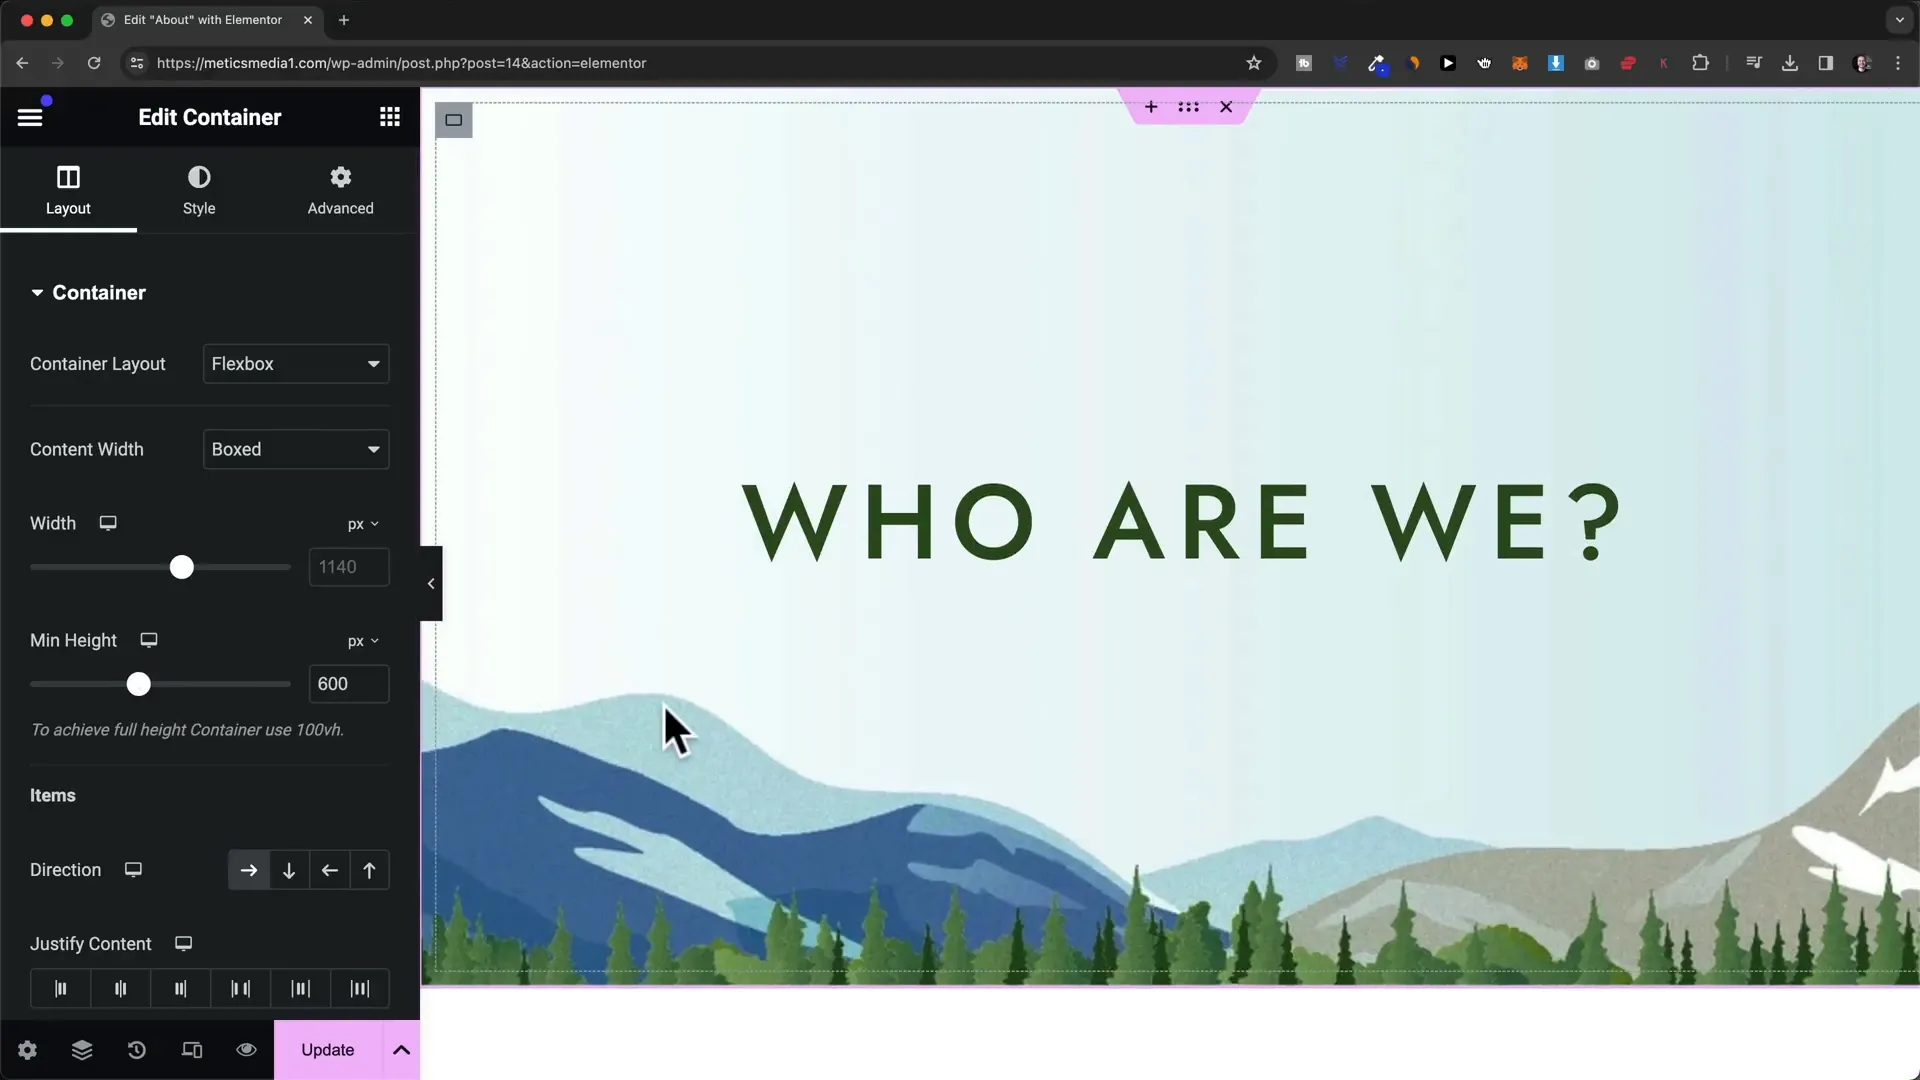
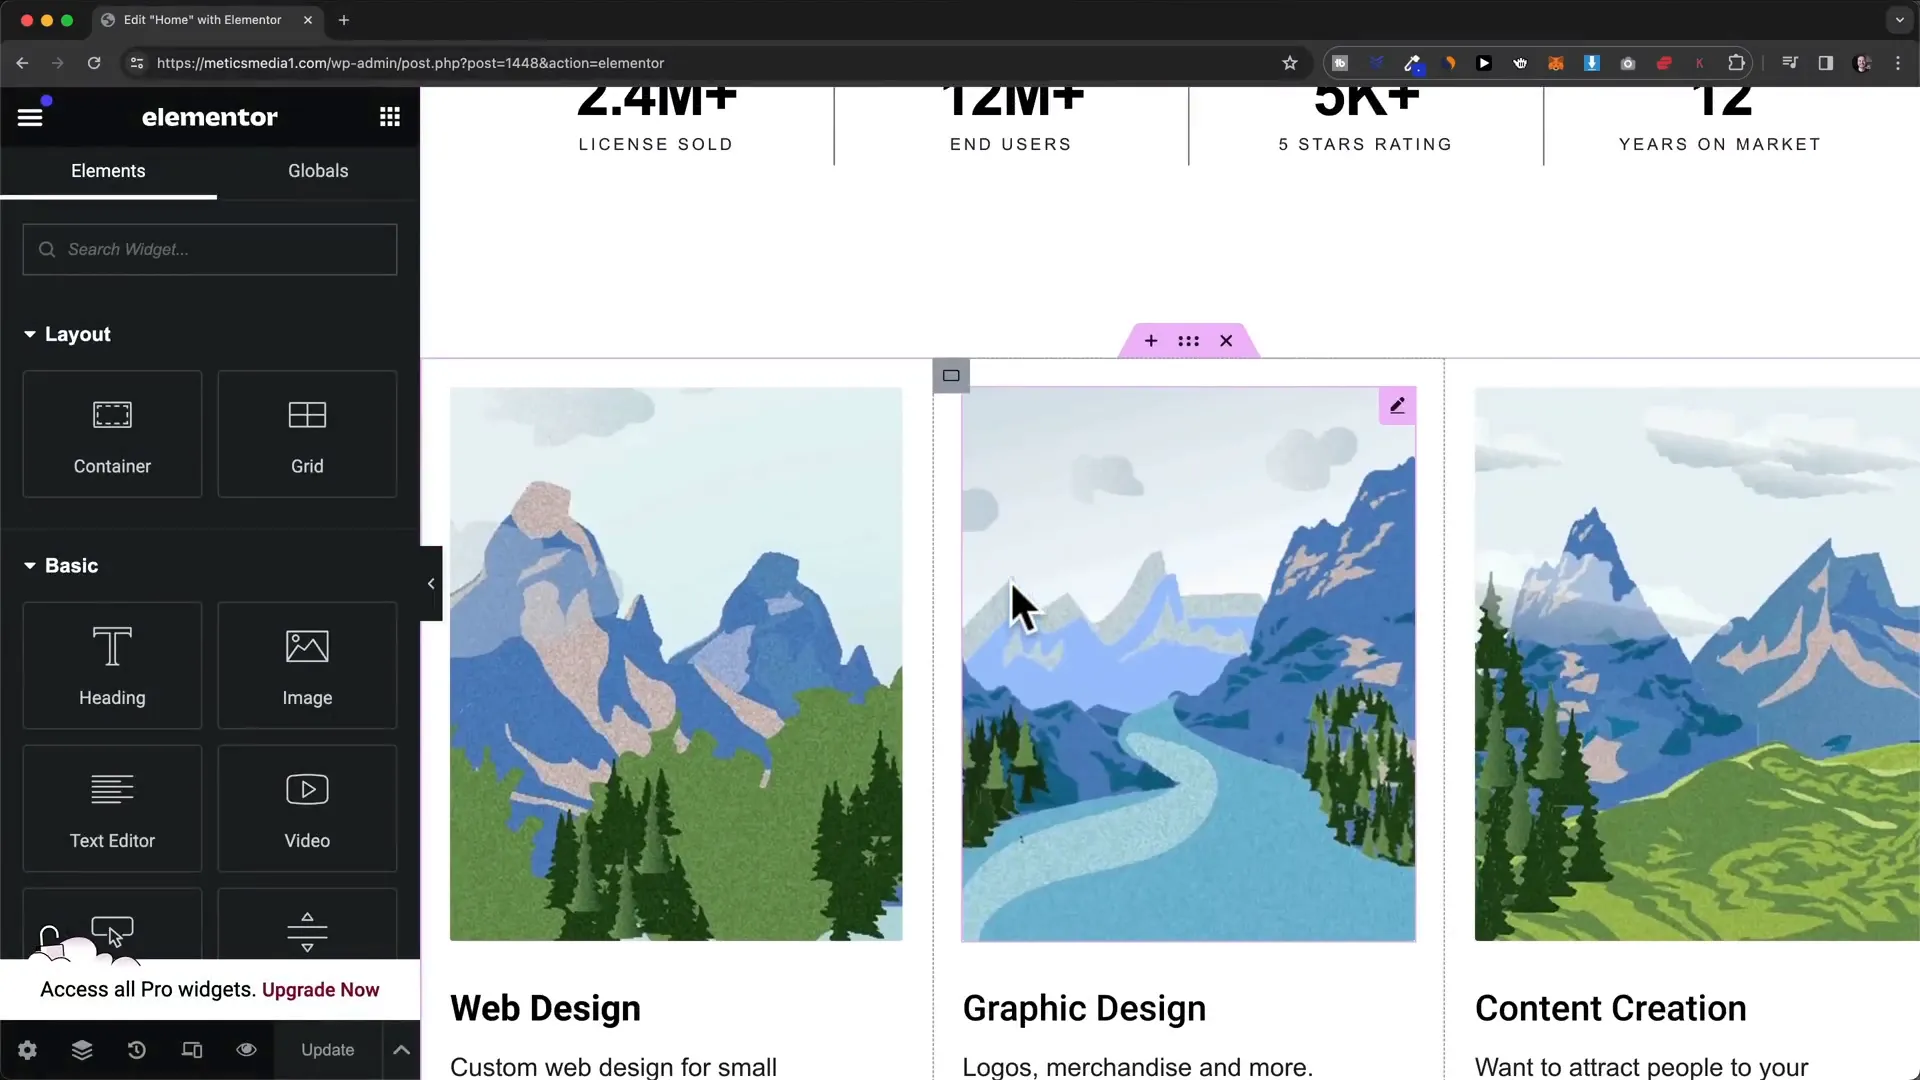
Step 12: Images
Images can be added as elements or background images in containers. Choose images that align with your content and brand message.
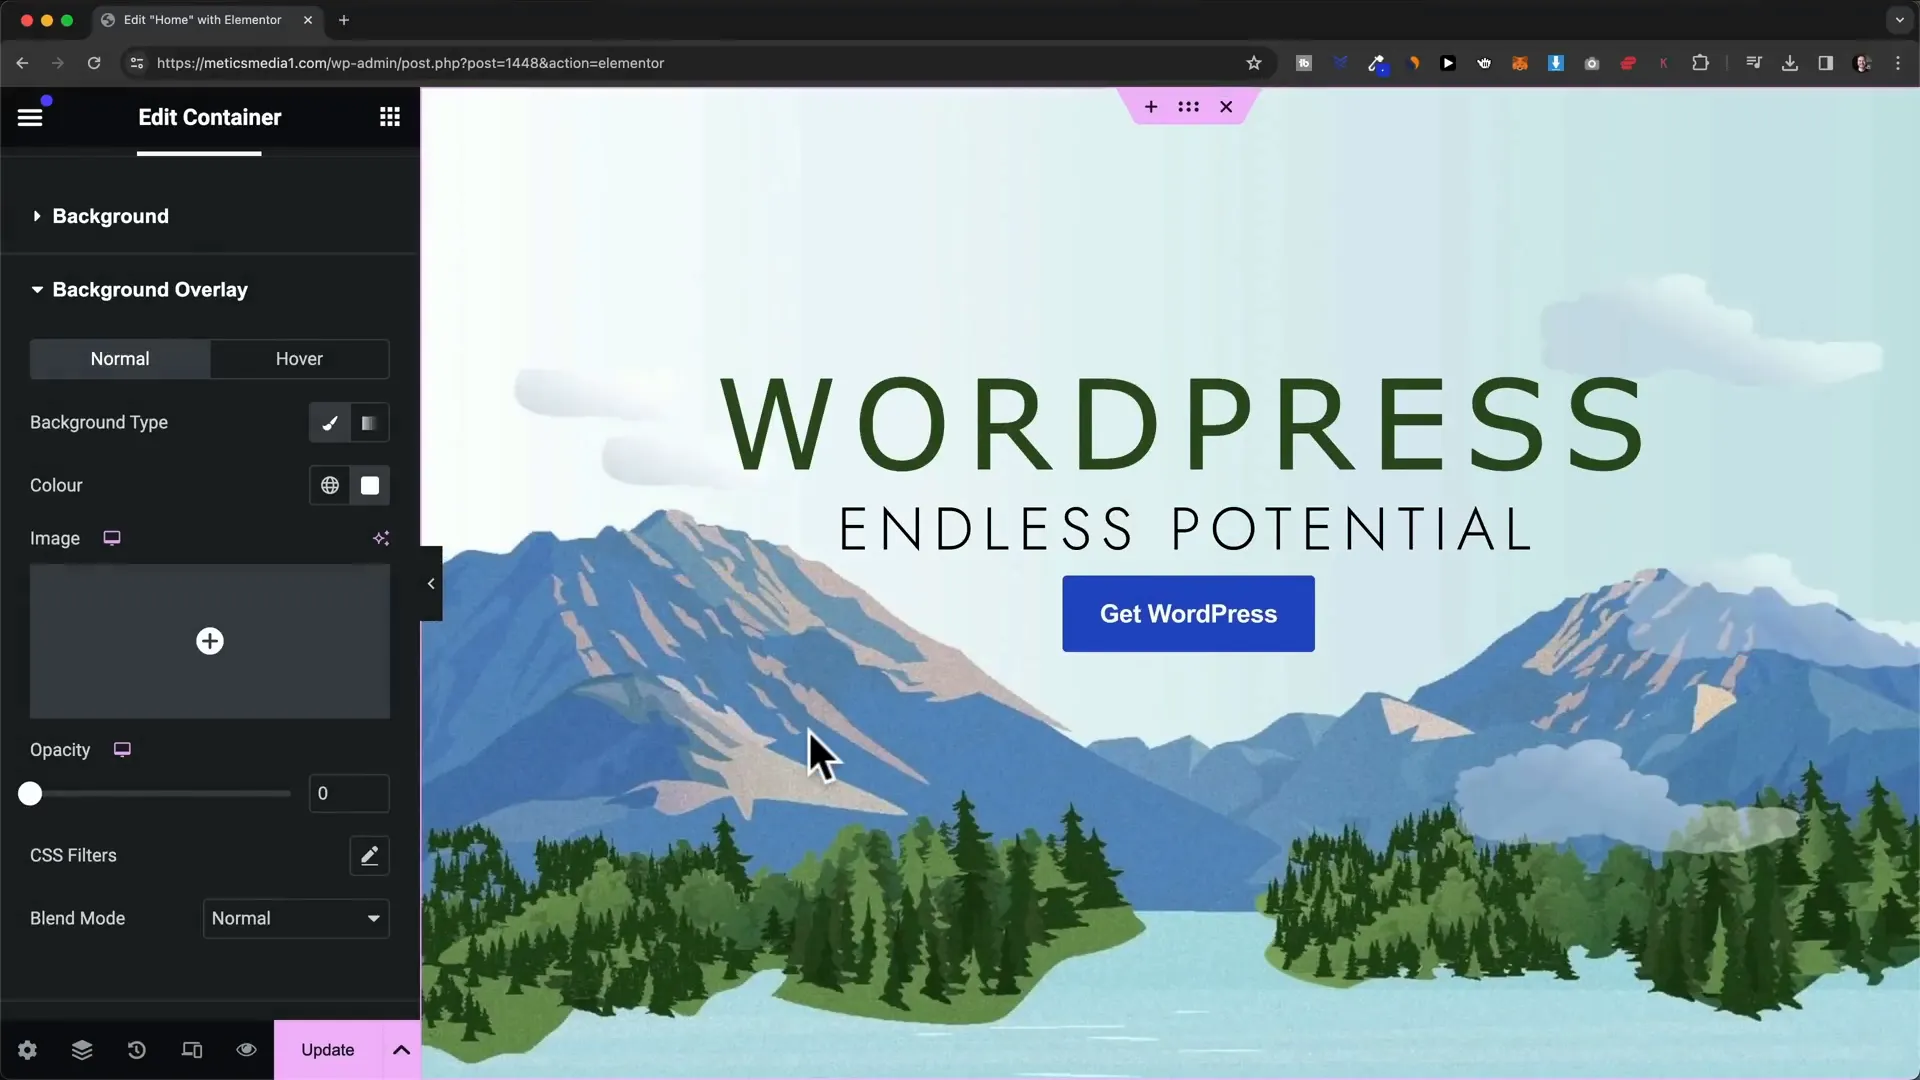
Step 13: Background
Customize container backgrounds with images, colors, or even videos. Adjust settings to achieve the desired look and feel for your site.
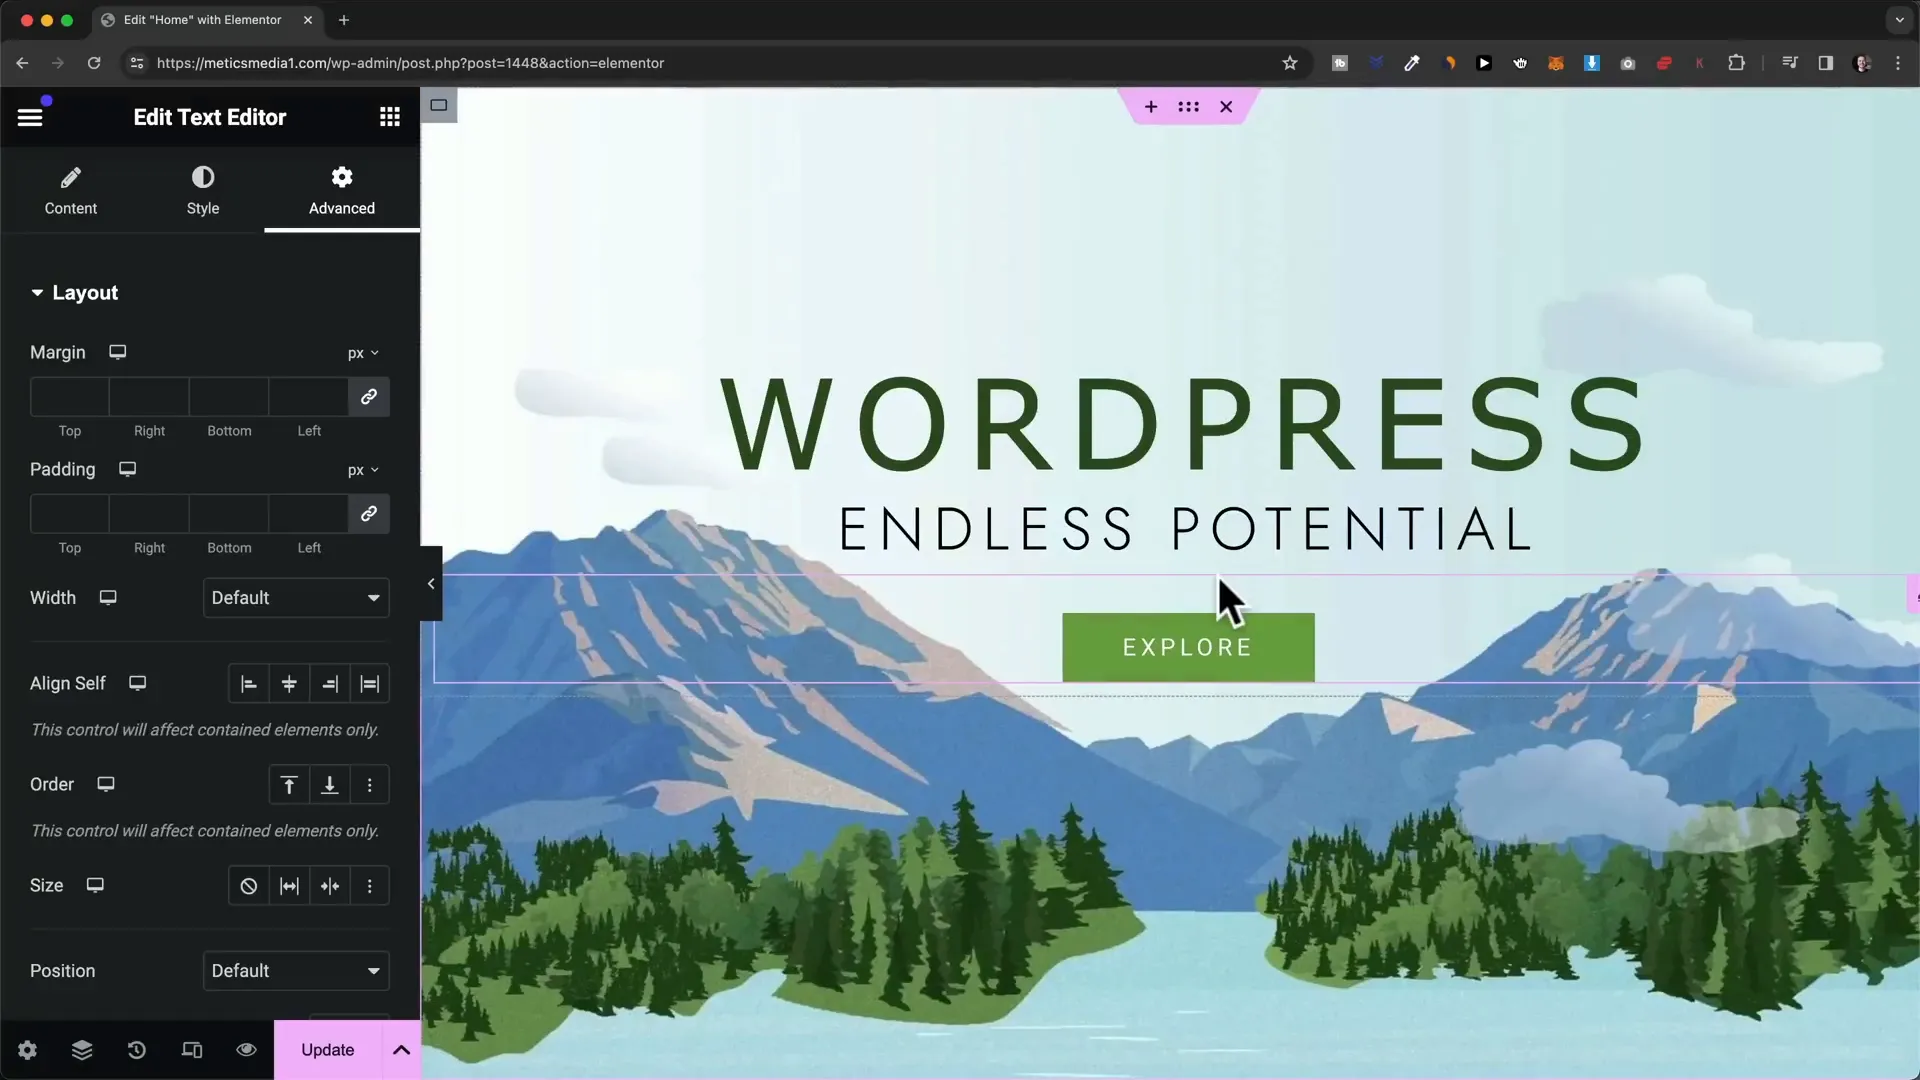
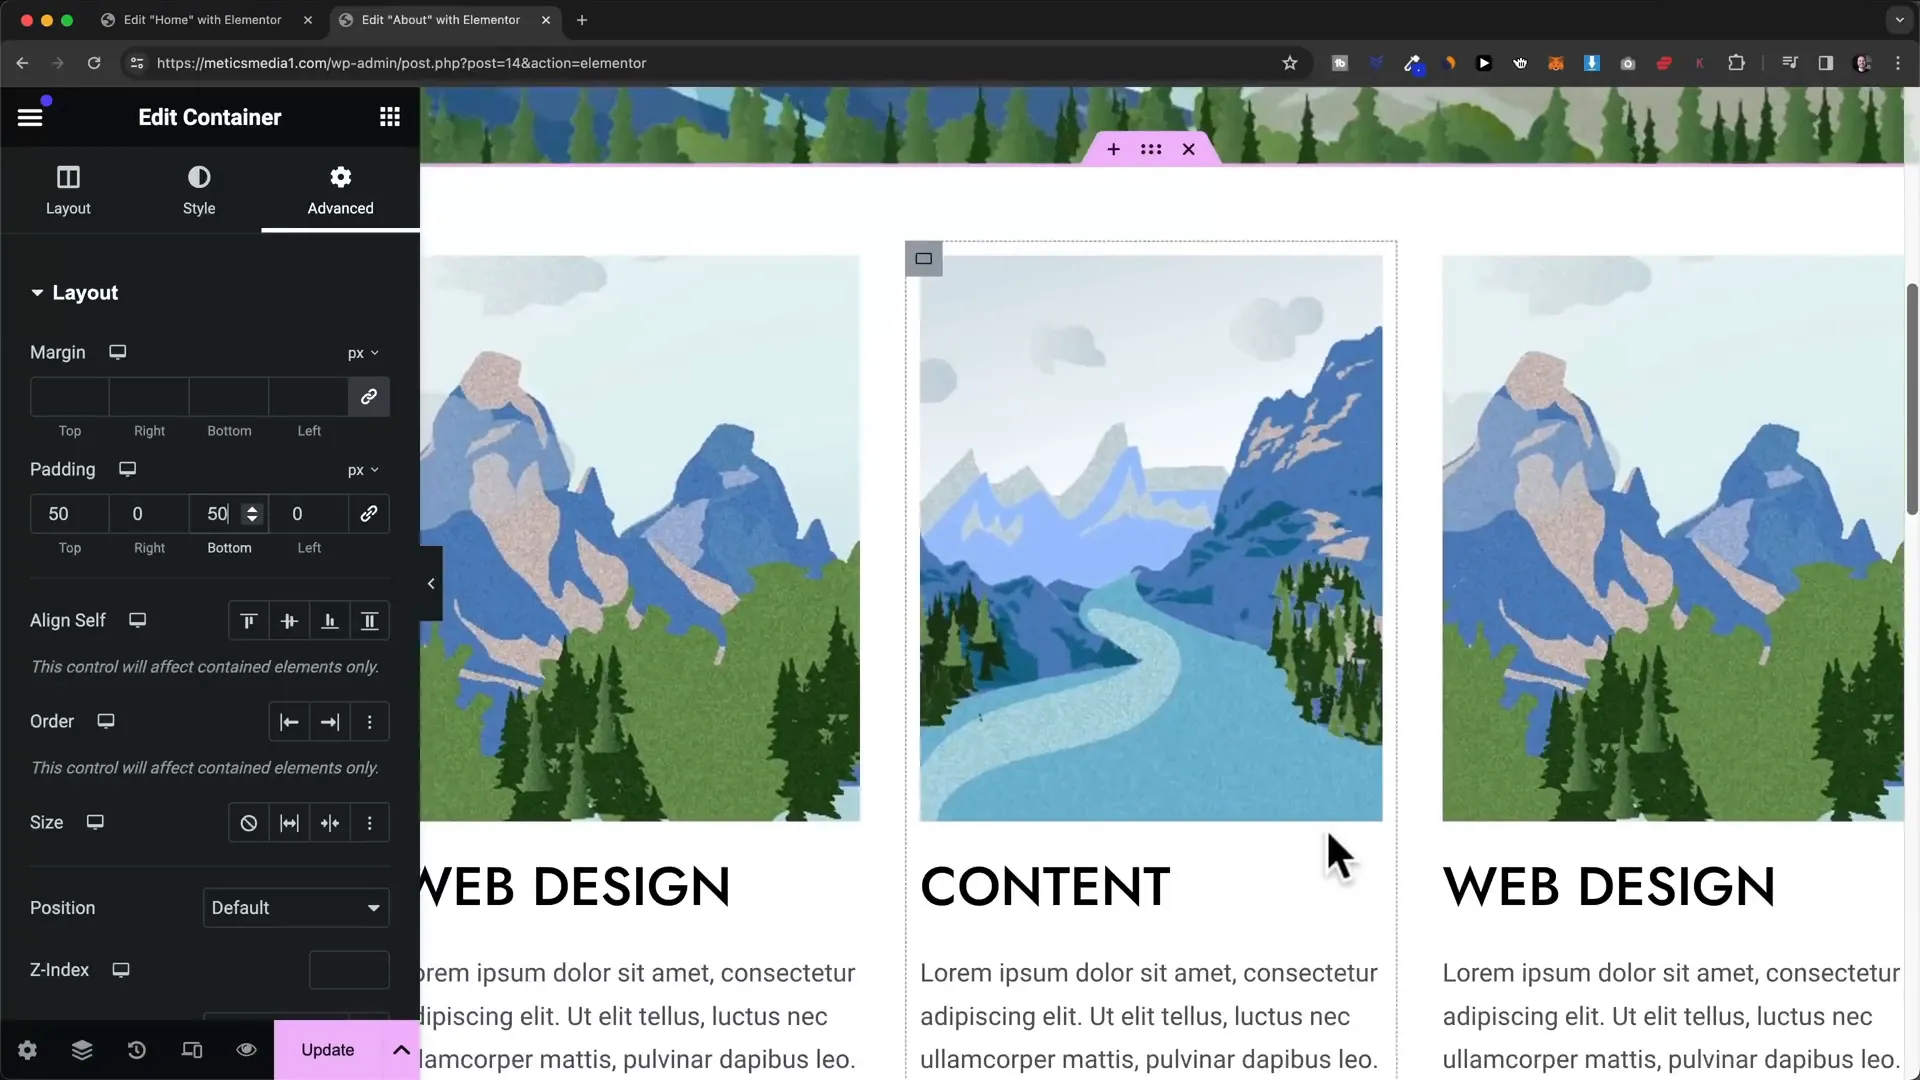
Step 14: Spacing
Control spacing between elements using margin and padding settings. This ensures your layout is visually appealing and not cluttered.
Step 15: Content Layout
Experiment with different content layouts by adding new containers and elements. This flexibility allows you to create unique page designs.
Step 16: Blocks & Templates
Utilize pre-made blocks and templates to save time while building your site. These can be imported and customized to fit your needs.
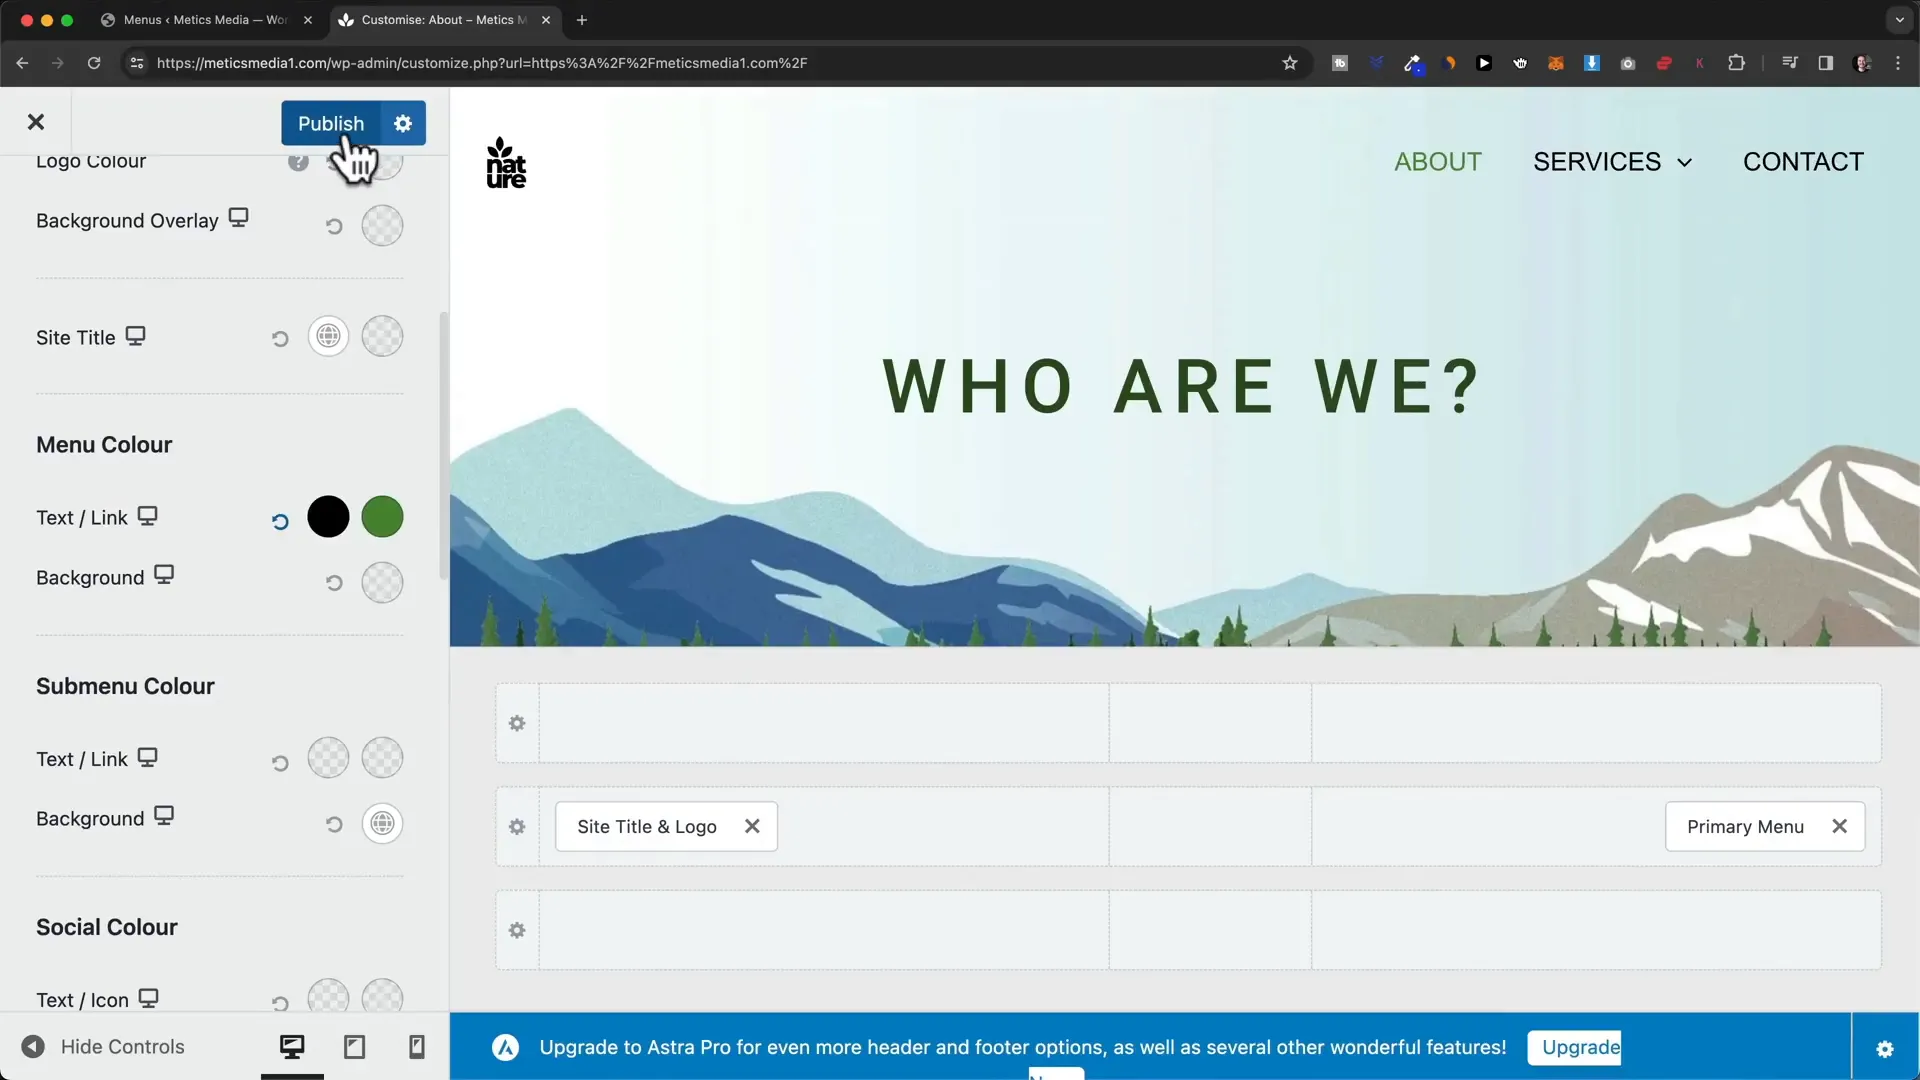
Step 17: Colors & Fonts
Set default colors and fonts for your website to maintain consistency. This can be done through the customizer in WordPress.

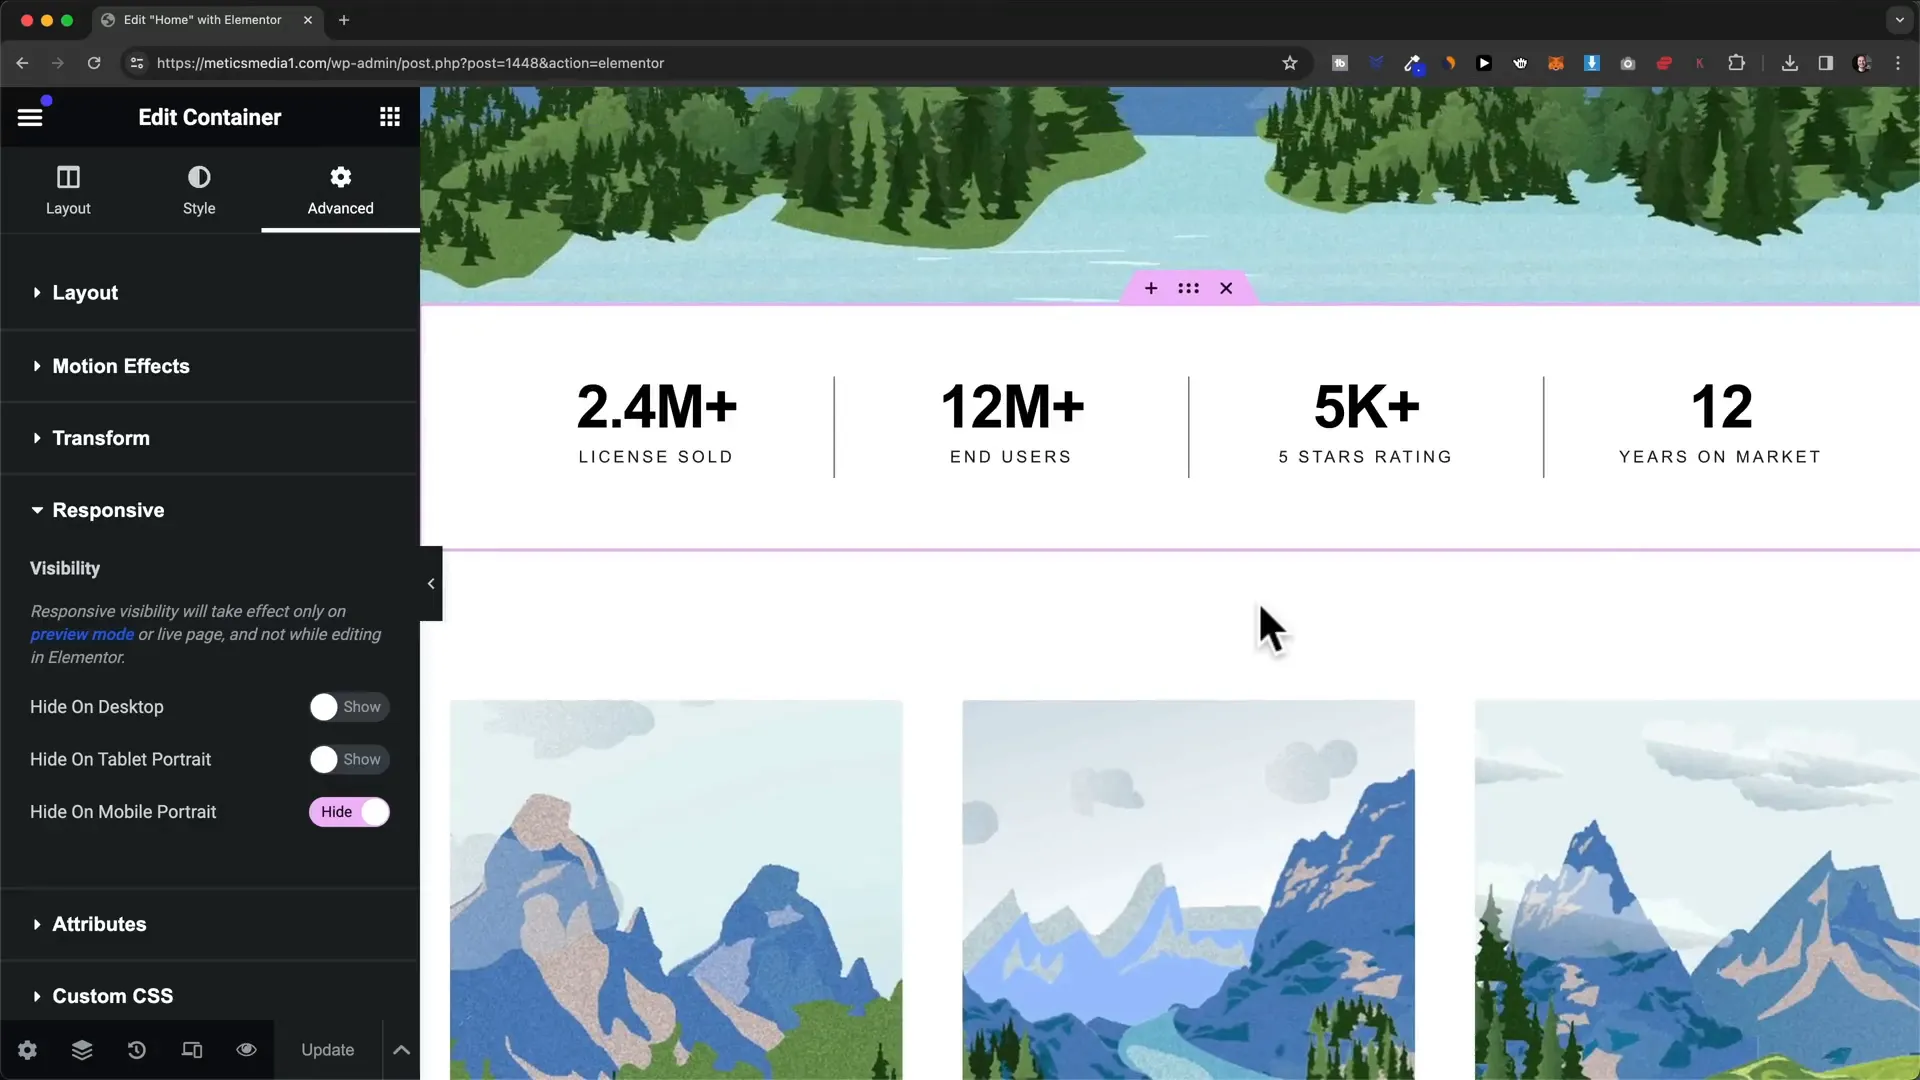
Step 18: Mobile Optimization
Ensure your website is mobile-friendly by checking its appearance on different screen sizes. Adjust elements as necessary for optimal viewing on mobile devices.
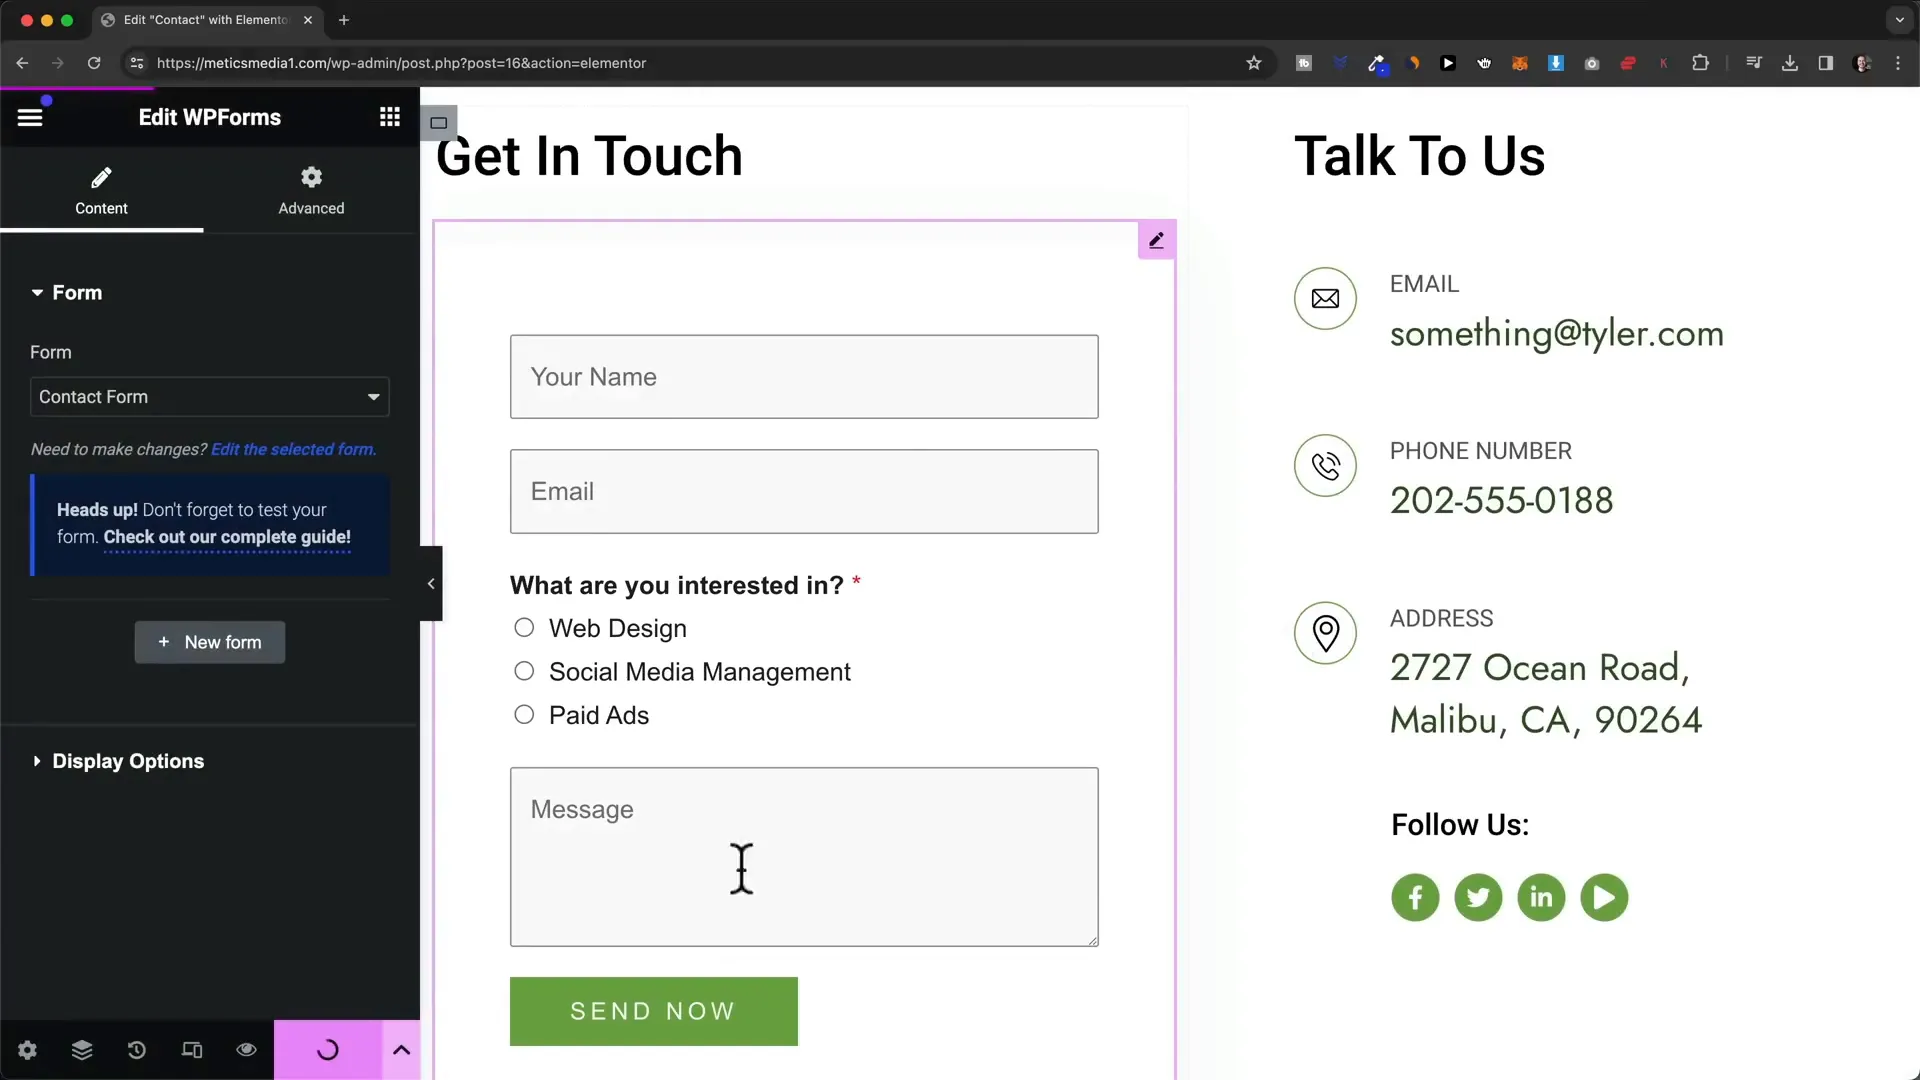
Step 19: Contact Form
Add a contact form to your website to facilitate communication with visitors. Use a plugin like WP Forms for easy setup and customization.
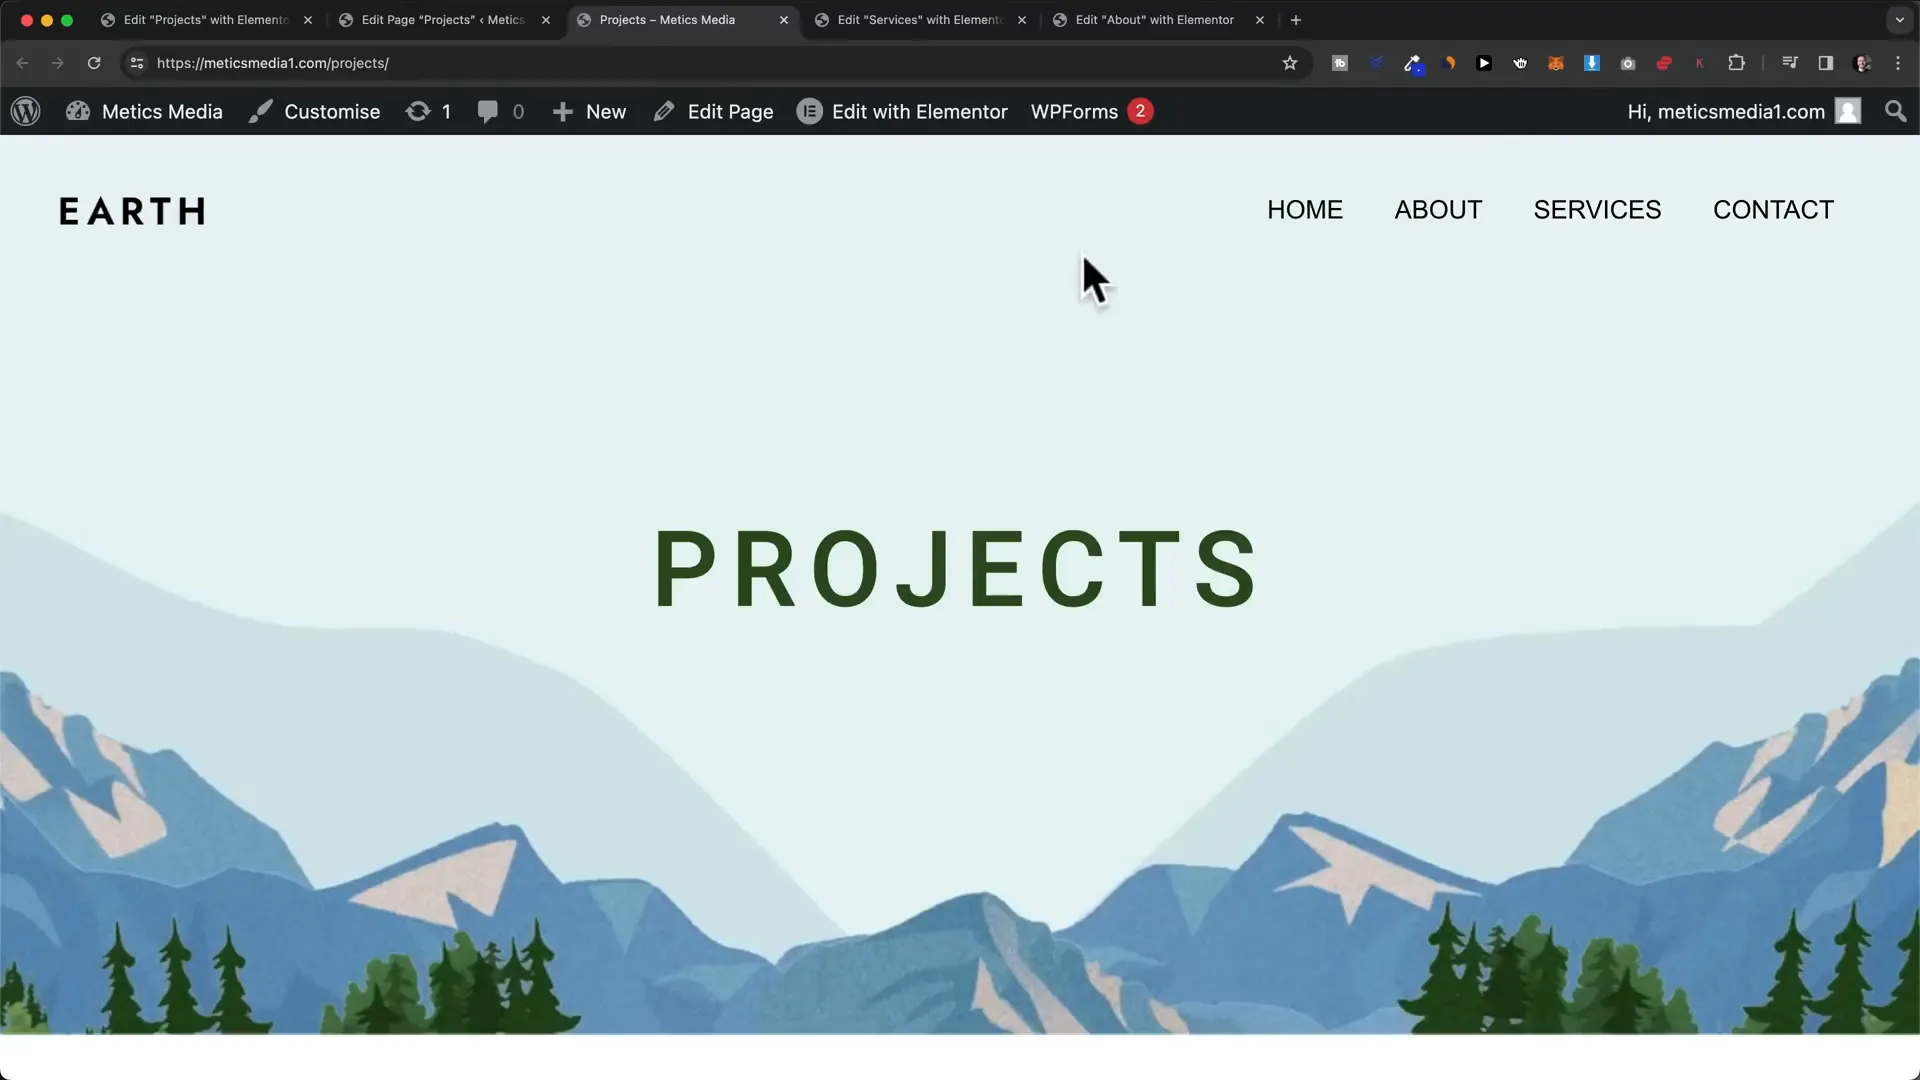
Step 20: Adding Pages
To add new pages, navigate to the WordPress dashboard and click “Add New.” Use Elementor to build and customize these pages as needed.
Step 21: Header & Menu
Edit your site’s header and navigation menu to improve user experience. Ensure all important pages are easily accessible from the menu.
Step 22: Footer
Customize your site’s footer to include essential links and information. This often includes copyright information and additional navigation links.
Step 23: Cache Plugin
Finally, activate a cache plugin like Lightspeed Cache to enhance your website’s speed and performance. This is crucial for providing a good user experience.

By following these steps, you will have a fully functional WordPress website hosted on Hostinger. Remember that building a website is an ongoing process, and you can always make improvements as you learn more.
If you found this guide helpful, consider sharing it with others interested in creating their own websites!
![Read more about the article Multifunction Wireless Charger Pad Stand Speaker TF RGB Night Light: The Ultimate 15W Fast Charging Station For IPhone Samsung Xiaomi Huawei [AliExpress]](https://store.woowhouse.com/wp-content/uploads/2024/11/53a2ac90-9171-4087-abcb-bf4b89e05f96-1-300x300.jpg)