Email marketing is an essential tool for any business looking to engage and retain customers. In this tutorial, we will explore how to leverage Moosend, an affordable email marketing platform, to create effective email marketing automation. By the end of this guide, you will have a fully functional email automation setup to help you grow your audience.
Table of Contents
Step 1: Free Account with Moosend
The first step to building your email marketing automation is to sign up for a free account with Moosend. Moosend allows you to access premium features without the hefty price tag, making it one of the most cost-effective solutions available.
To get started, click on the sign-up button on the Moosend website. Fill in your email address, create a password, and provide your company information. Ensure you consent to receive communications, then register your account.
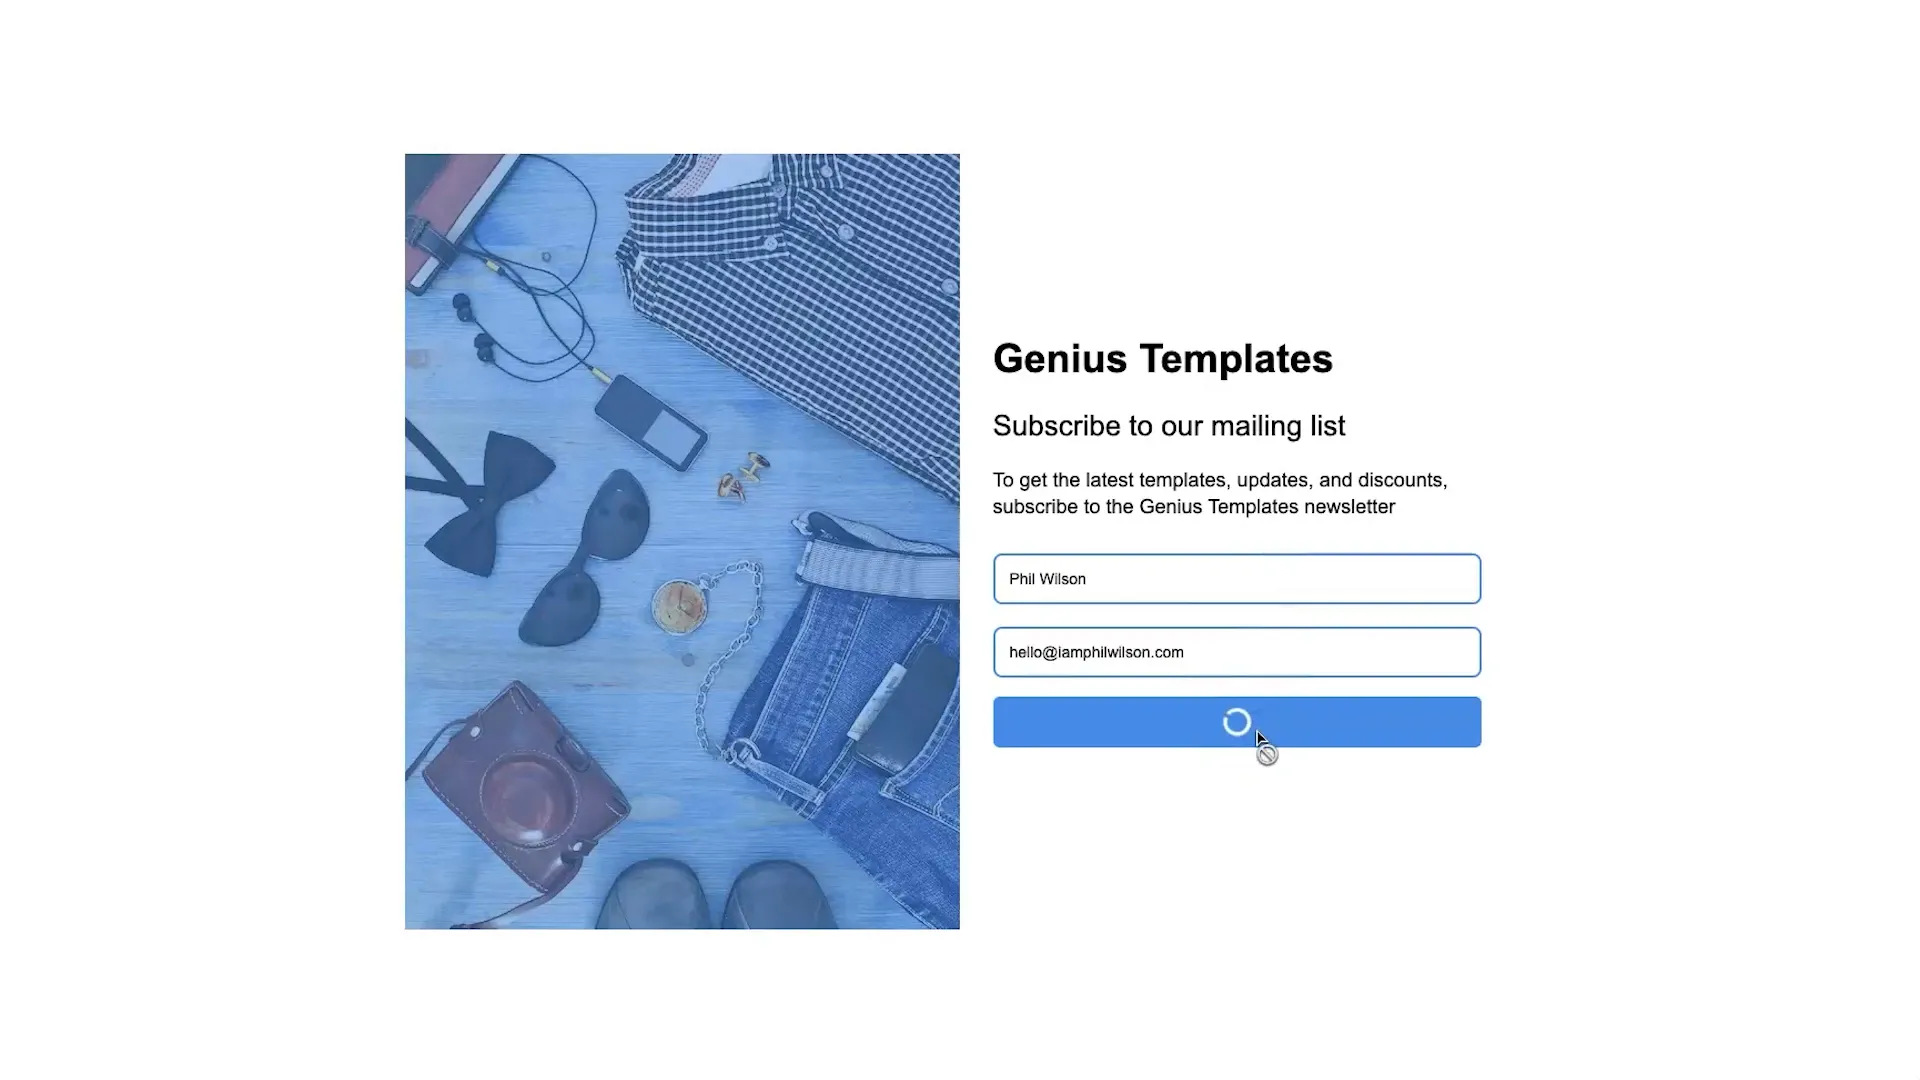
After registration, you will receive an activation email. Check your inbox (and your spam folder if necessary) to activate your account. Once activated, you will have access to your Moosend dashboard.
Step 2: Create Your First Email List
Now that you have your account set up, it’s time to create your first email list. This list will serve as the foundation for your email marketing campaigns.
On your dashboard, click on “Create Email List.” You can name this list something like “Newsletter Subscribers.” This will help you keep your audience organized.
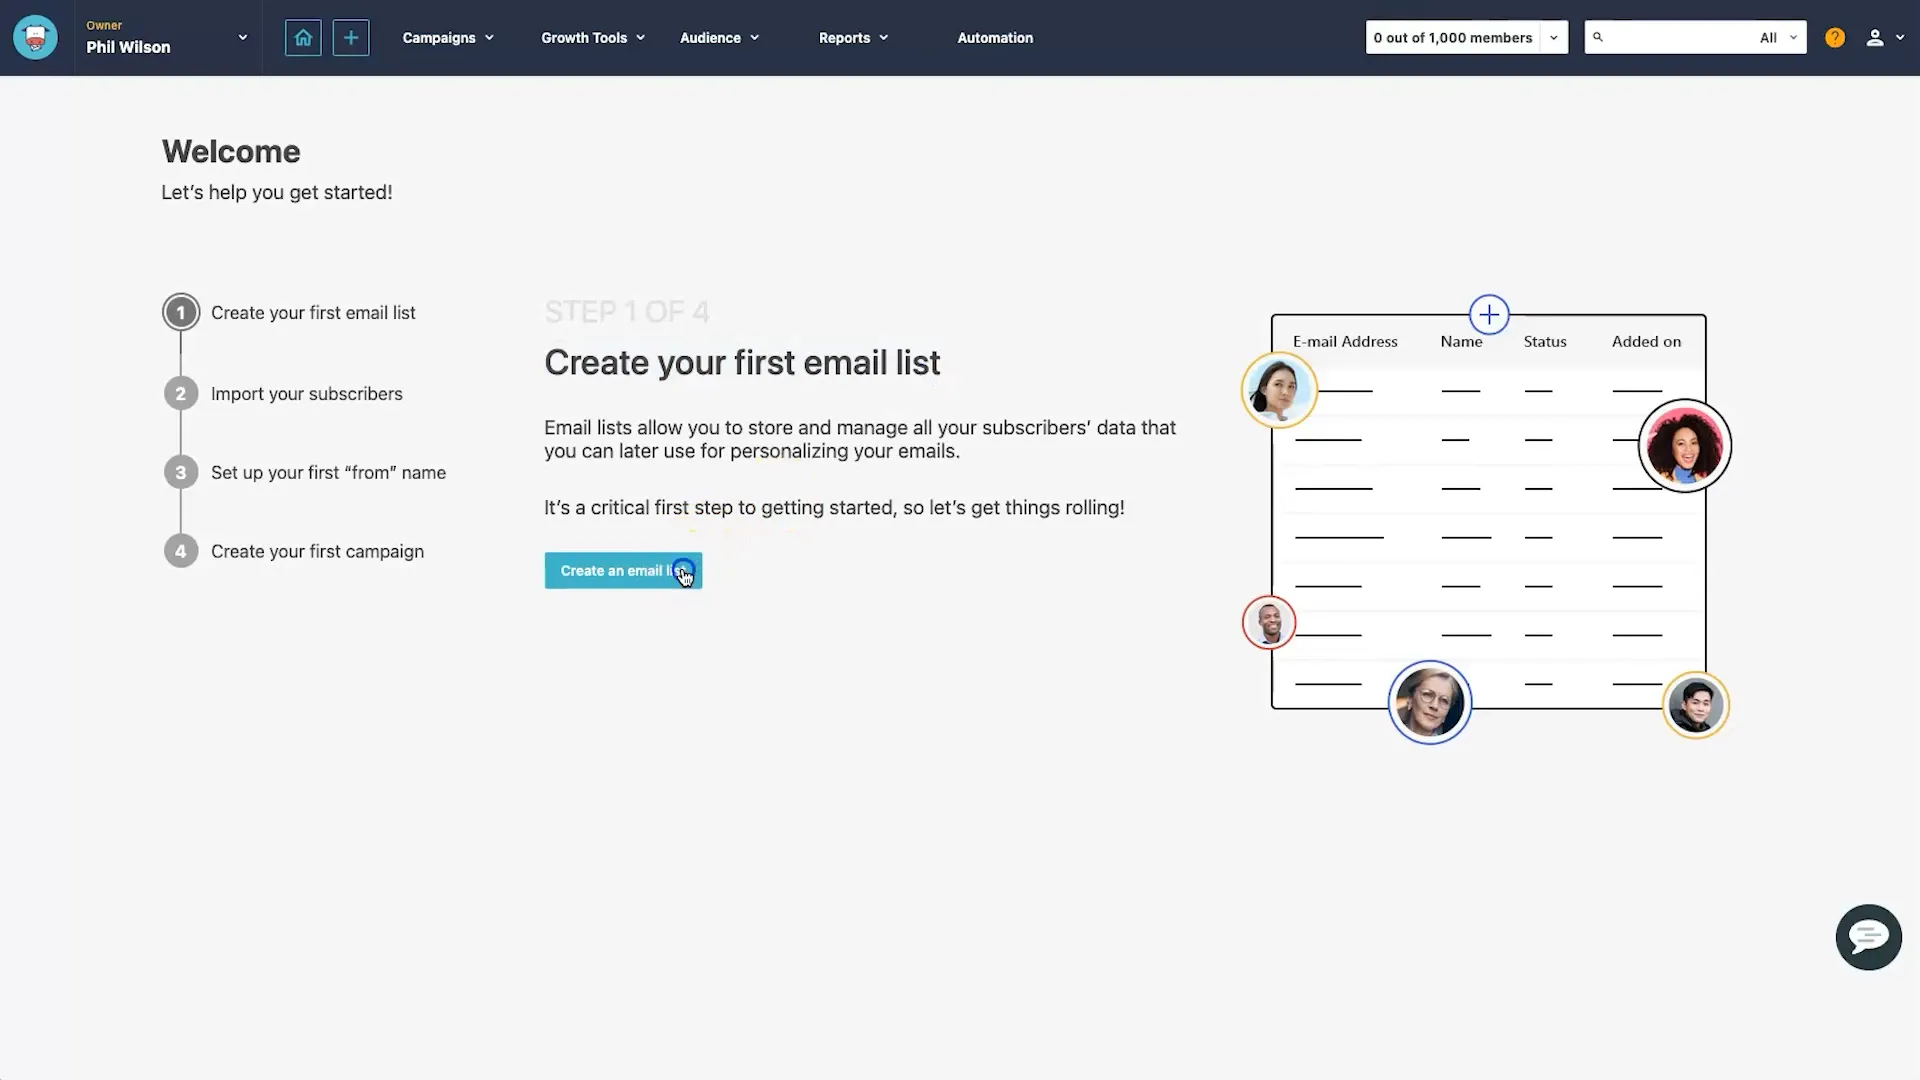
Once your email list is created, you can personalize your settings, including creating a custom unsubscribe page. This can help maintain your brand presence even when users opt-out of your email list.
Step 3: Create a Landing Page
To grow your email list, you need a landing page where visitors can sign up. Navigate to the “Growth Tools” section and select “Landing Pages.”
Click on “Create New” and fill in the basic settings like the name of your landing page. You can set the SEO settings, including the page title and meta description, which are crucial for search engine visibility.
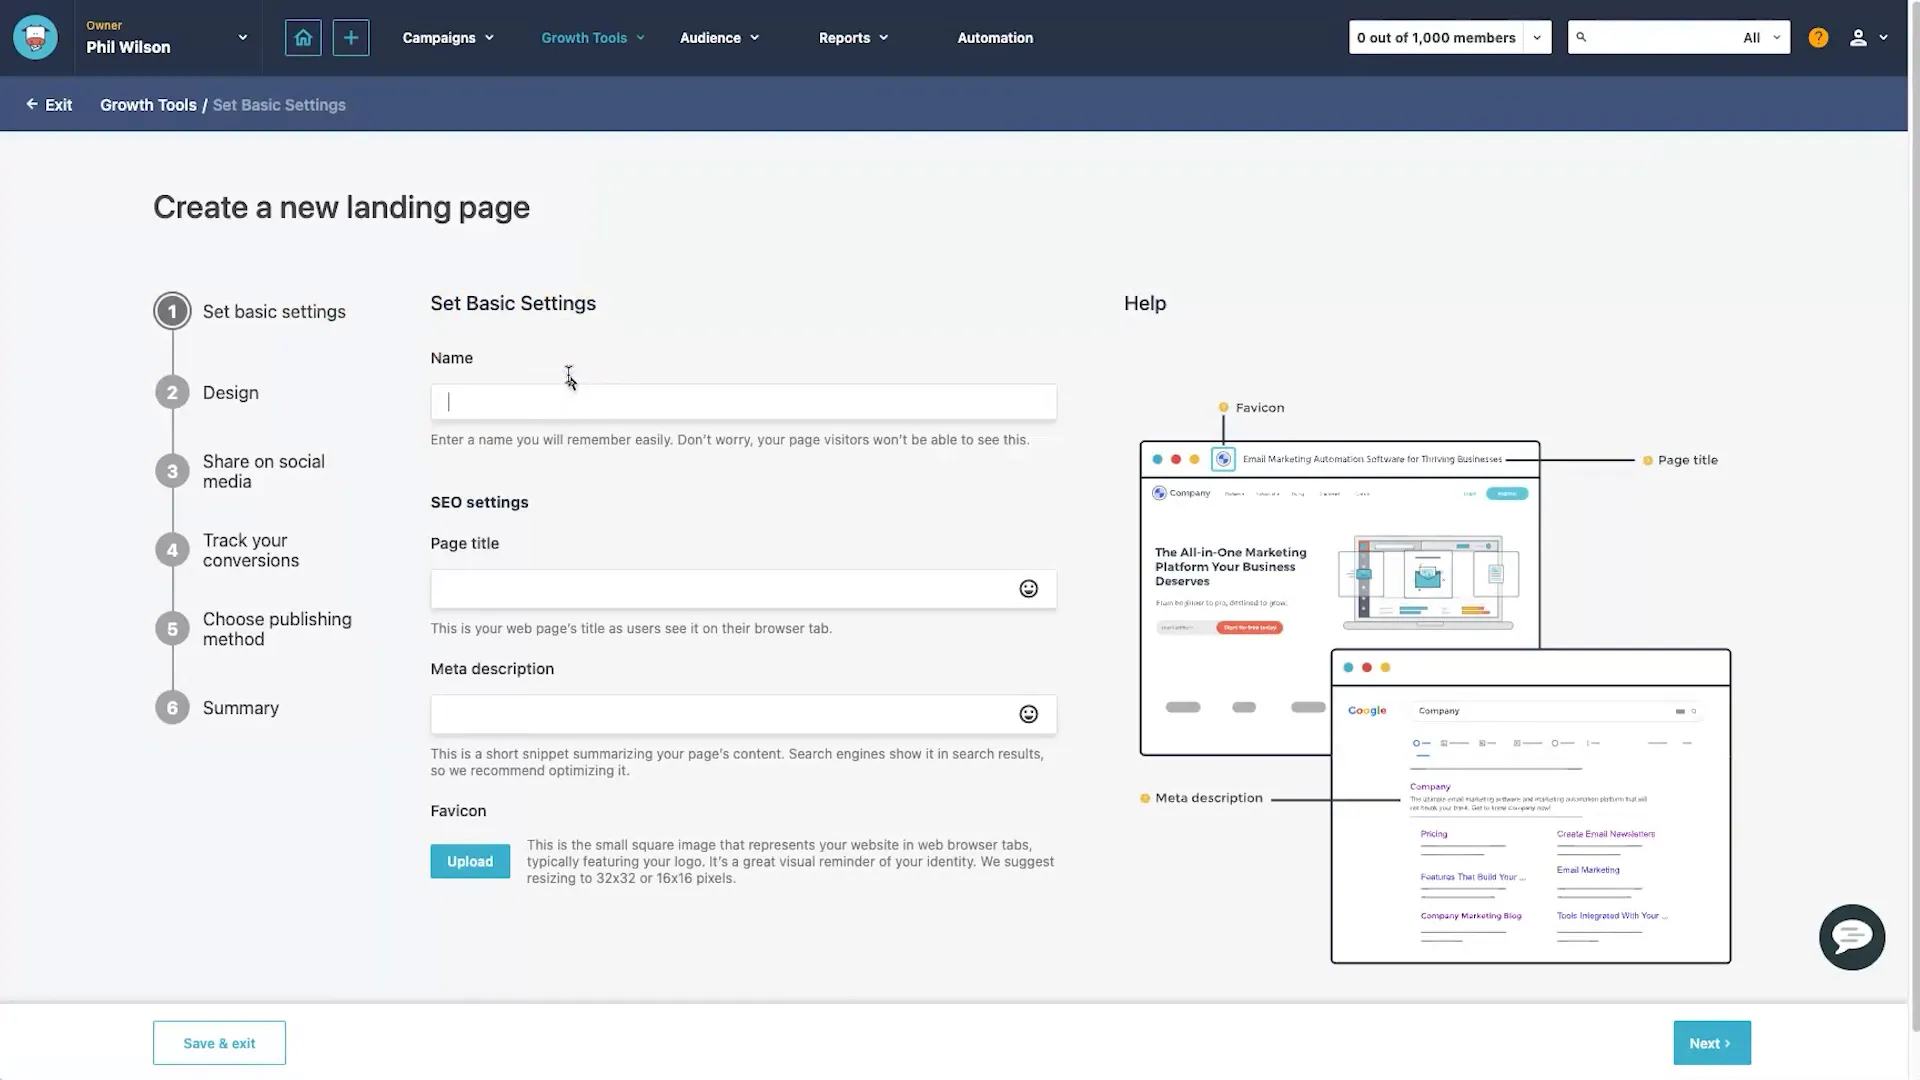
Next, you’ll design your landing page. Moosend offers various templates for you to choose from. Select a template that suits your needs, preferably one that is clean and simple to encourage sign-ups.

Once you select a template, you can customize it using the drag-and-drop editor. You can add elements like text, images, and forms to collect user information. Make sure to keep the design simple to avoid overwhelming visitors.
Step 4: Import to WordPress
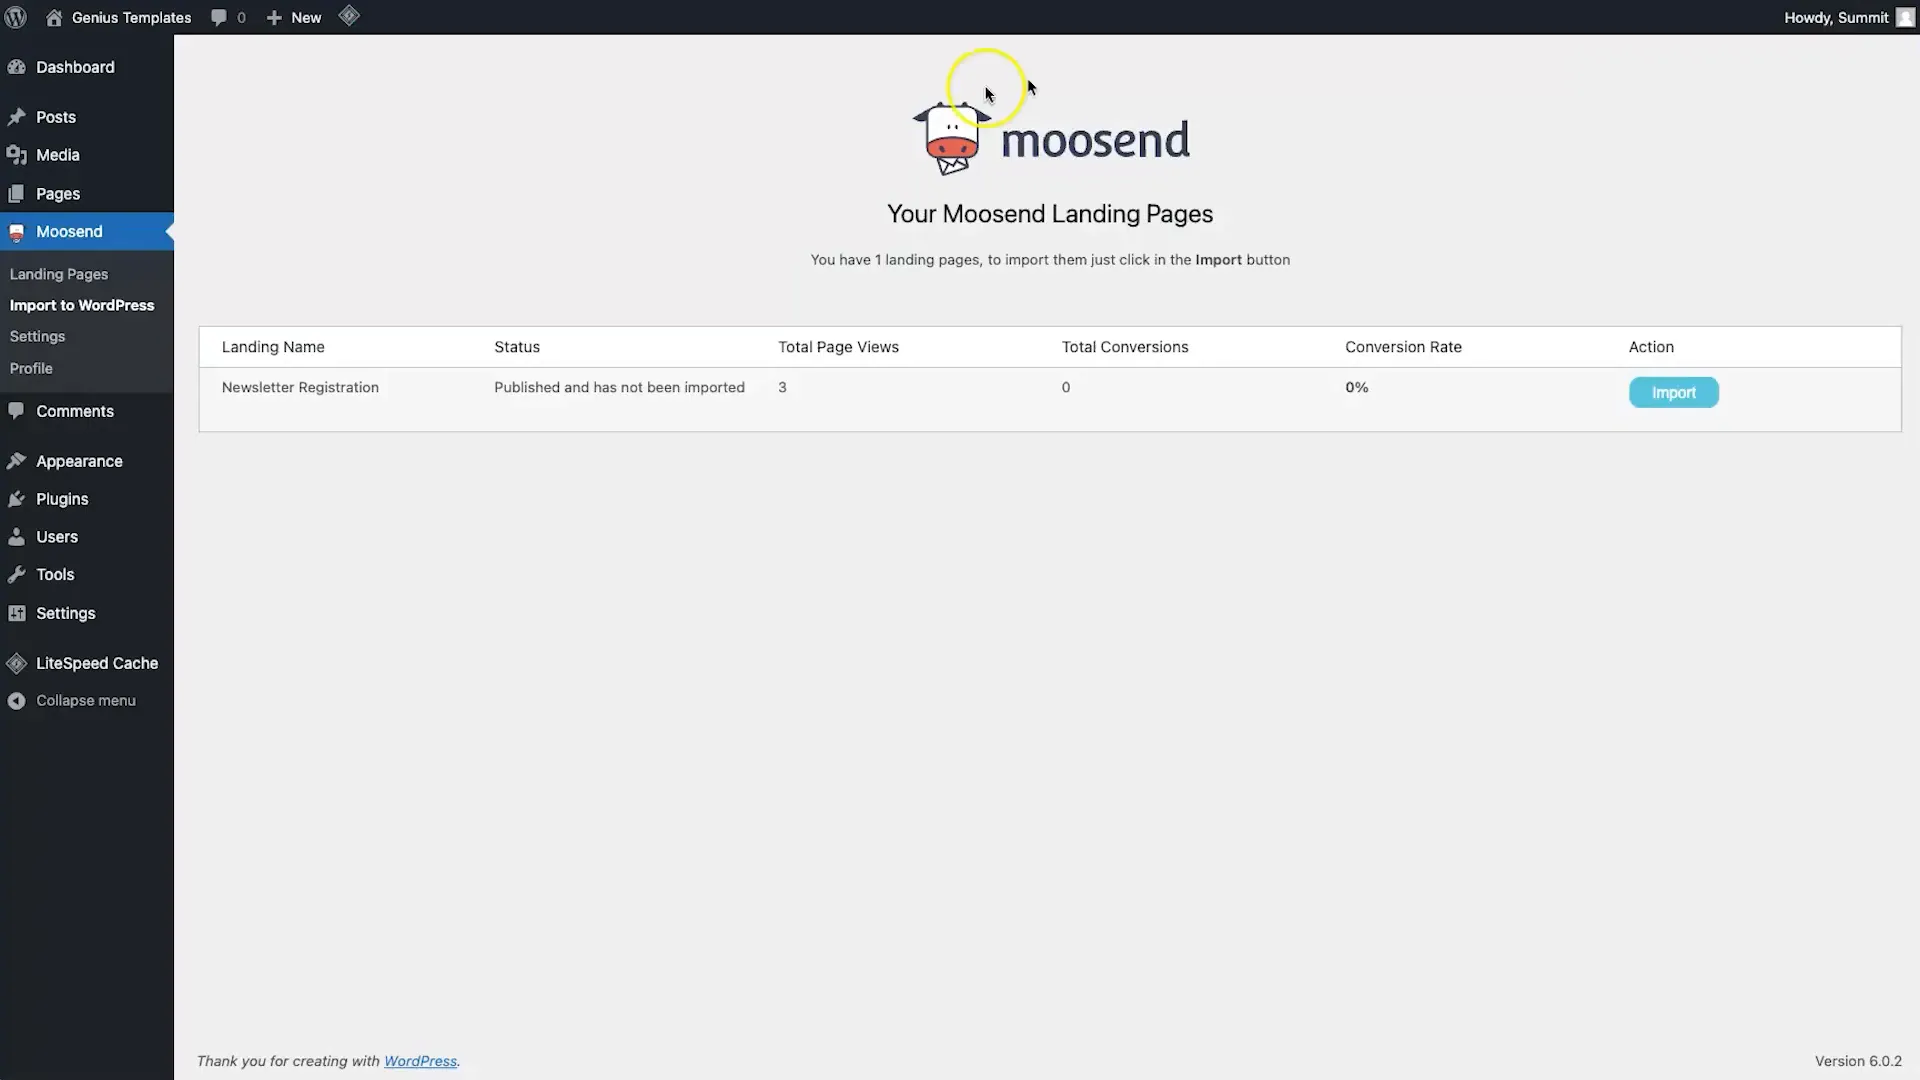
If you have a WordPress website, you can easily integrate your Moosend landing page. Install the Moosend plugin on your WordPress site and follow the setup instructions.
Once the plugin is active, you can import your landing page directly into WordPress, ensuring it fits seamlessly with your website’s branding.
Step 5: Creating Automation Campaign
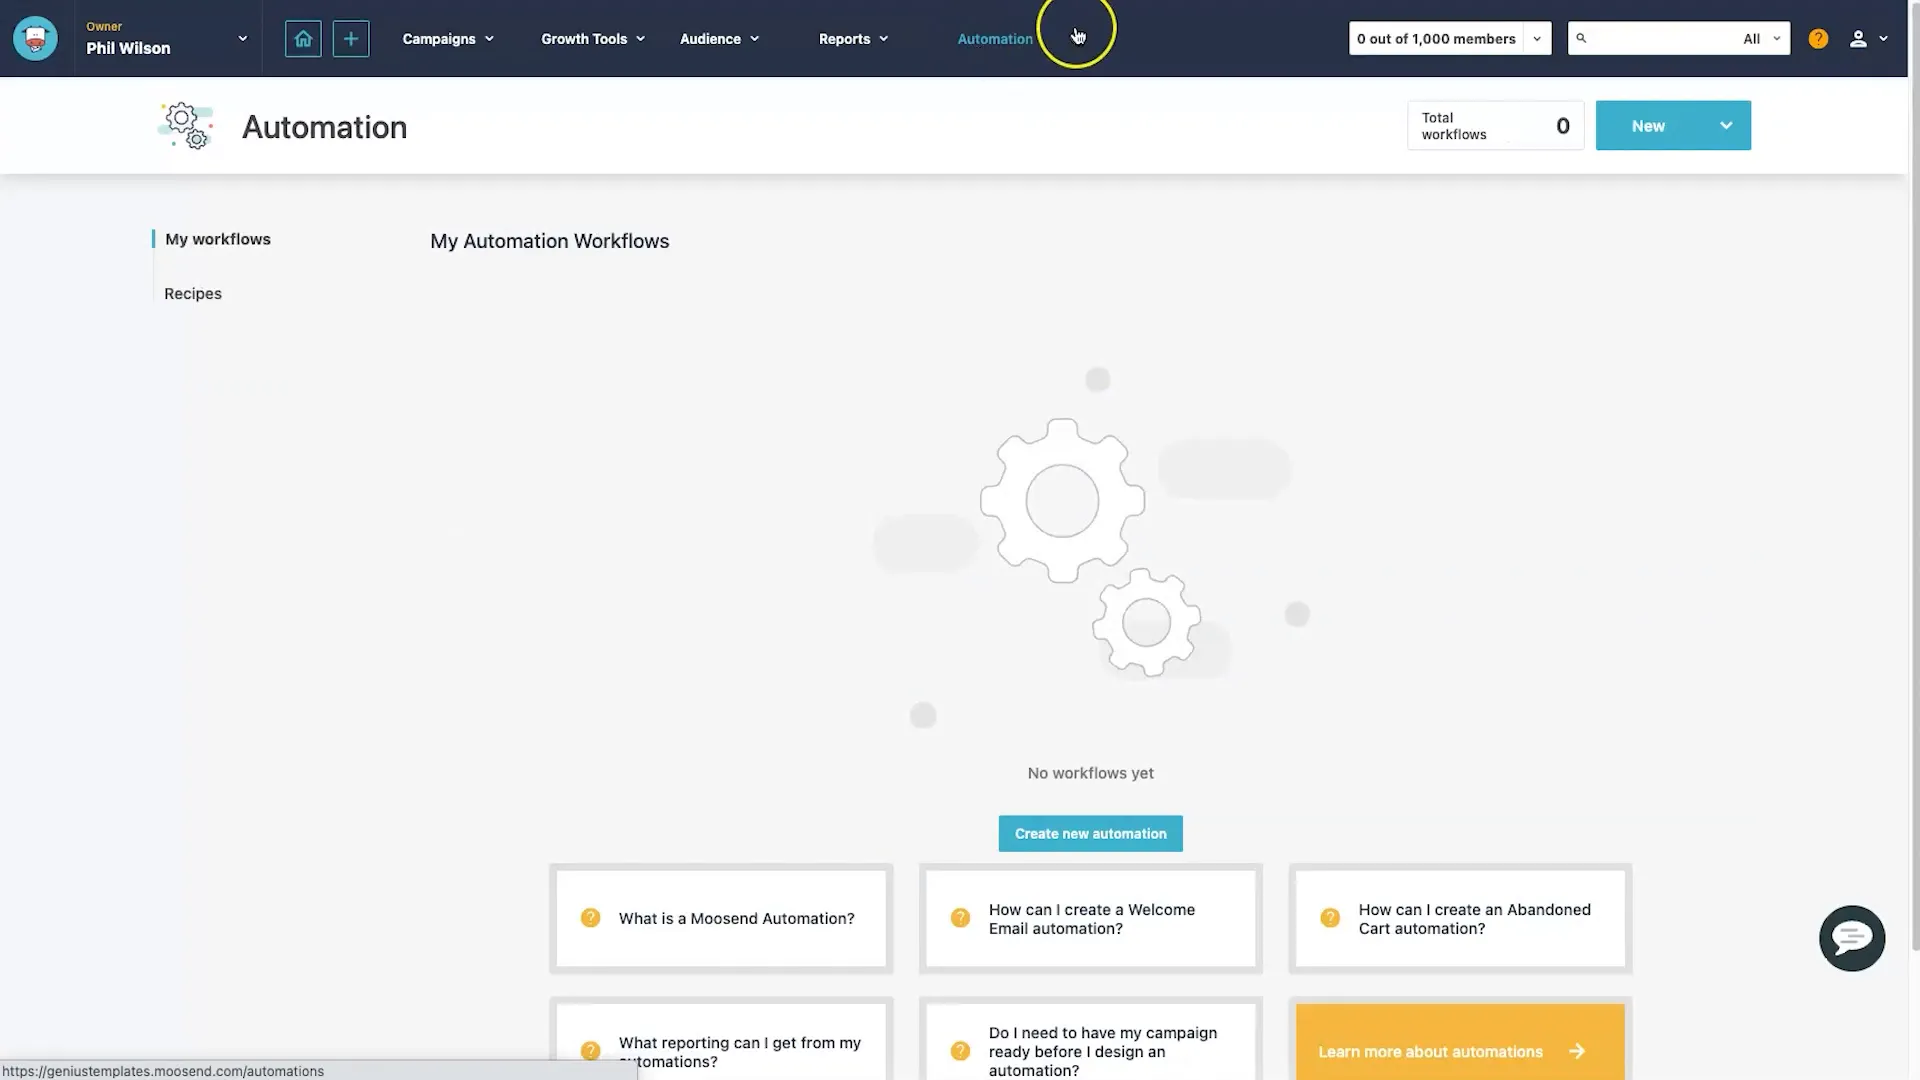
With your email list and landing page ready, it’s time to set up your automation campaign. Go to the automation tab and select “Create New Automation.”
Choose the trigger “When someone subscribes to a specific list.” This will ensure that every time someone subscribes to your newsletter, the automation will trigger.
Step 6: Adding Sender Email Address
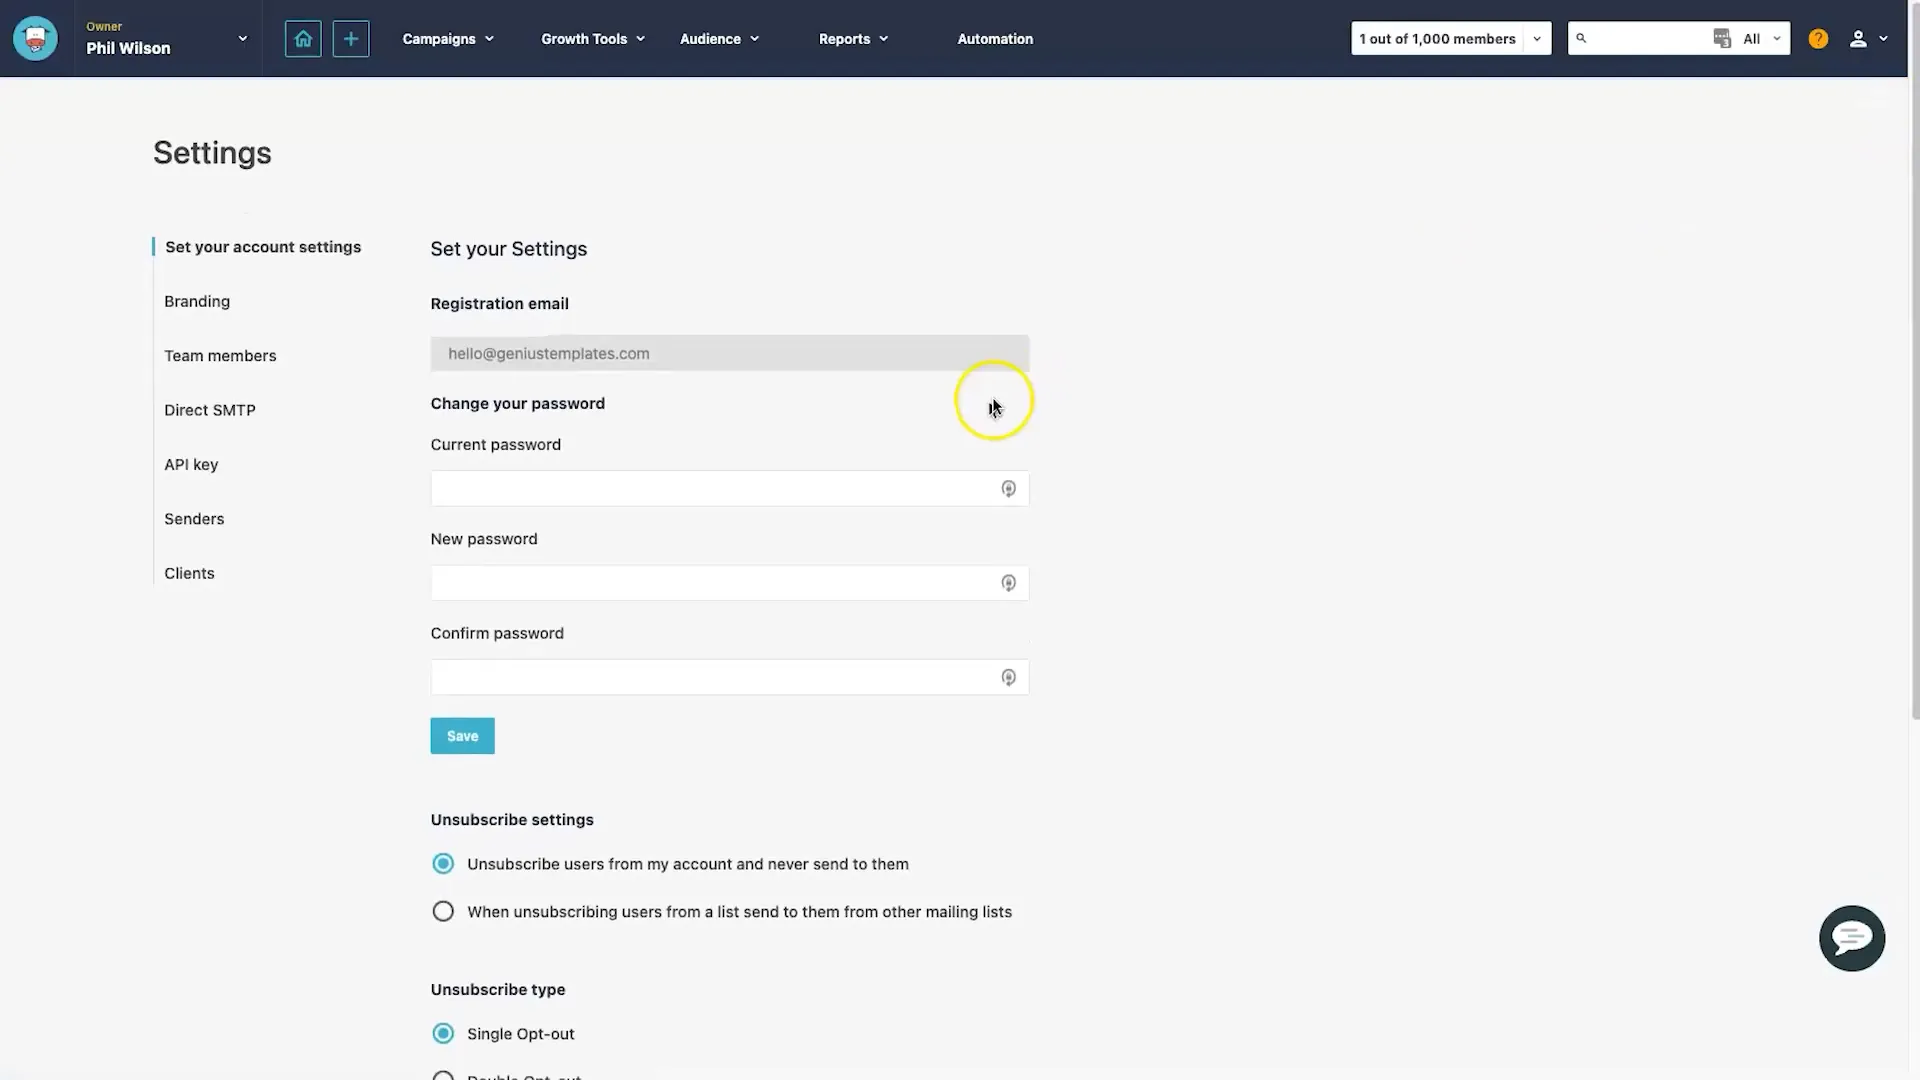
Before you can send automated emails, you need to set up a sender email address. Navigate to the settings and add an email address that will appear as the sender.
It’s crucial to verify this email address by adding SPF or DKIM records to your domain’s DNS settings. This step enhances your email deliverability and ensures that your emails reach your subscribers’ inboxes.
Step 7: Creating Automated Email
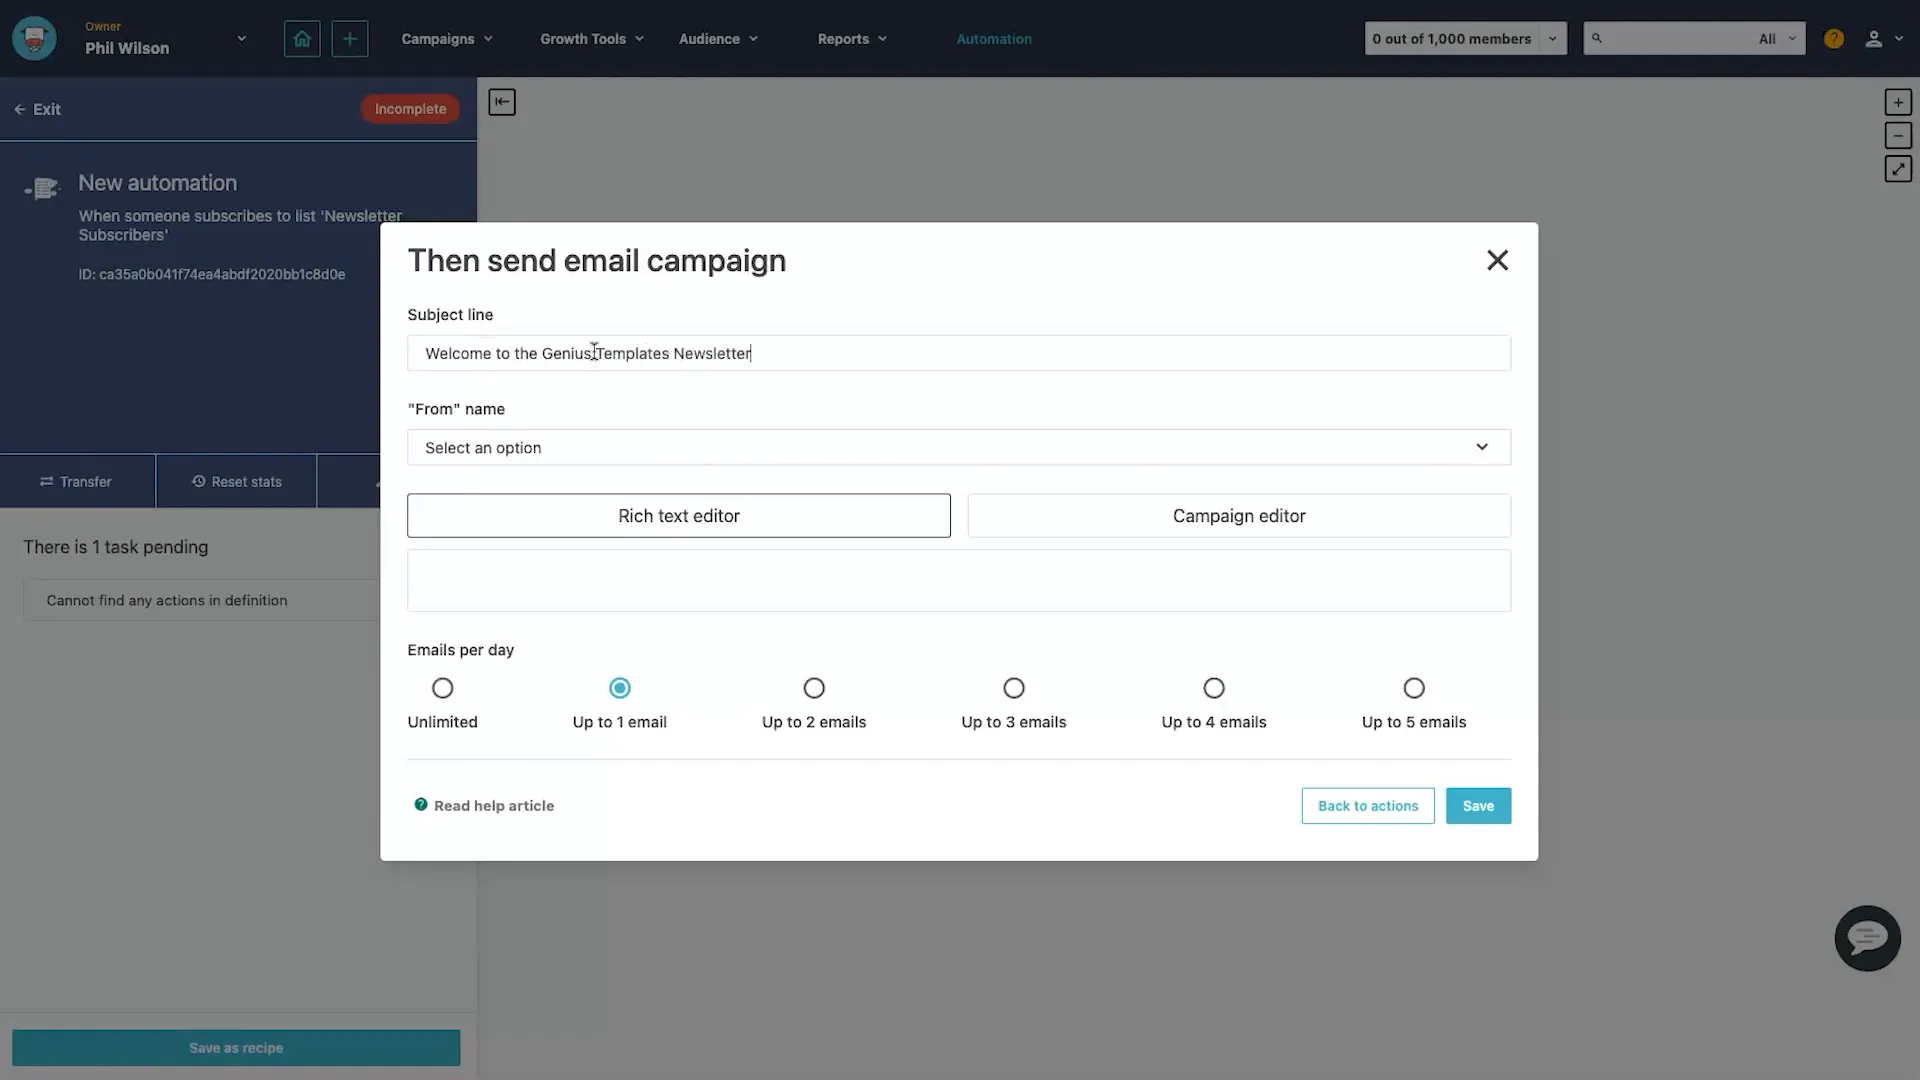
Now, let’s create the email that will be sent automatically to new subscribers. Choose the action “Send Email Campaign” within your automation workflow.
Set a subject line for your email, such as “Welcome to the Genius Templates Newsletter.” You can use either the rich text editor or the campaign editor to design your email.
In the email editor, you can personalize the email using tags. For example, you can address subscribers by their first name to make the email feel more personal. After editing the content, save your changes.
Step 8: Test Email Marketing Automation
Before launching your automation, it’s essential to test it. Go back to your landing page and subscribe using a test email address. Ensure that the automated email is sent correctly and appears as intended in your inbox.

After testing, analyze the results on your Moosend dashboard. You can track metrics like open rates and click-through rates to gauge the effectiveness of your campaigns.
Conclusion
Congratulations! You’ve successfully set up email marketing automation using Moosend. With your new email list, landing page, and automated email sequence, you are well on your way to enhancing engagement with your audience. Use these tools to send updates, promotions, and valuable content to your subscribers.
Remember, building an email list is essential for any marketing strategy, especially in today’s digital landscape. Start leveraging Moosend to grow your business today!


