In today’s digital landscape, email marketing remains a powerful tool for businesses. With platforms like Moosend, creating and managing email campaigns is easier than ever. This guide will take you through the step-by-step process of utilizing Moosend for your email marketing needs, from setting up your account to analyzing your campaign results.
Table of Contents
Step 1: Getting Started with Moosend
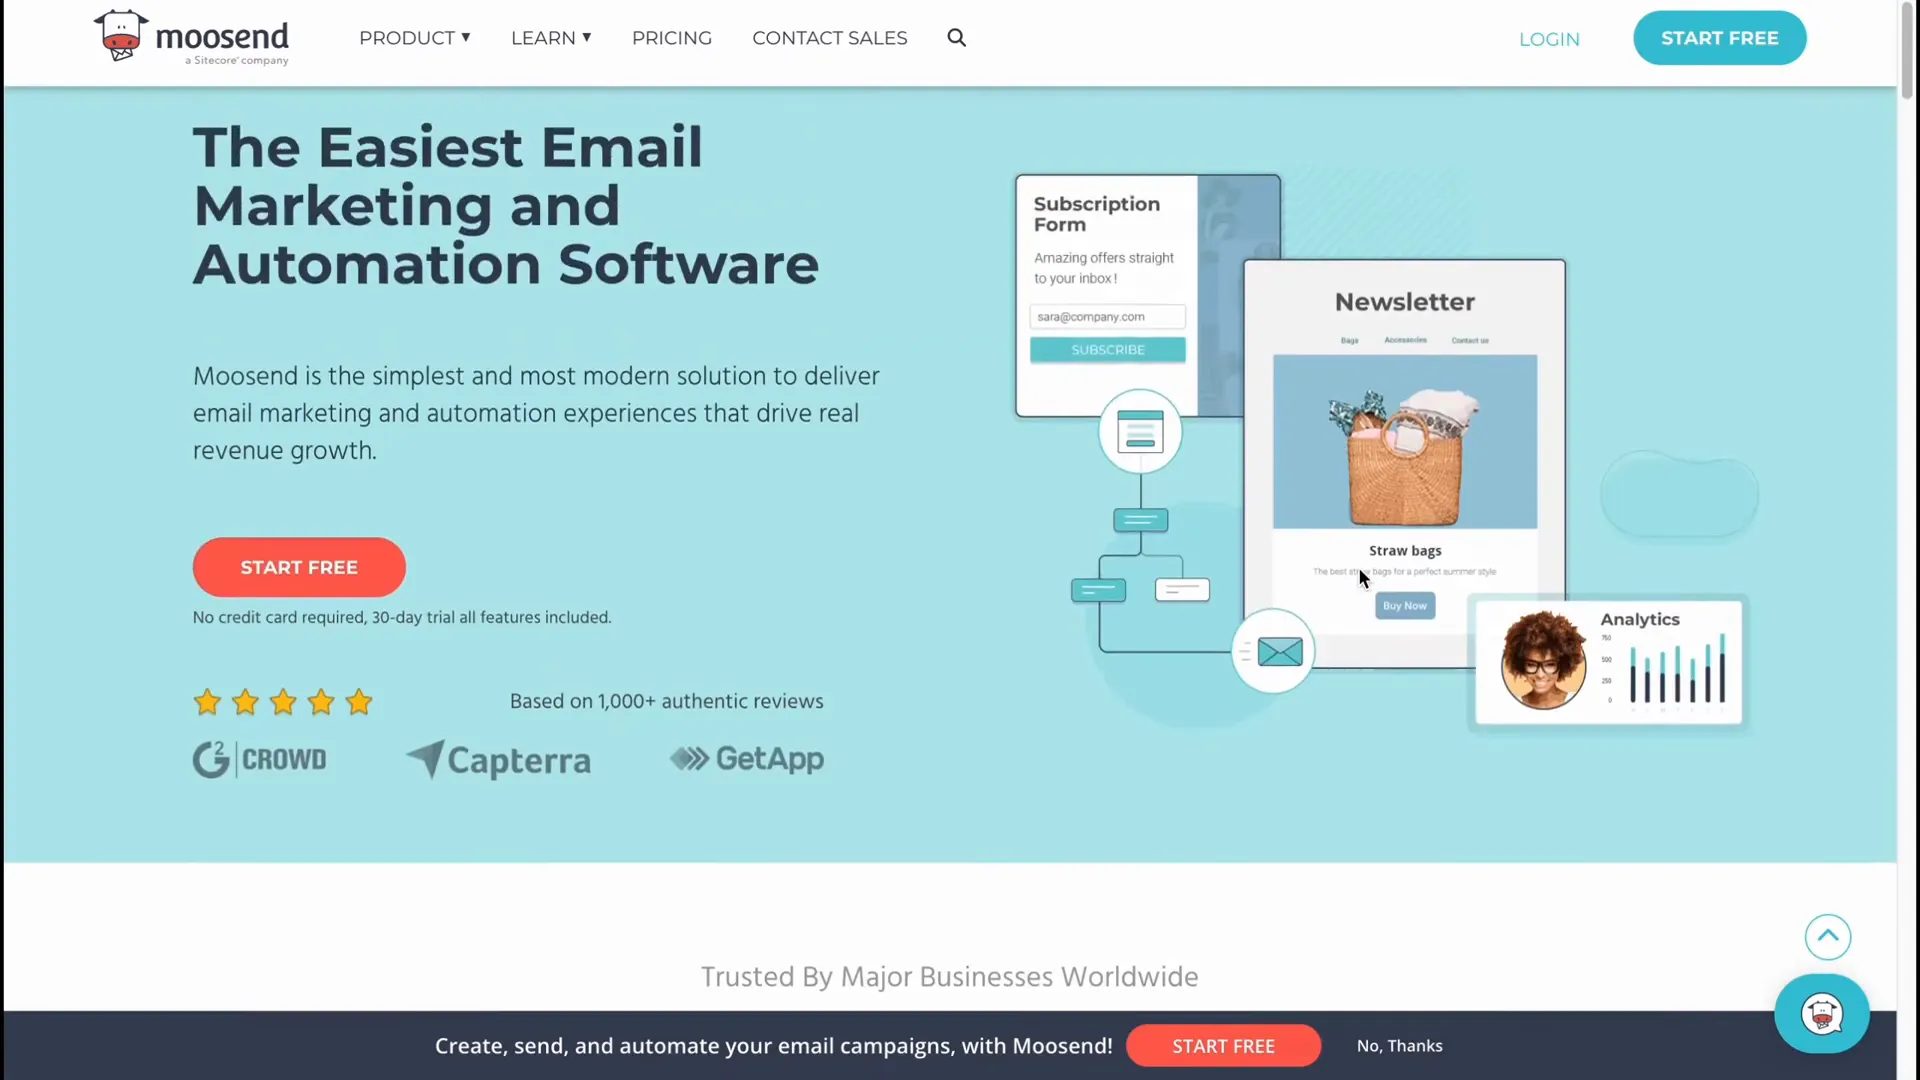
To kick off your email marketing journey, you first need to create an account with Moosend. Visit Moosend’s website and click on the “Start Free” button. You will be directed to a registration page where you need to enter your email address and other required information.
Once you’ve registered, you will need to verify your email address. This step ensures that you have access to your account. After verification, log in to your Moosend account to access the dashboard.
Step 2: Navigating the Moosend Dashboard
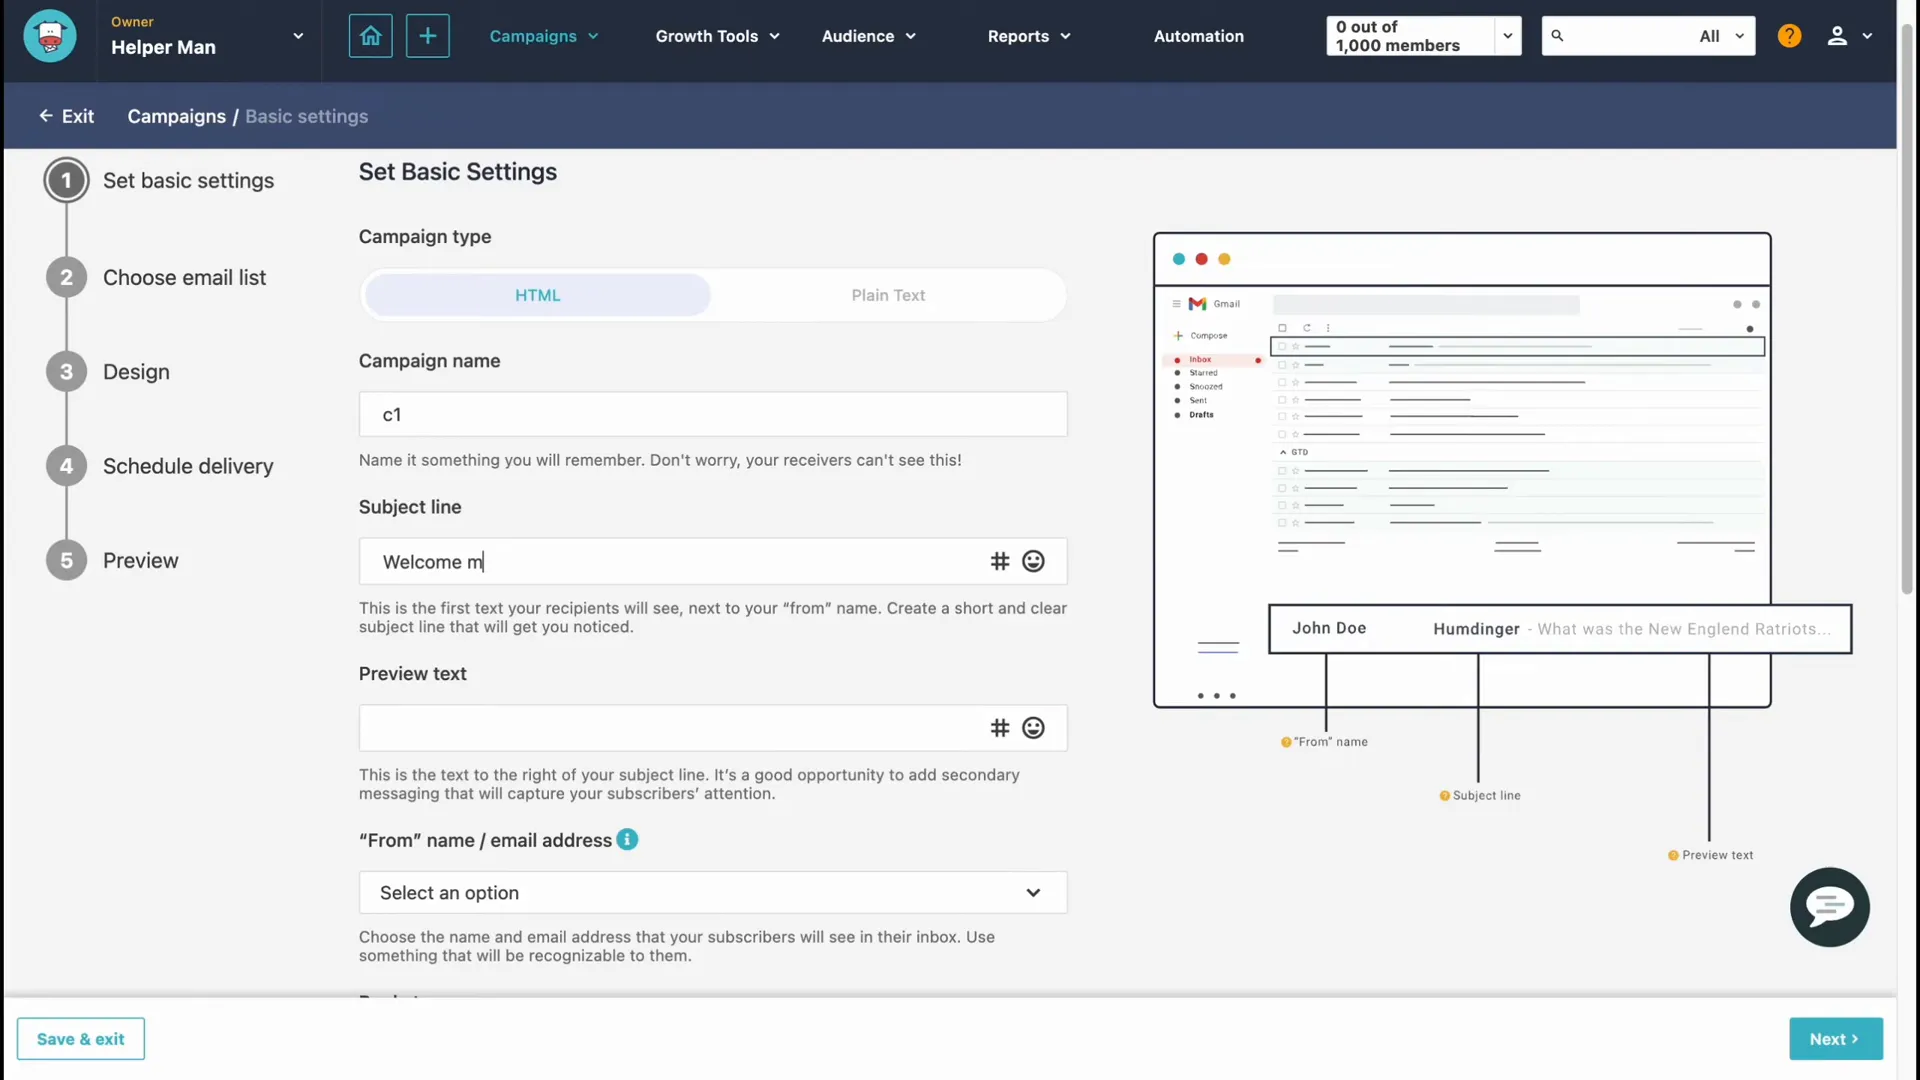
Upon logging in, you’ll find a user-friendly dashboard. This is where you can manage your email lists, campaigns, automations, and more. The top of the screen features various folders for easy navigation. You can create campaigns, email lists, landing pages, and subscription forms from the dashboard.
Understanding the Dashboard Features
- Campaigns: Manage all your email campaigns, including regular, RSS, and repeatable campaigns.
- Growth Tools: Create landing pages and subscription forms to grow your audience.
- Audience Management: Add and manage your contacts efficiently.
- Reports: Analyze your campaign performance with detailed reports.
- Automation: Set up automated workflows to engage your audience effectively.
Step 3: Creating Your First Email List
Before sending out emails, you need to create an email list. Click on the “Audience” section in your dashboard and then click on “New List.” Enter a name for your list, such as “Email List 1,” and click “Create.”
Next, you can add members to your list. Click on “Add a Member,” and you will be prompted to fill in fields such as email, name, and mobile number. You also have the option to import subscribers from CSV files or other platforms.
Step 4: Segmenting Your Audience
Segmentation allows you to tailor your email campaigns to specific groups within your audience. In the “Segments” area, you can create different segments based on various criteria, such as demographics or engagement levels. This feature helps increase the relevance of your emails, leading to higher engagement rates.
Step 5: Creating Your First Campaign
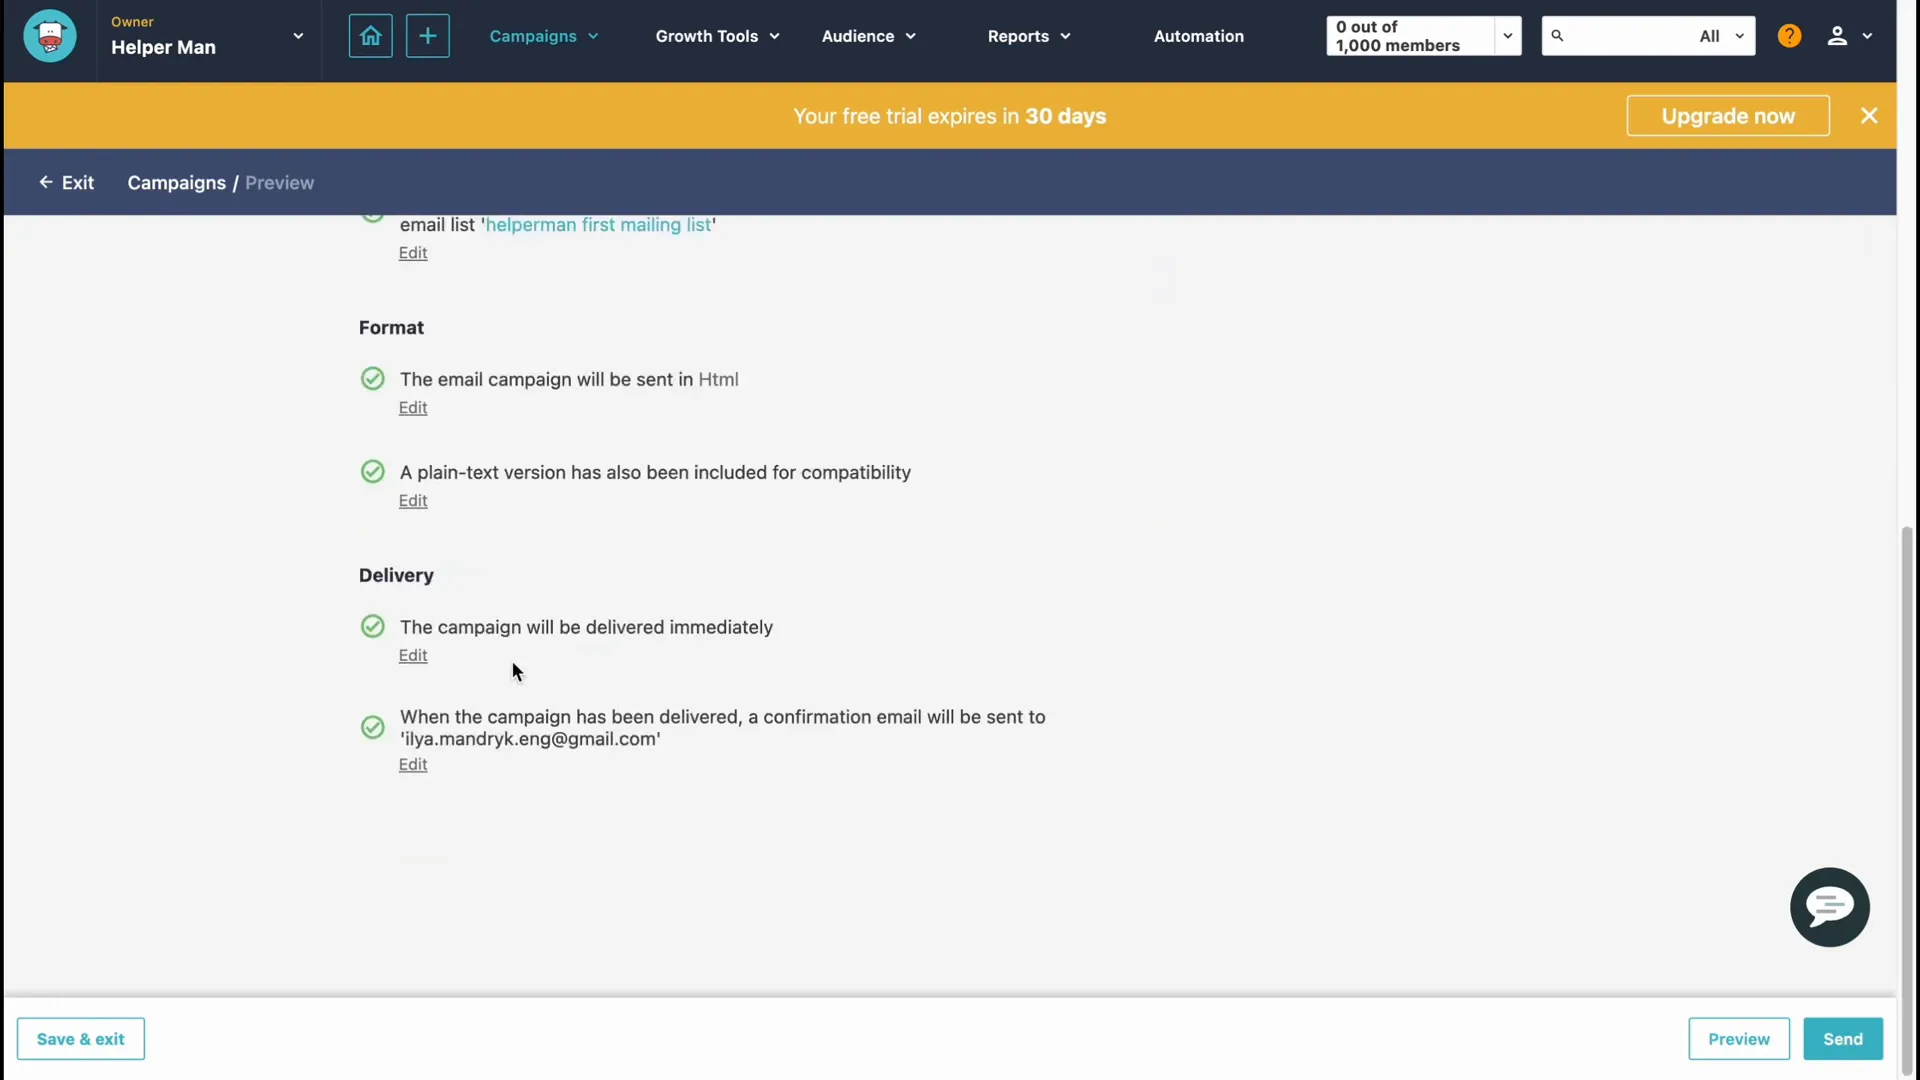
Now that your email list is set up, it’s time to create your first email campaign. Navigate to the “Campaigns” section and click on “Create New Campaign.” You will have the option to choose between a regular campaign, A/B testing, or a repeatable campaign.
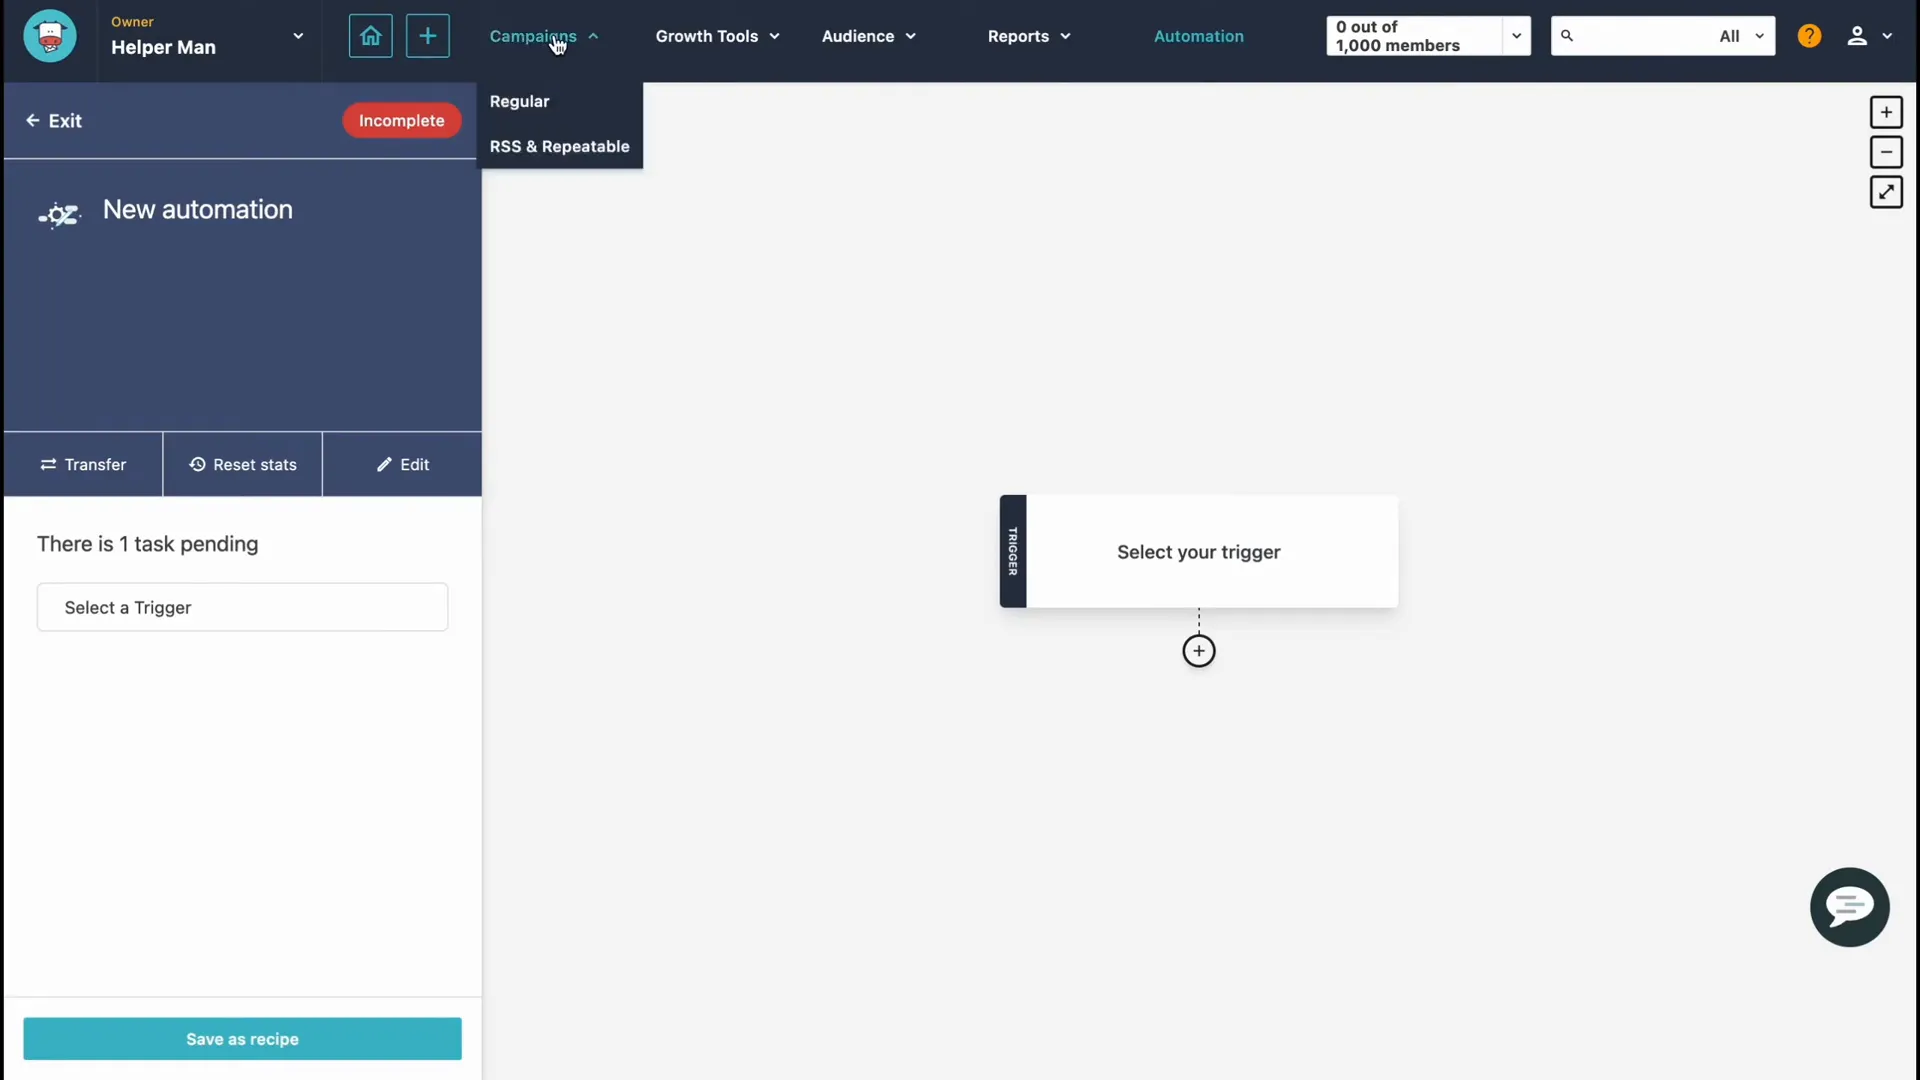
For this tutorial, select “Regular Campaign.” You will need to choose the format of your email—either plain text or HTML. HTML is recommended for its design capabilities, so select that option.
Setting Up Campaign Details
Next, you will input the campaign name, subject line, and preview text. The subject line should be catchy to grab your audience’s attention. For example, “Welcome to Our Newsletter!”

Additionally, you can choose the sender’s name and reply-to email address. Enabling Google Analytics tracking is also a good practice to analyze your campaign’s performance later on.
Step 6: Designing Your Email
Once you’ve set up the campaign details, you will be directed to the design page. Moosend provides customizable templates that are fully responsive. You can choose a template or create your design from scratch.
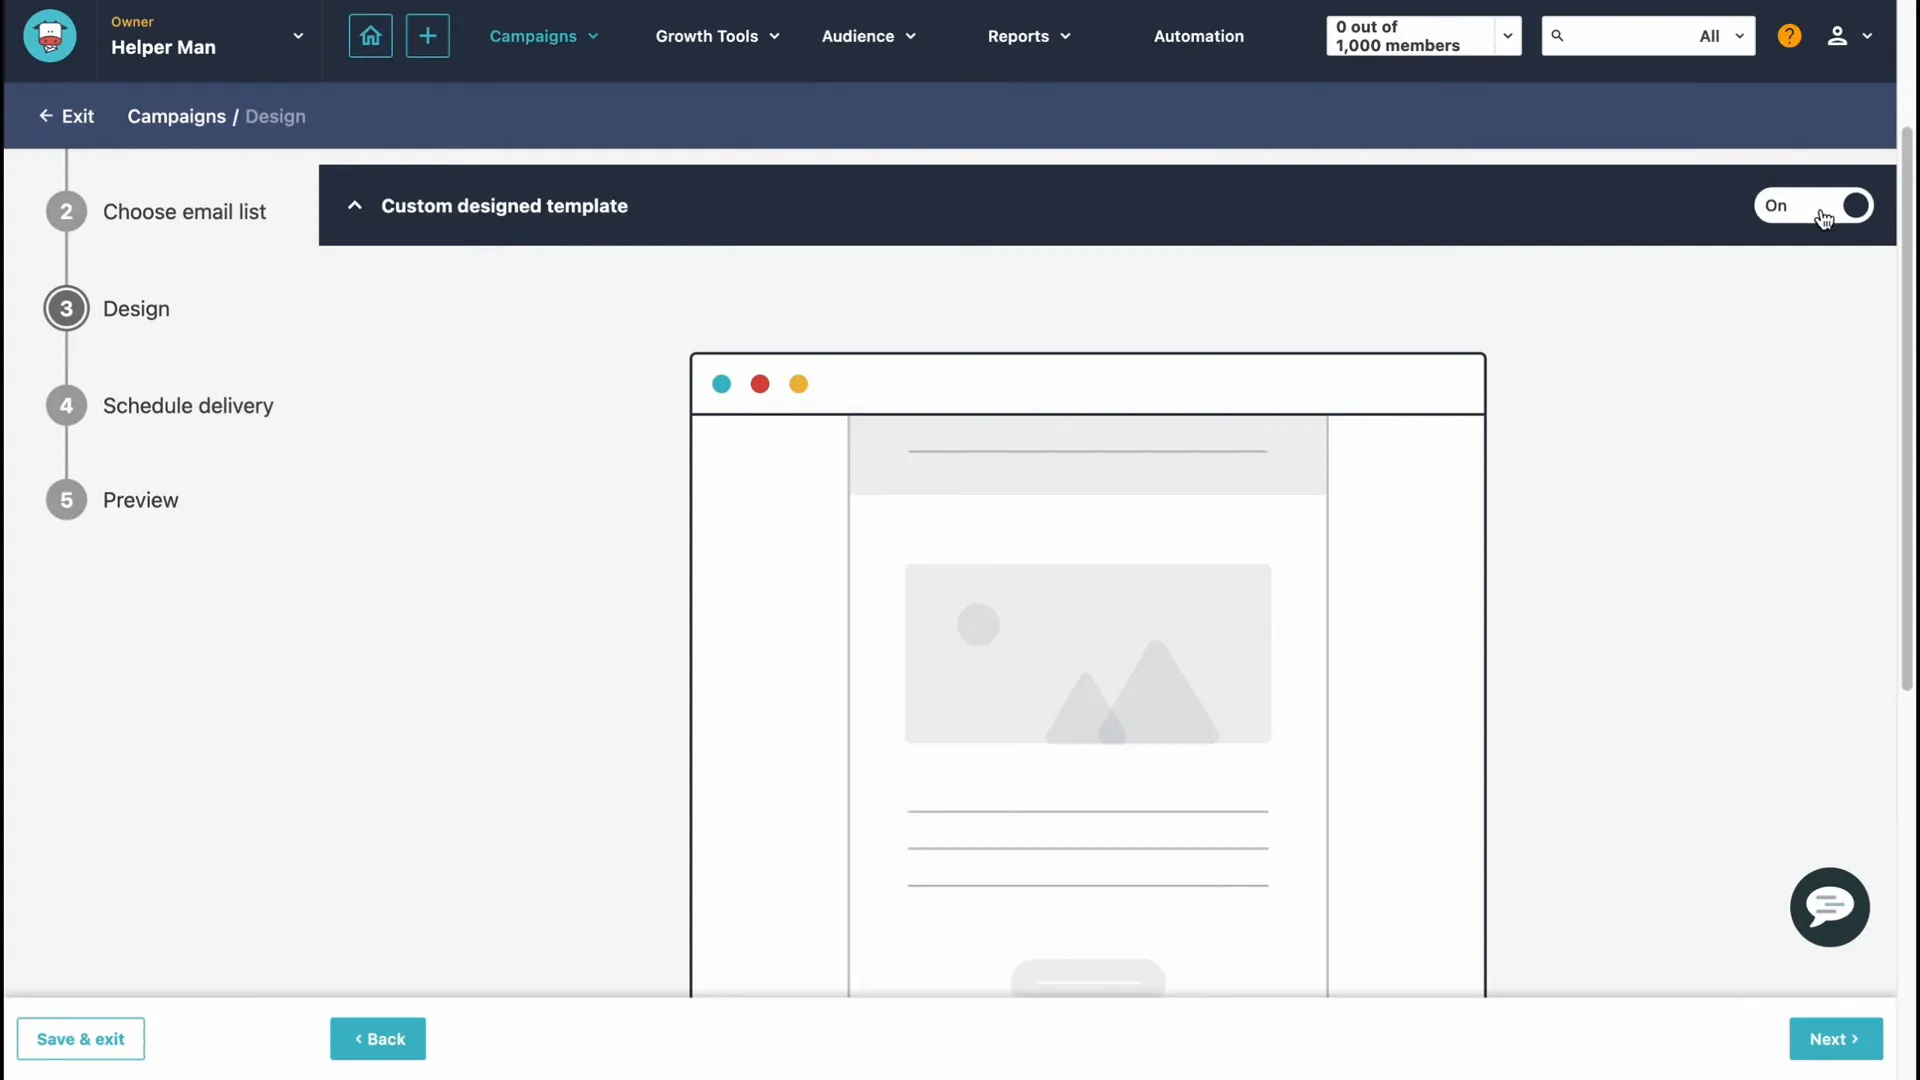
In the editor, you can add various elements such as images, buttons, and social share options. Simply drag and drop the elements to create an engaging layout. Make sure to preview your design to ensure it looks good across devices.
Step 7: Scheduling Your Campaign
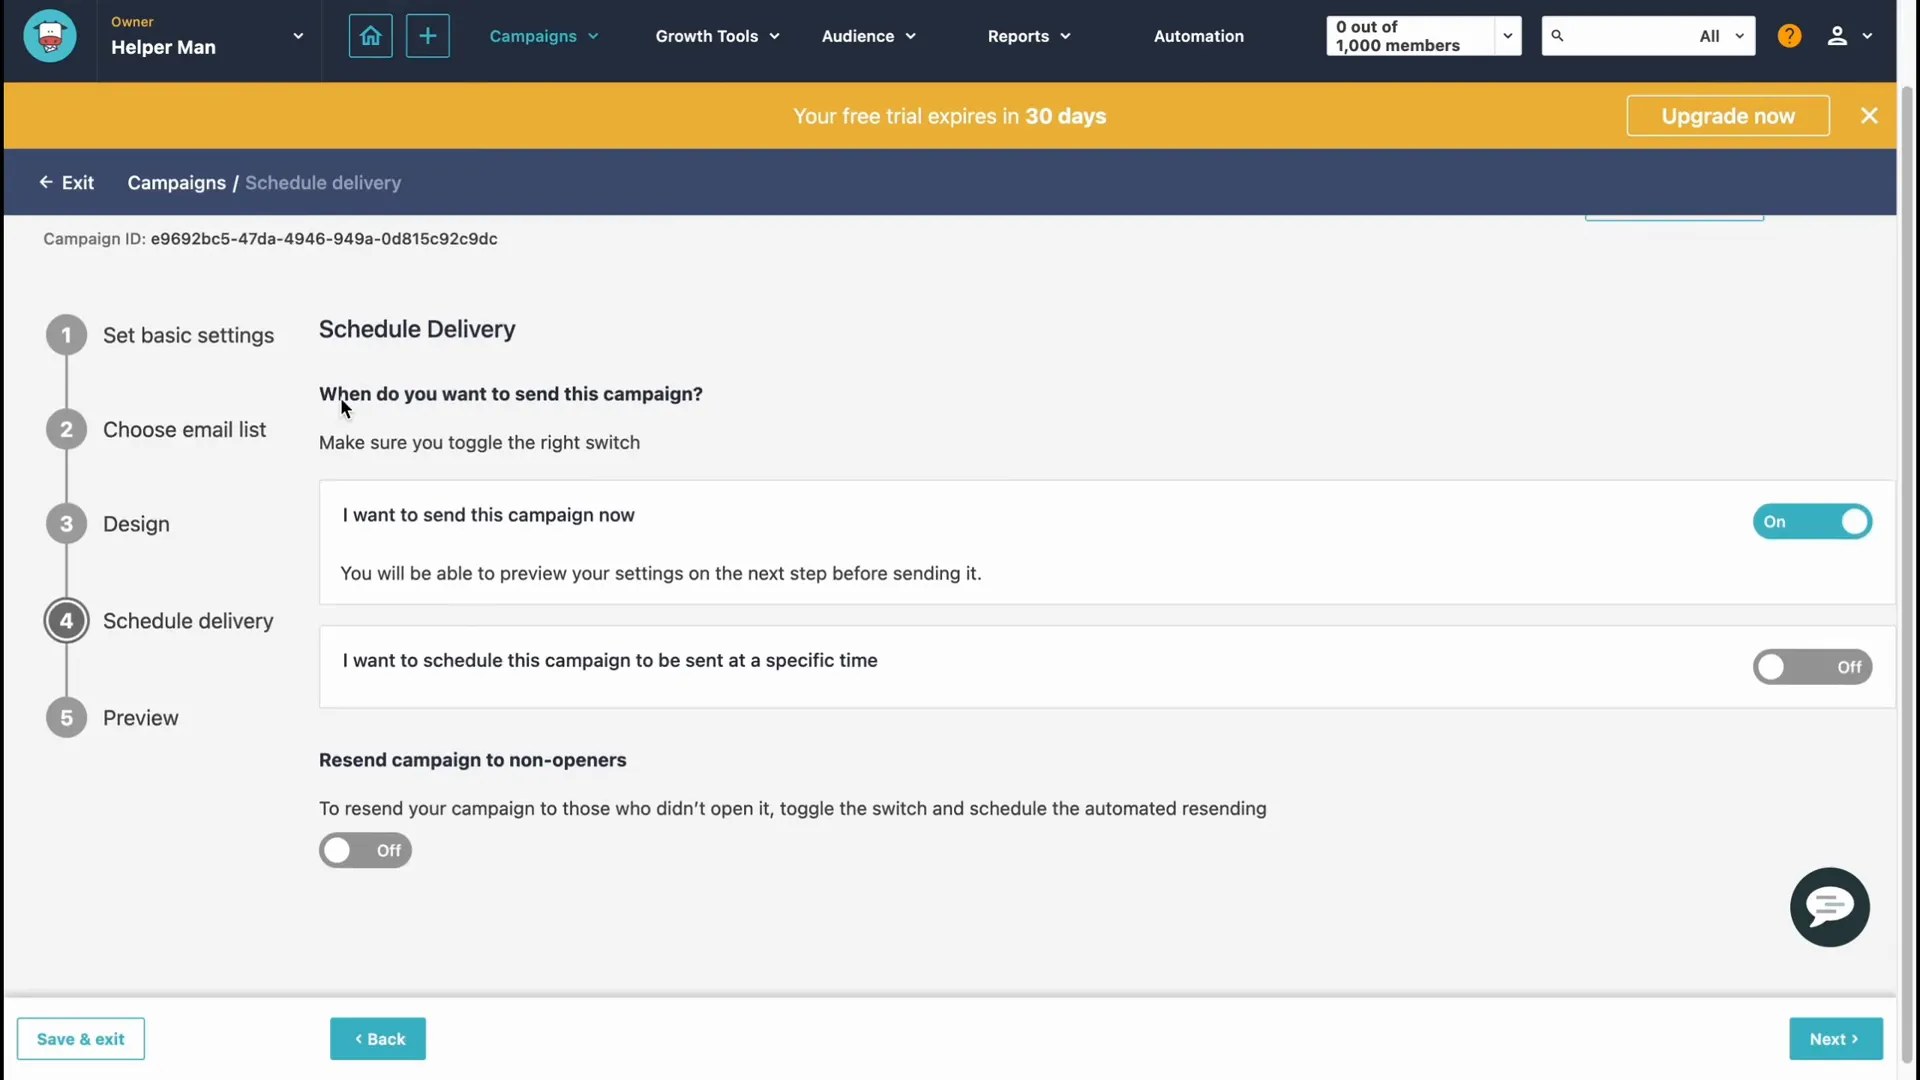
After designing your email, you need to decide when to send it out. You can choose to send it immediately or schedule it for a later date and time. This feature is useful for aligning your campaigns with specific events or promotions.

Step 8: Sending and Analyzing Your Campaign
Before sending your campaign, you can send a test email to yourself to check how it appears in inboxes. Once you’re satisfied with everything, click on “Send” or “Schedule” based on your preference. After sending, you can monitor the campaign’s performance through the “Reports” section.

Step 9: Analyzing Campaign Performance
In the reports area, you can view important metrics such as open rates, click rates, and unsubscribe rates. This data is crucial for understanding your audience’s engagement and optimizing future campaigns.

Conclusion
Using Moosend for your email marketing needs can significantly enhance your outreach efforts. By following these steps, you can create effective campaigns that engage your audience and drive results. Remember to continually analyze your performance and adjust your strategies accordingly.
If you’re ready to take your email marketing to the next level, consider signing up for Moosend today and explore its features!


