Quillbot is an essential tool for anyone looking to enhance their writing. Whether you are a student, professional, or just someone who loves to write, Quillbot can help you paraphrase text, generate citations, translate documents, and much more. In this tutorial, we will guide you through the steps to set up your Quillbot account and utilize its various features effectively. Let’s dive in!
Table of Contents
Step 1: Creating Your Quillbot Account
The first step in using Quillbot is to create an account. This process is straightforward and only takes a few minutes. First, you need to find the link to the Quillbot homepage, which can usually be found in the description of related resources.
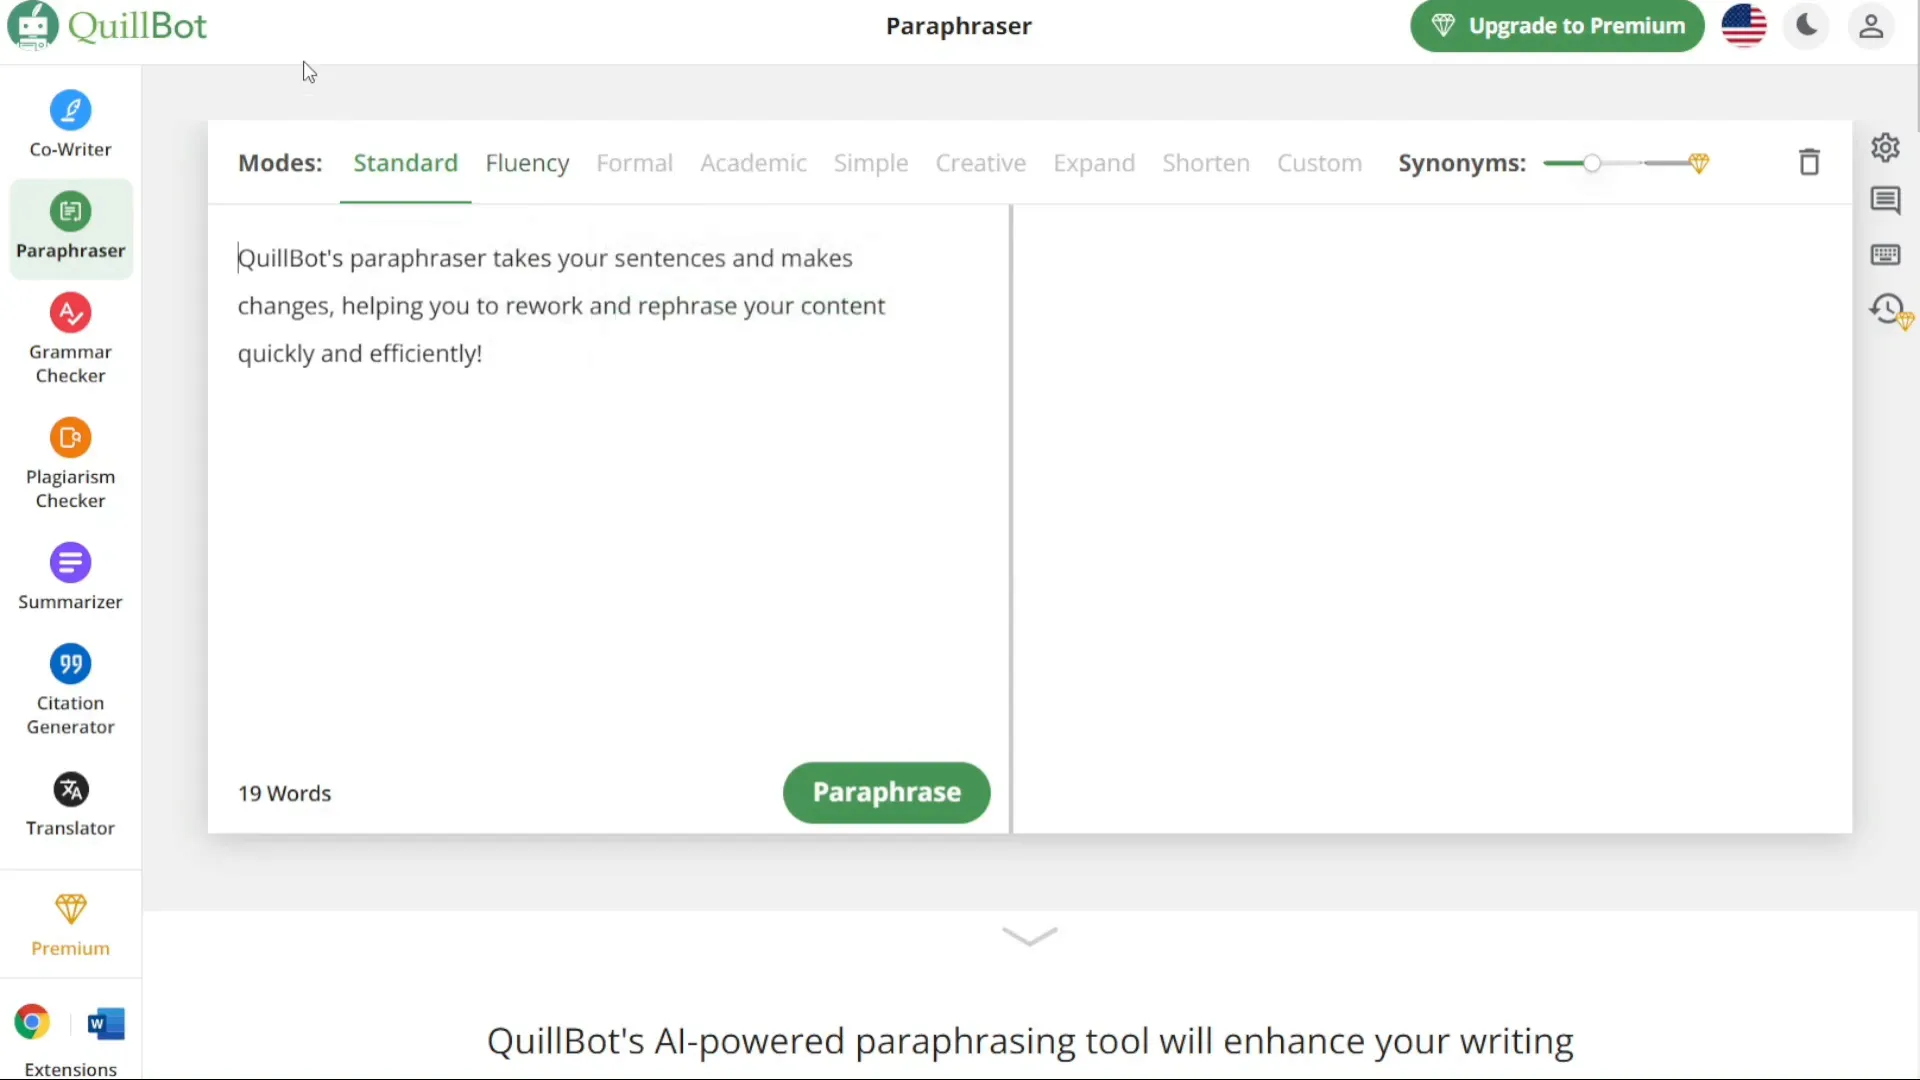
Once you reach the homepage, look for the account option in the top right corner. Click on it to bring up the login window. Since you are a new user, select the option that says “don’t have an account?” to be redirected to the registration page.
On the registration page, you will find several options to sign up. You can register using your Google account, Facebook account, or your email address. Choose the method that is most convenient for you and complete the registration process.

Step 2: Personalizing Your Account
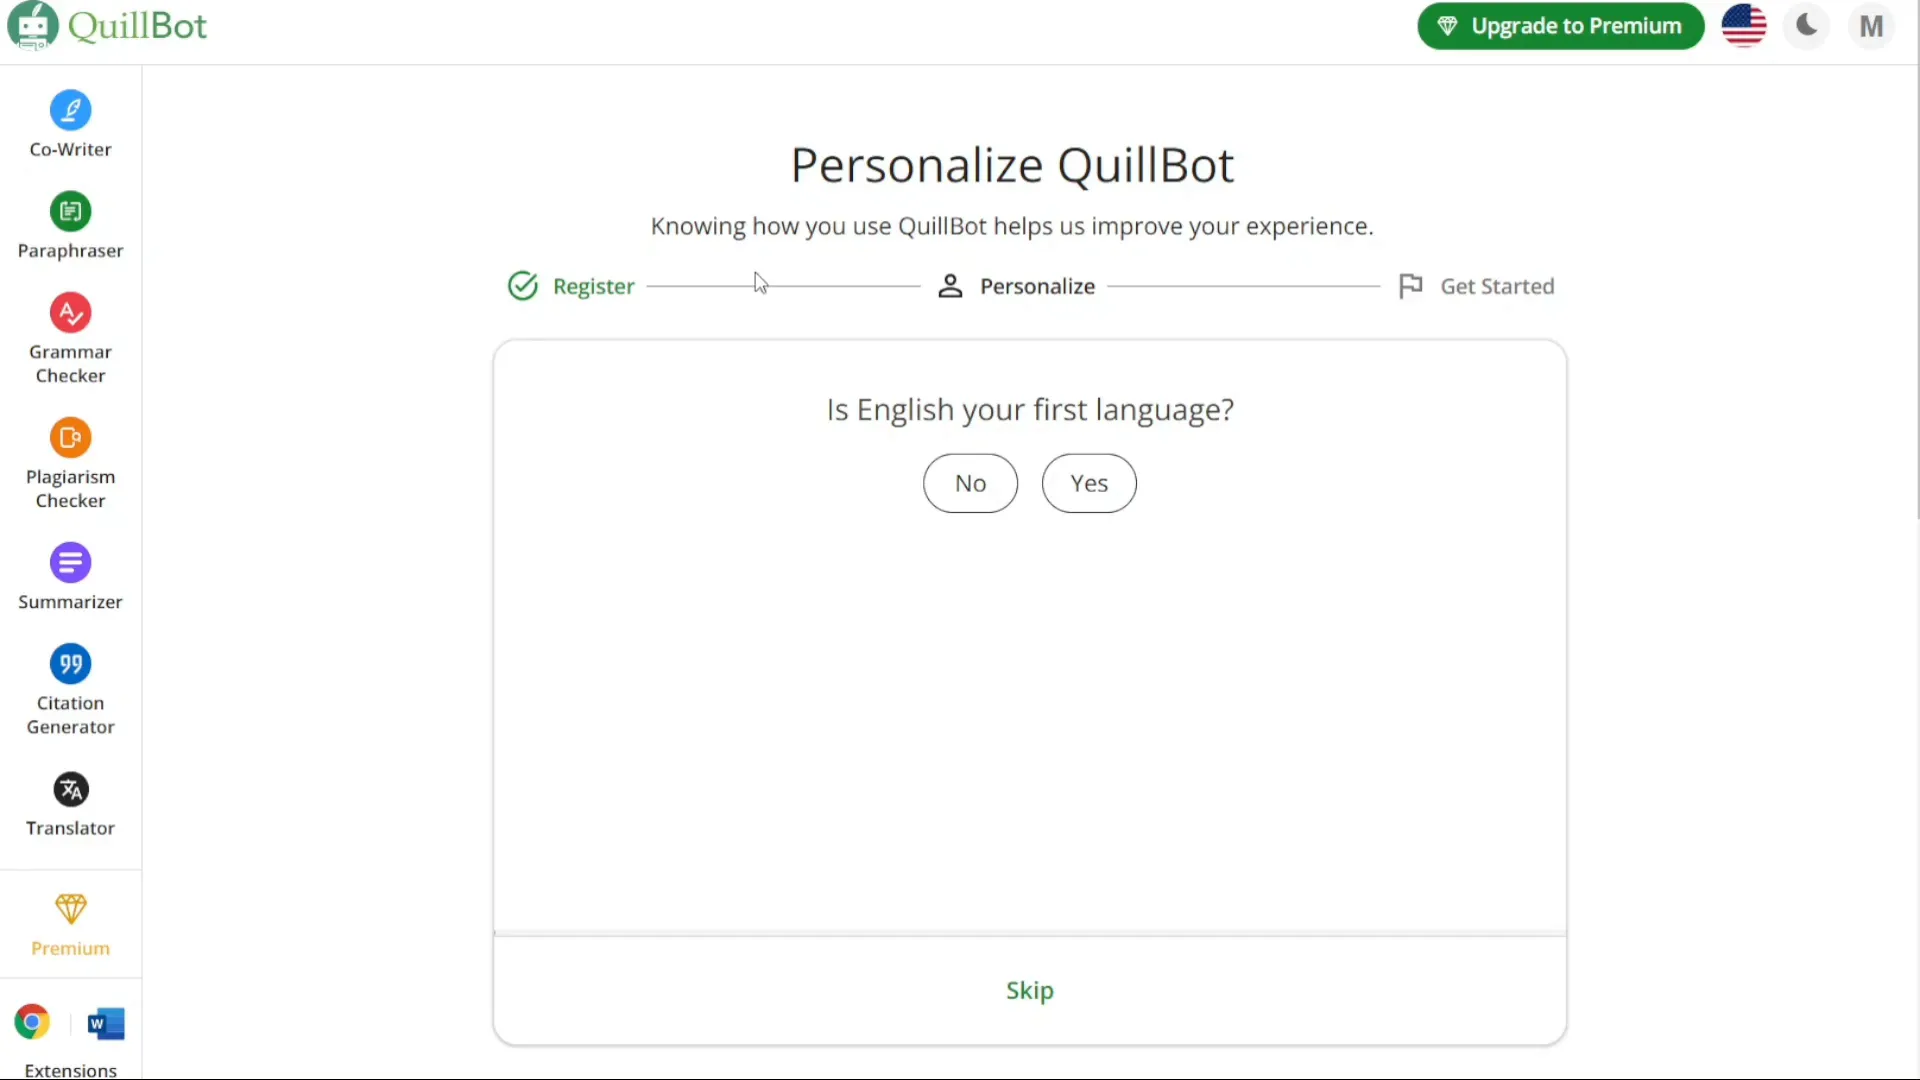
After successfully signing up, Quillbot will prompt you to personalize your account. This step involves setting up your preferences and customizing your experience with Quillbot. You can either follow the on-screen prompts or choose to skip this step if you prefer.
Step 3: Selecting Your Platform
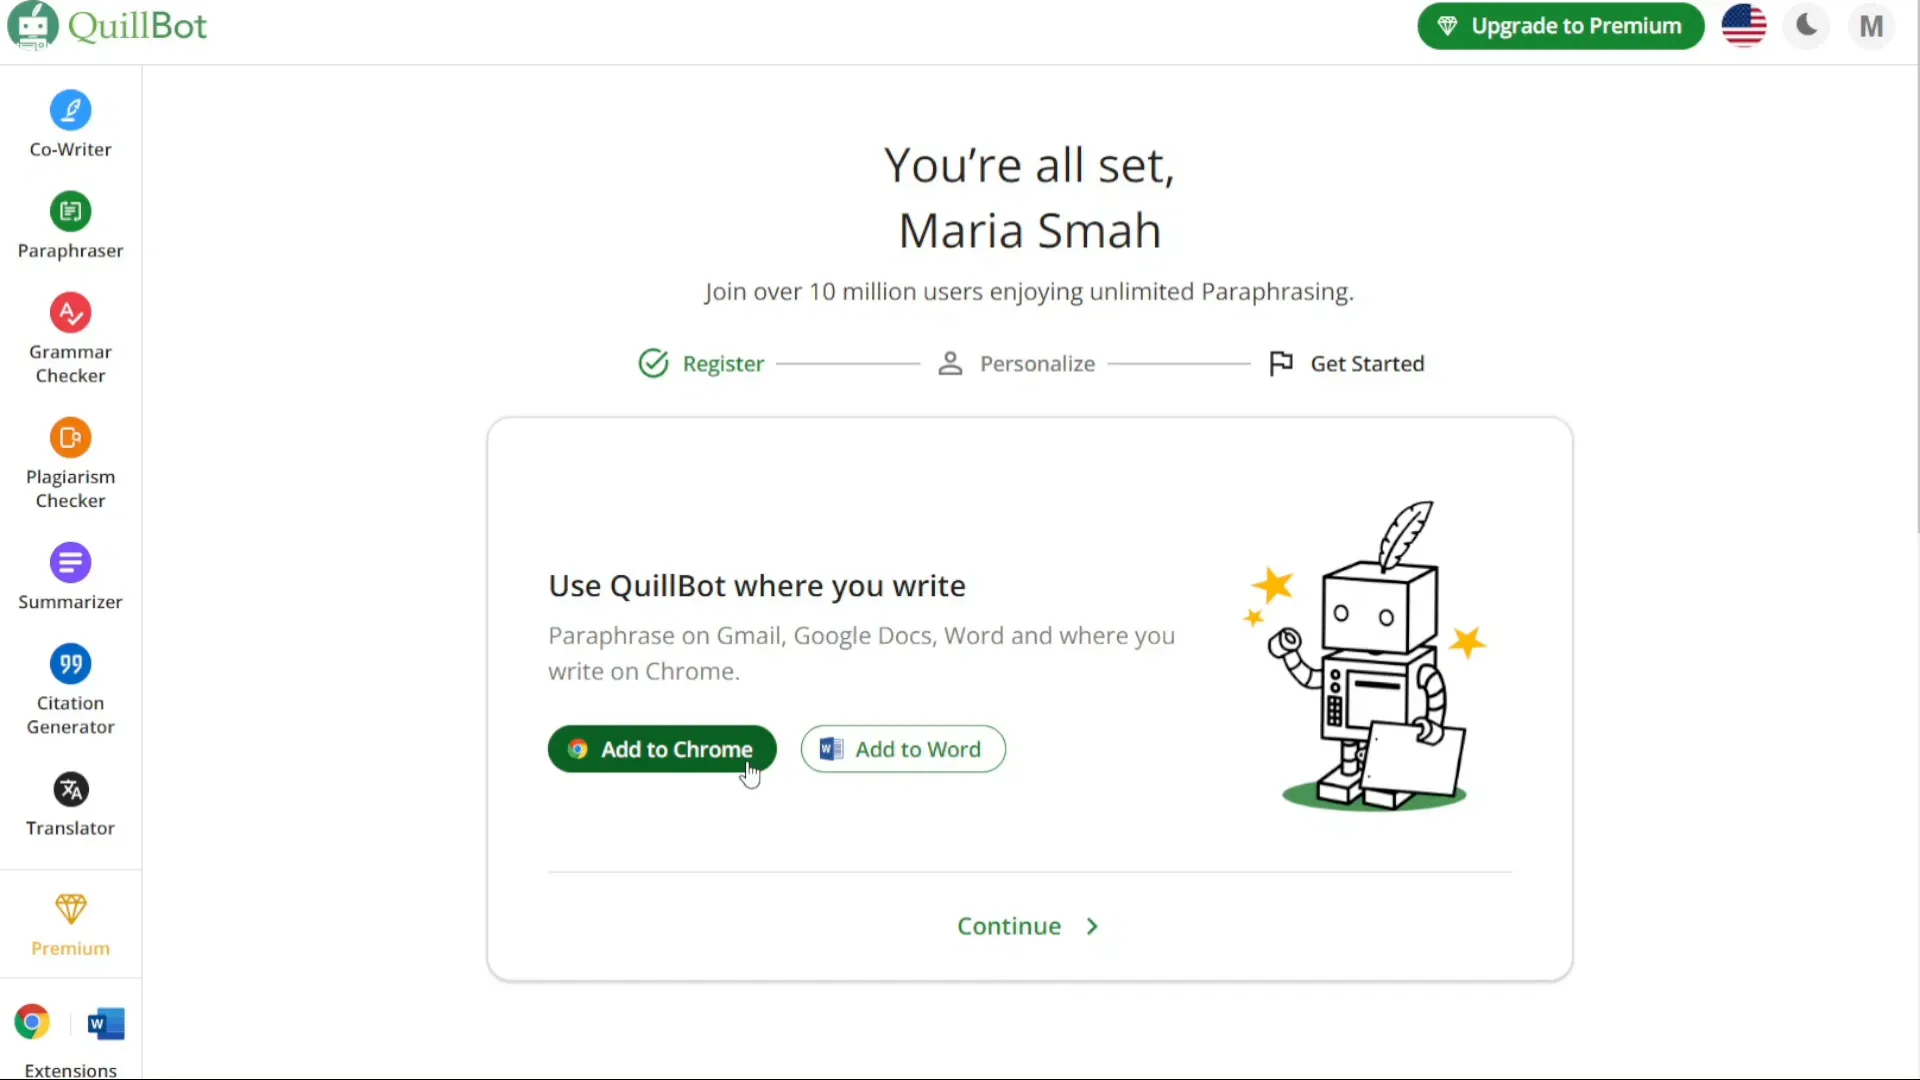
Next, you will need to select the platform where you wish to use Quillbot. The options include Gmail, Google Docs, Word, and any platform where you write on Chrome. For this tutorial, let’s choose to add Quillbot as an extension to Chrome. Click on the corresponding option and proceed.
Step 4: Accessing the Quillbot Dashboard
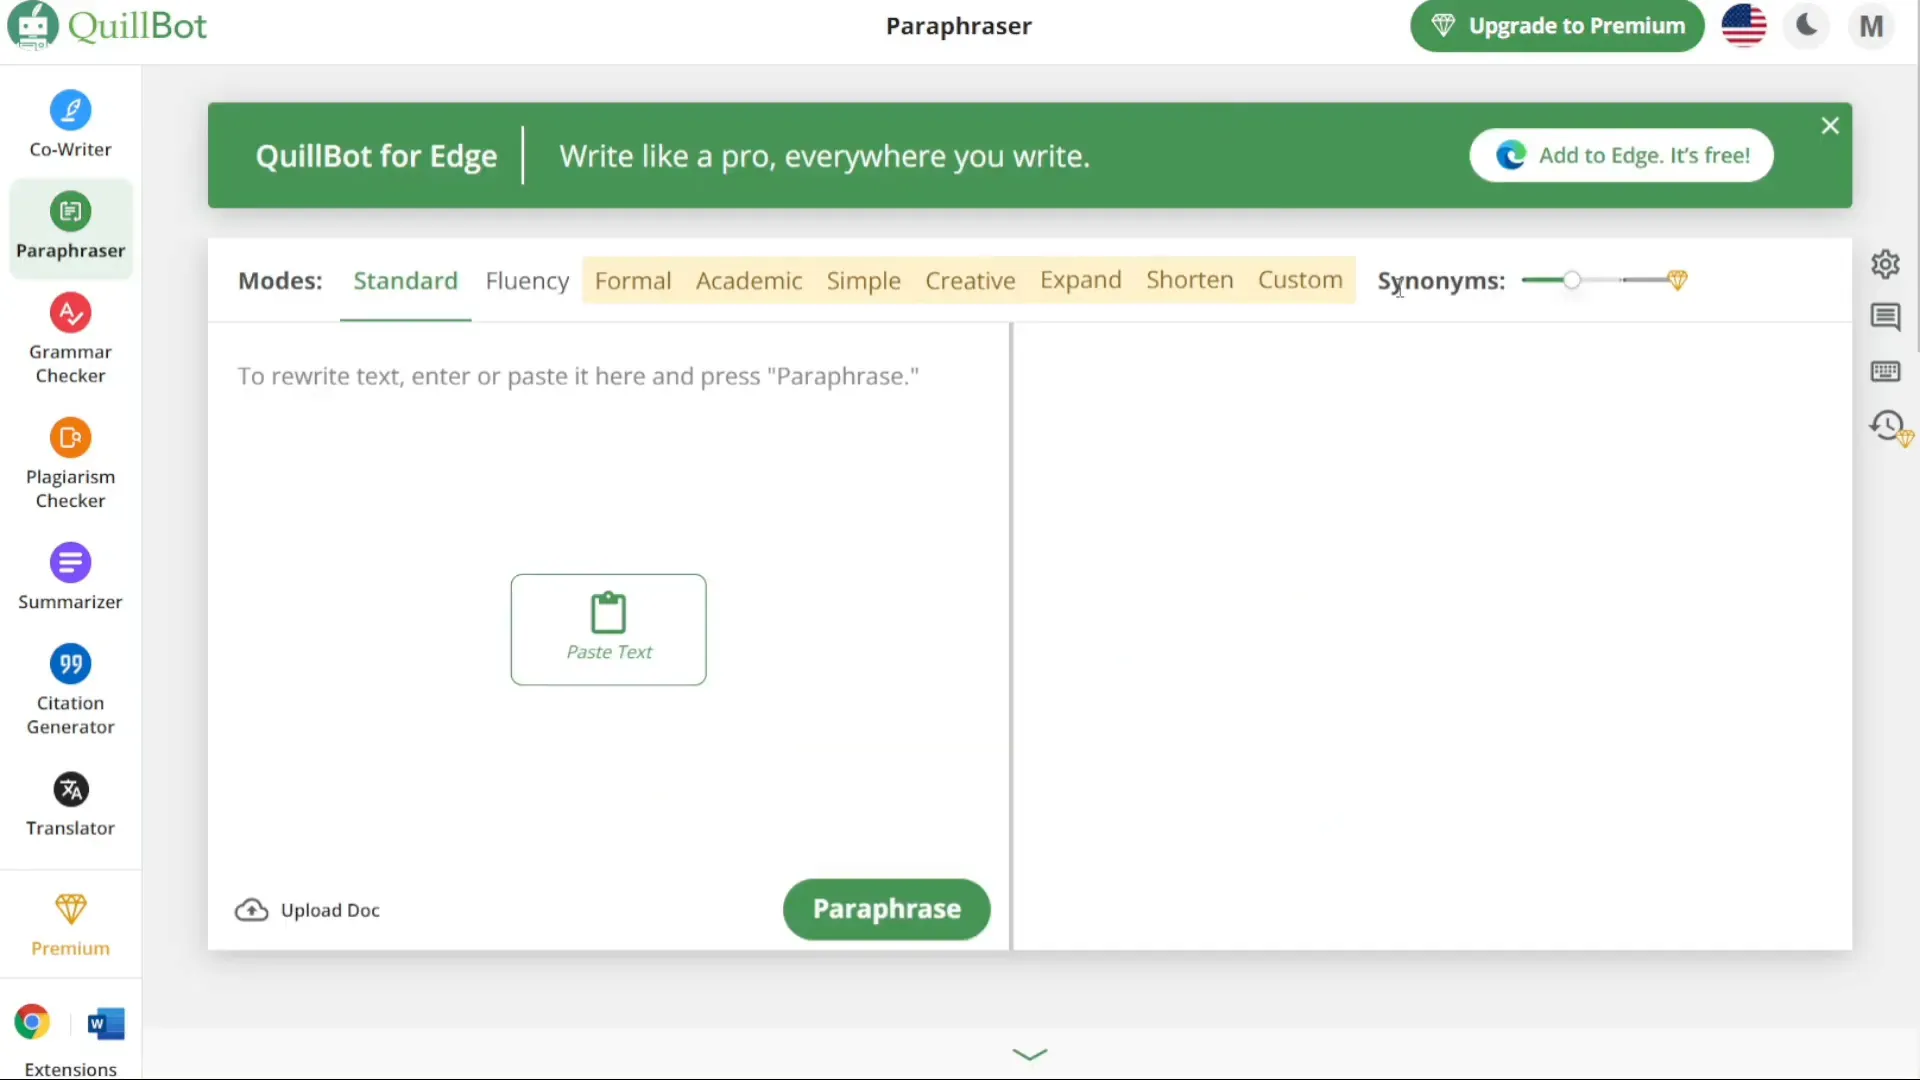
After adding Quillbot to your selected platform, you will be directed to your account dashboard. This dashboard serves as your command center, where you can access all features and settings related to Quillbot.
Step 5: Exploring Quillbot Features
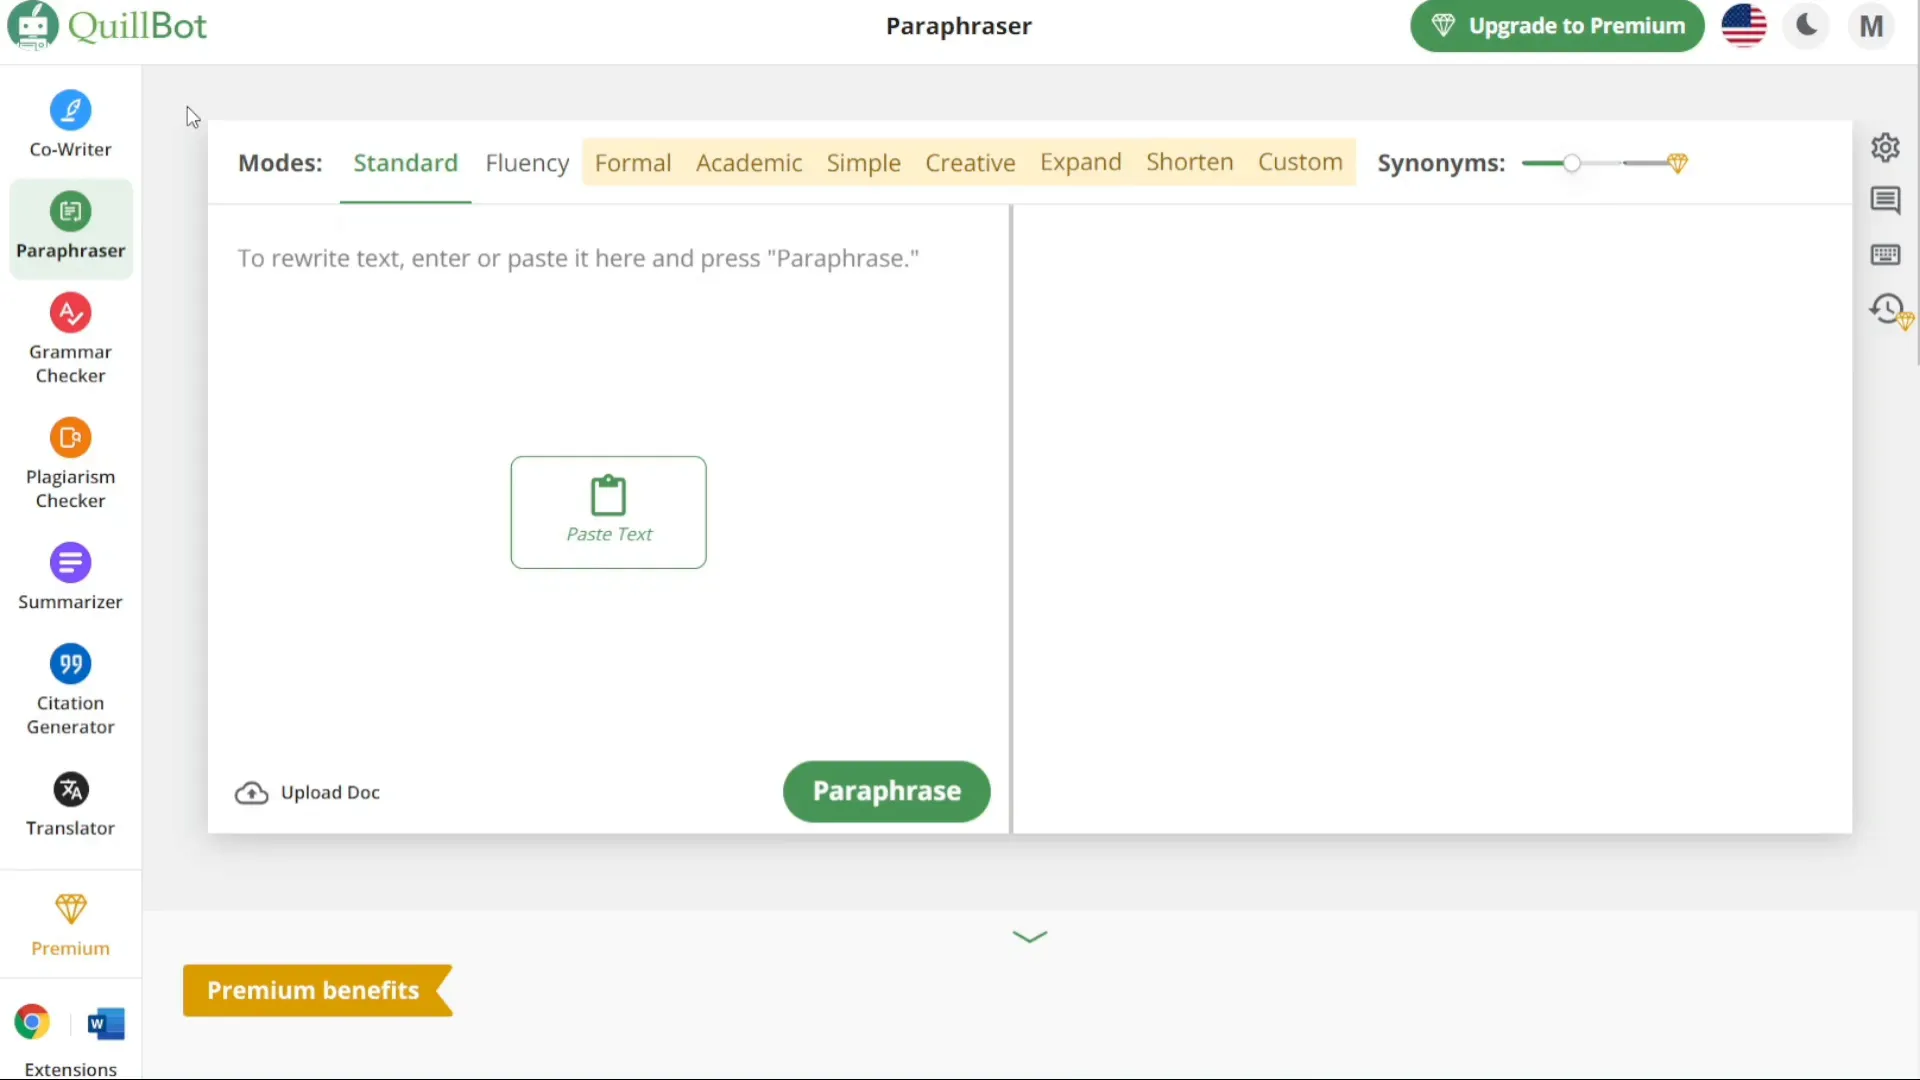
Once you are on the Quillbot dashboard, you will notice a left navigation panel. This panel contains various options to enhance your writing experience. Let’s explore some of the key features available.
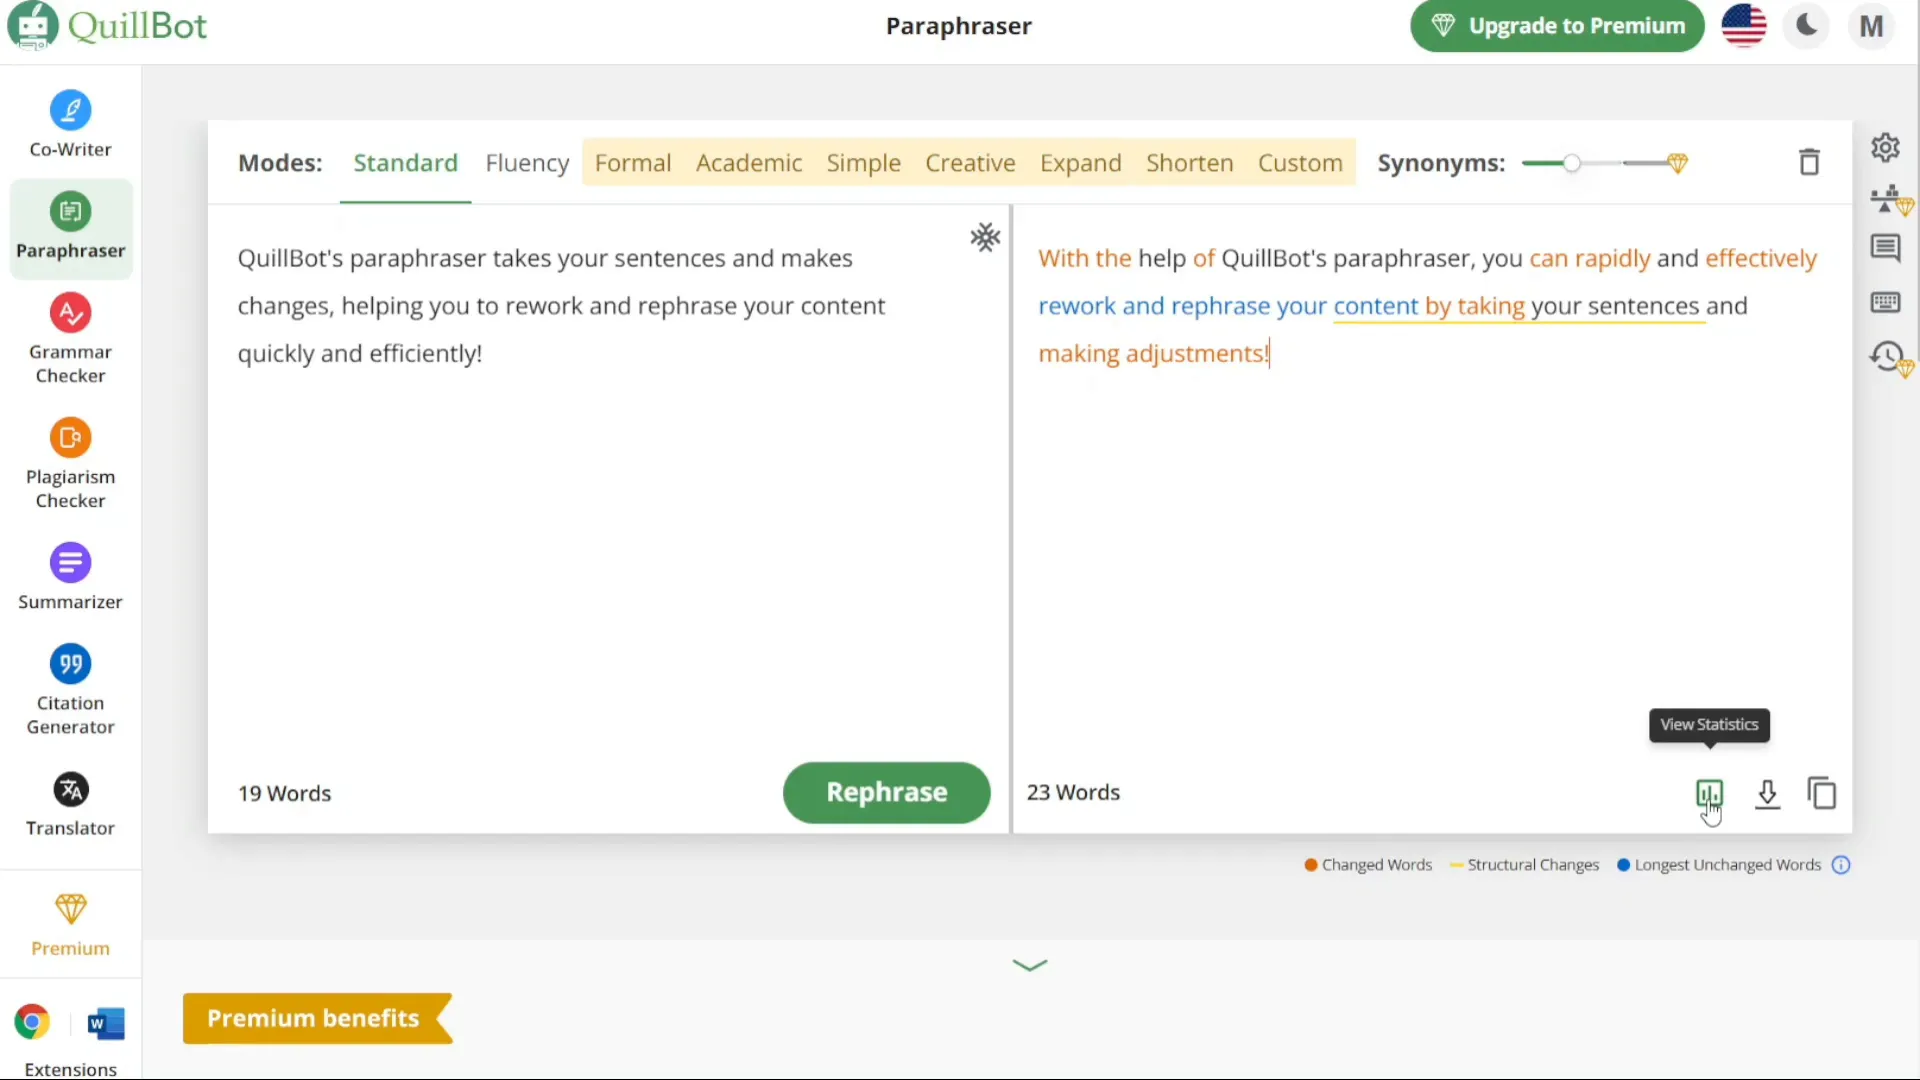
- Paraphraser: This feature allows you to effectively paraphrase text or documents while maintaining the original meaning.
- Grammar Checker: Use this tool to proofread your text, ensuring correct grammar usage and identifying potential errors.
- Plagiarism Checker: This tool scans your documents to identify any instances of copied content, ensuring the originality of your work.
- Co-Writer: Collaborate in real-time with other writers, facilitating seamless teamwork and idea sharing.
- Summarizer: Condense lengthy texts into concise summaries, saving time and effort.
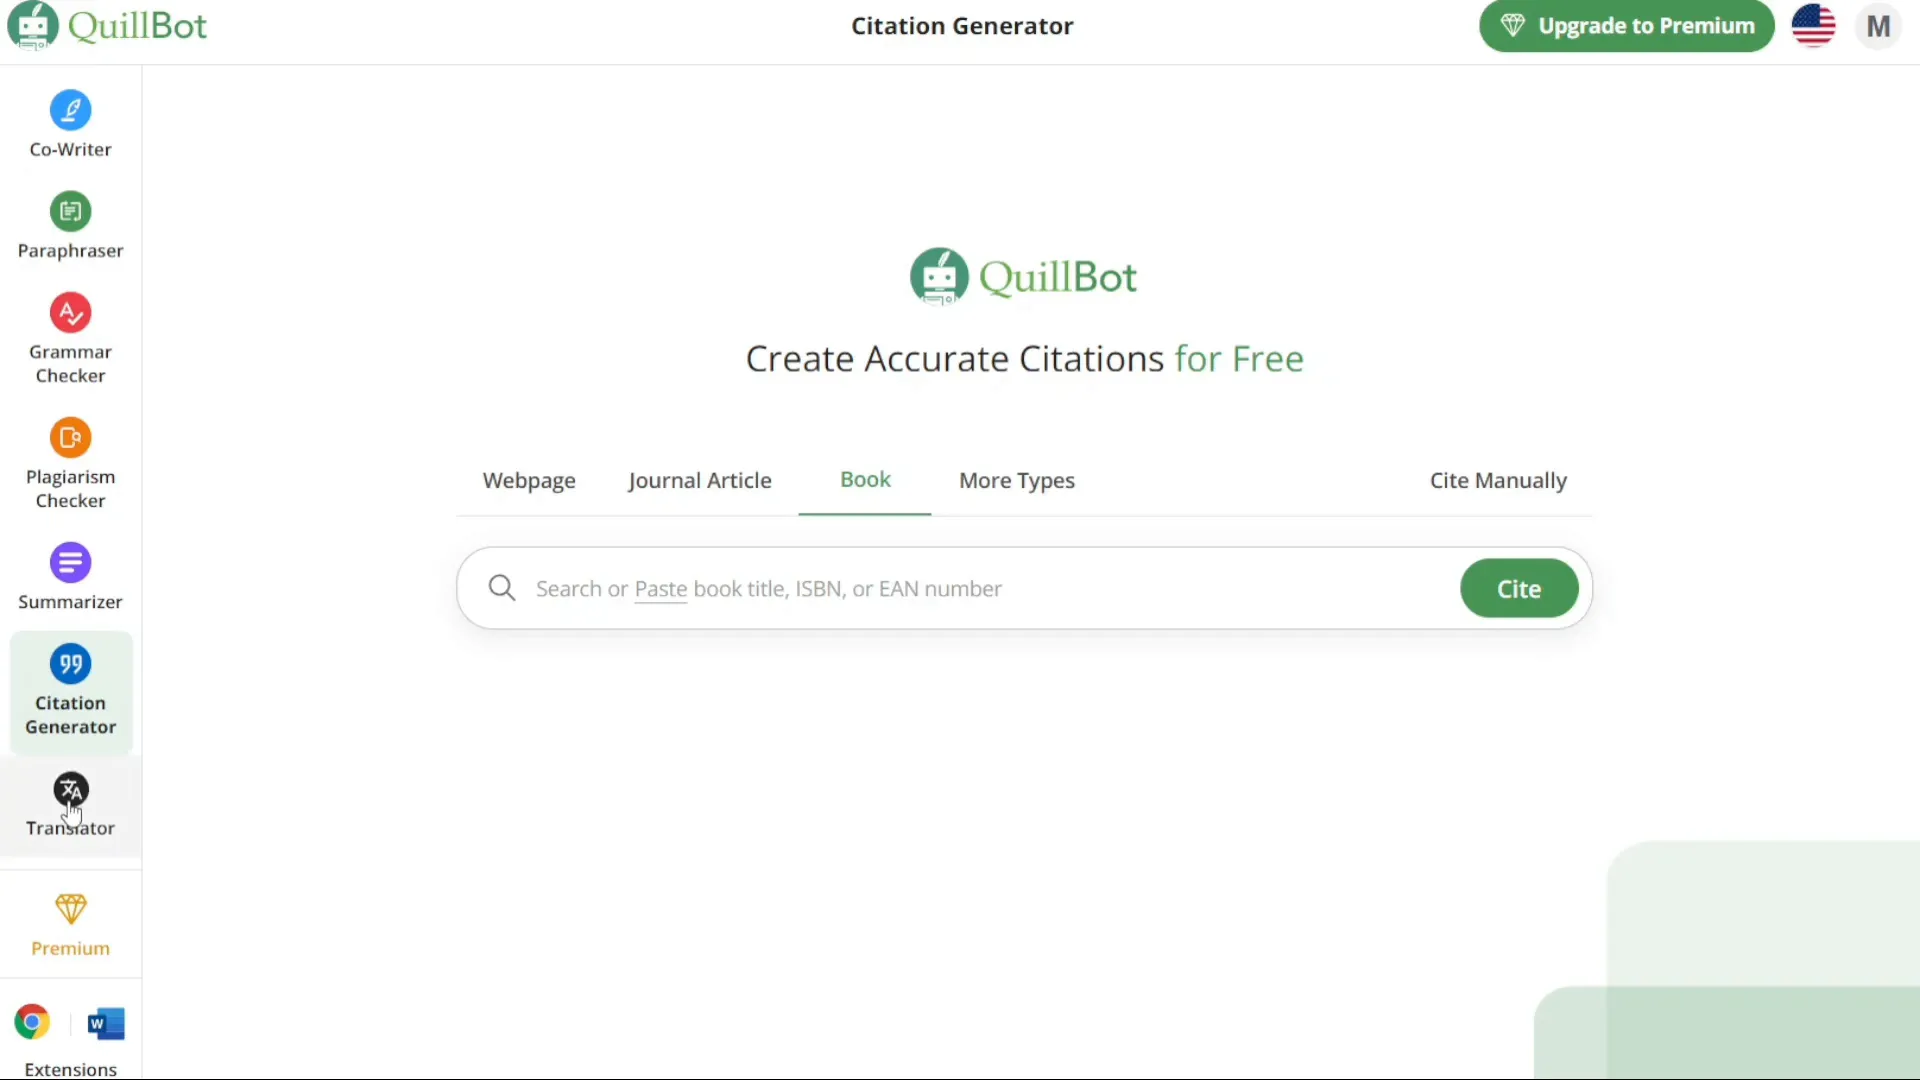
- Citation Generator: Automatically generate citations in various formats like APA or MLA.
- Translator: Translate text into different languages to overcome language barriers.
Step 6: Using the Paraphraser
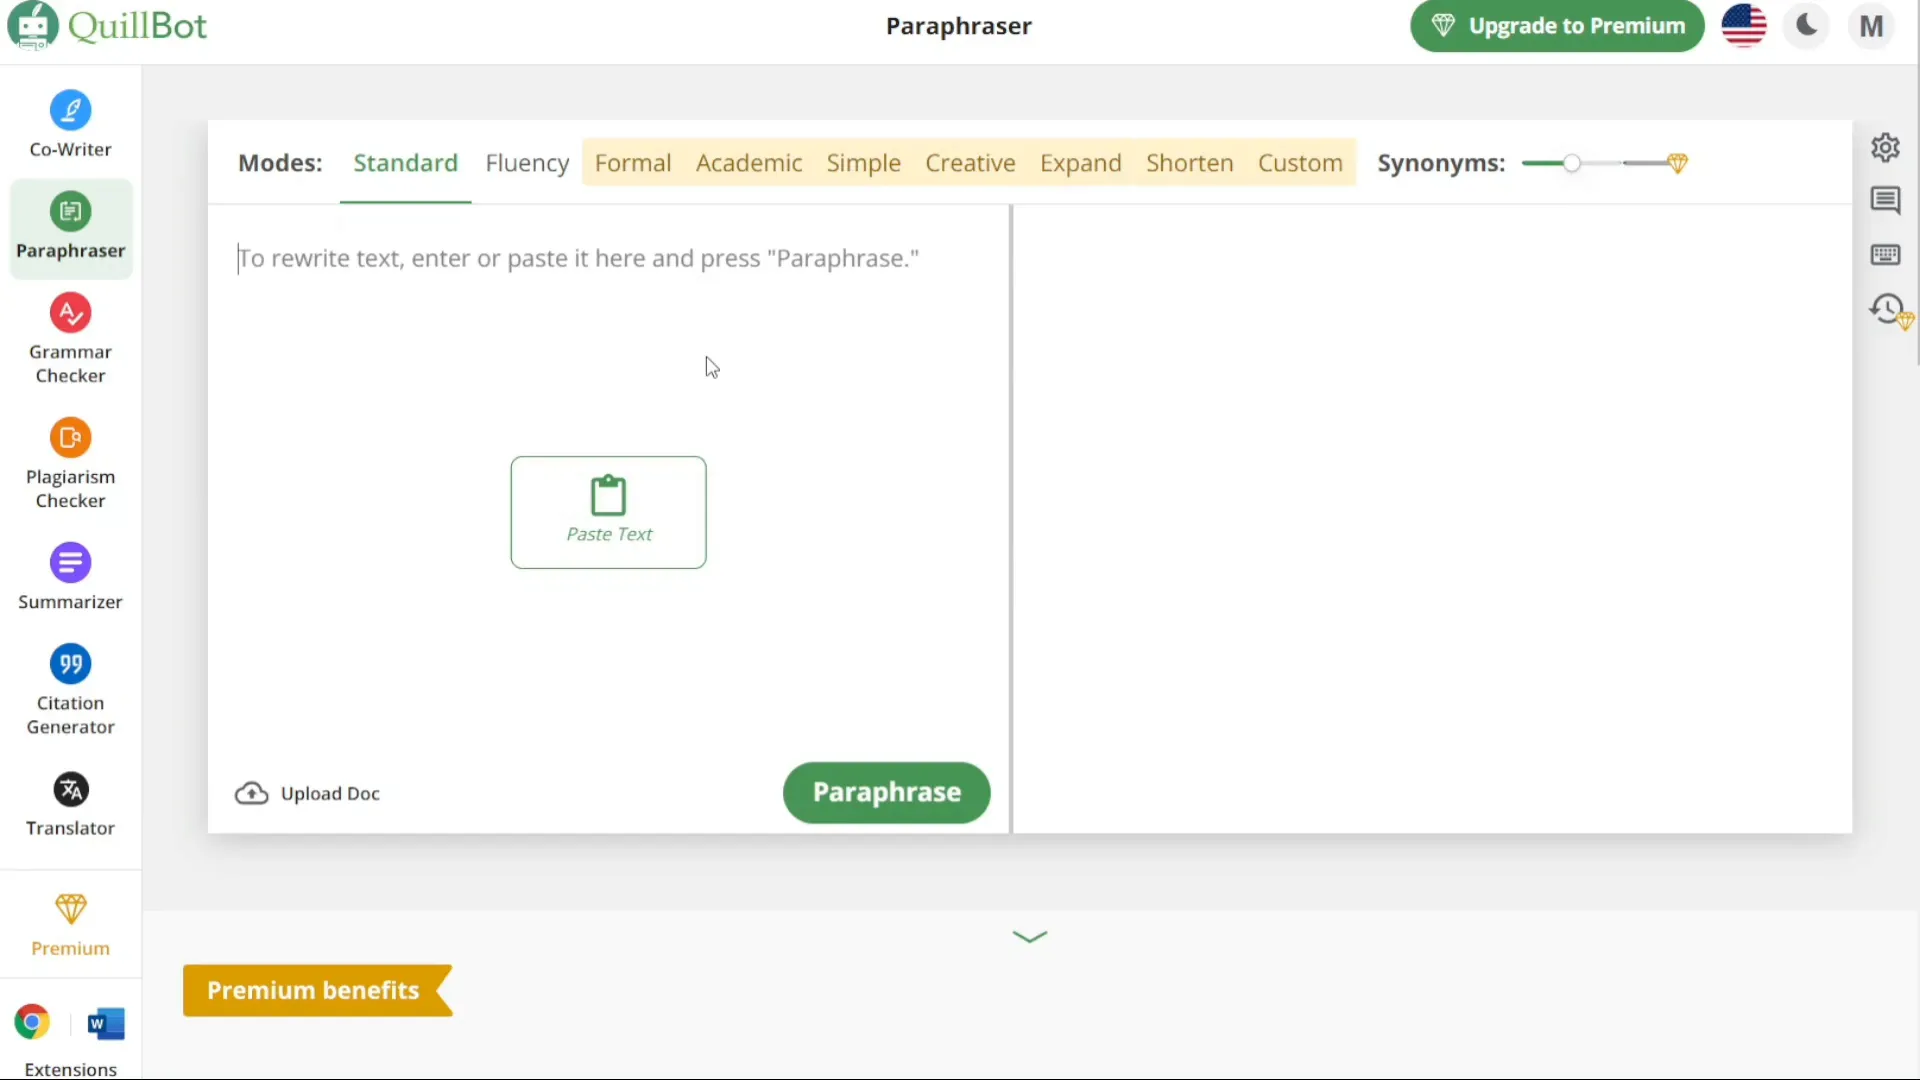
To begin paraphrasing, navigate to the left menu and select the paraphraser option. This will take you to the paraphraser window where you can access its functionality.
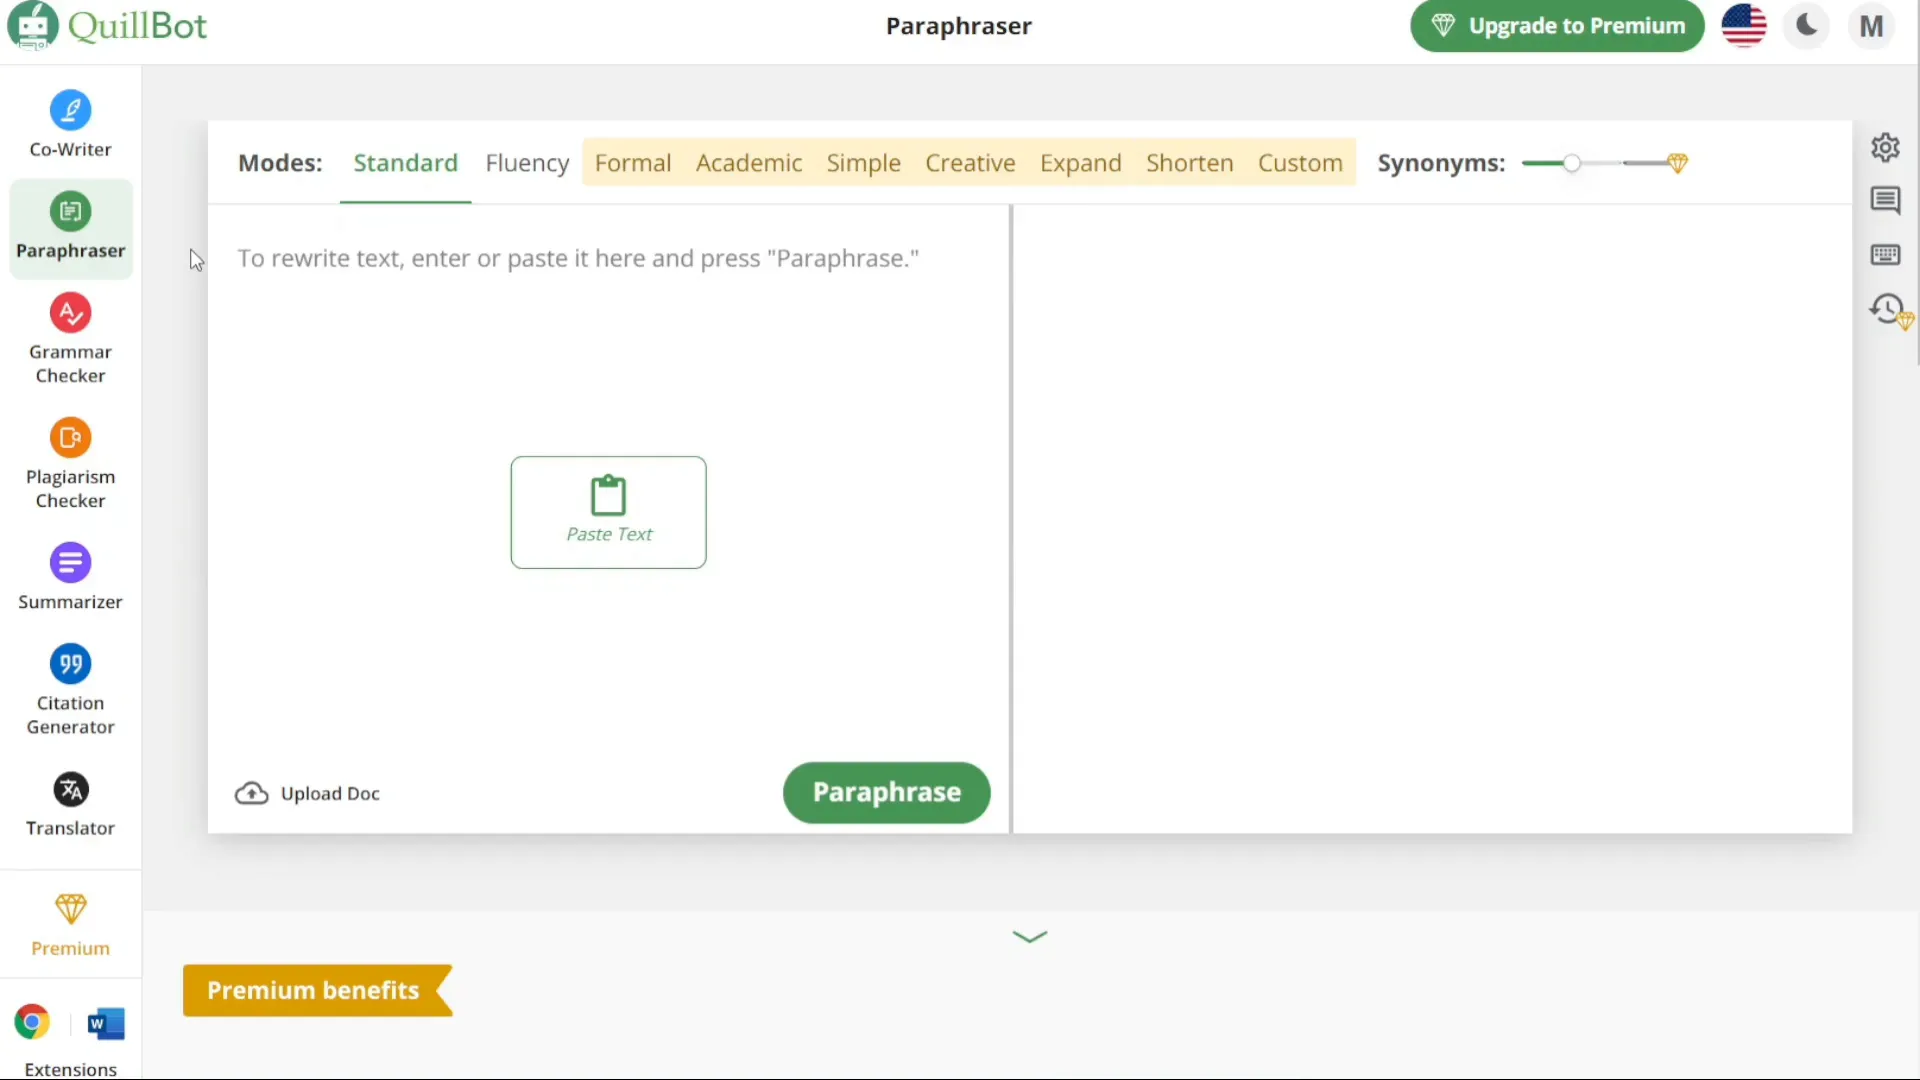
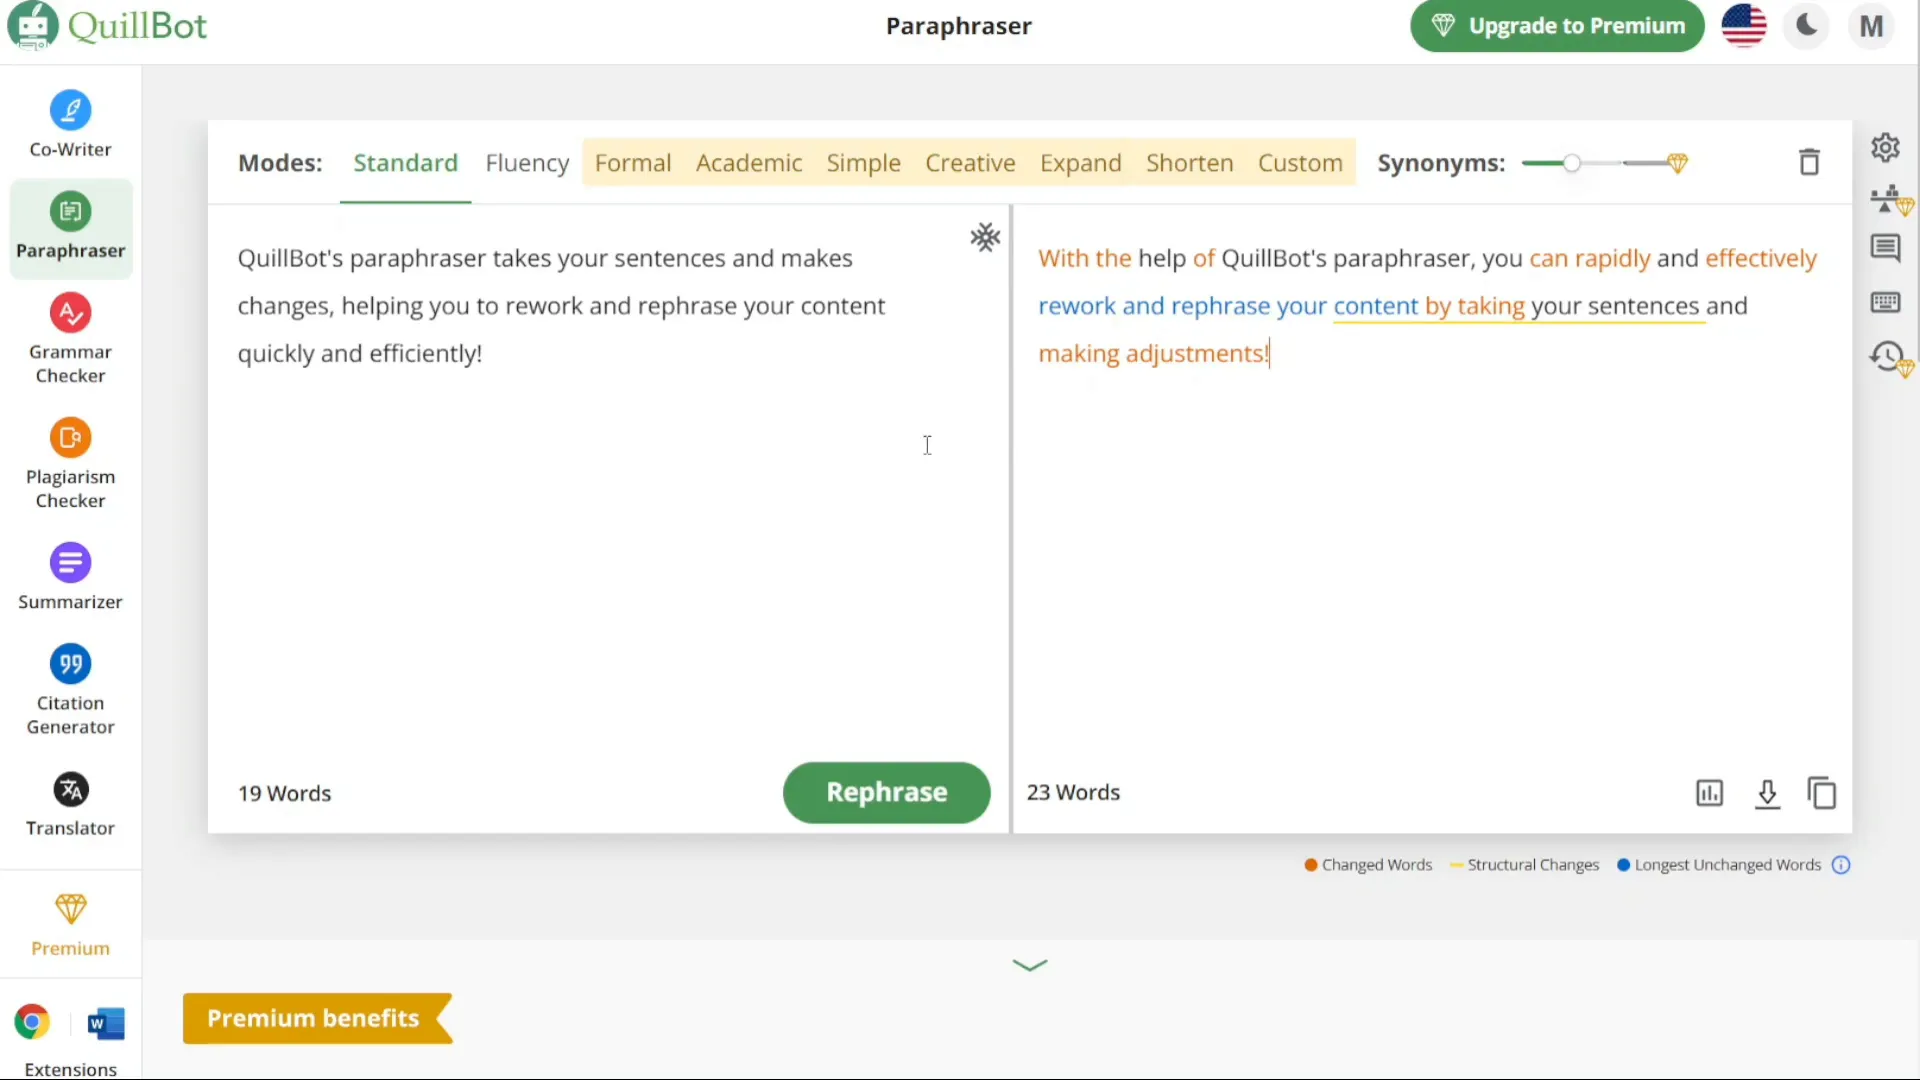
In the paraphraser window, you can choose from multiple languages to paraphrase text. Simply write or paste the text you want to paraphrase in the designated area. Quillbot offers different modes for paraphrasing, including standard, fluency, formal, simple, creative, expand, and shorten. Select the mode that best suits your needs.
Step 7: Generating Citations
To create citations for free, navigate to the left menu and click on the citation generator option. This feature allows you to create accurate citations from various sources, such as web pages, journal articles, and books.
For example, if you want to generate a citation from a web page, copy the URL and paste it into the designated box. Click on the cite button, and Quillbot will generate the citation for you.
Step 8: Translating Documents
To translate a document, go to the left menu and select the translator option. Here, you can choose the language you want to translate the text from and to. You can either type directly or paste the text into the translator.
After entering the text, click on the translate button, and Quillbot will generate the translated text in the desired language.
Step 9: Exporting and Using Your Text
Once you have your paraphrased or translated text, you can export it or copy it for use in other applications. This flexibility allows you to seamlessly integrate Quillbot into your writing process.
Quillbot is a powerful tool that can significantly enhance your writing capabilities. By following this tutorial, you have learned how to set up your account, explore various features, and make the most out of Quillbot’s functionalities. Whether you need to paraphrase text, generate citations, or translate documents, Quillbot has you covered.
We hope you found this guide useful! If you have any questions or need further assistance, feel free to leave a comment below. Happy writing!


![Read more about the article [Hostinger] Step-by-Step Best Guide to Setting Up Your WordPress Website with Hostinger](https://store.woowhouse.com/wp-content/uploads/2024/09/image-5-1-300x169.webp)
