Email marketing is a powerful tool for any business looking to connect with customers and build lasting relationships. In this guide, we’ll walk through the process of using GetResponse, a popular email marketing platform, to create and manage your email campaigns effectively. Follow these steps to leverage GetResponse for your marketing needs.
Table of Contents
Step 1: Create Your GetResponse Account
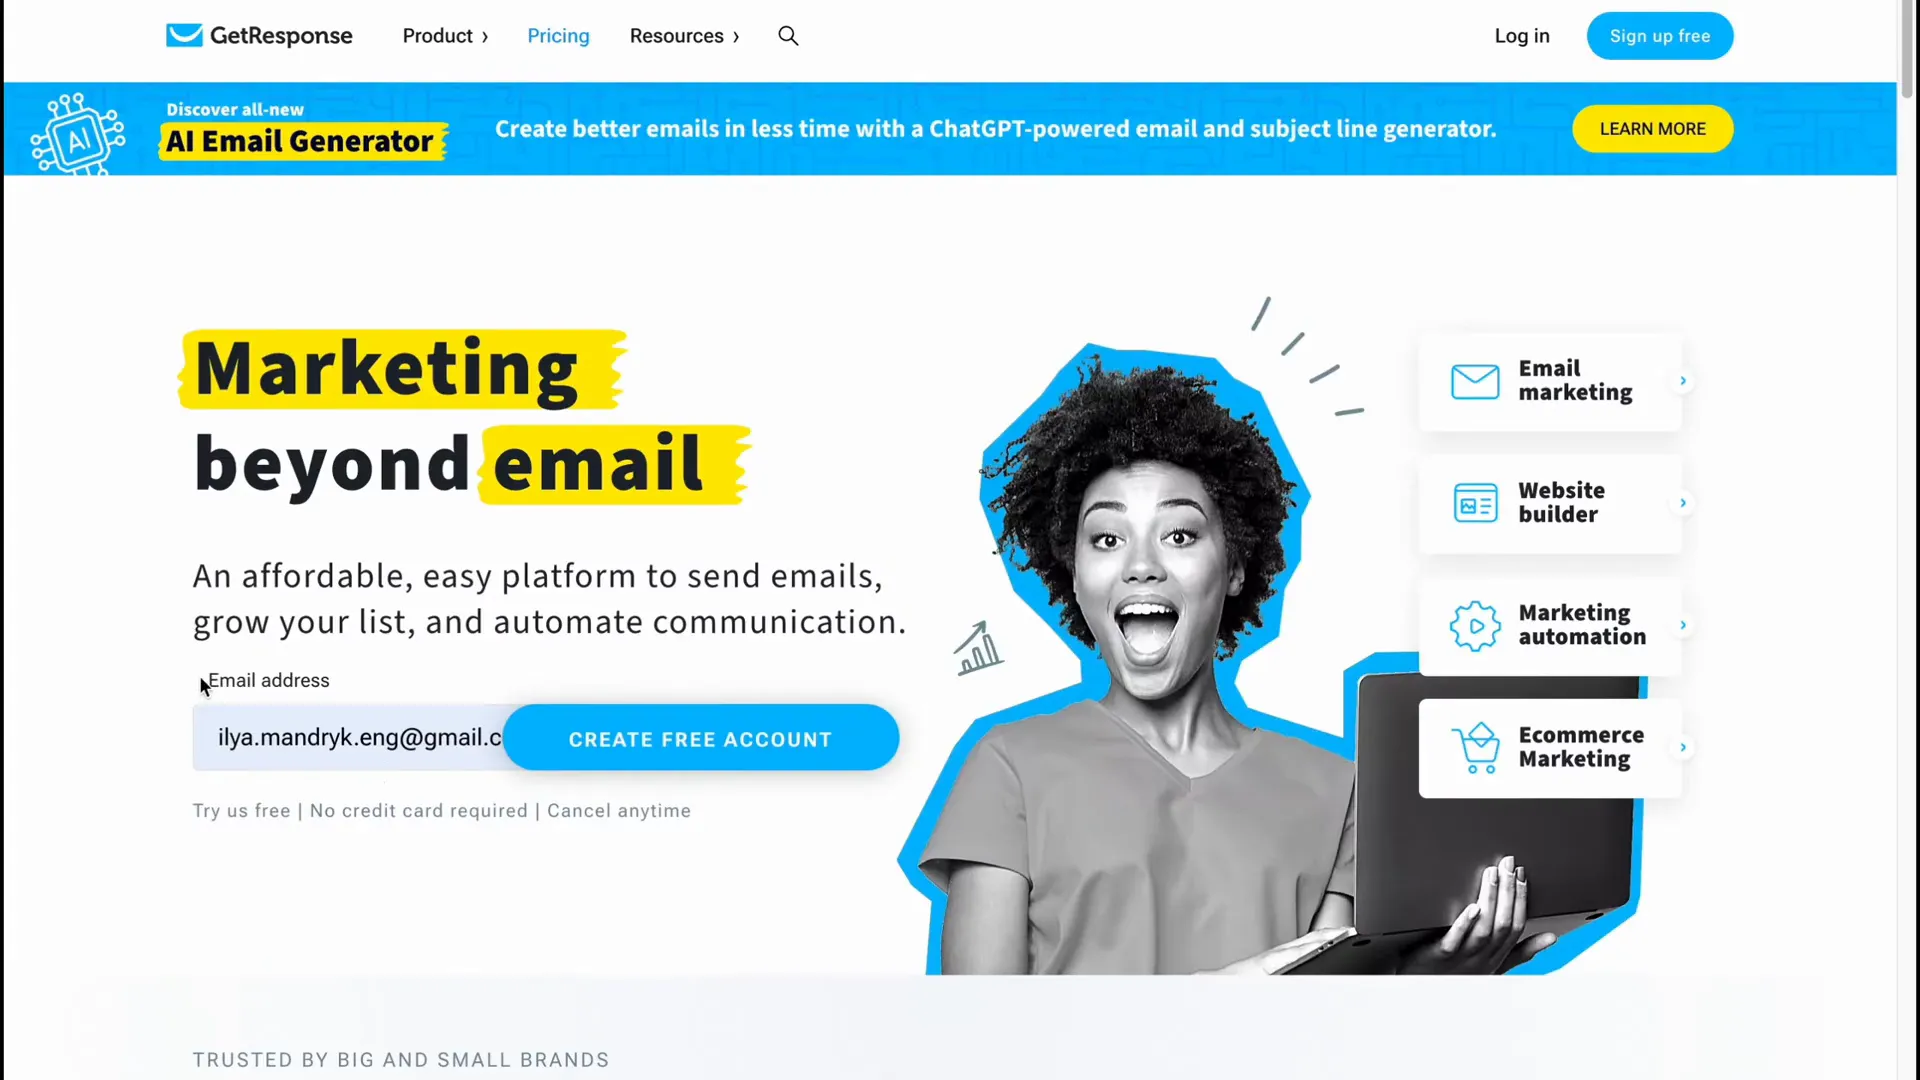
The first step in your email marketing journey is to create an account on GetResponse. This process is straightforward. Simply visit getresponse.com and enter your email address to sign up for a free account.
Step 2: Familiarize Yourself with the Dashboard
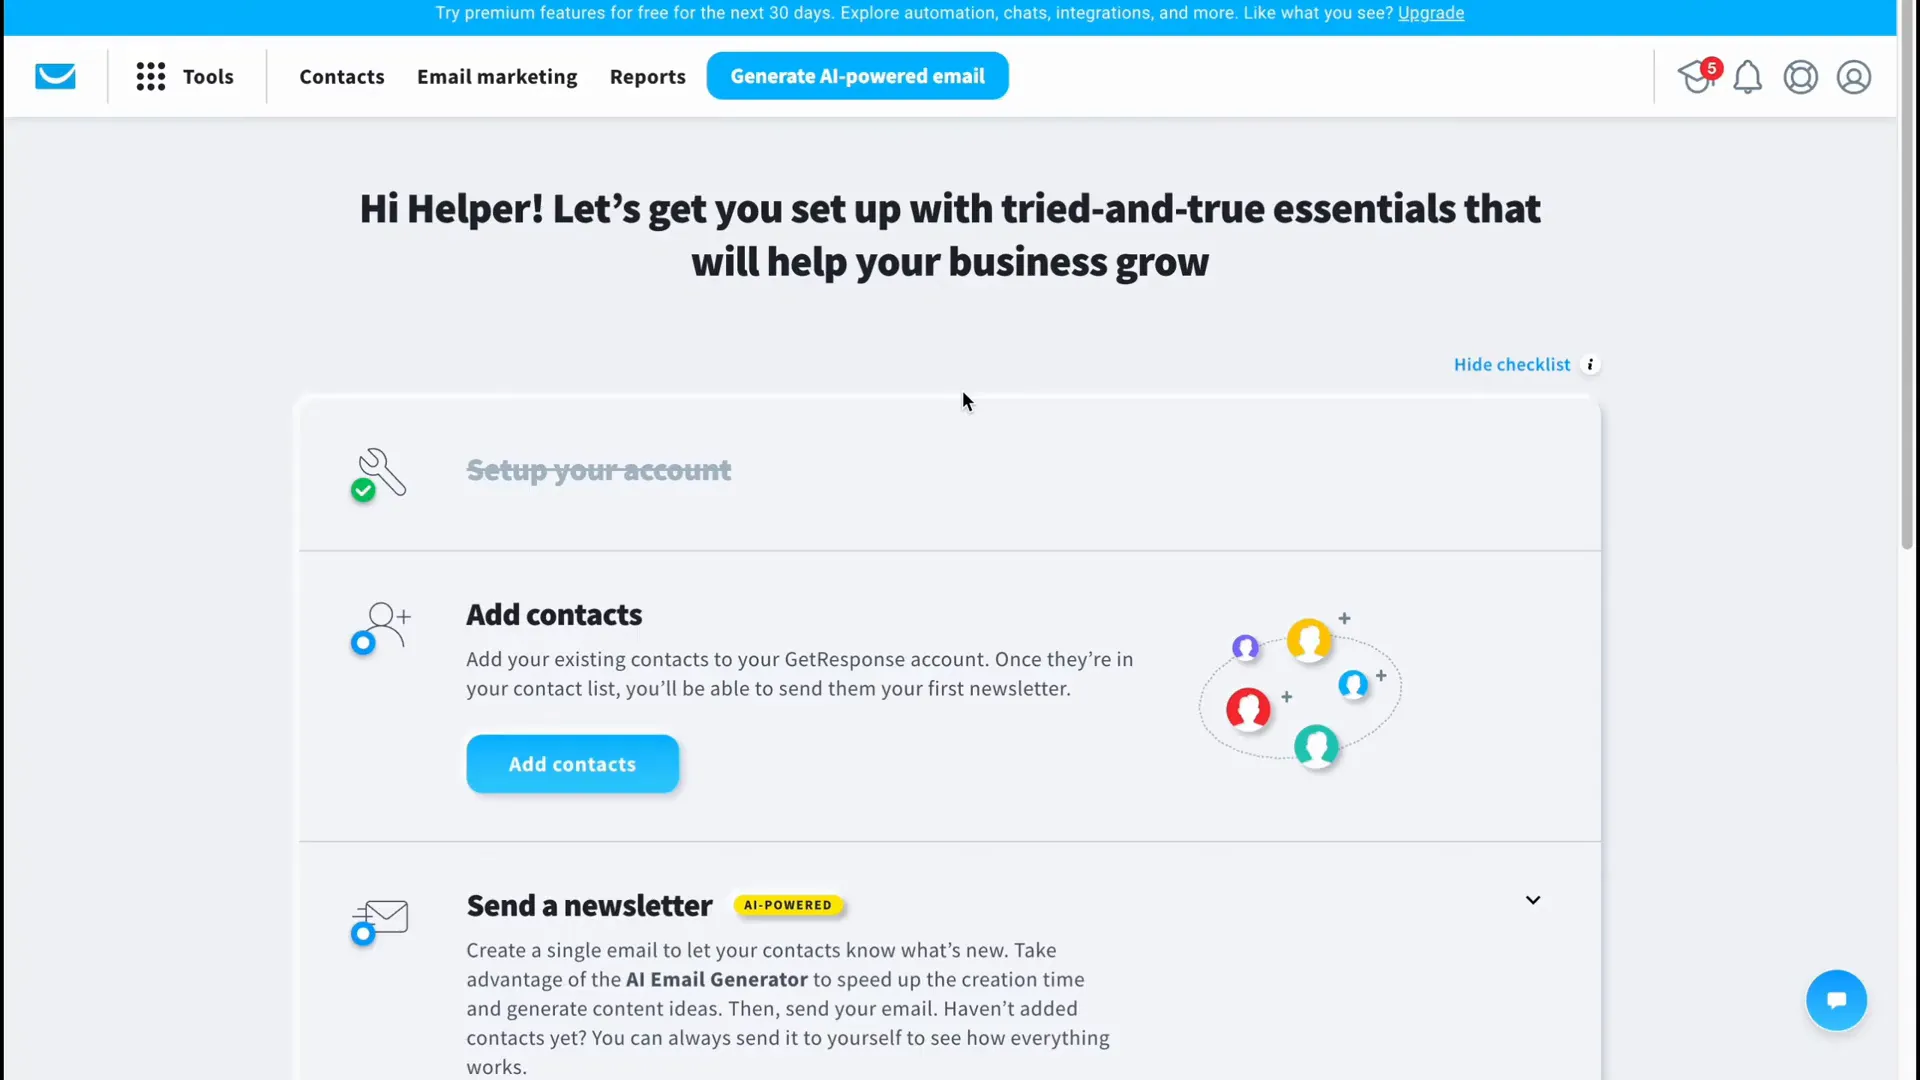
Once you have created your account, log in to your dashboard. This is where you’ll find all the tools you need to manage your email campaigns. The dashboard includes sections for contacts, email marketing, reports, and more. Take a moment to explore these features to understand what is available.
Step 3: Add Contacts to Your List
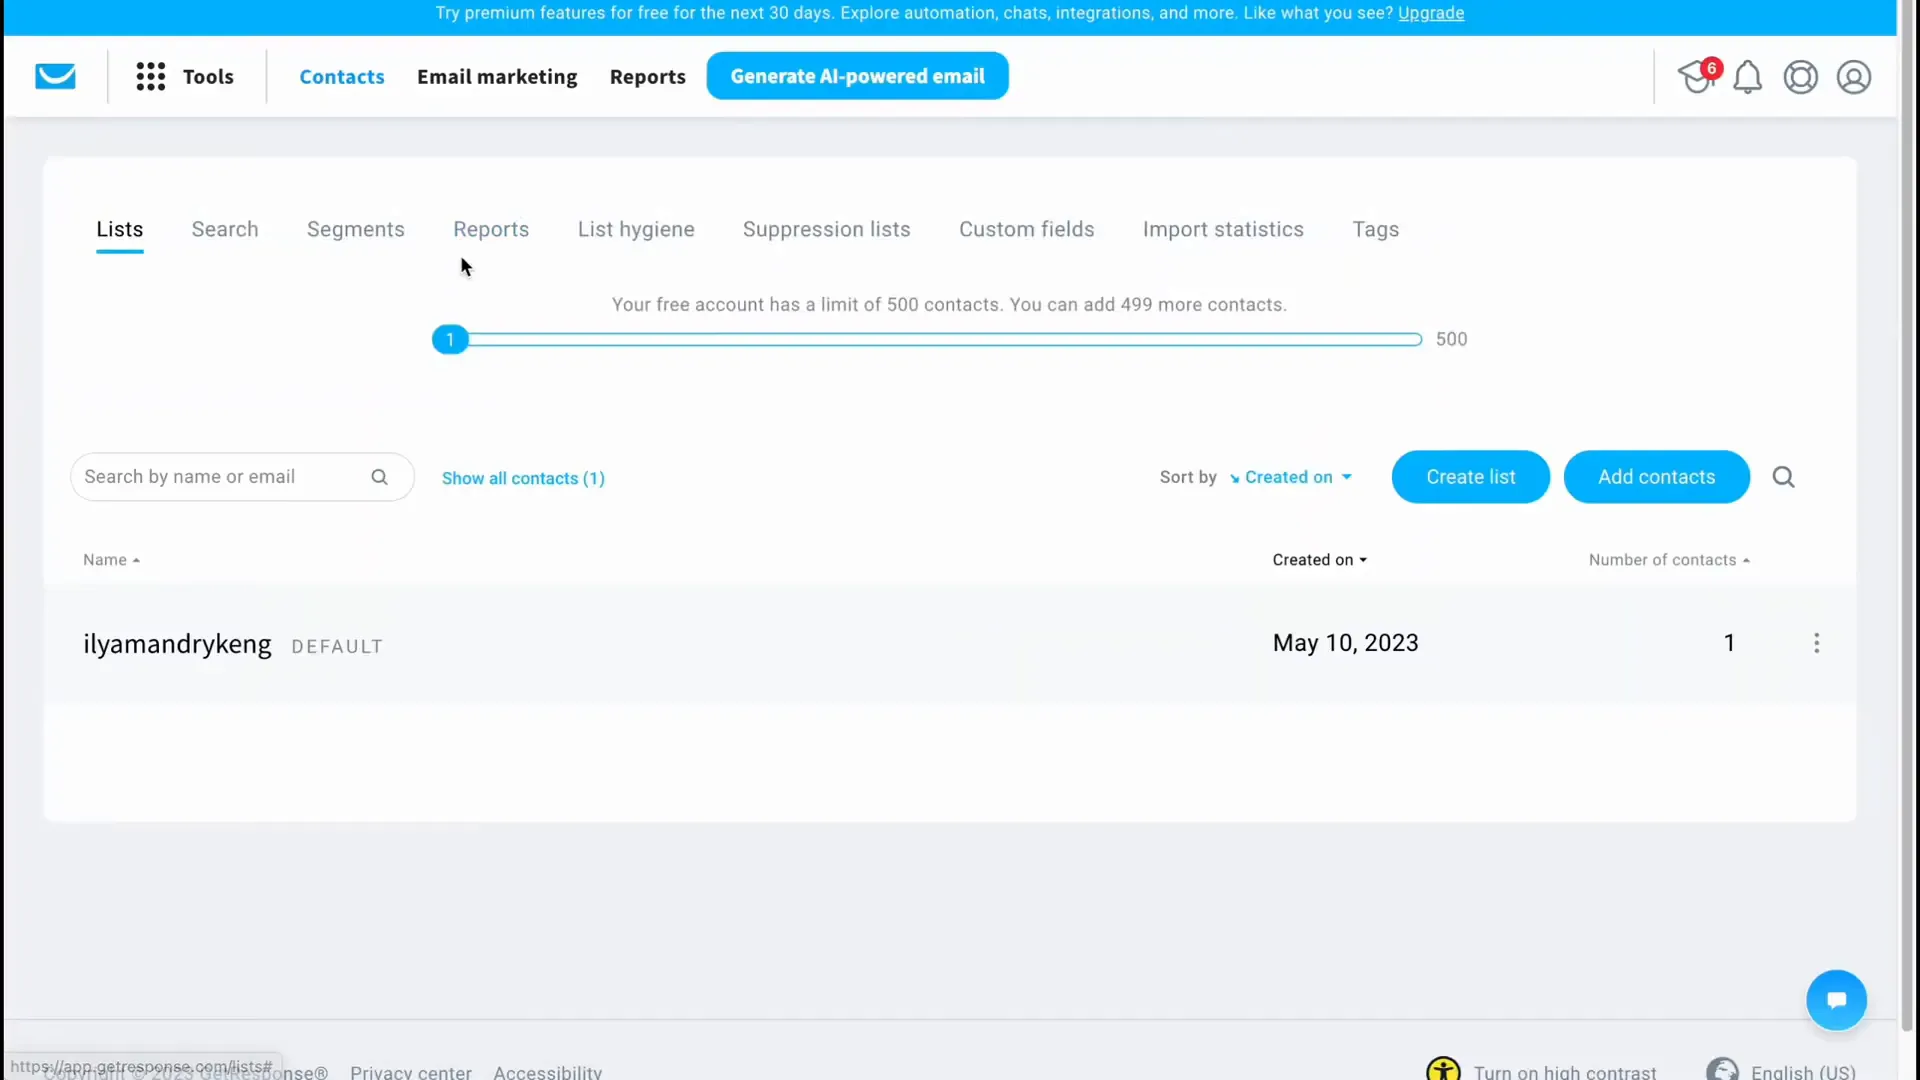
To start sending emails, you need to build your contact list. GetResponse allows you to organize contacts into different categories for better management. You can add contacts manually or upload them in bulk using CSV or TXT files. Additionally, you can integrate with other platforms like Salesforce or Google Docs to import contacts seamlessly.
Step 4: Create Your First Email Campaign
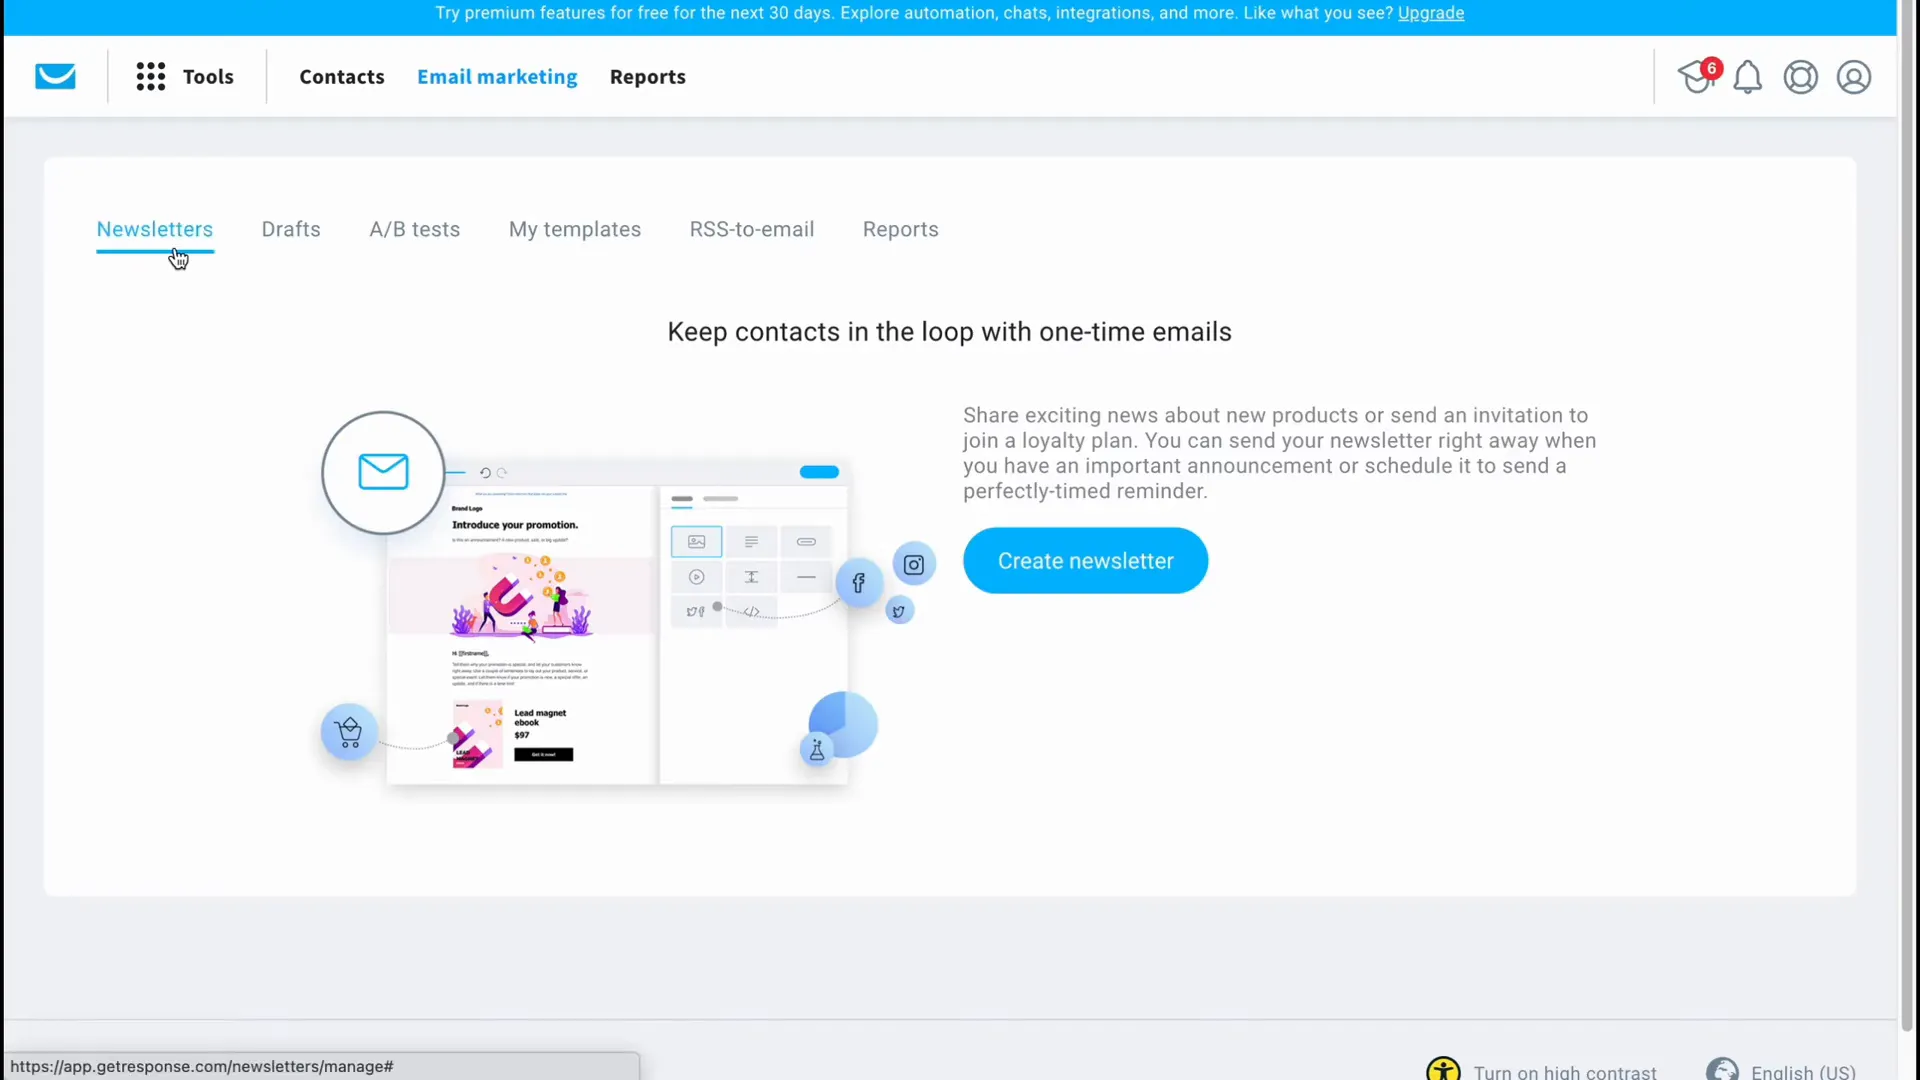
With your contacts in place, it’s time to create your first email campaign. Navigate to the Email Marketing section and click on “Create Newsletter”. You can choose to design your email manually or use the AI-powered email generator available on the paid plans.
Step 5: Design Your Email
When designing your email, you will choose a template that suits your message. GetResponse offers a variety of customizable templates categorized by purpose. Select a template, and you can easily edit it to fit your branding and content needs.

Step 6: Customize Email Content
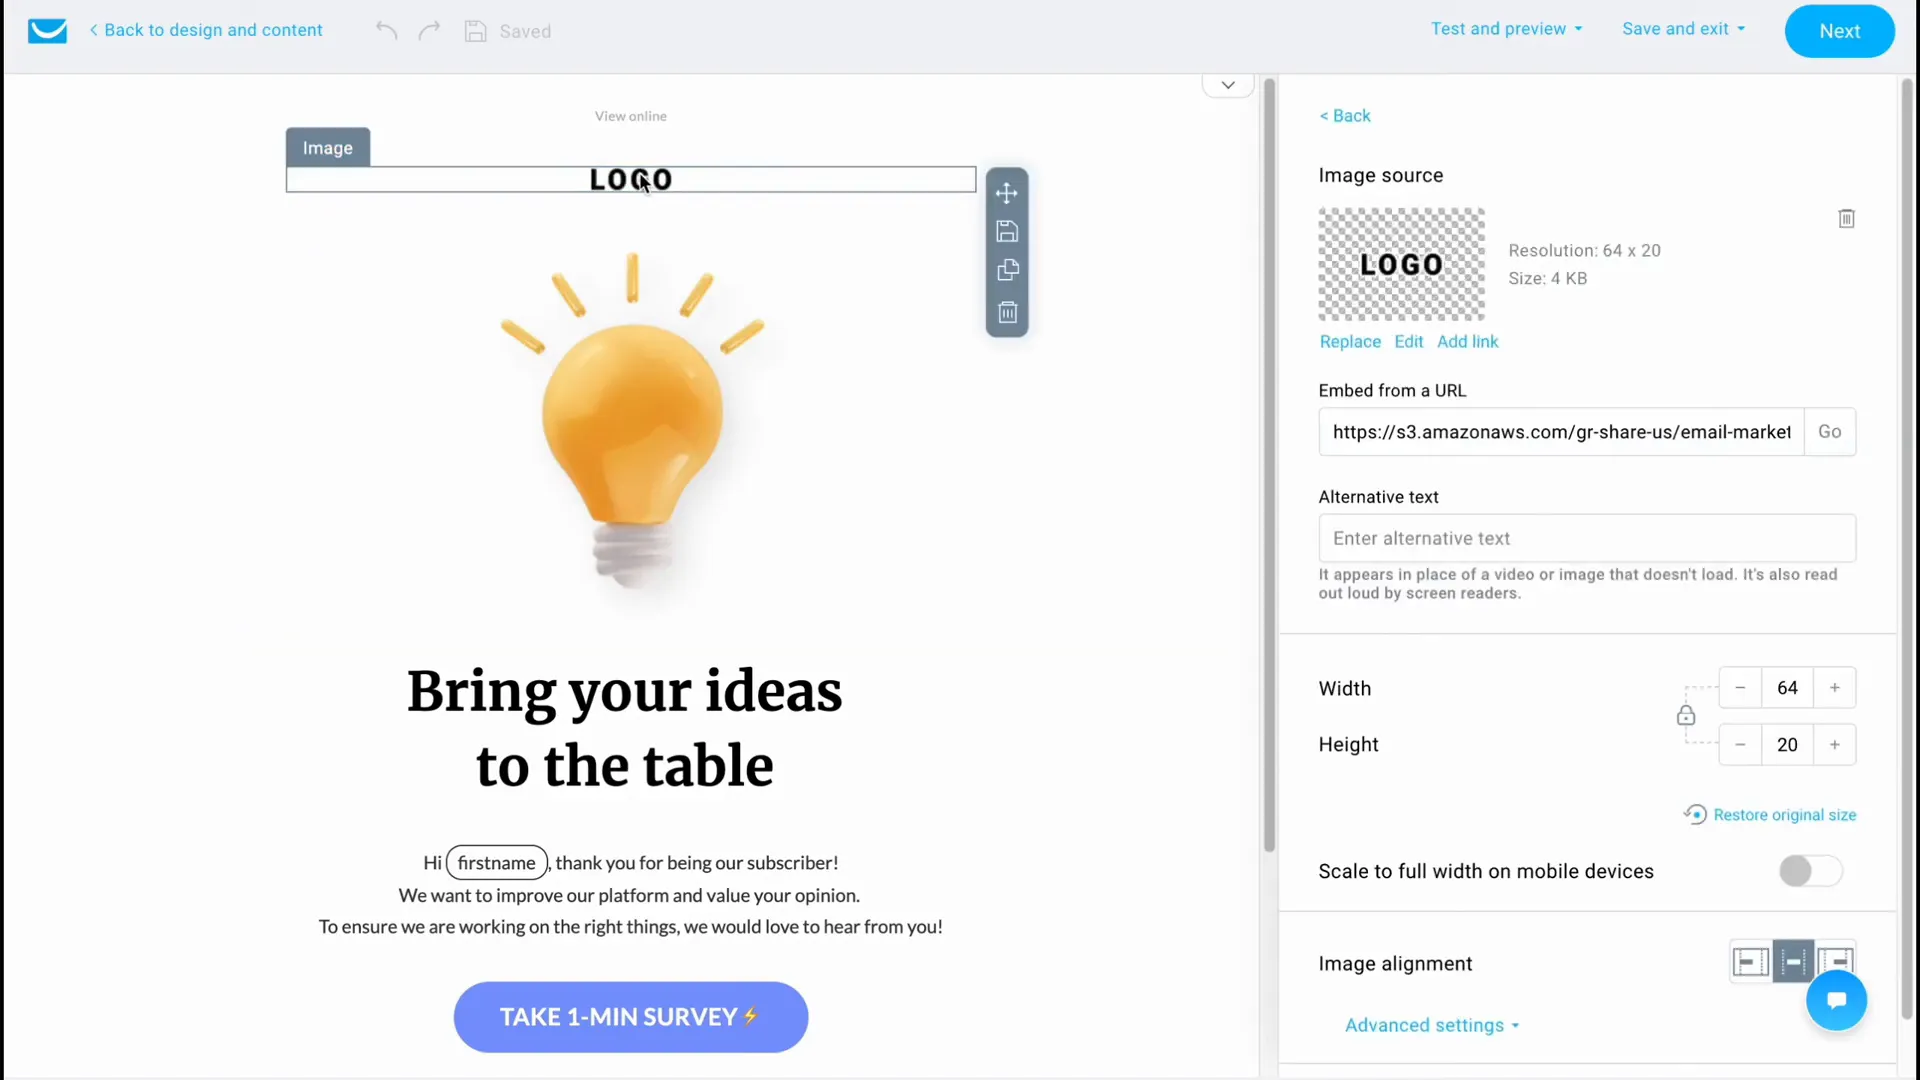
Editing your email content is simple with the drag-and-drop editor. You can add text, images, and links, and adjust the layout to your liking. Use the properties menu to change font styles, sizes, and colors to ensure your email is visually appealing.
Step 7: Track Email Performance
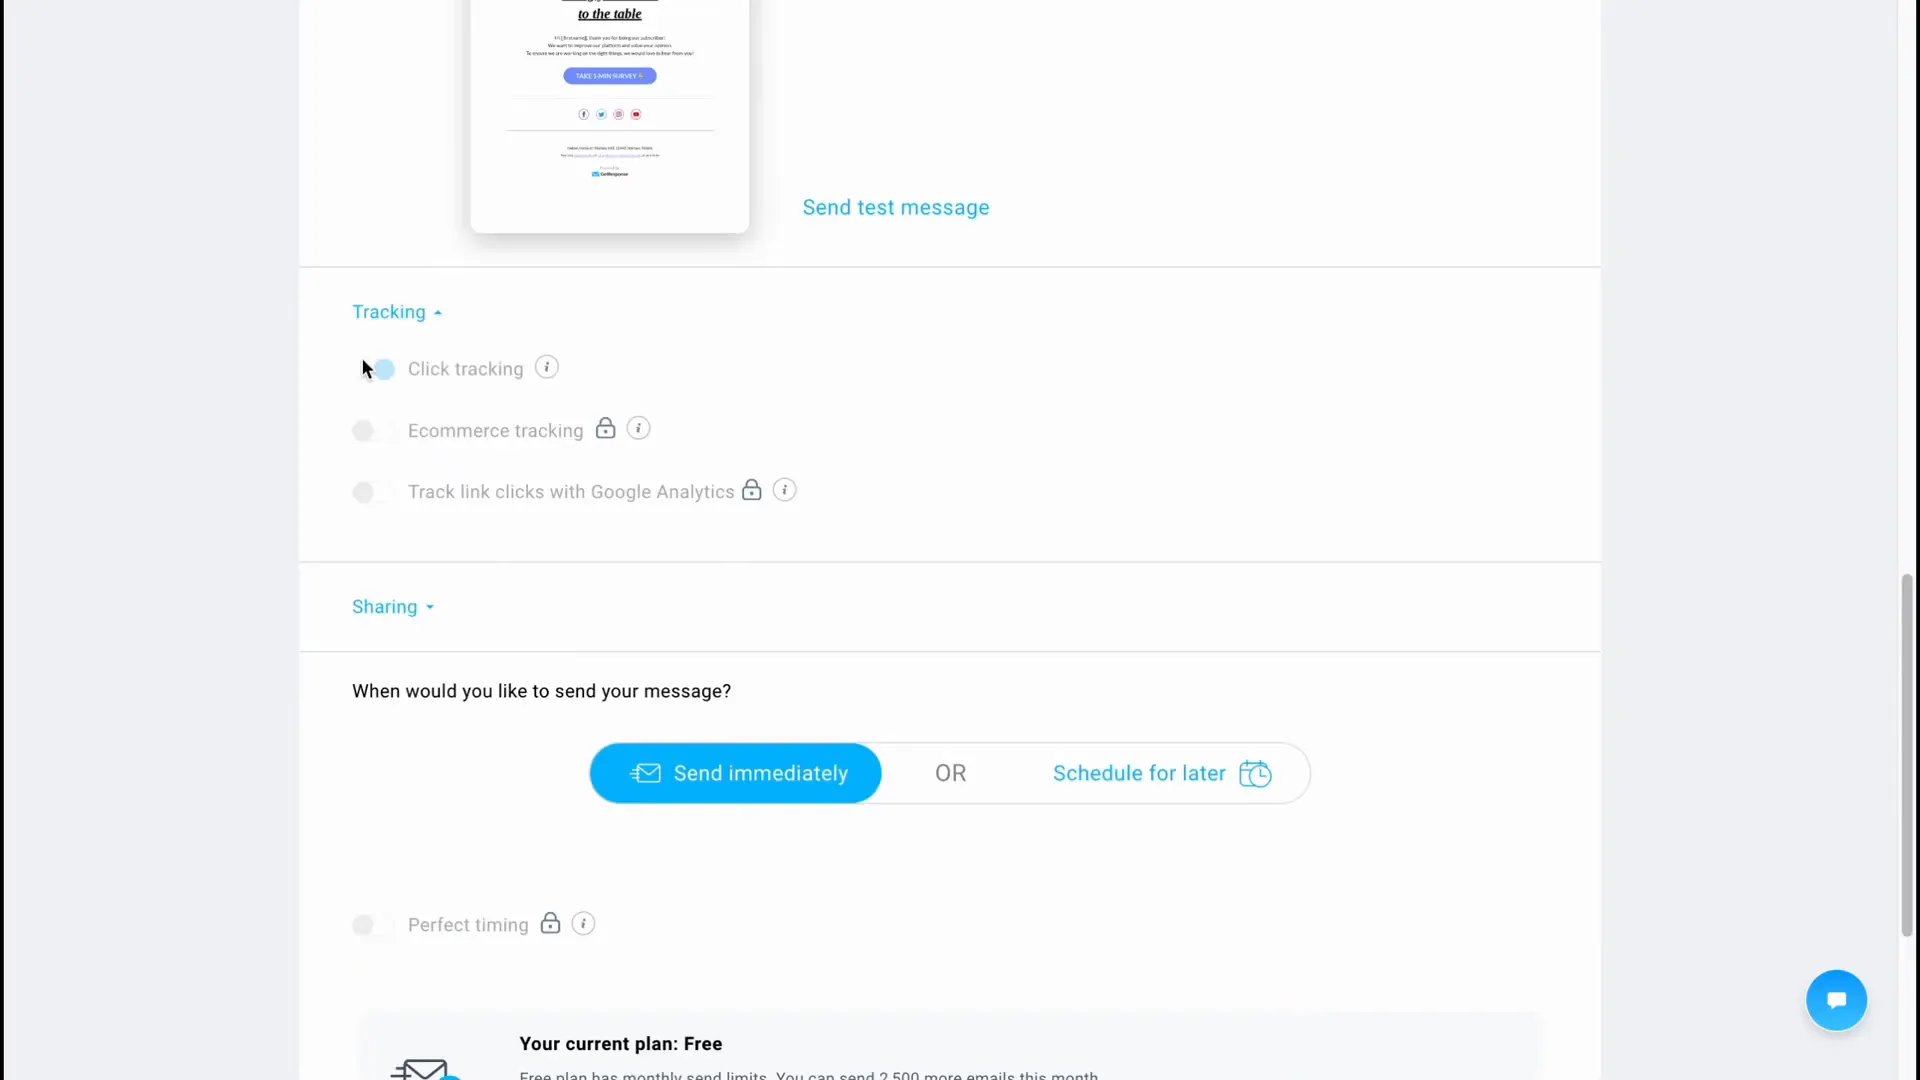
Tracking is crucial for understanding how your email campaigns perform. GetResponse allows you to enable click tracking and integrate your social media accounts for better engagement insights. This will help you analyze the effectiveness of your campaigns and make necessary adjustments.
Step 8: Schedule or Send Your Email
Once your email is designed and ready, you can choose to send it immediately or schedule it for a later date. If scheduling, select your desired date and time, and ensure you choose the correct time zone. This flexibility allows you to optimize your delivery times based on your audience’s behavior.

Step 9: Review Campaign Reports
After sending your email, you can monitor its performance through the Reports section. Here, you will find detailed statistics about open rates, click-through rates, and other key metrics that will help you understand how your audience is interacting with your content.
Step 10: Explore Pricing Plans
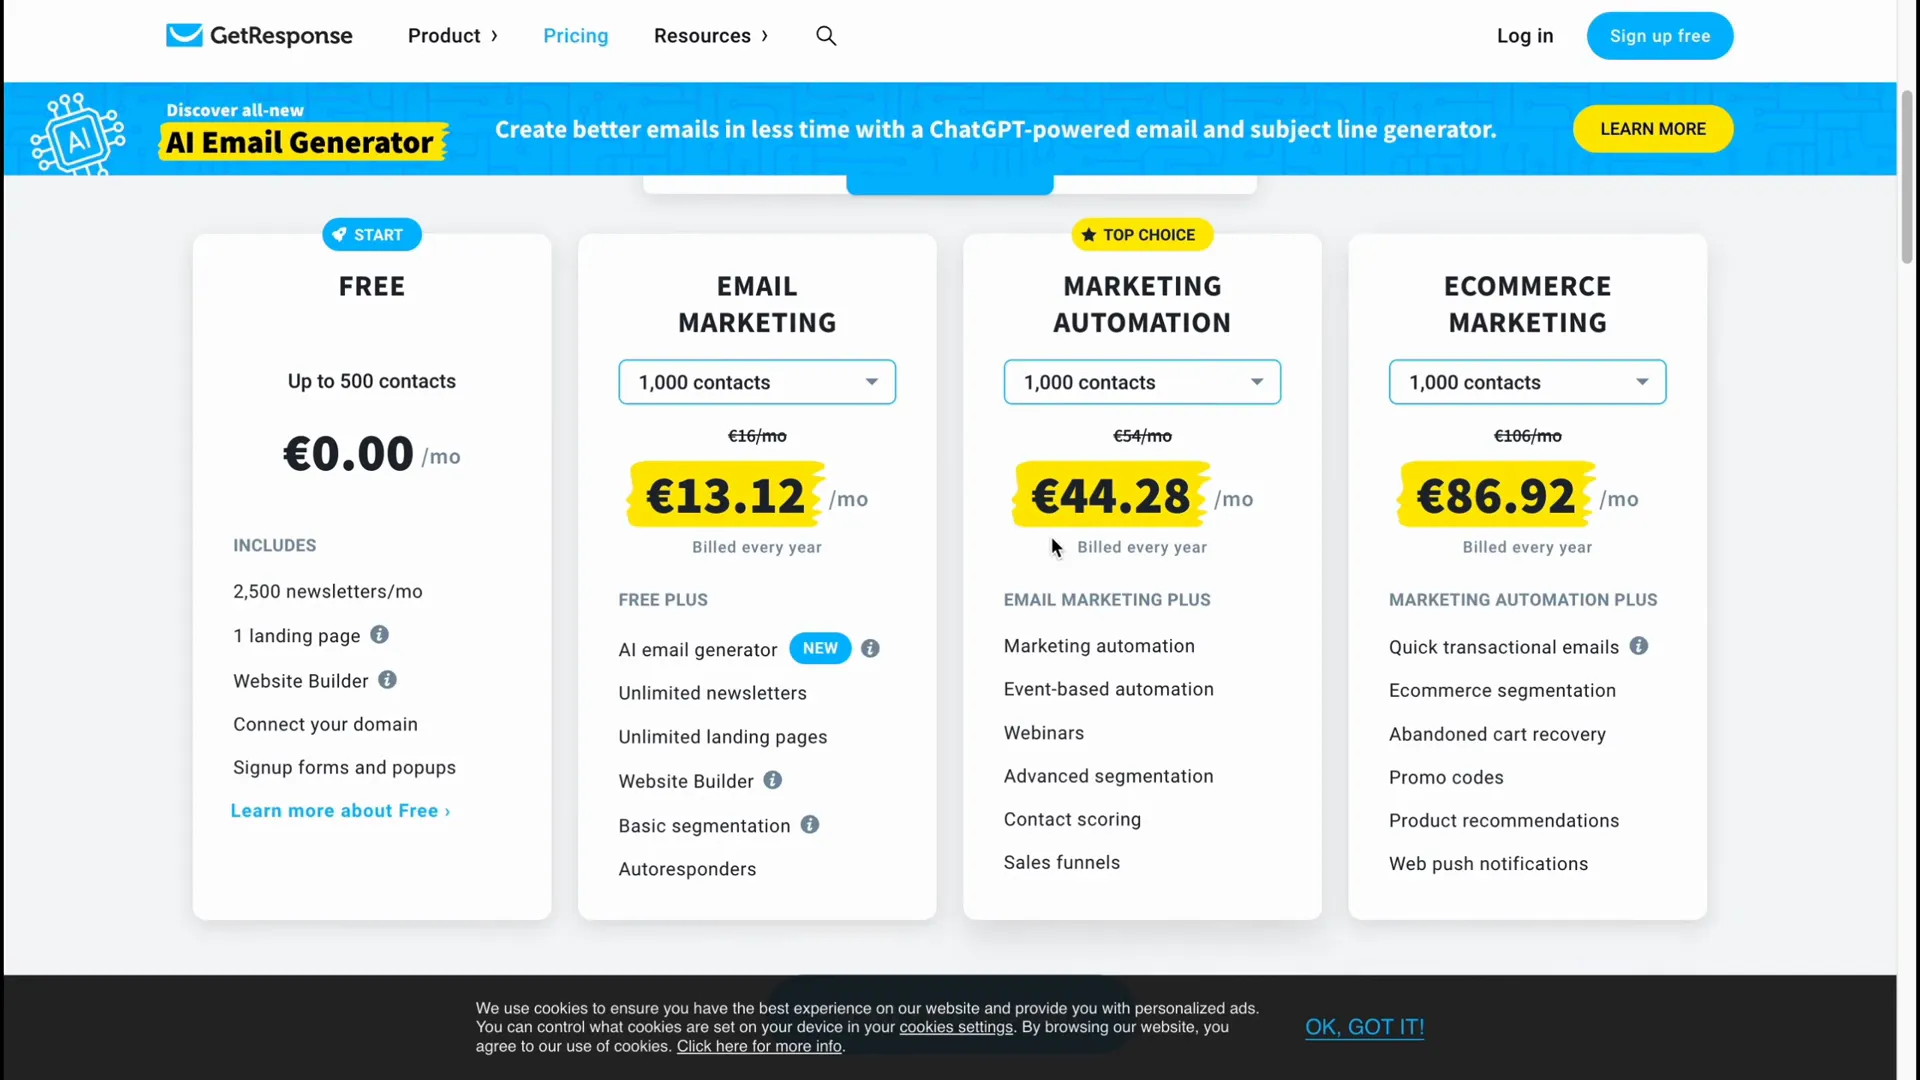
GetResponse offers various pricing plans to cater to different business needs. The free plan allows you to send up to 2,500 emails per month. If you require more advanced features, consider upgrading to one of the paid plans starting at 16 euros per month. Each plan offers distinct features, and you can choose based on your marketing goals.
Final Thoughts
Using GetResponse for your email marketing needs can significantly enhance your ability to reach and engage with your audience. By following these steps, you can create effective email campaigns that drive results. Remember to continuously analyze your performance and adapt your strategies for optimal success.
To unlock your revenue potential with GetResponse‘s marketing software, consider exploring their offerings further. Automate sales, track revenue, and convert leads into loyal customers with ease.


