Transferring money internationally can often be a daunting task, especially with traditional banks charging high fees and offering poor exchange rates. Fortunately, Wise (formerly known as TransferWise) provides a smarter, cheaper way to send money across borders. This guide will walk you through the process of using Wise to transfer money internationally with the lowest fees possible.
Step 1: Sign Up for Wise
To start using Wise, you need to create an account. For this, you will need an identification document such as a driver’s license, passport, or ID card, as Wise requires identity verification.
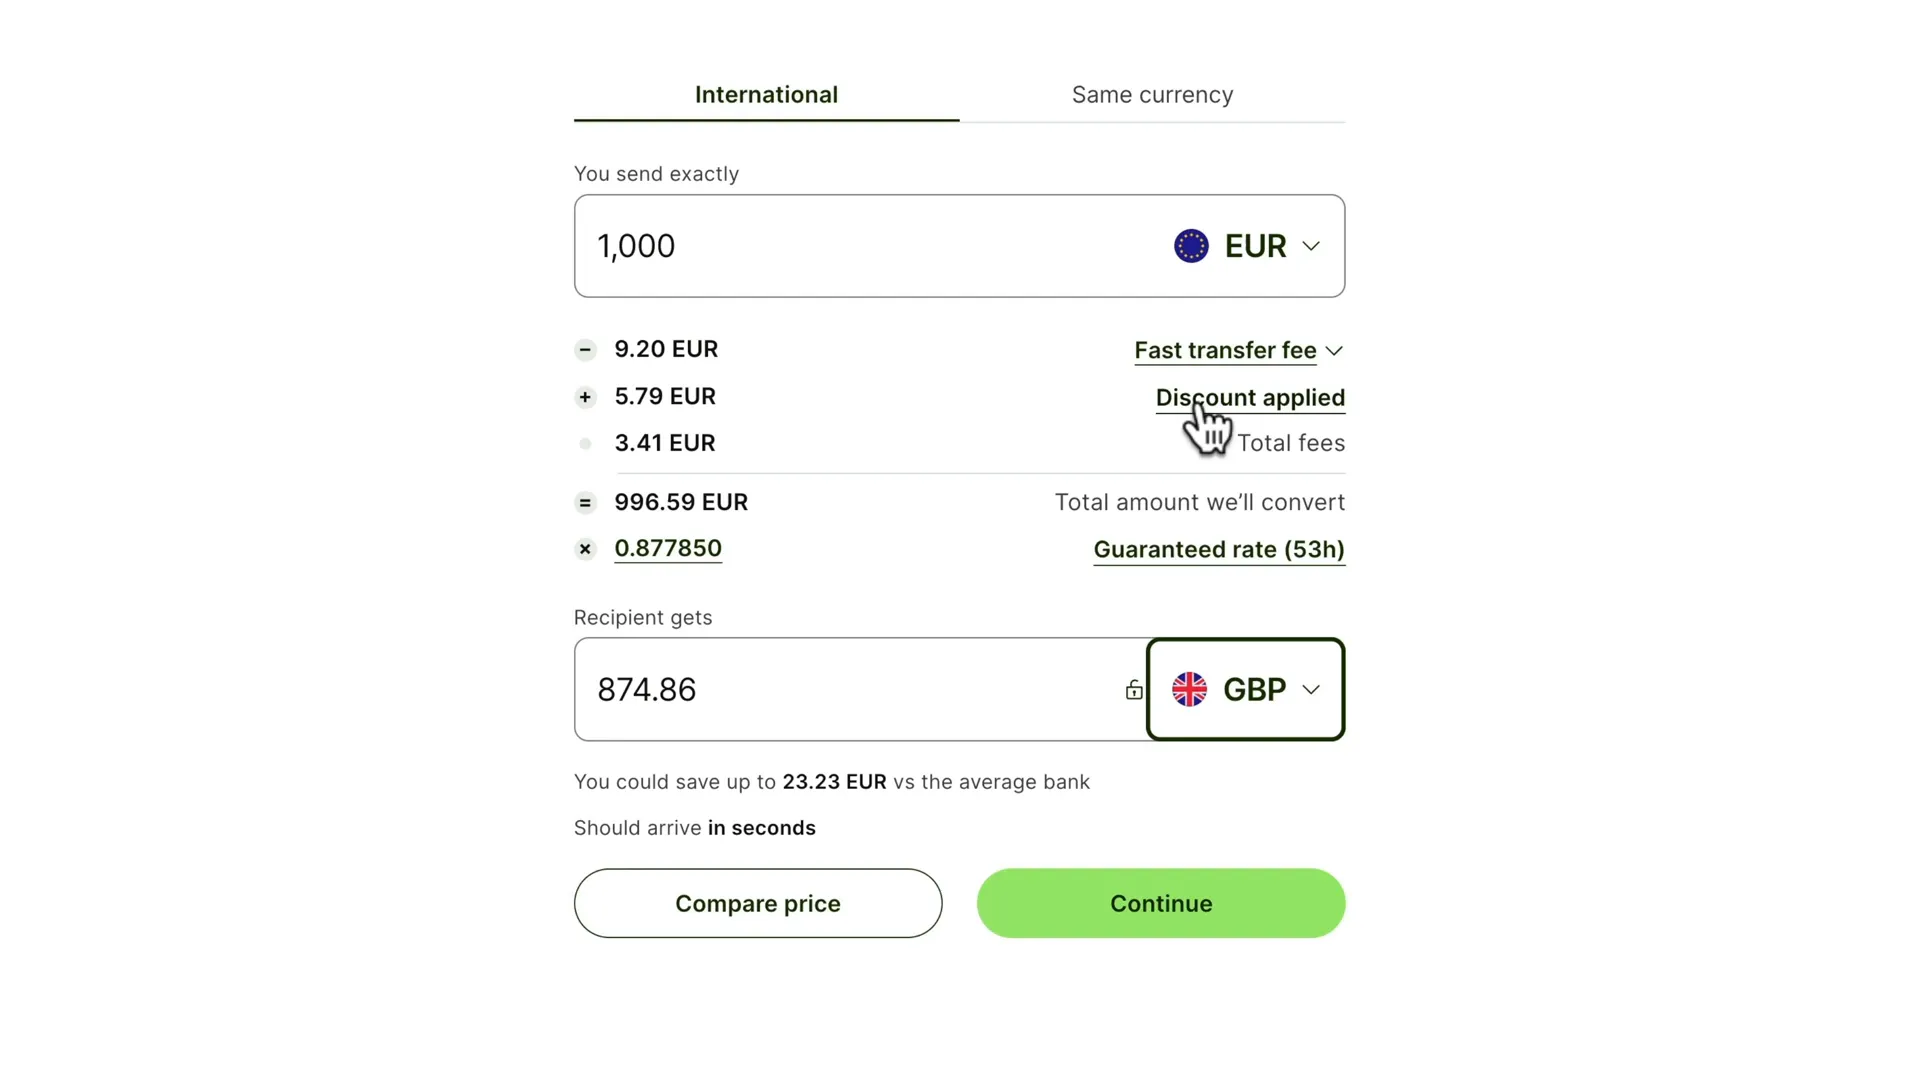
Follow the link provided in the video description to access the signup page. By using this link, you can benefit from a fee-free transfer up to a certain amount. This offer applies to various currencies, not just Swiss Francs, which is the default currency displayed.
Once on the signup page, enter your email address and choose between a personal or business account based on your needs. After that, select your country and verify your phone number by entering the code sent to you.
Step 2: Create Your Wise Account
After verifying your phone number, you’ll need to create a password for your account. Once your account is created, you will have access to the Wise dashboard where you can manage your account and initiate transfers.
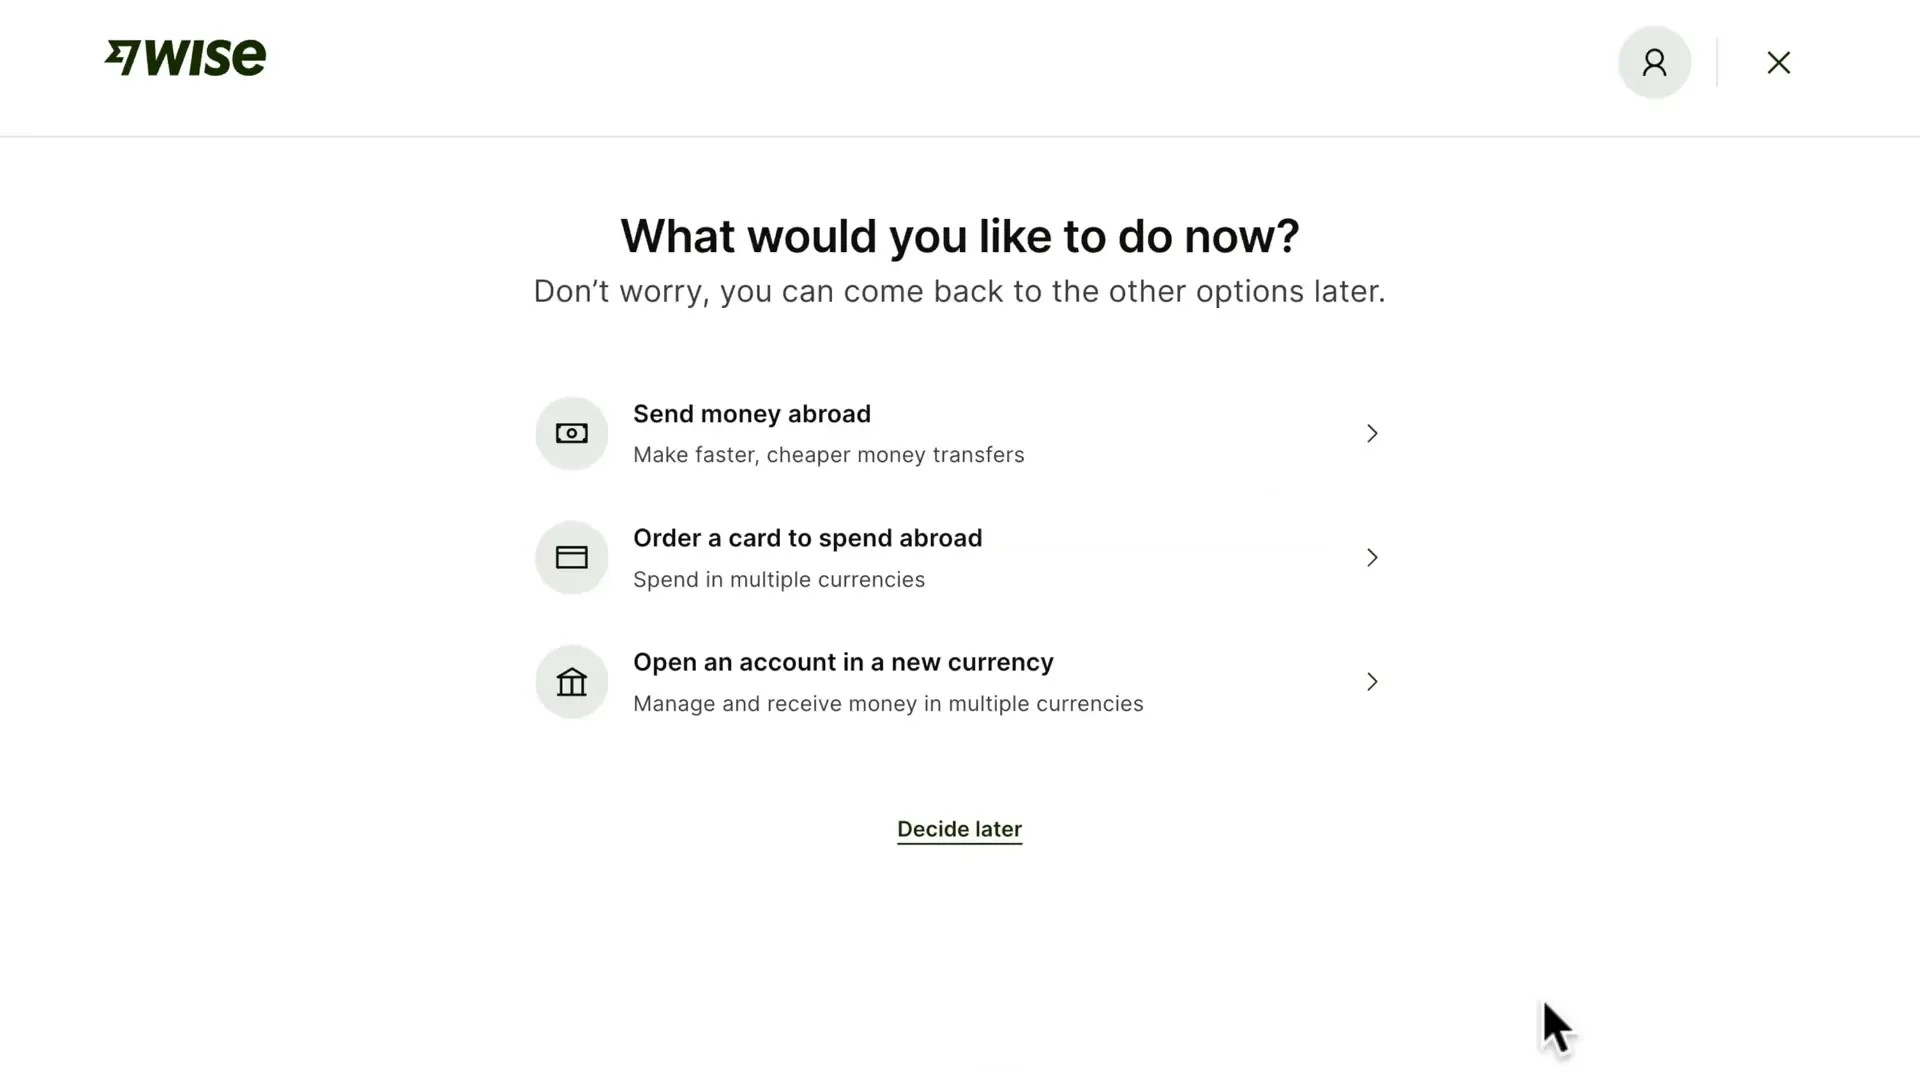
Here, you can open different currency accounts, which is particularly useful for spending abroad without incurring high conversion fees. You can also order a Wise debit card if you wish to spend directly from your Wise account.
Step 3: Start Your Money Transfer
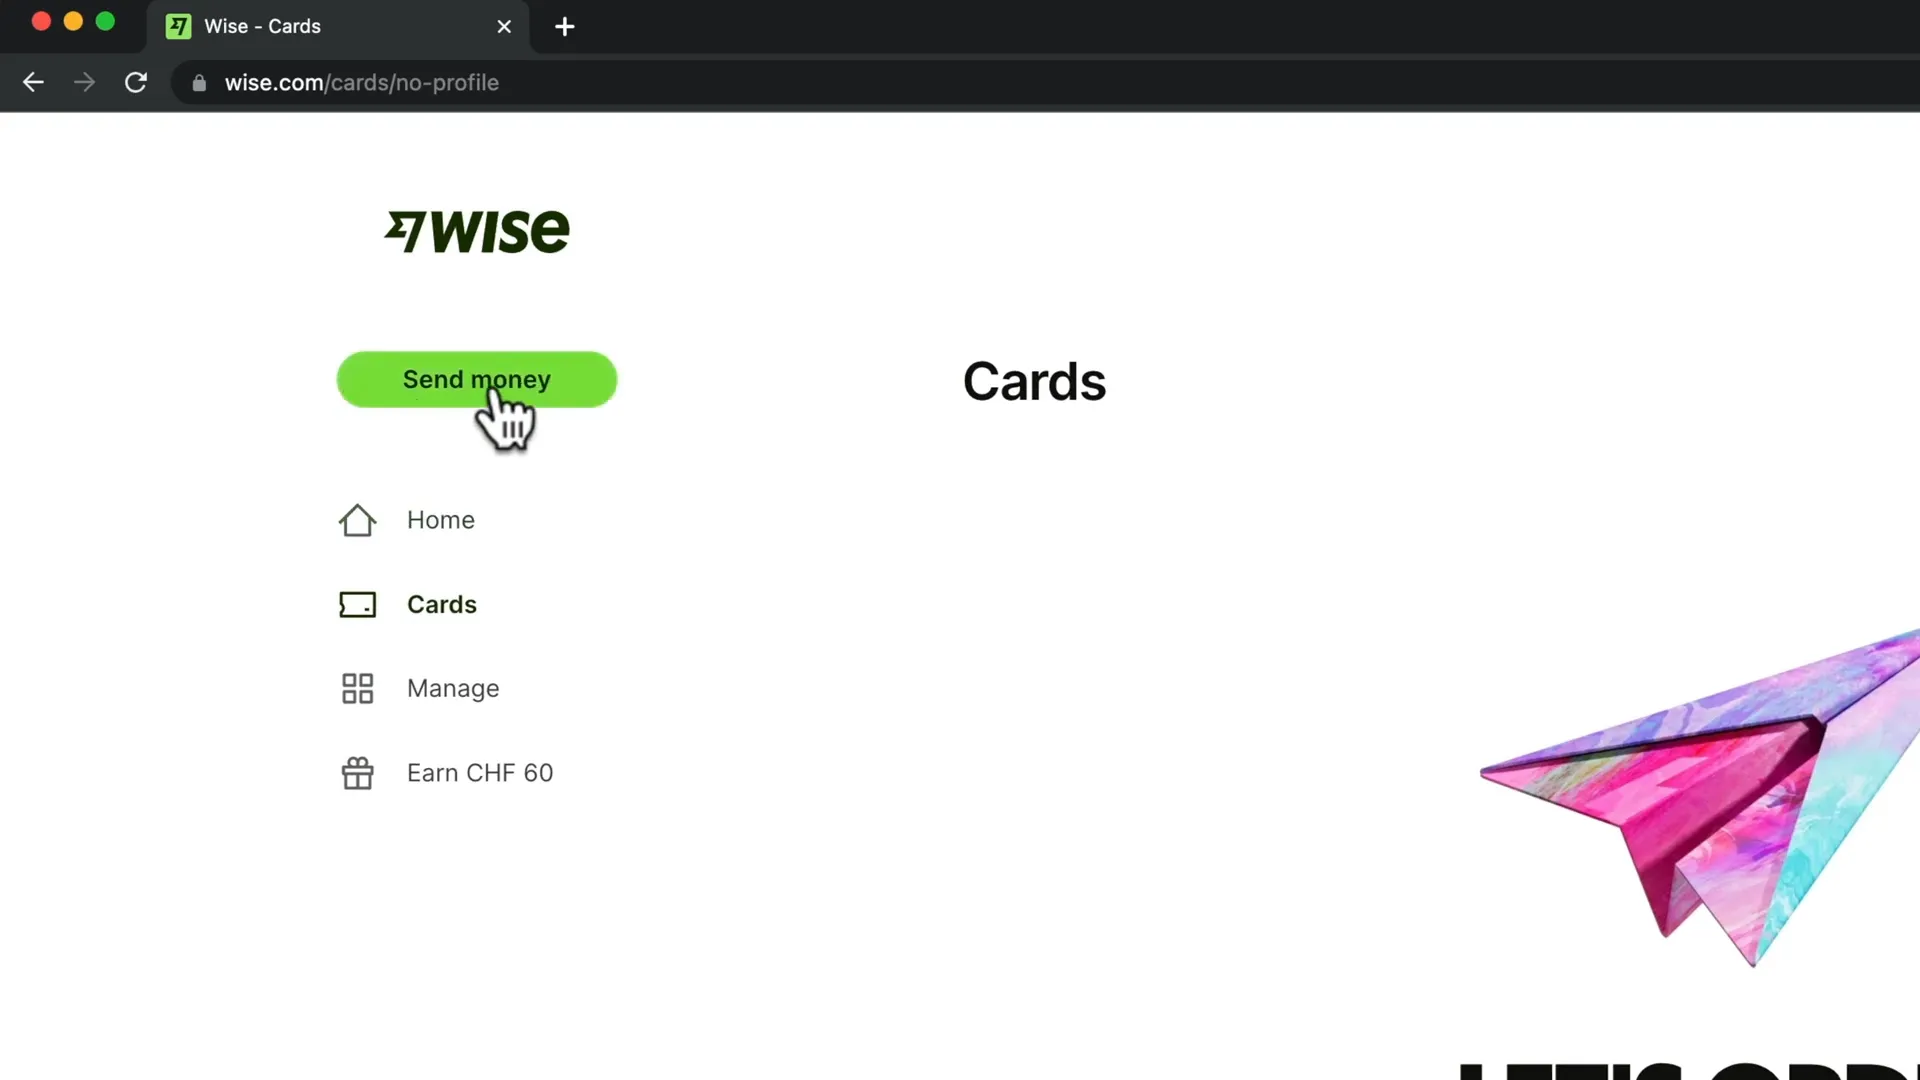
To initiate a money transfer, click on the “Send Money” button located on the top left of your dashboard. You will then need to enter the details for your transfer, including the currency you want to send and the currency the recipient should receive.
For instance, if you’re sending Euros and want the recipient to receive British Pounds, select the appropriate currencies. You can choose to send the same currency or select different currencies to save on conversion fees.
Step 4: Choose Your Transfer Method
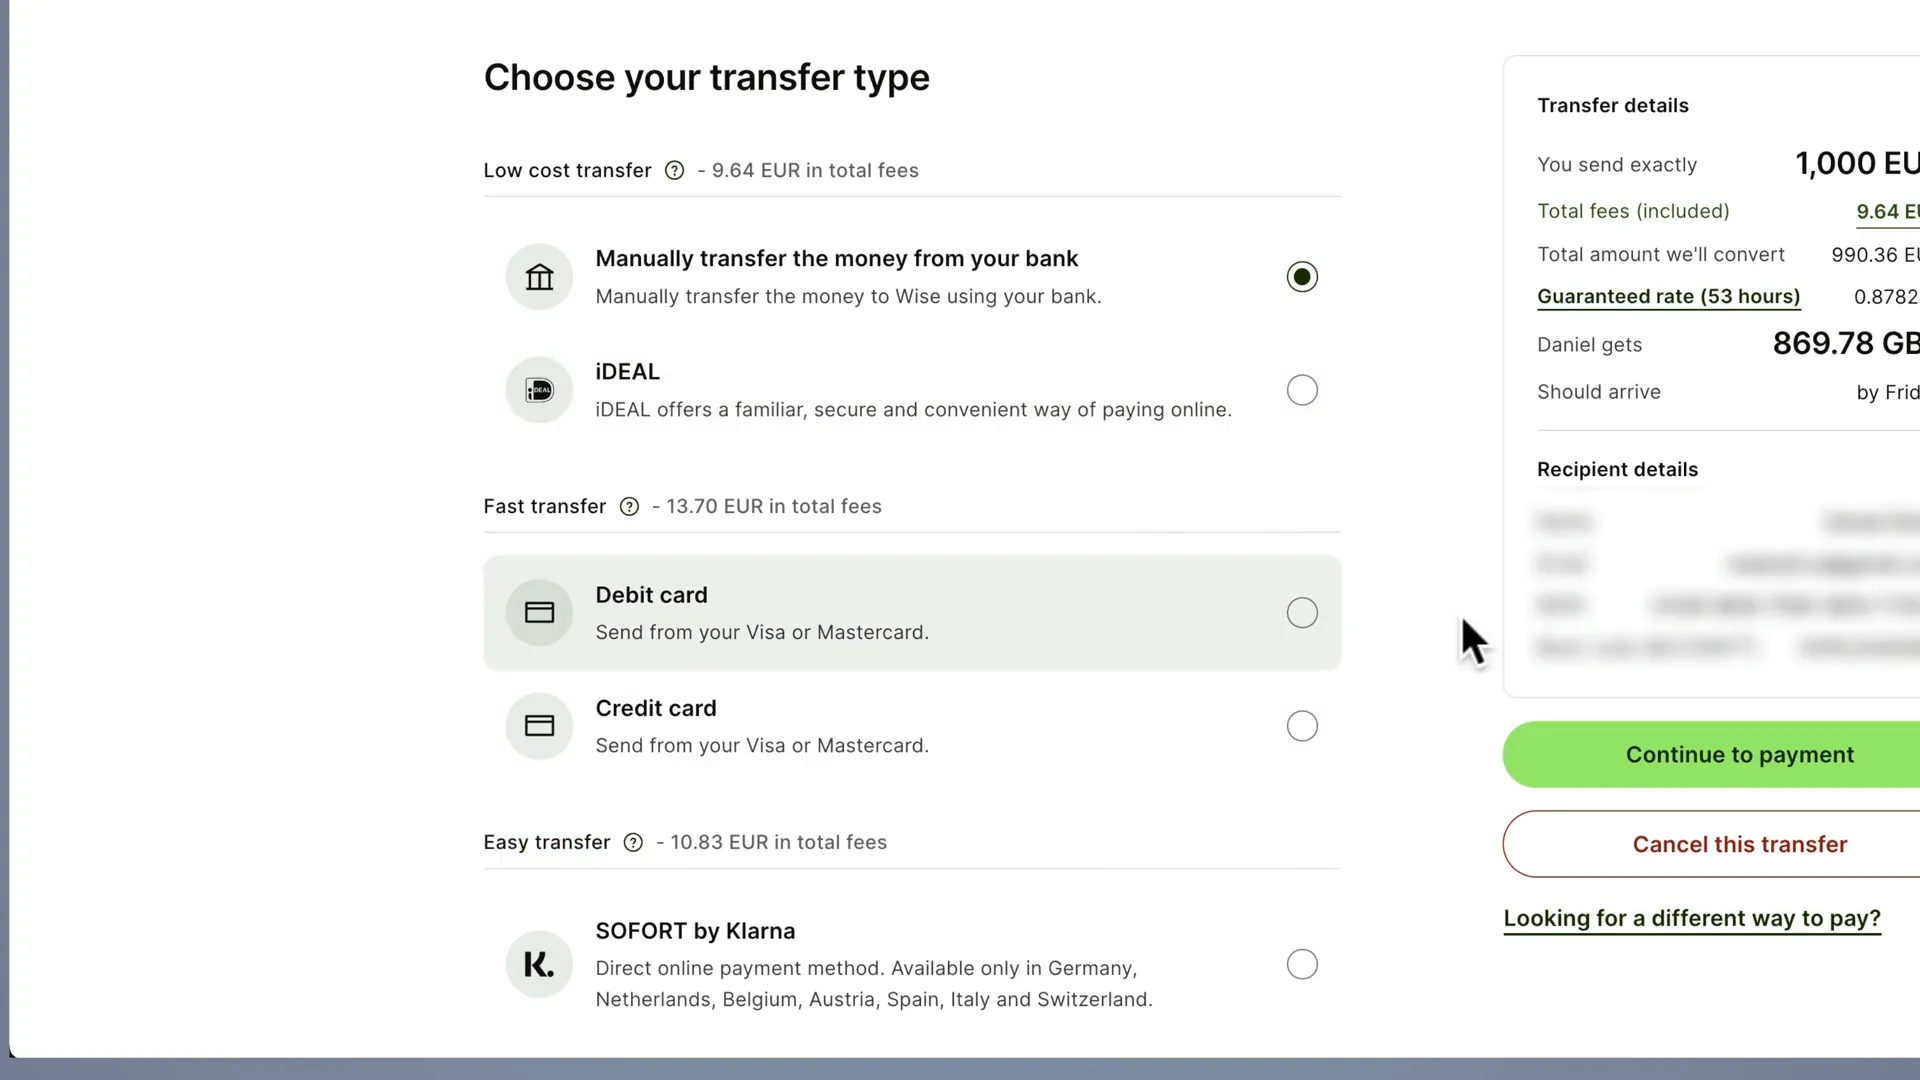
Wise offers three different transfer methods: Fast Transfer, Low-Cost Transfer, and Easy Transfer.
- Fast Transfer: Pay with a debit or credit card for quicker processing, but this incurs higher fees.
- Low-Cost Transfer: Manually send money from your bank account to Wise’s account, which is the cheapest option.
- Easy Transfer: Send money from your bank with an online payment, which has a slightly higher fee than the Low-Cost Transfer.
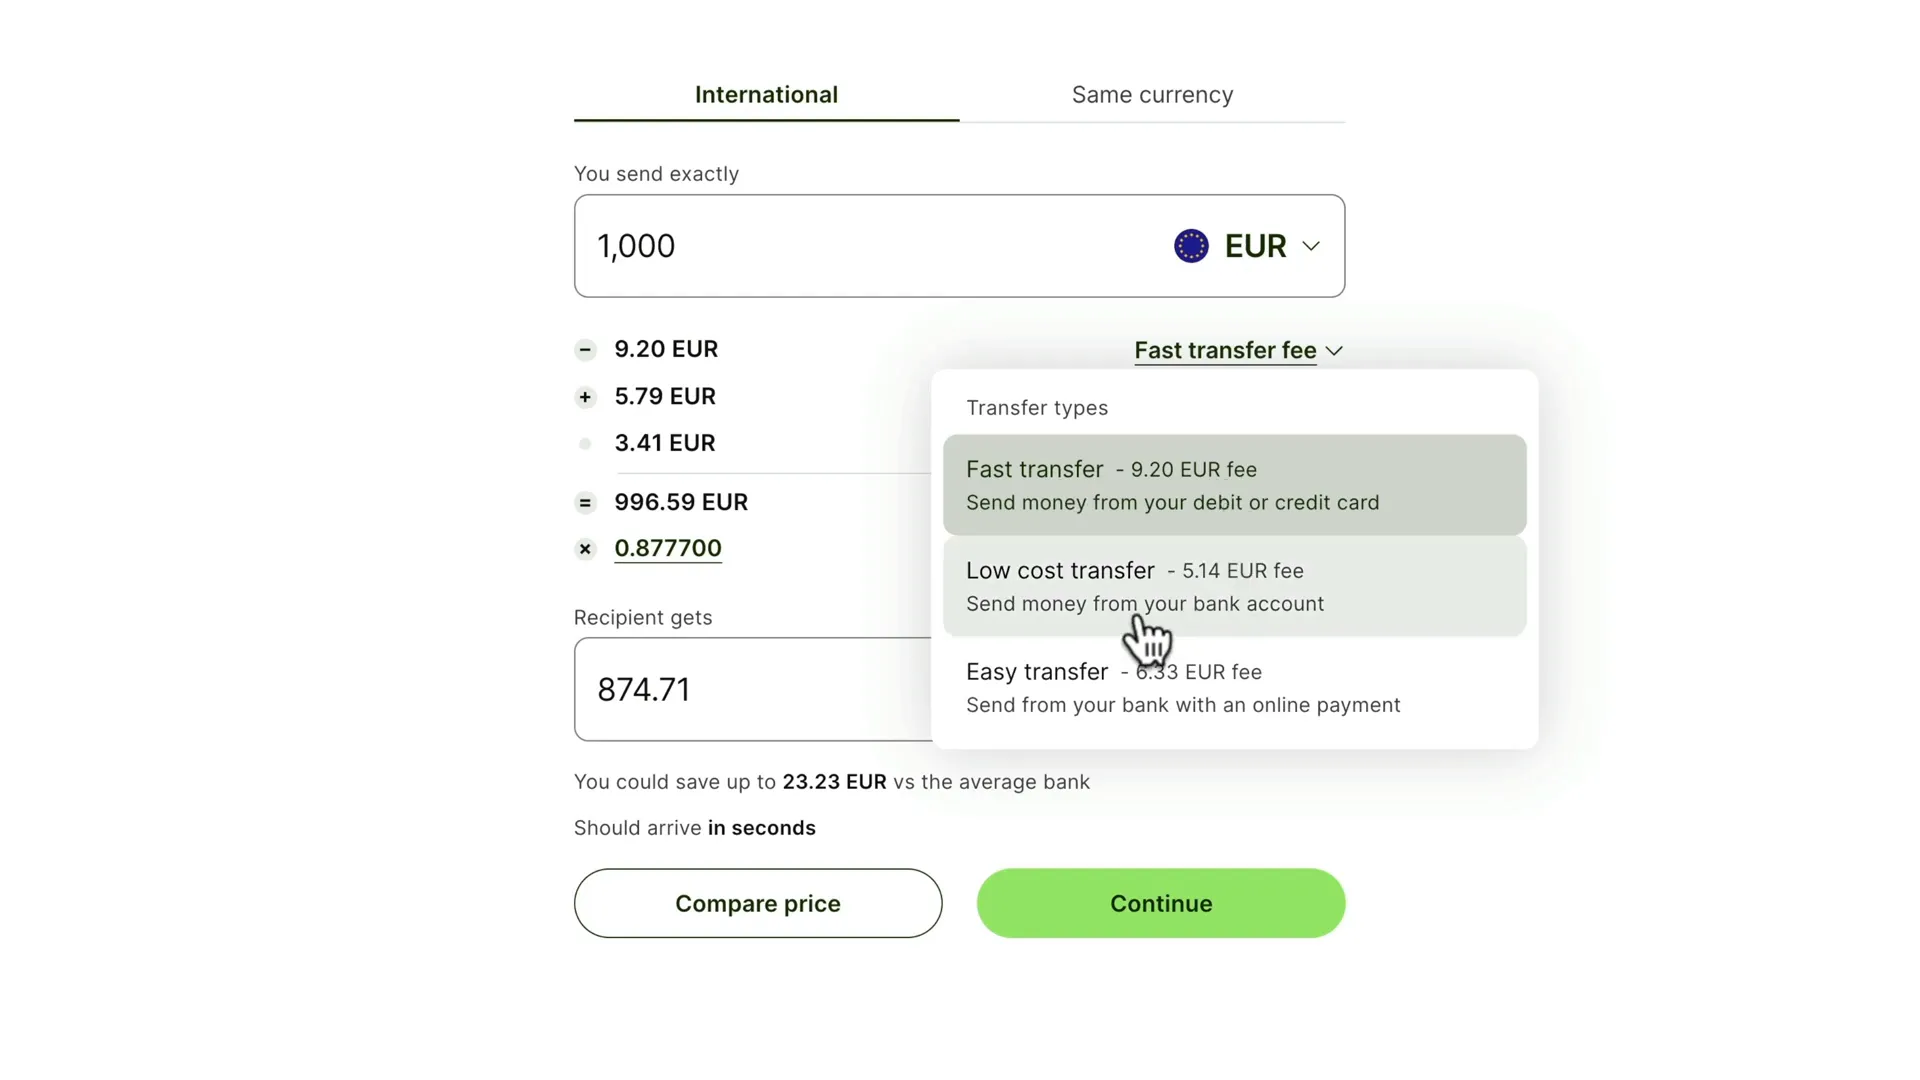
For those who are not in a hurry, the Low-Cost Transfer is recommended as it saves on fees.
Step 5: Review Transfer Fees and Conversion Rates
Once you’ve entered the transfer details, Wise will display the fees associated with your transfer. If you’ve used a referral link, you may see a discount applied to your transfer fee.

For example, if you’re sending 1,000 Euros and the fee is 3.41 Euros, the final amount sent will be 969.59 Euros. You can also view the current conversion rate and how it has fluctuated over time.
Step 6: Enter Personal Details
Next, you’ll need to confirm whether the transaction is personal or business-related. Enter your personal details for verification, as Wise is a regulated financial company.
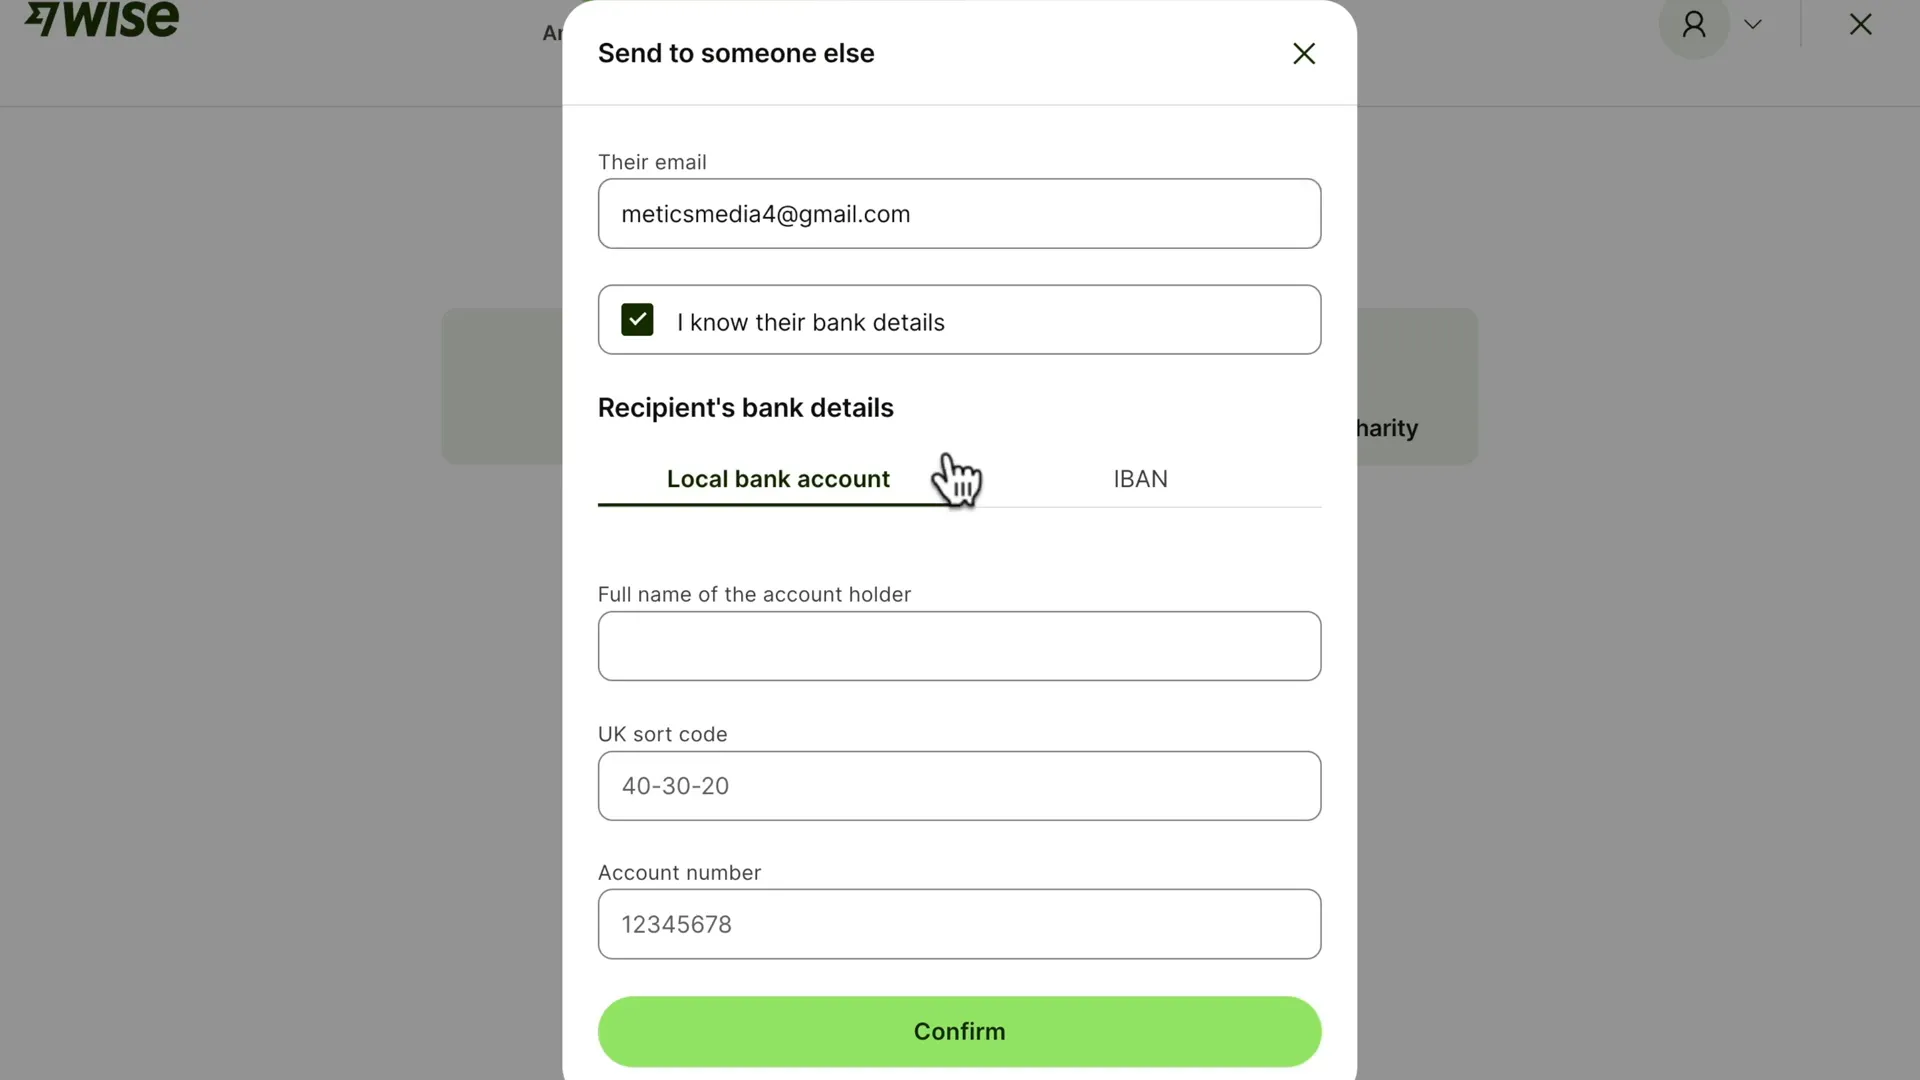
After entering your details, you’ll specify who you are sending money to. If you’re sending to someone else, enter their email address so they will be notified of the transfer.
Step 7: Provide Recipient’s Bank Details
You’ll need to enter the recipient’s bank details. If you don’t know their bank information, you can opt to have Wise email them to request it. Otherwise, you can directly enter their IBAN or local bank account details.
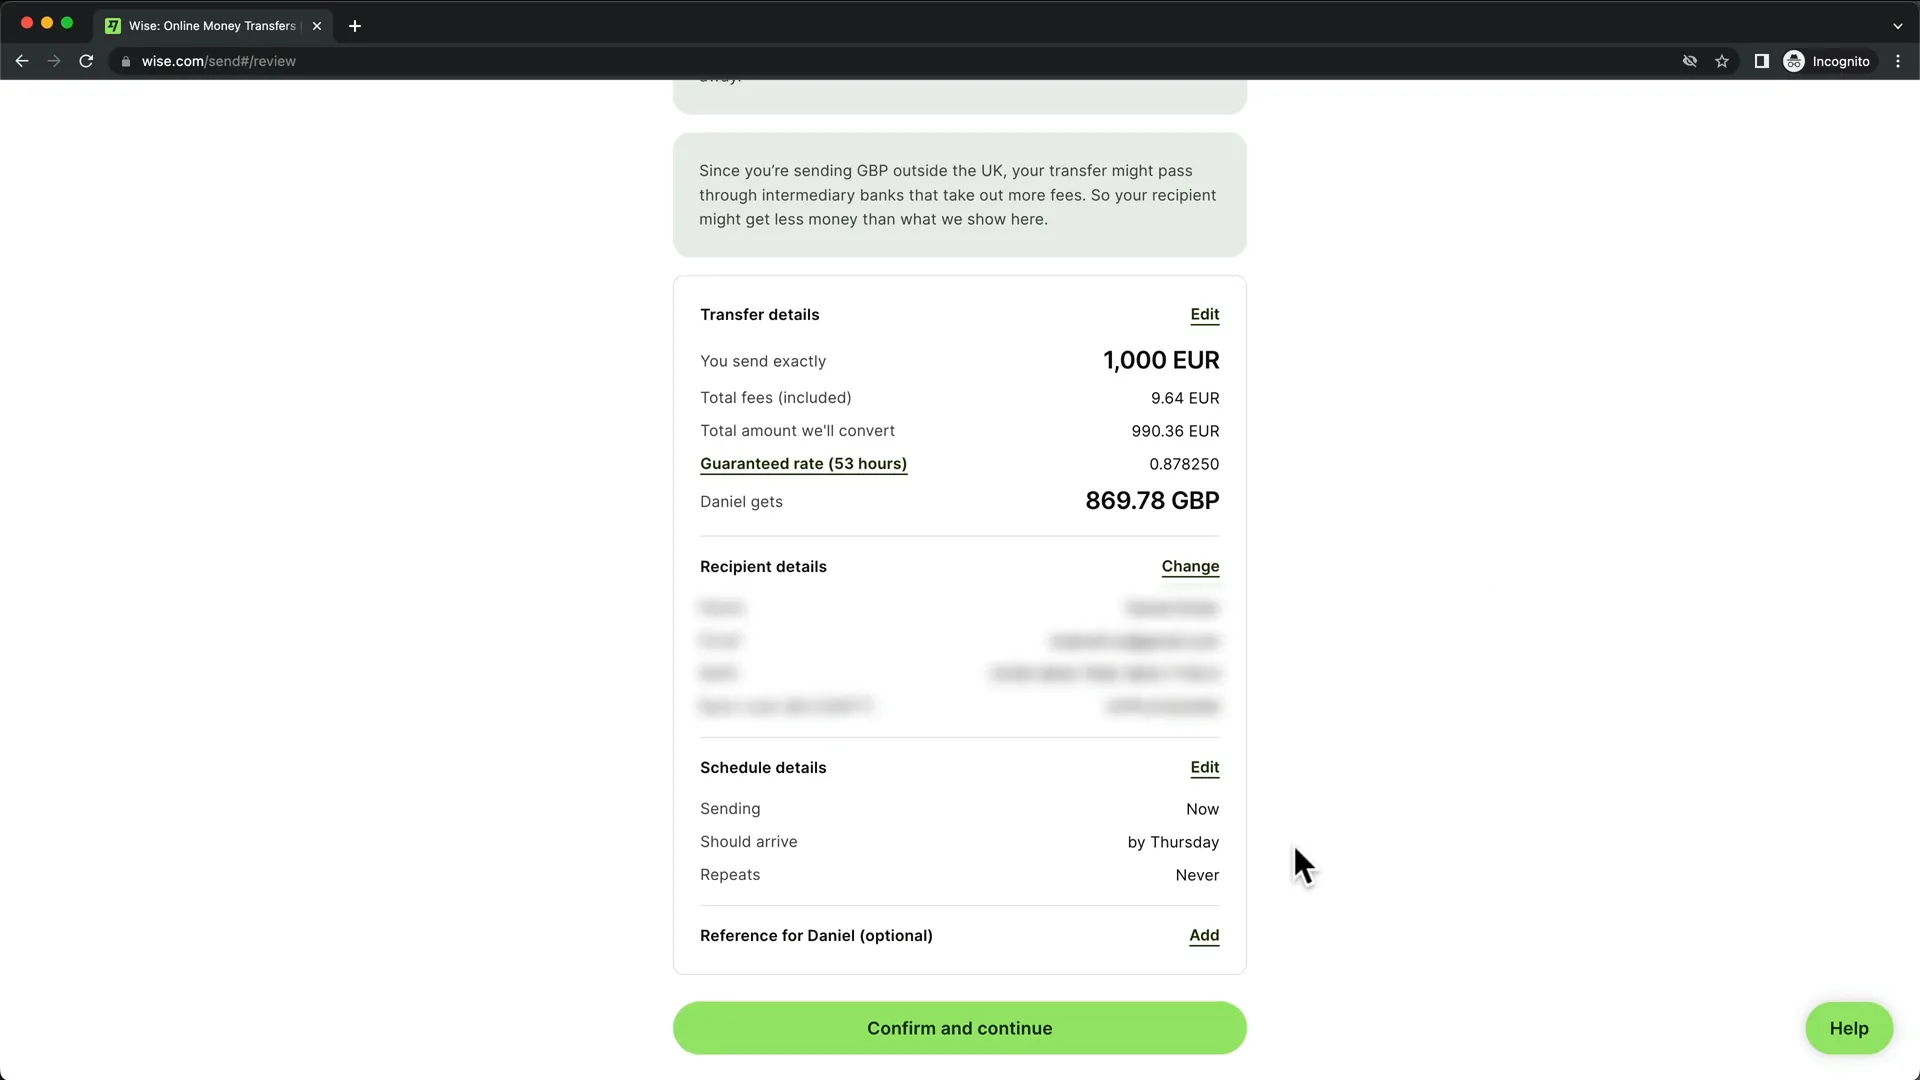
Make sure to verify the details before confirming the transfer.
Step 8: Complete Identity Verification
To comply with regulations, Wise will require you to verify your identity again. You can do this by clicking on a link sent to your email or by scanning a QR code with your device to initiate the verification process.
Step 9: Confirm and Submit Your Transfer
Before finalizing the transfer, review the summary to ensure all details are correct. Click on “Confirm and Continue” to proceed.
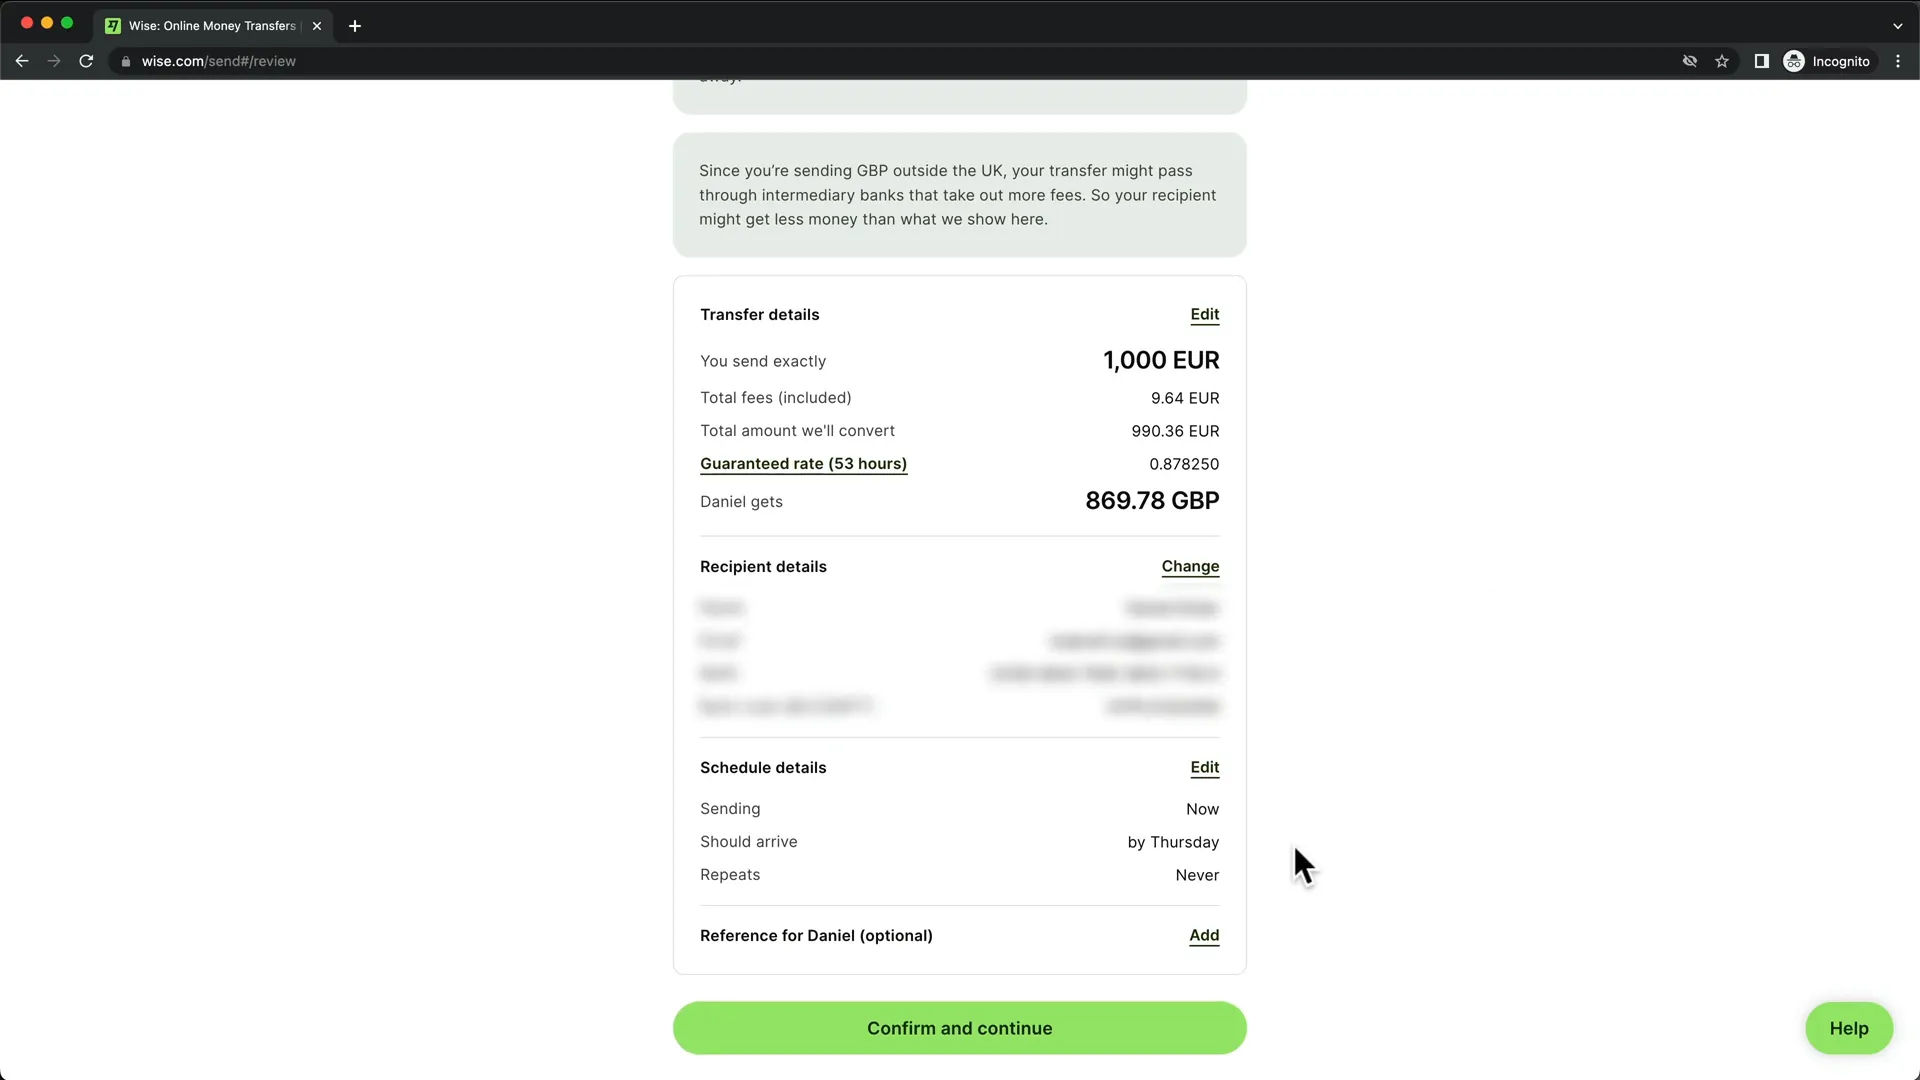
Wise will provide you with various options for transferring the money, including the day it should arrive. You can see if the transfer speed changes based on your payment method.
Step 10: Make the Payment
Wise requires you to manually transfer the funds from your bank account. Follow the instructions provided to complete the bank transfer to Wise’s account.
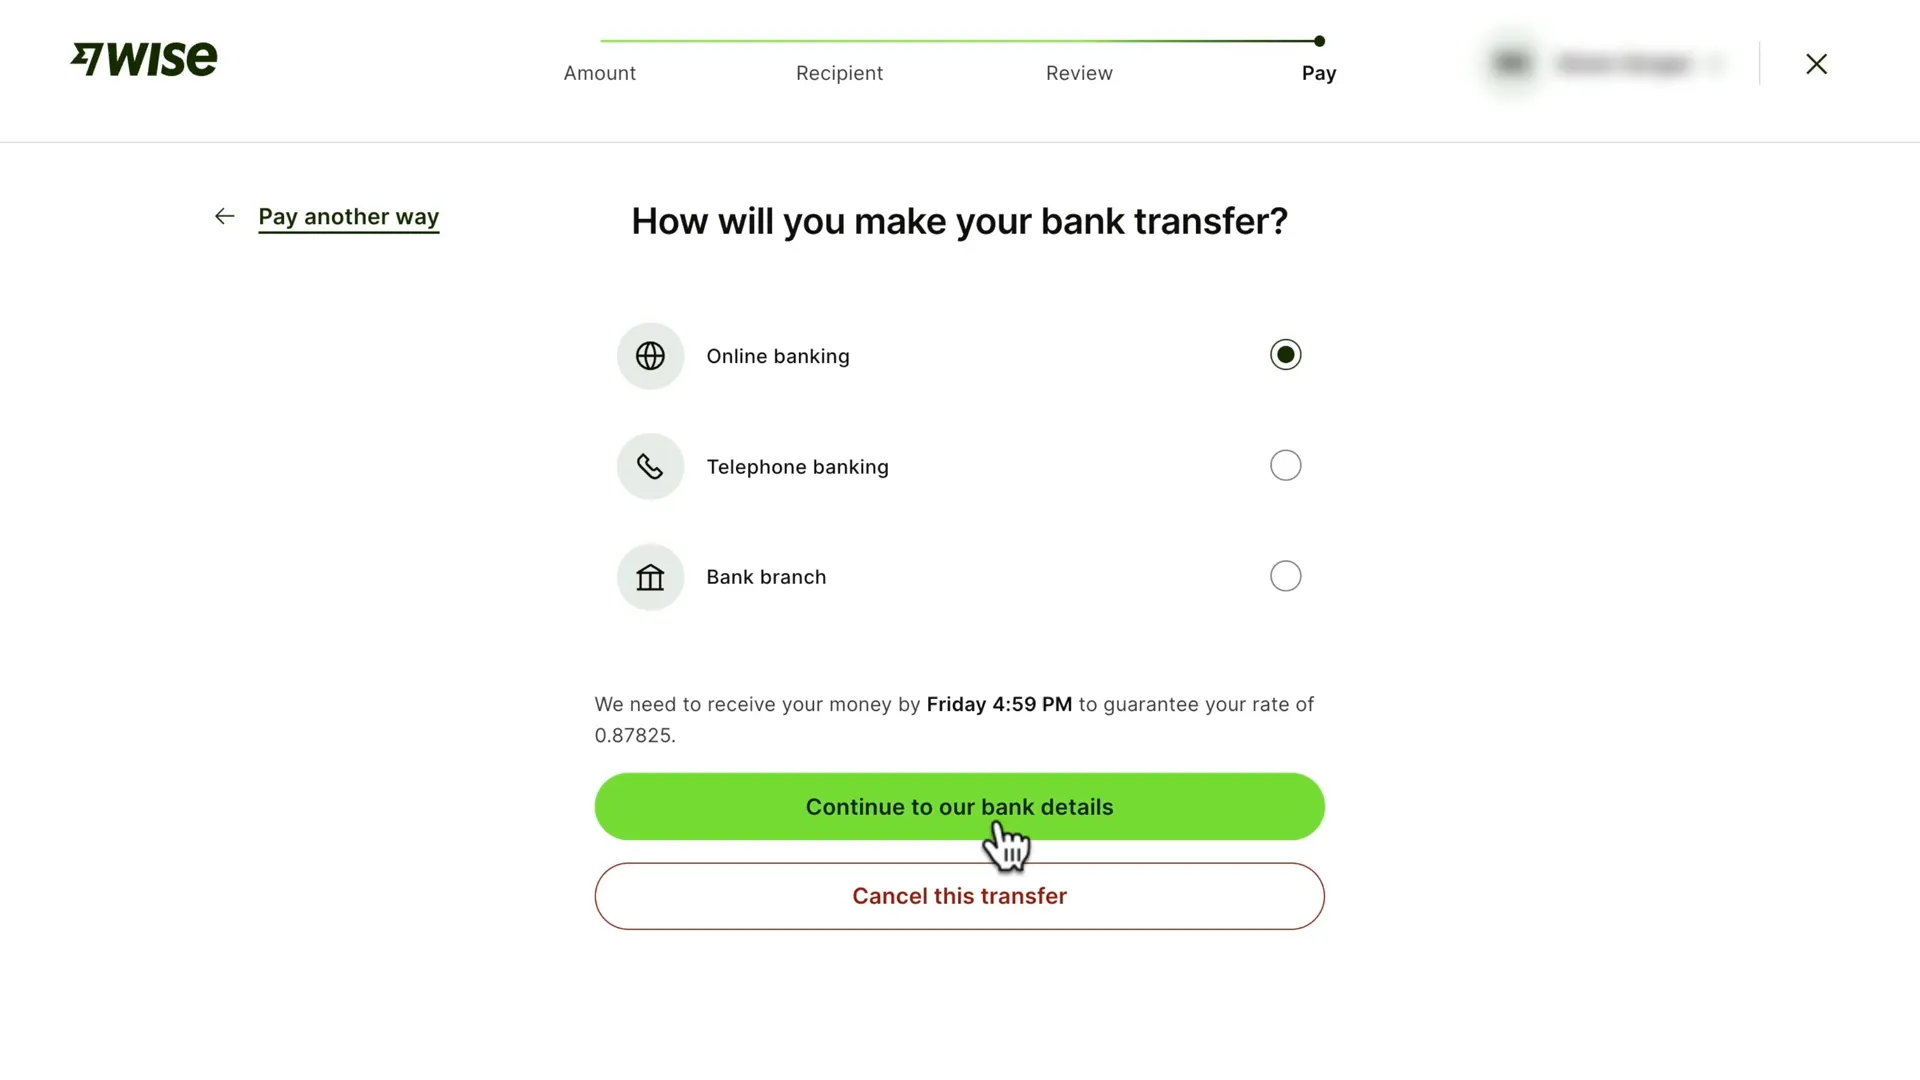
Once you have sent the money, return to your Wise dashboard to monitor the status of your transfer.
Step 11: Track Your Transfer
After initiating the transfer, you can track its progress from your Wise dashboard. Here, you’ll see when Wise receives the funds and when the money is sent to the recipient’s bank account.
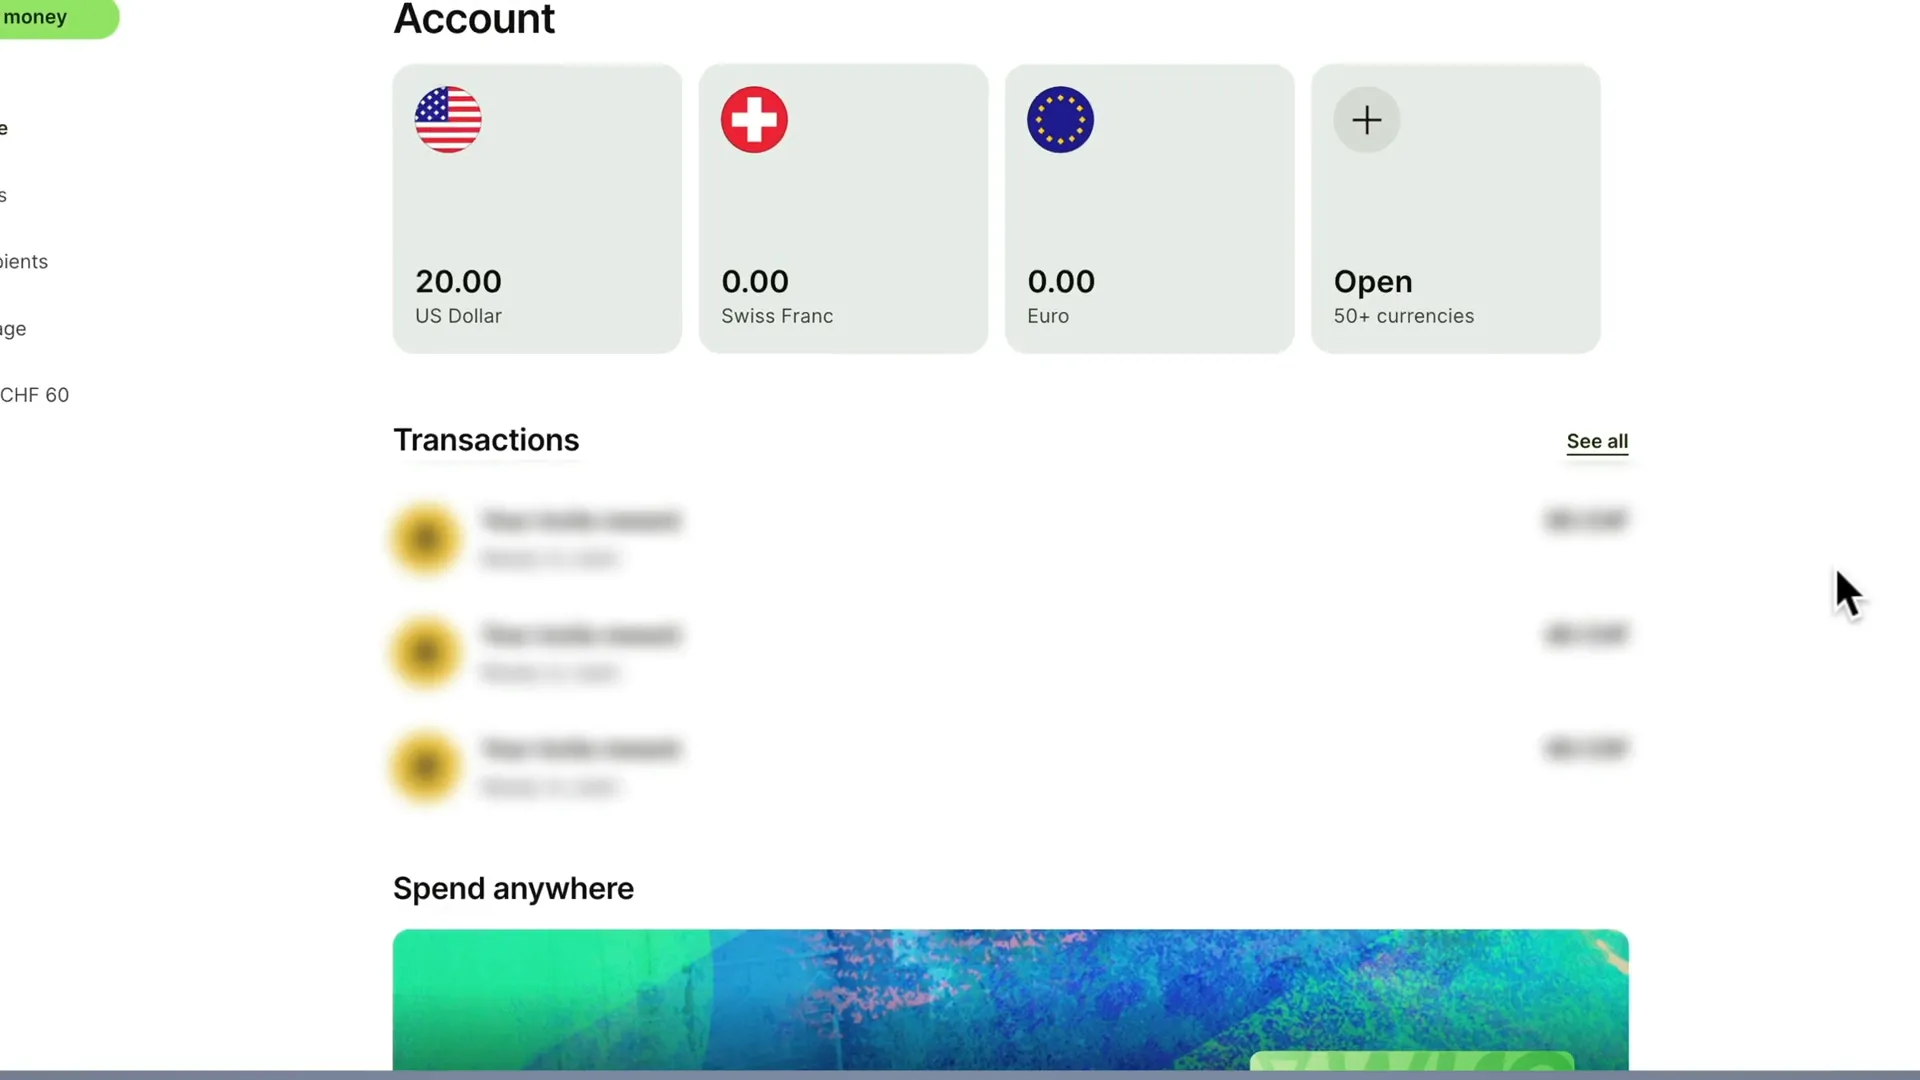
If you wish to cancel the transfer or share the information with the recipient, you can do so directly from the dashboard.
Using Wise for international money transfers is a straightforward and cost-effective solution. By following these steps, you can save on fees while ensuring your money reaches its destination quickly and securely. Remember to take advantage of referral links for additional savings on your transfers.
If you found this guide helpful, please share it with others who may benefit from using Wise!


![Read more about the article [Hostinger] Step-by-Step Guide to Buying VPS Hosting from Hostinger and Installing WordPress](https://store.woowhouse.com/wp-content/uploads/2024/09/image-1-2-300x169.jpg)

